via Instagram
Search results: "frocktober" (page 1 of 22)
When last I left off, you’ll recall I had assembled the bodice and front skirt of my Hawaiian dress. Since then, I’ve snatched bits and pieces of sewing time whenever I’m able. I was soon able to finish off the complete outer shell and try it on.
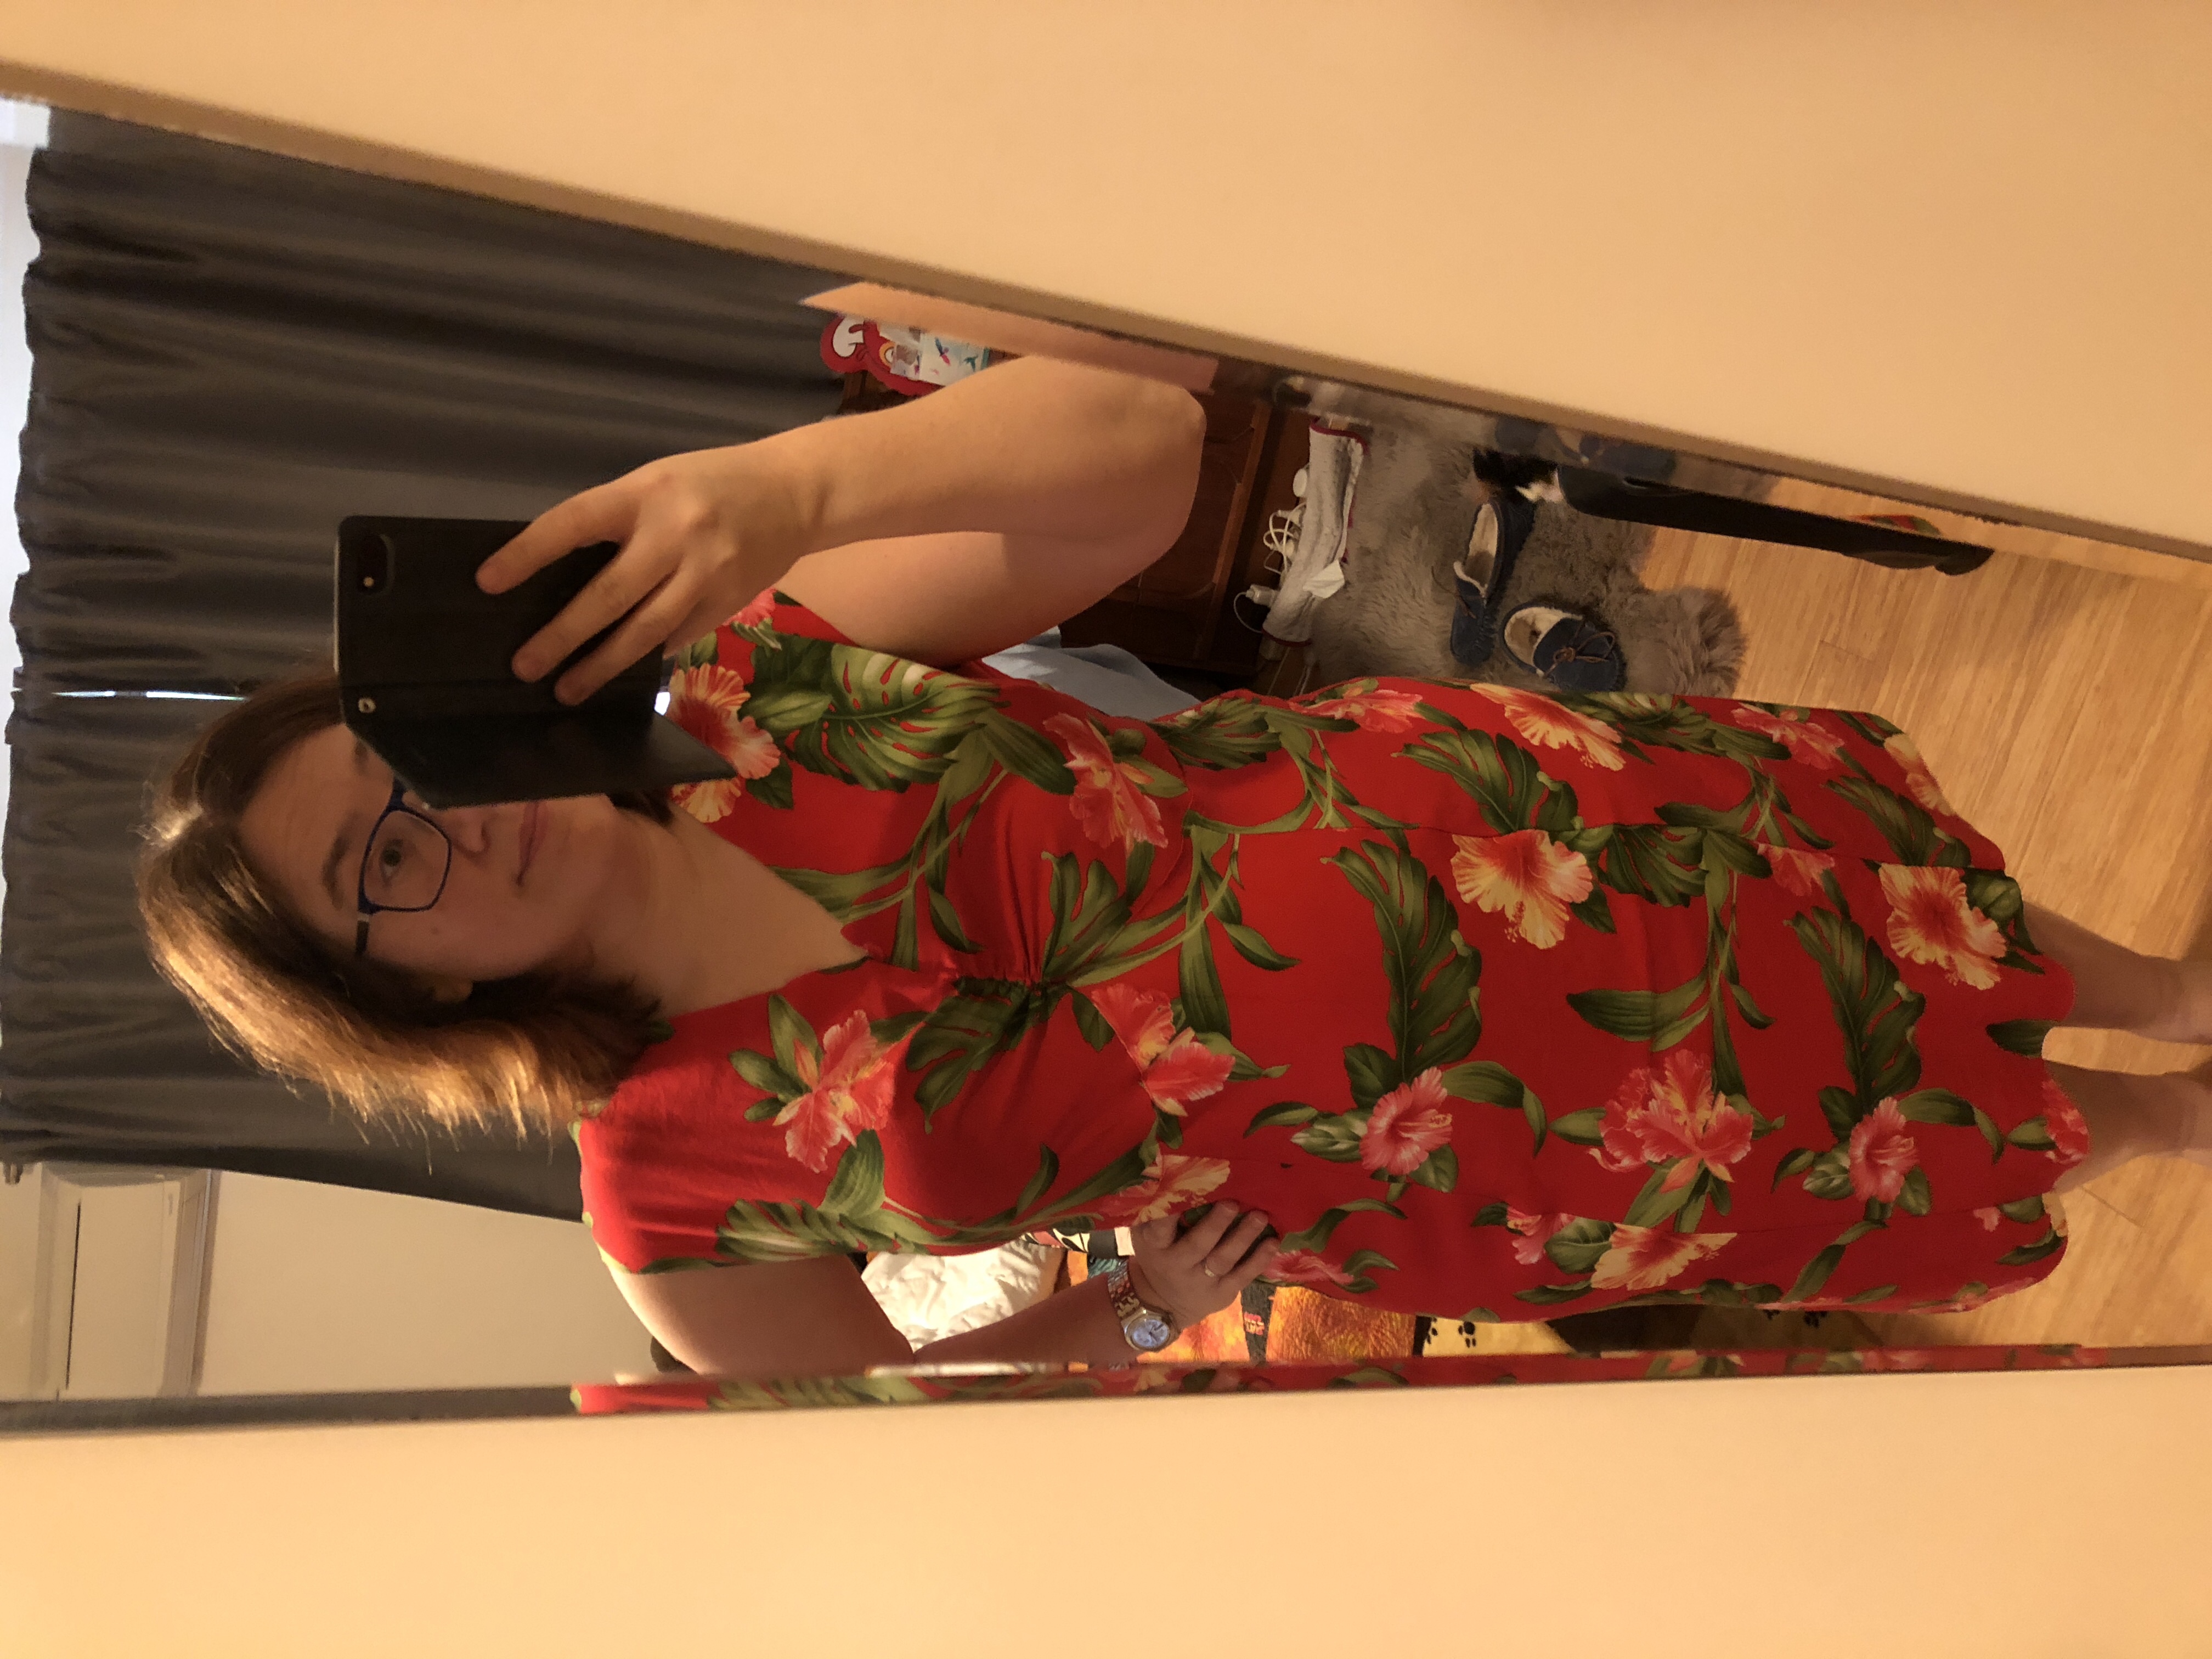
I discovered quite a bit of fabric pooling at my lower back. (Note to self: I think I need to start doing swayback adjustments going forward.) I had the Snook help me by pinning out the excess. I was able to then undo the seam and move it to remove the extra fabric. Then I made a note of the measurements so I could do the same on the lining pieces.
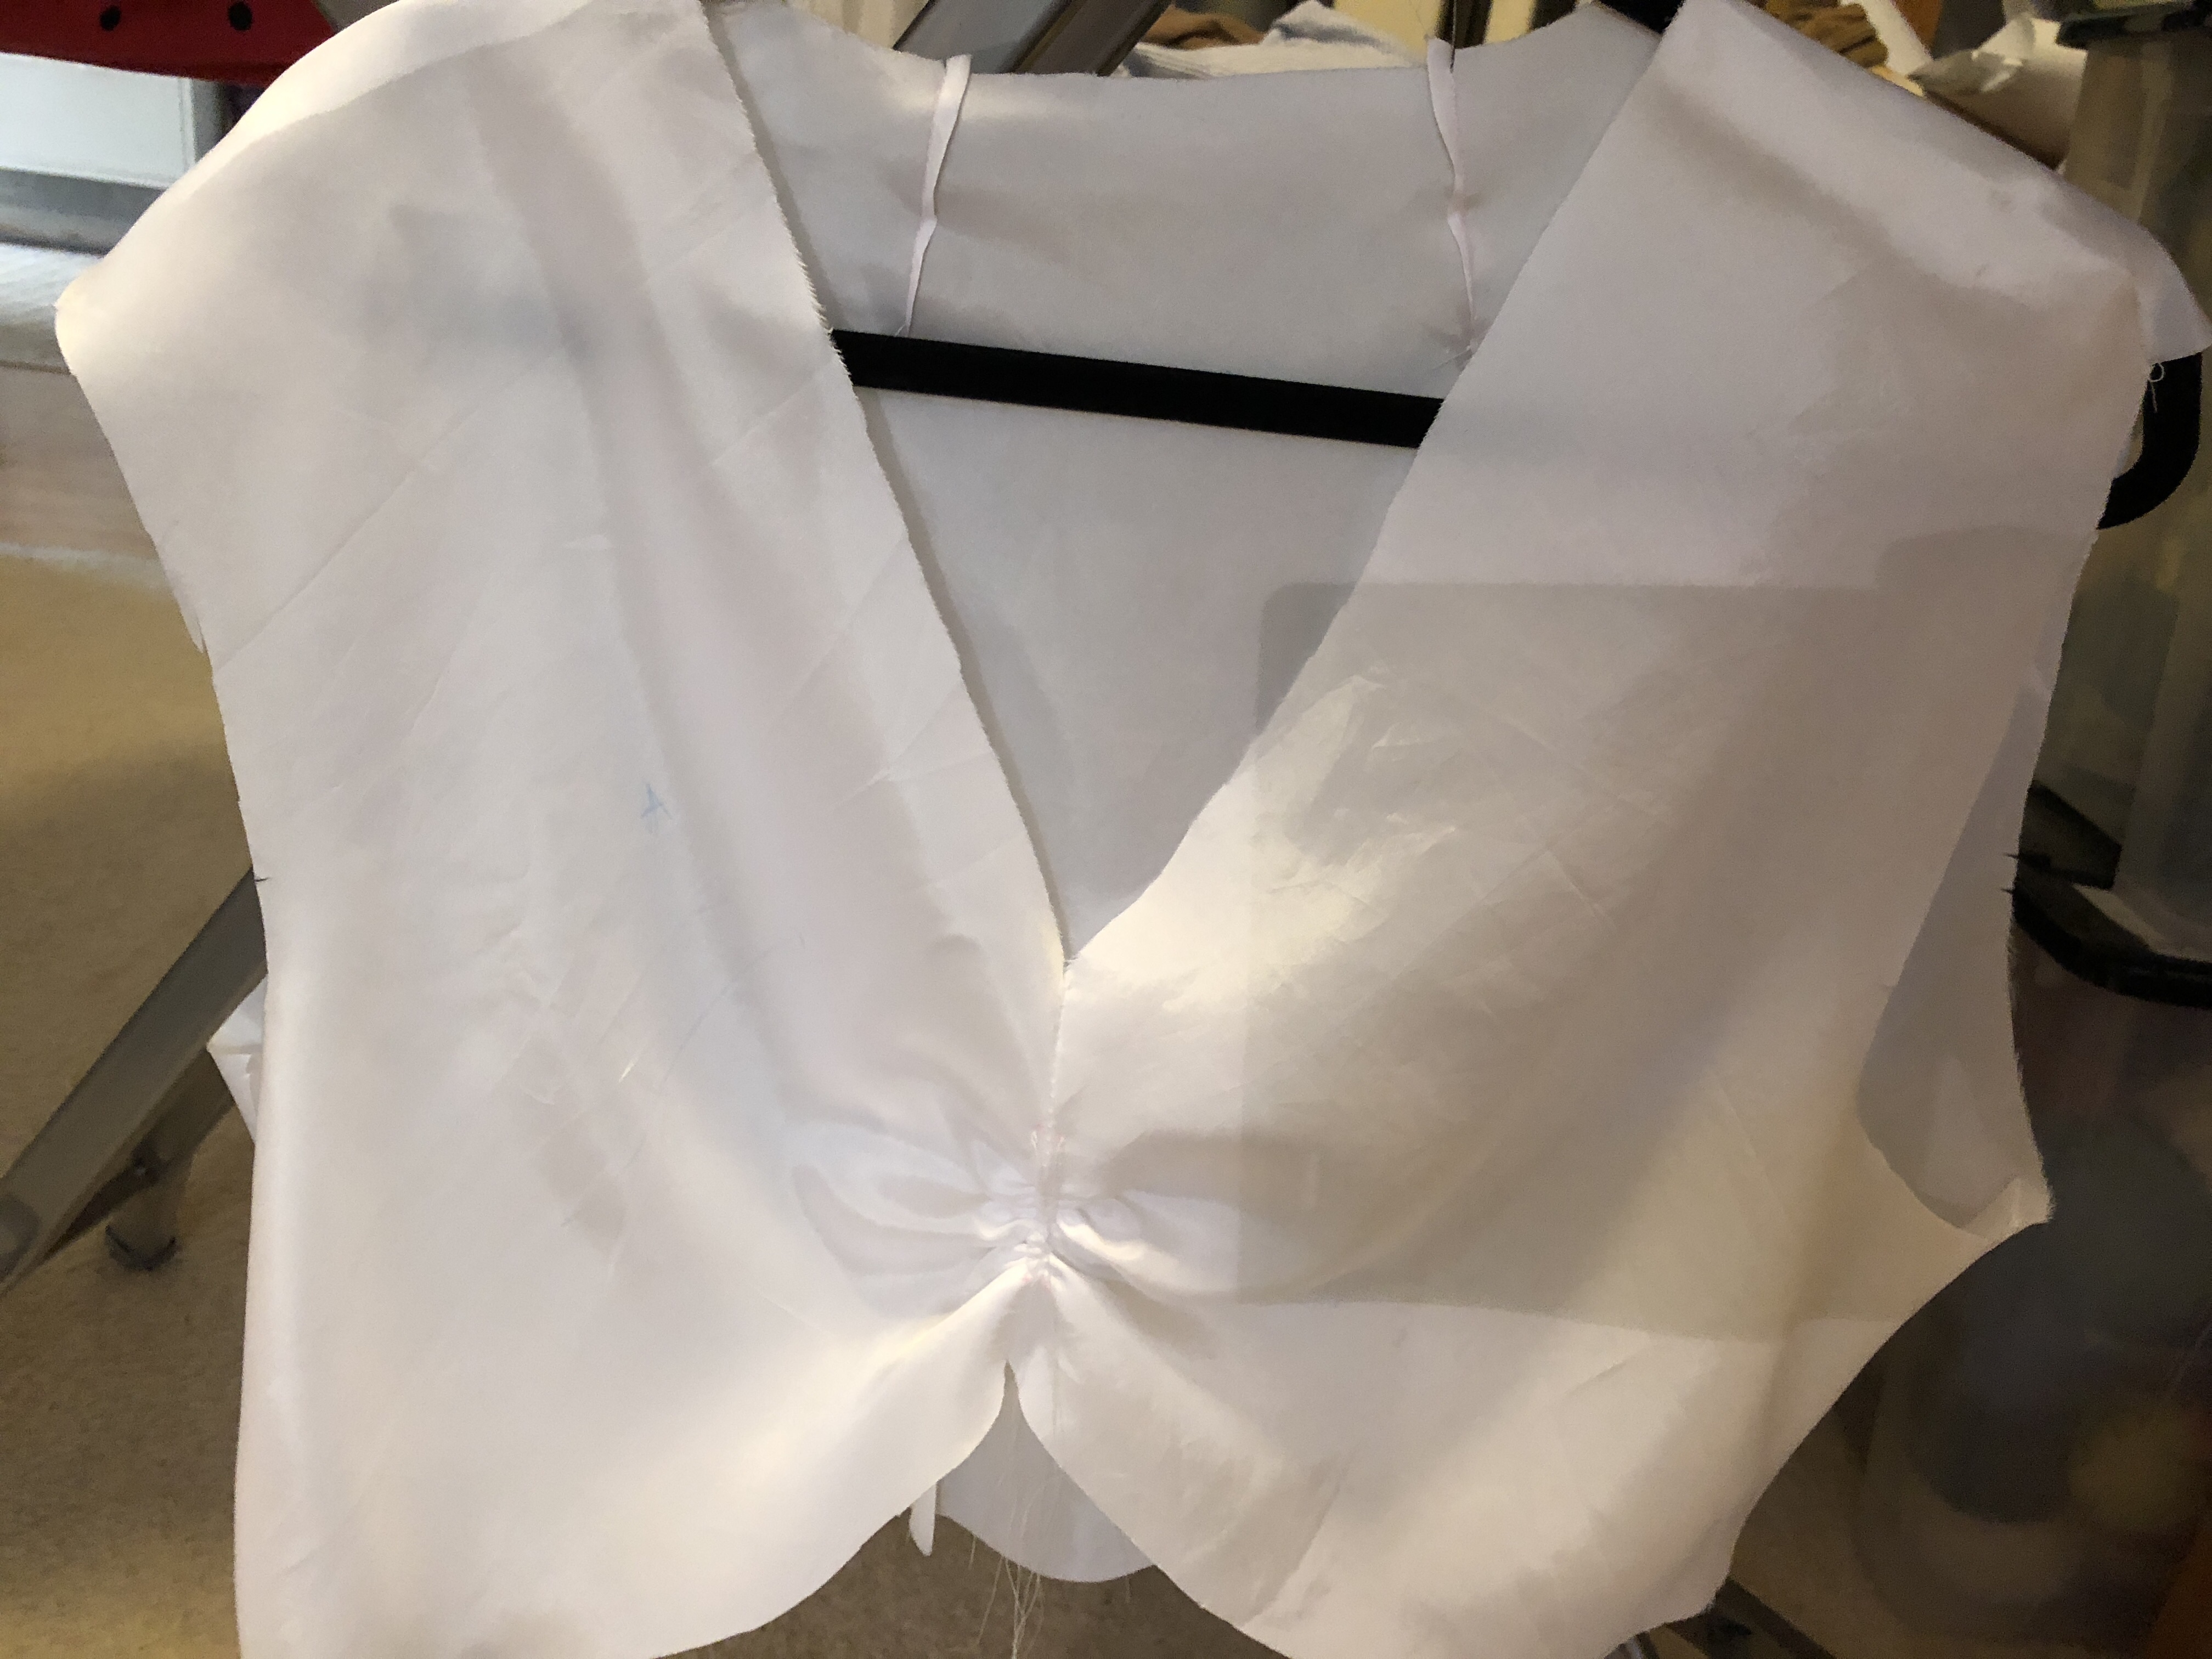
Oh right, the lining. Then I basically had to recreate the entire dress again. I had to cut out all the pieces on the bias, hang them, press them, and assemble the dress. Here’s the bodice in progress.
I also sewed together a neck facing out of my outer fabric. This was then pinned on top of the lining so that you wouldn’t see the white peeking out at the neckline. Here’s what it looked like on the inside before I sewed it down.
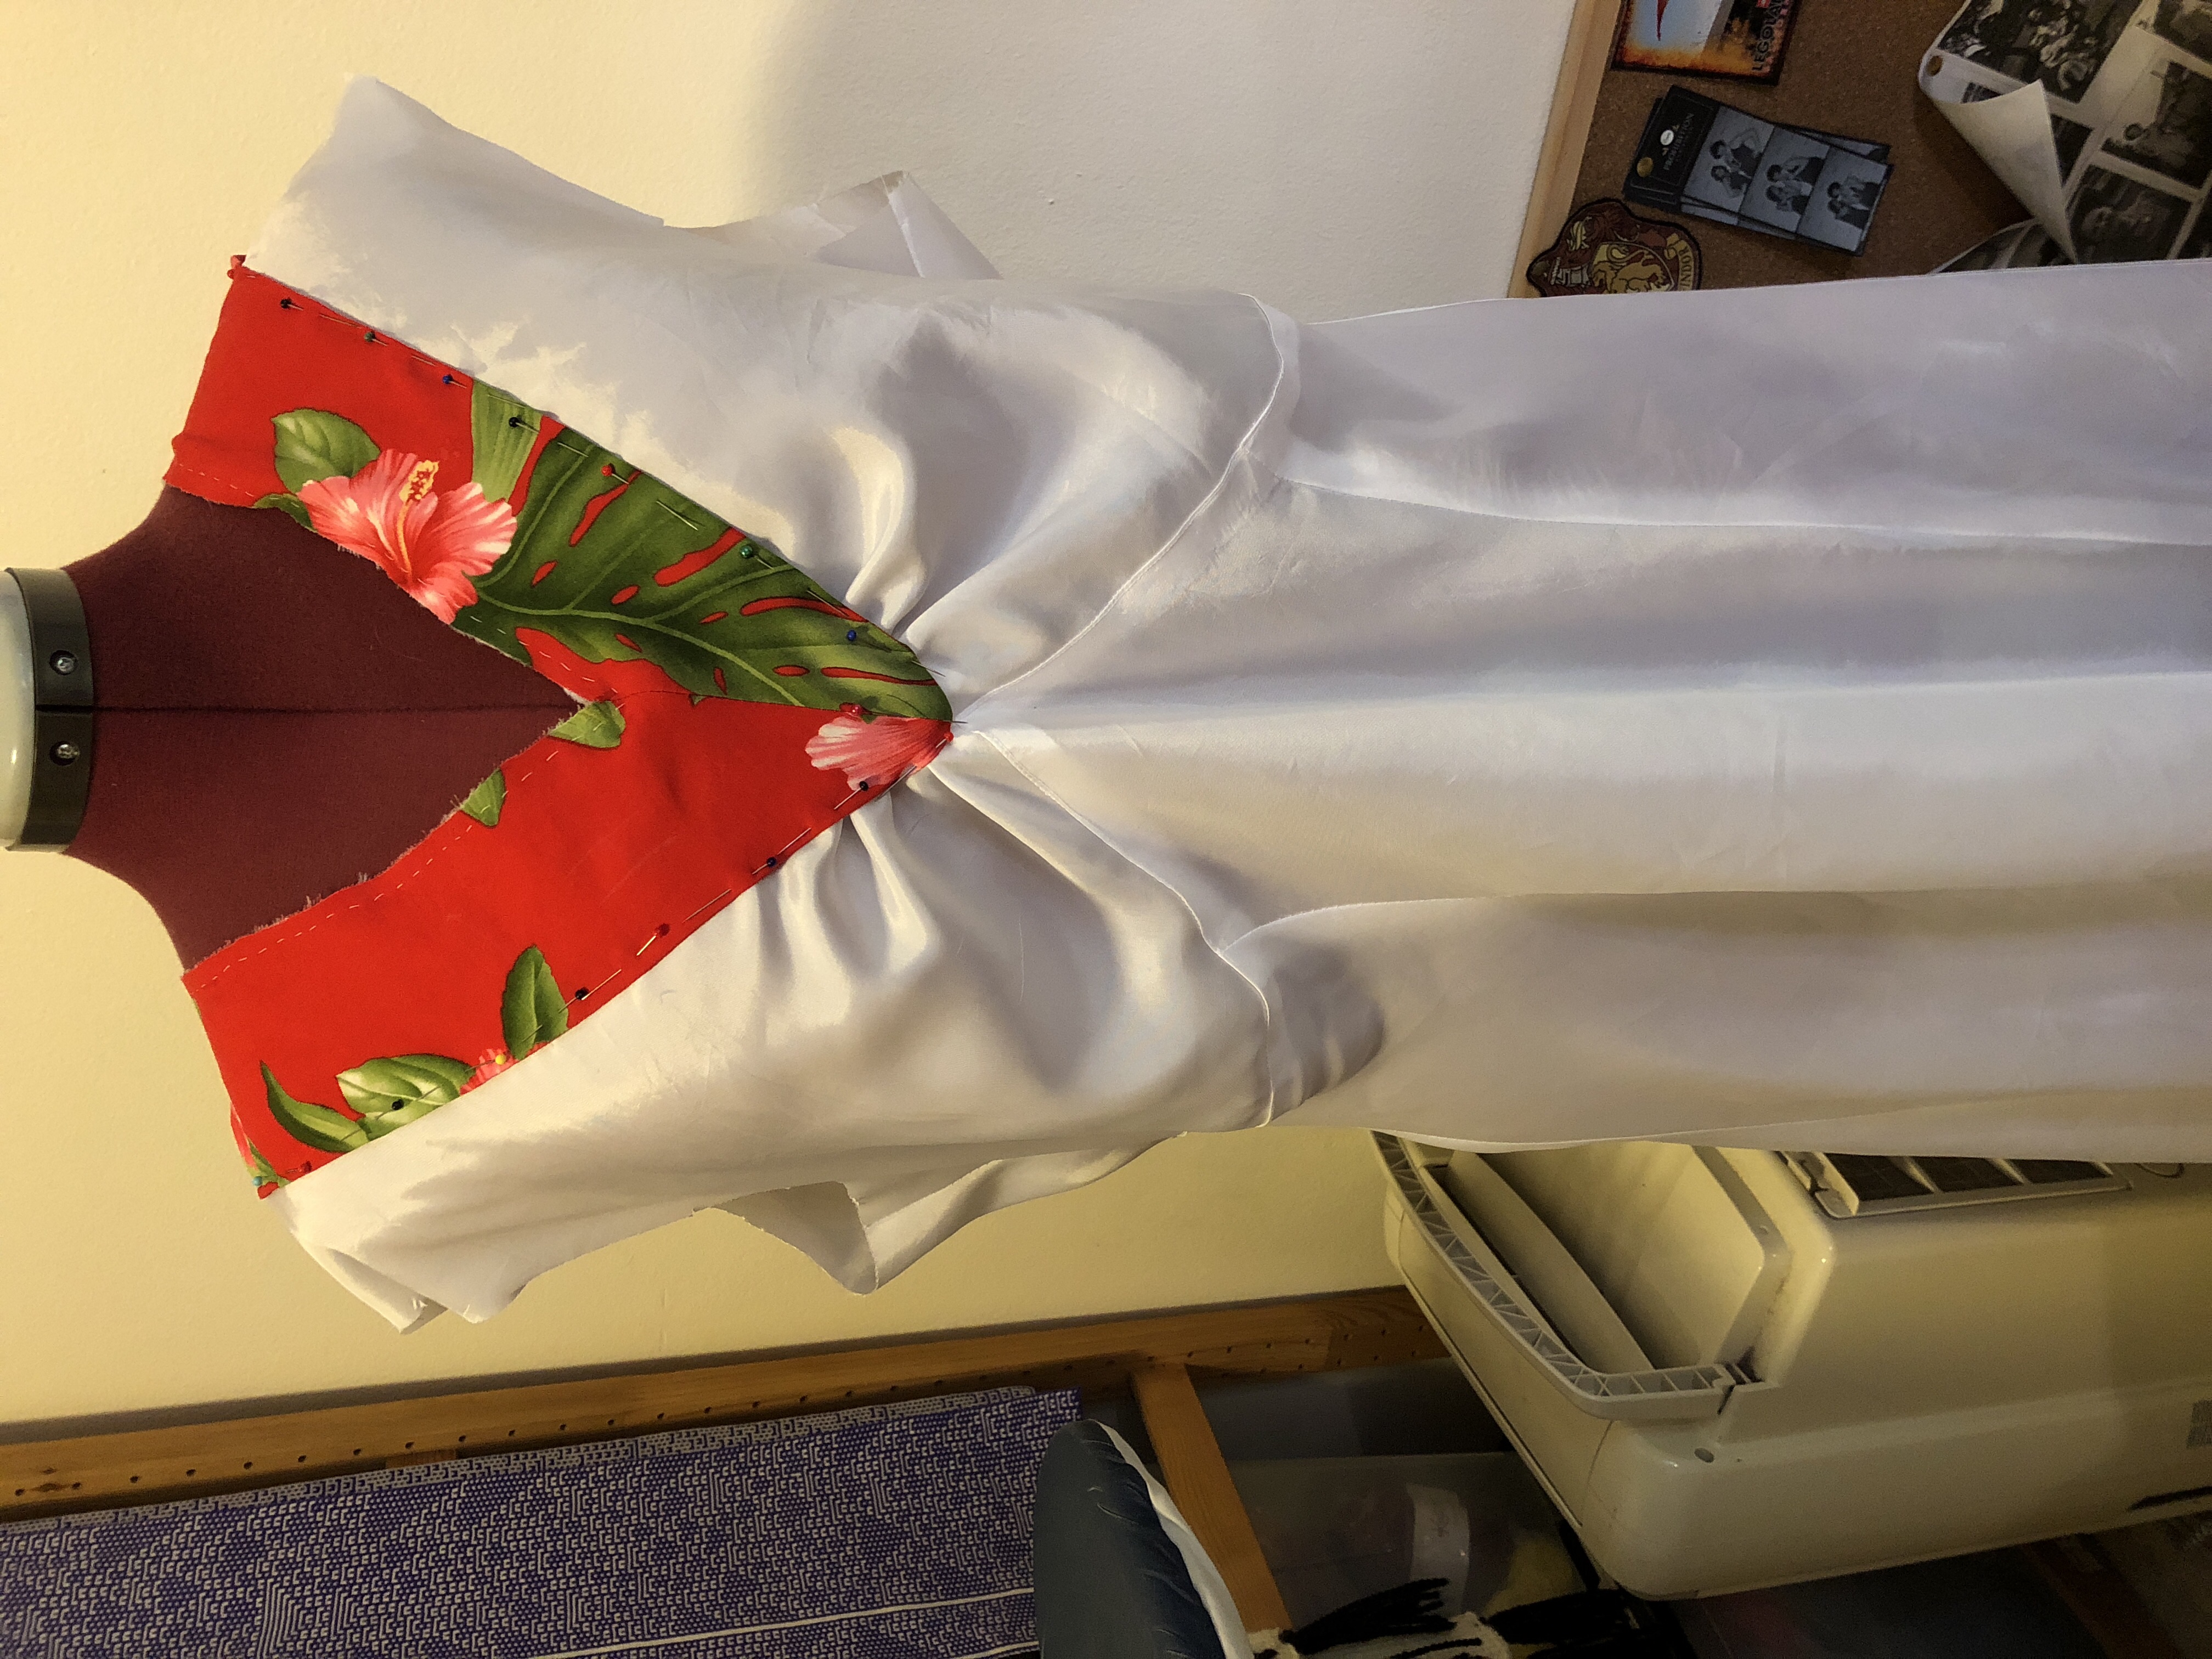
Then I inserted the lining, making sure the right side of the shell was next to the right side of the lining. Once I sewed them together at the neckline, I was able to flip it inside out so that the lining is inside and all seams are neatly trapped between. That v-neck was tricky though, and I had to unpick it a few times to get it to lie flat. (It’s still not perfect but it’ll do.)
The next step was to prepare the sleeves. Each cap has a bit of a puff at the top so I sewed basting stitches so I could gather them to fit. Here’s what it looked like once I had the sleeve pinned in place.
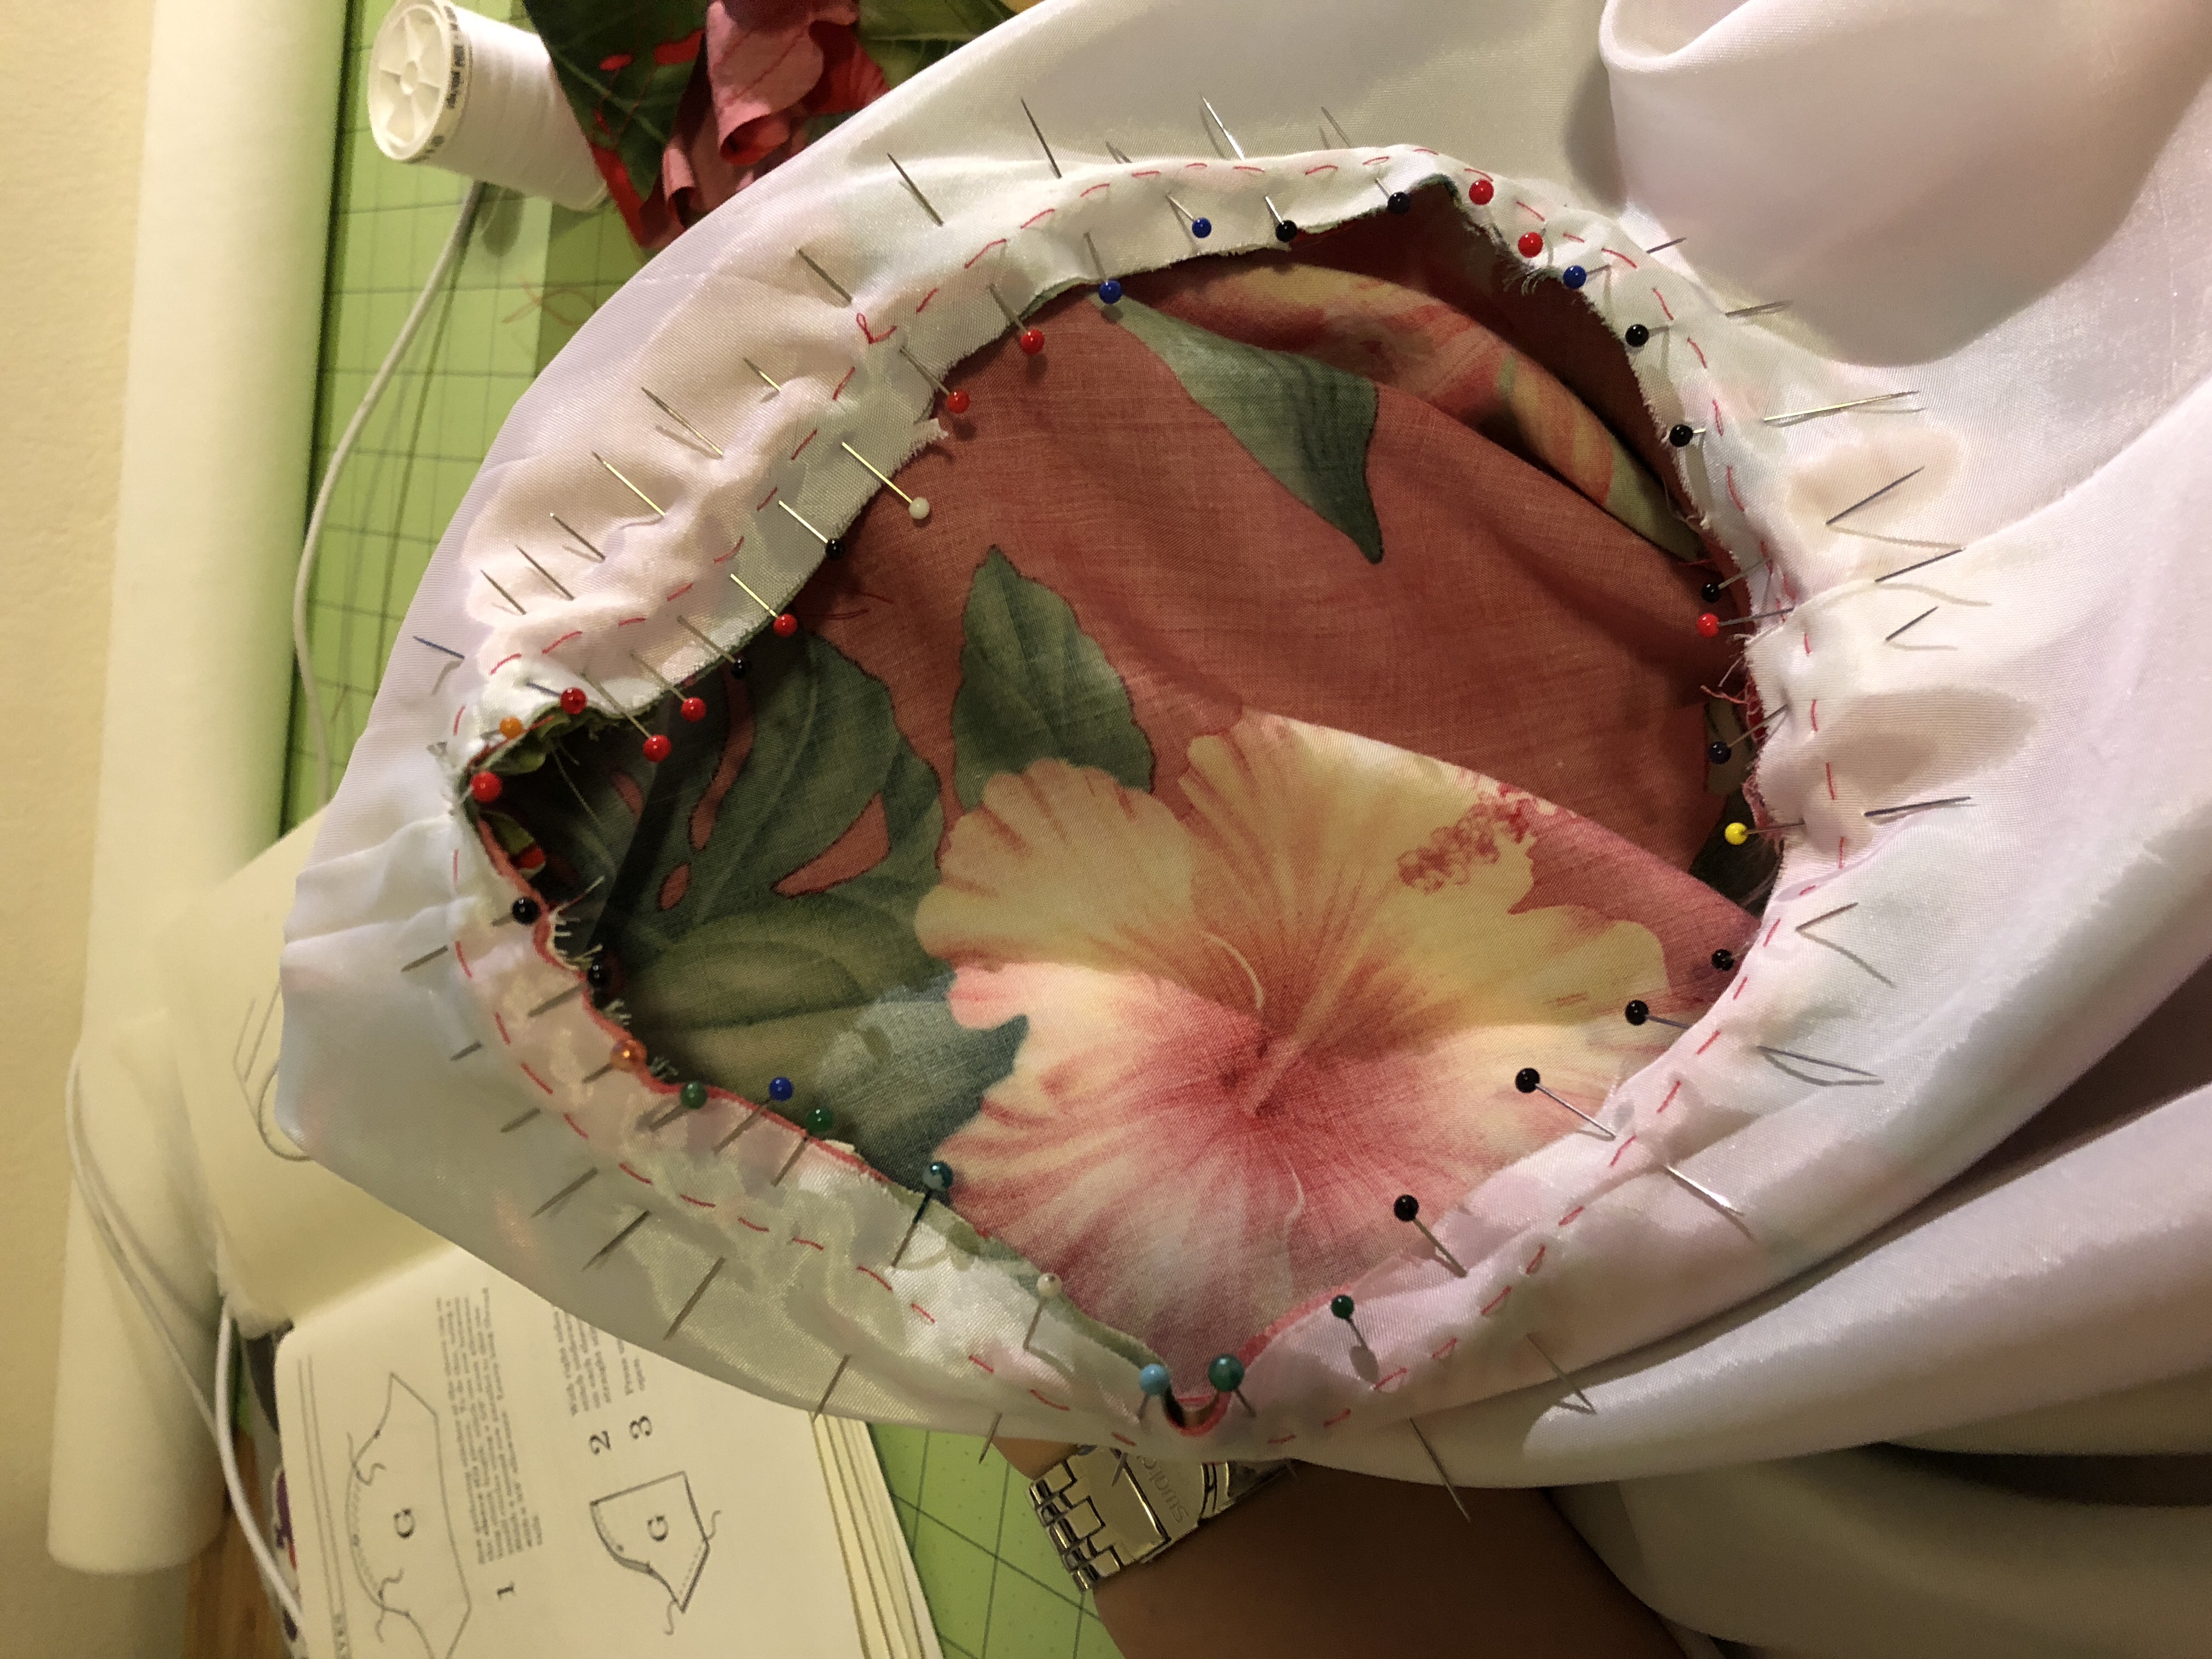
Yeah, I use a lot of pins.
Then I sewed in the sleeves and finished the seam. By the way, I found it weird that the pattern didn’t tell me explicitly to finish any of the seams. Not all of them (like the sleeves) are under the lining. I even went back and overlocked the skirt seams just because I was paranoid about fraying. Then I hemmed the sleeves.
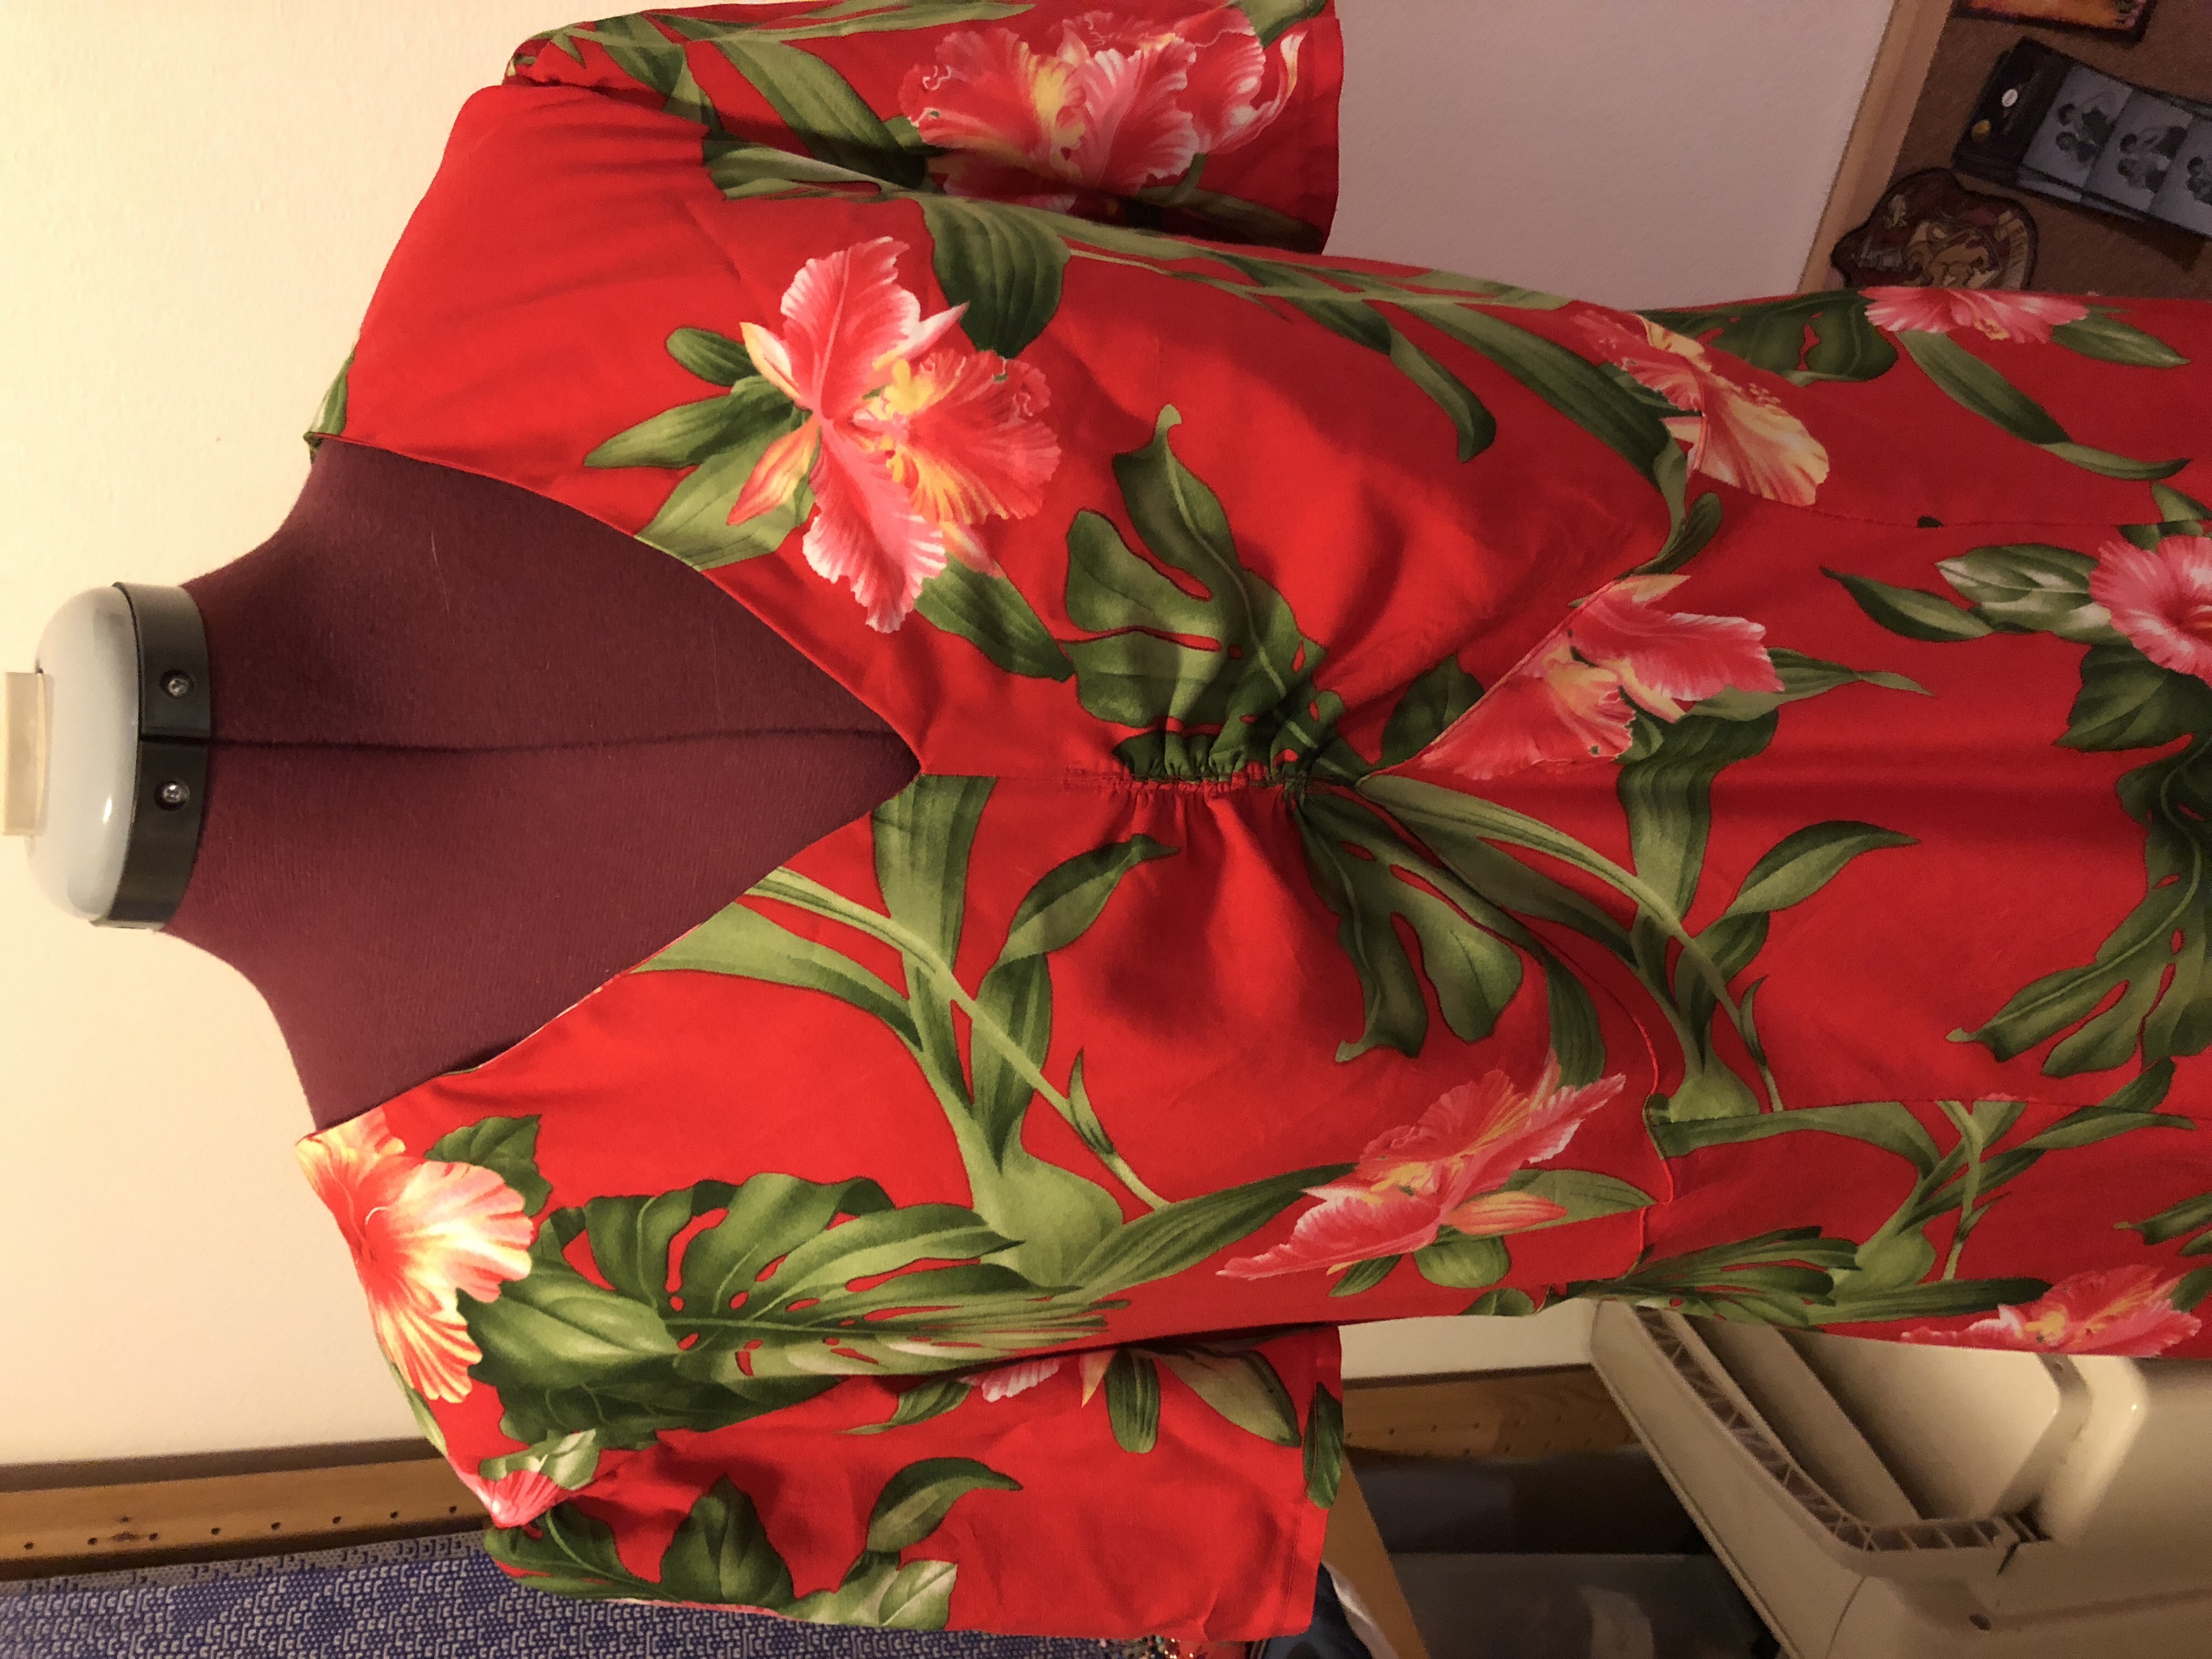
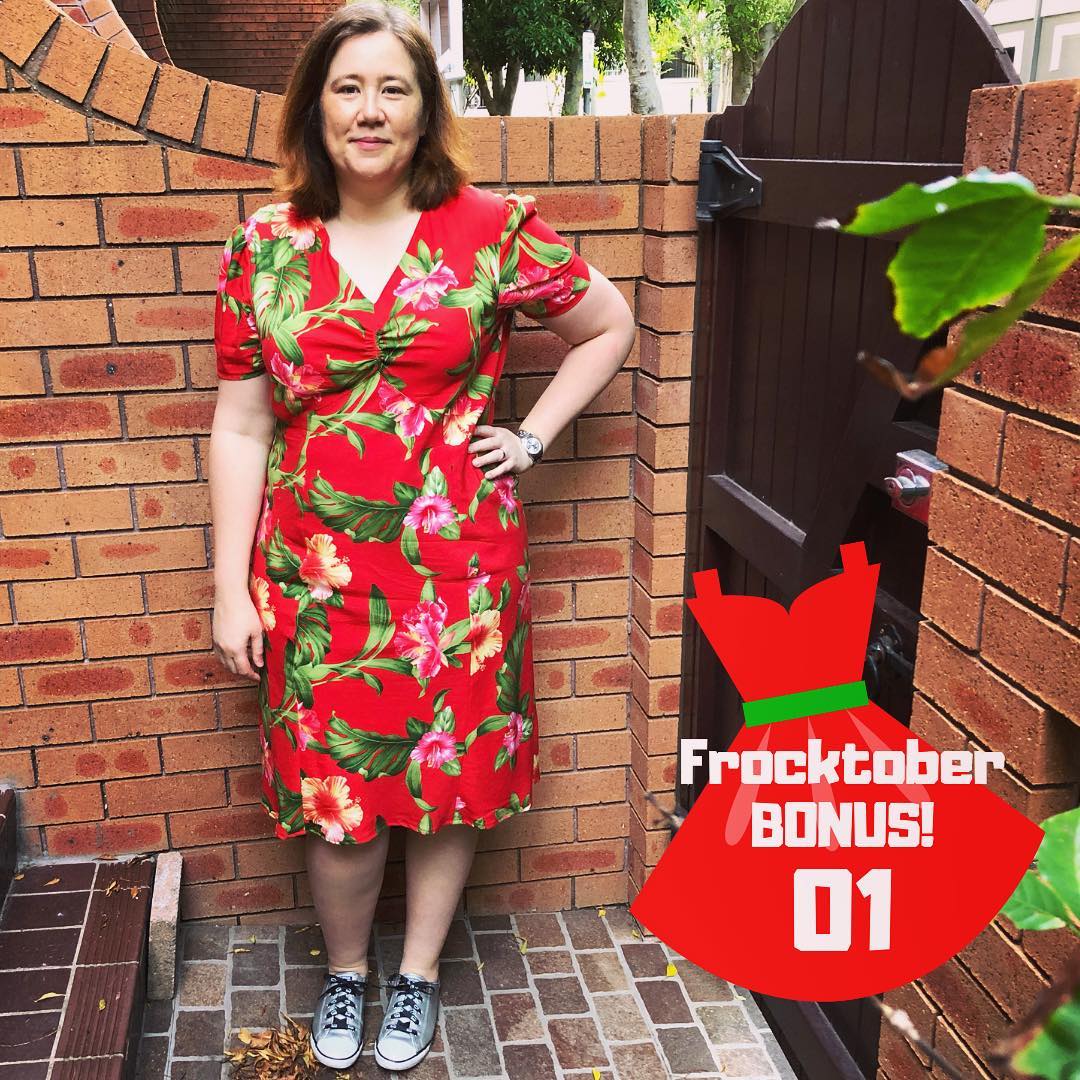
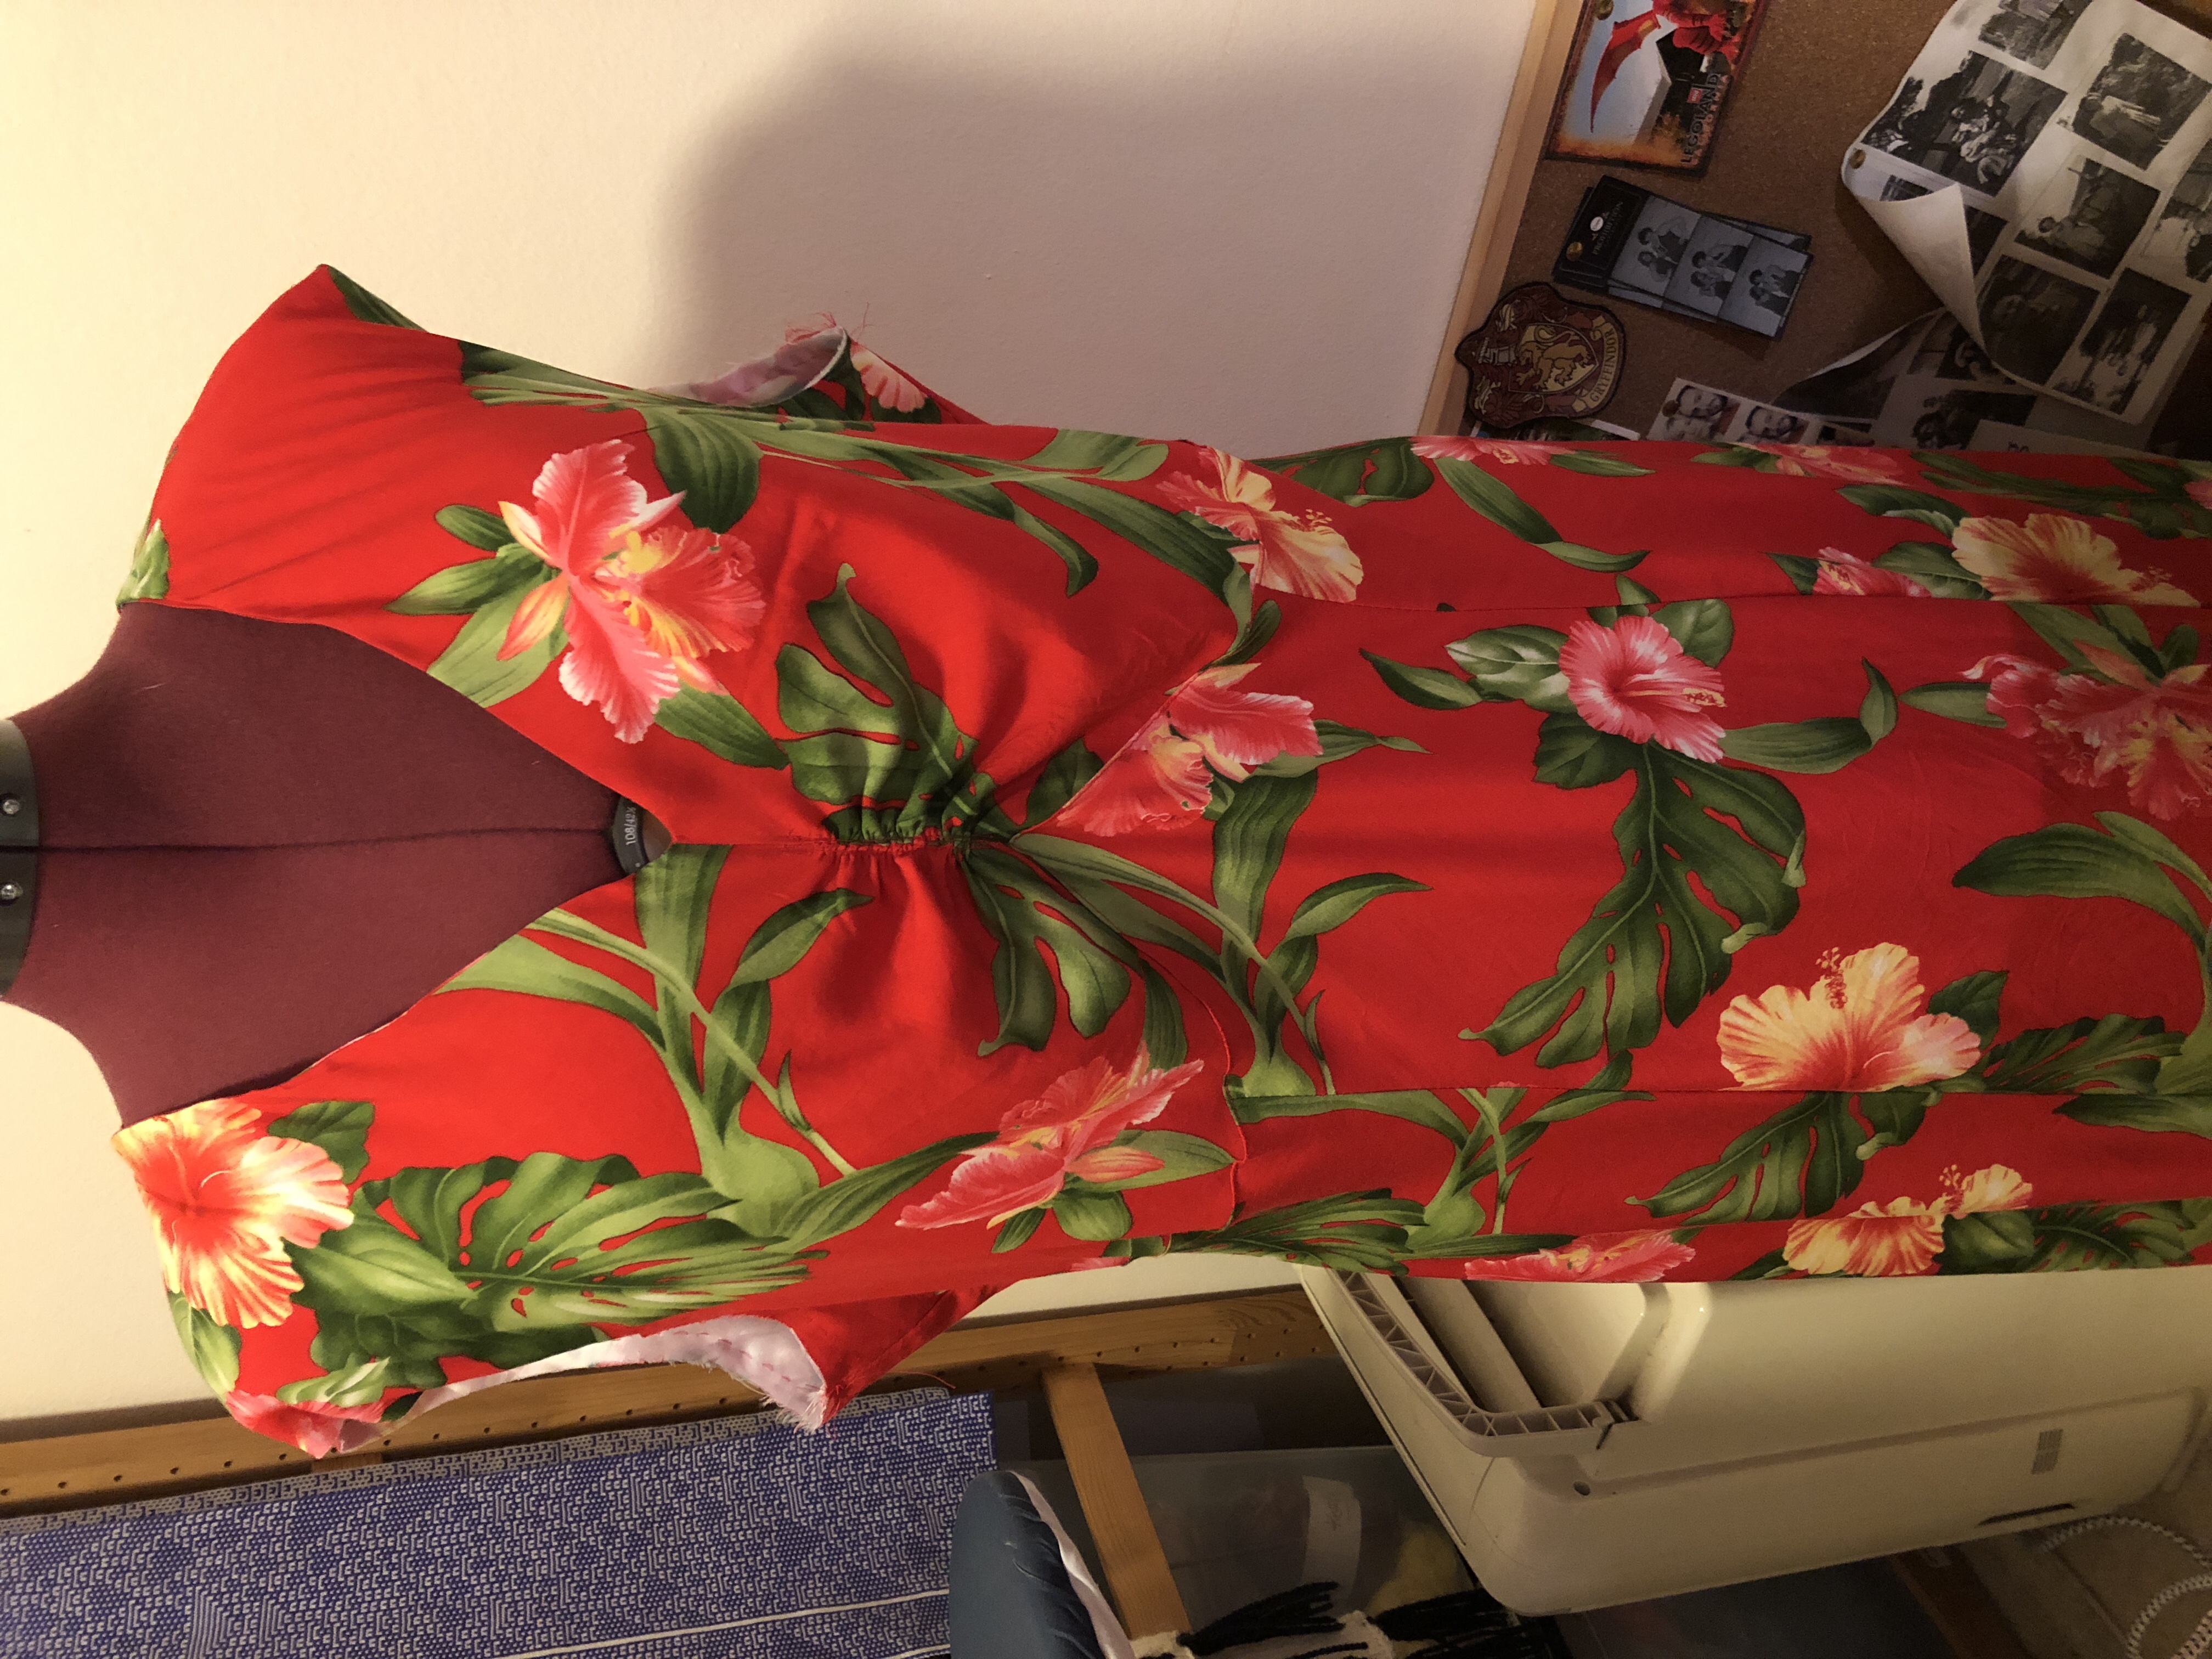
And here’s what it looks like right now. All that’s left is to straighten up the bottom and hem it!
