Feature photo courtesy of Steven Cooper
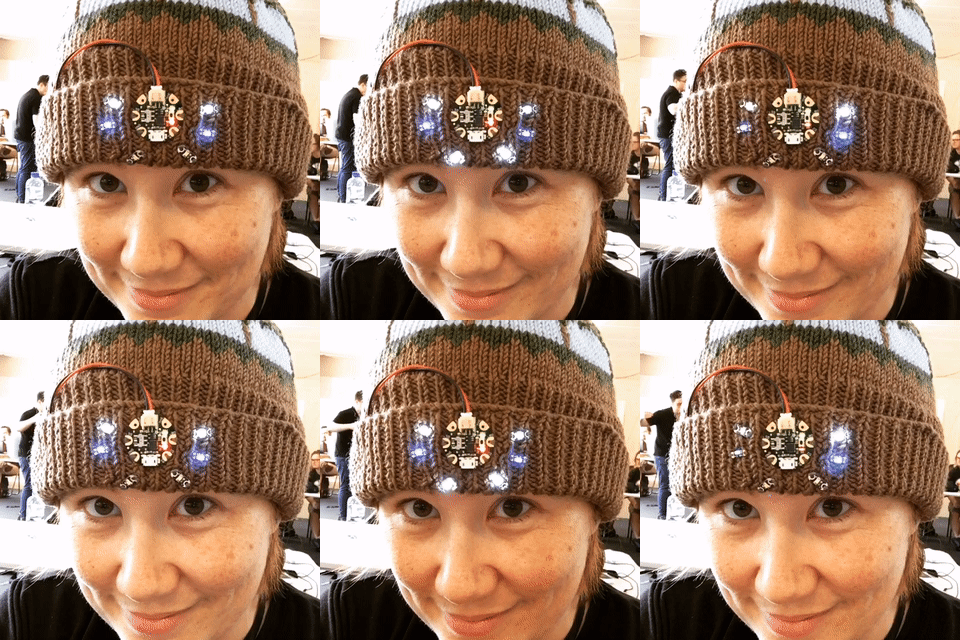
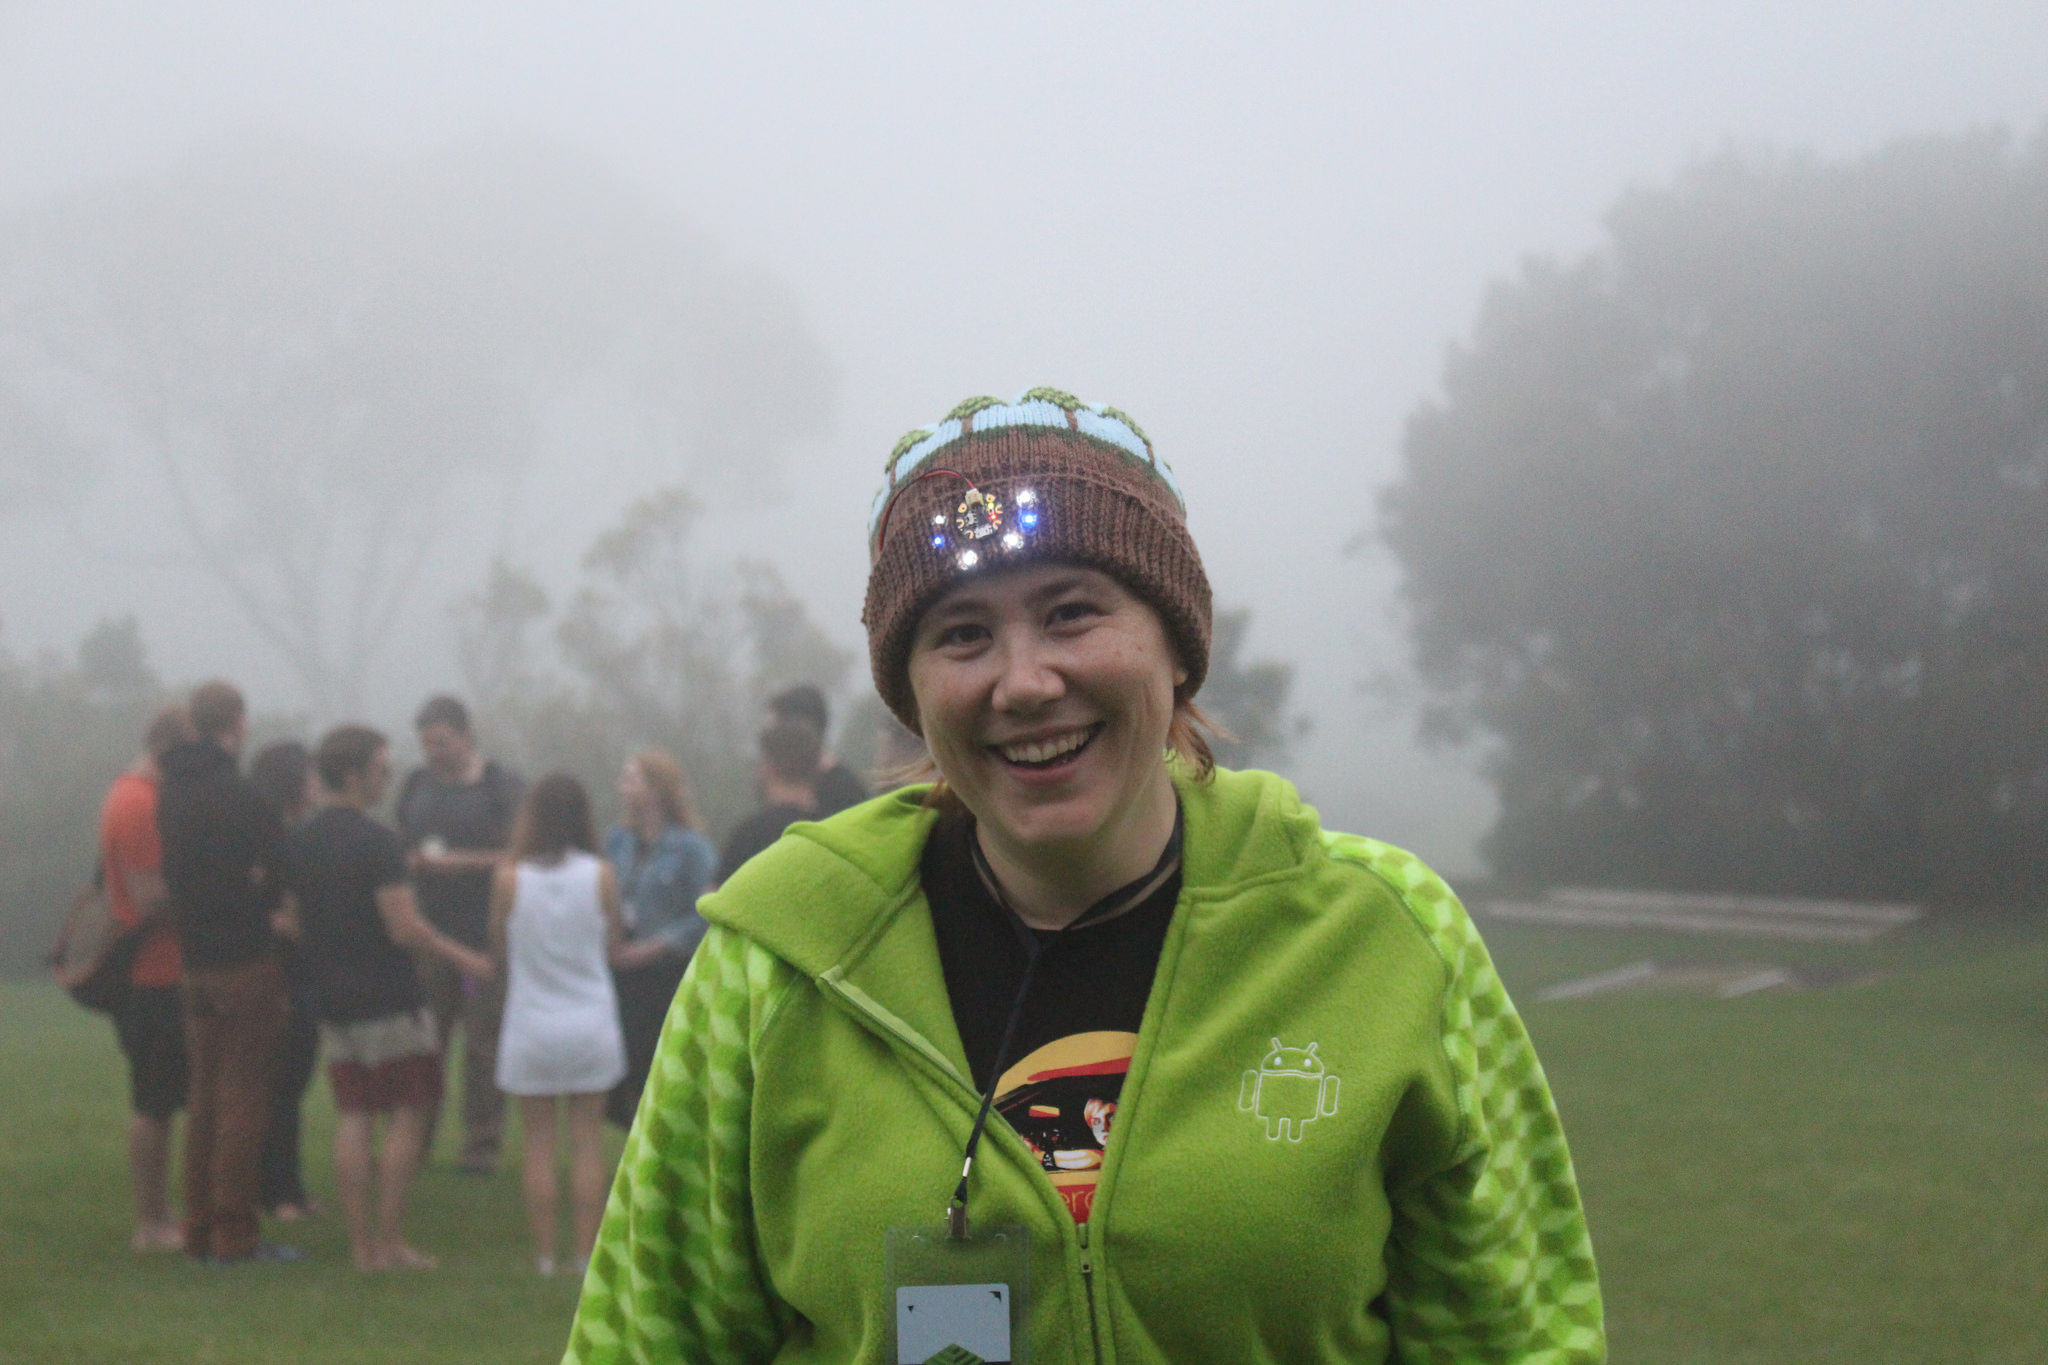
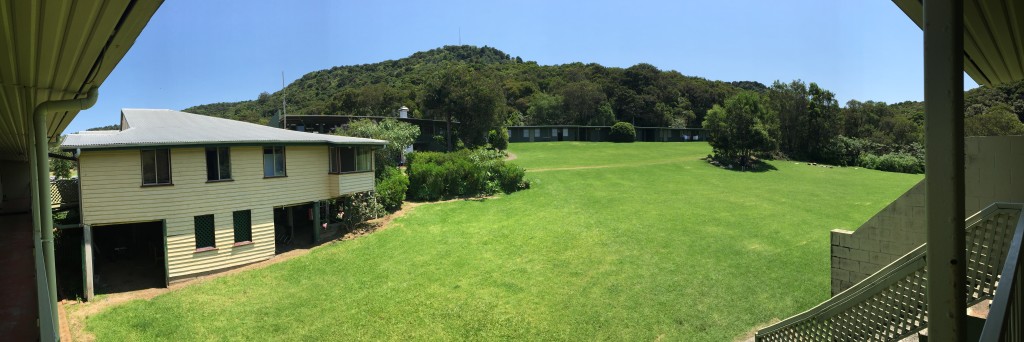
I spent last weekend in Springbook, Queensland at CampJS. This is a four-day conference for anyone interested in web technology held at the Koonjewarre Retreat Centre. My Canva colleague Damon was the organiser, and my other colleague Harley came along as well. On a whim, I’d pitched doing a workshop on “Knitting and E-textiles” a few months before and it turned out to be one of the most popular suggestions. I updated my “Granny Was a Hacker” talk and worked with Damon to order knitting supplies for everyone. Then I had the genius idea to knit a special beanie as my prototype for the workshop, and use a Gemma kit with LEDs (based on this Adafruit project) to add some blinky goodness. It was a big hit! I actually ran through the talk on both Saturday and Sunday. I probably had 20+ people at the workshop, and I kept seeing web developers (mostly men!) knitting for the rest of the event. The Camp itself was great, and I met a lot of fantastic people from across the country. Games were played, goon was drunk, and Wi-Fi was cursed. I highly recommend it.
 The CampJS Beanie
I knitted the hat out of oddments of leftover 8ply Filatura di Crosa Zara. All up, it probably uses about 2 balls worth (with the majority in brown). You’ll also need some 4mm needles, as well as a blunt darning needle. I actually knitted it flat and sewed it up, but I’ve provided instructions for knitting it in the round too. I got the Gemma controller from Little Bird Electronics, along with some LEDs and a coin cell battery holder. (They also sell a “starter pack” with all this stuff plus some conductive thread and needles, if you don’t have any.)
Size: Medium / Large (I knitted the larger size, and it’s roomy for me.)
Requirements: 8ply wool in brown, dark green, light green, and blue; 4mm needles.
 To knit flat:
Using 4mm needles, cast on 121 (133) stitches.
Row 1: K2, *P1, K1, rep from * to last st, K1.
Row 2: K1, *P1, K1, rep from * to end.
Repeat these rows until you have 35 (41) rows of ribbing in total.
Knit 4 rows of stocking stitch.
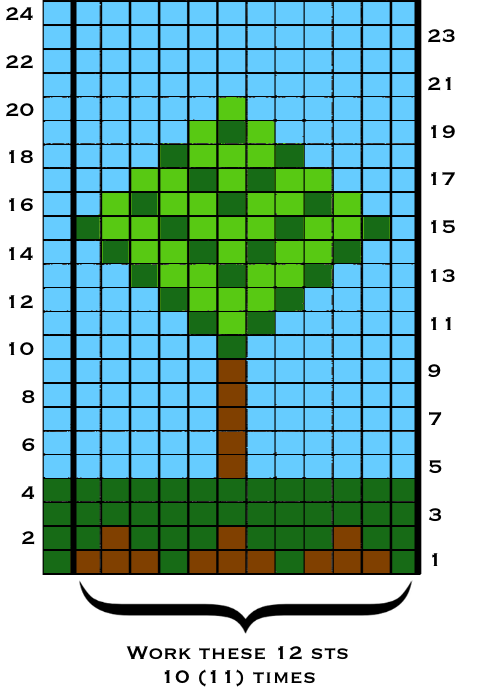
Knit the graph in stocking stitch as shown, working the odd rows from right-to-left and the even rows from left-to-right. For the first two rows, I used the fairisle technique of carrying the wools along the back. I suggest you ignore the tree trunks and use duplicate stitch to embroider them afterwards. For the tops of the trees, I treated them as intarsia and knitted them in solid blocks of light green. Then I duplicate stitched the dark green accents on later. You can this in progress here.
Once you’re done with the graph, switch back to the brown wool and knit two rows of stocking stitch. (You should have the Right Side facing you.) Then begin your decreases:
Decrease row: K1, *K2tog, K1, rep from * to end
Knit 1 (3) rows stocking stitch
K1, *K2tog, K5, rep from * to end
Purl 1 row
K1, *K2tog, K4, rep from * to end
Purl 1 row…
Keep going like this (narrowing by one stitch between the decreases) until you have only 21 (23) stitches left. Then break off the wool leaving a long tail, thread it on your darning needle, and run it through the remaining stitches. Cinch it up tight.
To finish, sew the back seam. (You’ll need to reverse the seam where the brim folds up.) Weave in your ends. Attach your Gemma as shown on the Adafruit website, and load up the provided sketch. When you plug in your batteries and flip the switch, it’ll blink!
To knit in the round:
Using 4mm circular needle or DPNs, cast on 120 (132) stitches.
Ribbing: *K1, P1, rep from * to end.
Repeat this row until you have 35 (41) rows of ribbing in total.
Knit 4 rows.
Knit the graph in stocking stitch as shown, working all rows from right-to-left. For the first two rows, I used the fairisle technique of carrying the wools along the back. I suggest you ignore the tree trunks and use duplicate stitch to embroider them afterwards. For the tops of the trees, I treated them as intarsia and knitted them in solid blocks of light green. Then I duplicate stitched the dark green accents on later. You can this in progress here.
Once you’re done with the graph, switch back to the brown wool and knit two rows. Then begin your decreases:
Decrease row: *K2tog, K1, rep from * to end
Knit 1 (3) rows
*K2tog, K5, rep from * to end
Knit 1 row
*K2tog, K4, rep from * to end
Knit 1 row…
Keep going like this (narrowing by one stitch between the decreases) until you have only 21 (23) stitches left. Then break off the wool leaving a long tail, thread it on your darning needle, and run it through the remaining stitches. Cinch it up tight.
Weave in your ends. Attach your Gemma as shown on the Adafruit website, and load up the provided sketch. When you plug in your batteries and flip the switch, it’ll blink!


