My dear friends Josh and Jamie welcomed their new baby son Taos this year, and I decided that I wanted to make him a little quilt. I’ve had this Moda Fabrics “Mixed Bag” Brushed Cotton charm pack in my stash for a long time, and I realised it would be perfect for a little one. (A charm pack is a set of precut 5”x5” fabric squares, all from the same fabric line so they coordinate.) I started googling to get inspiration and spotted this Building Blocks pattern. I realised that I didn’t even need the pattern; I could just design my own using the same idea.
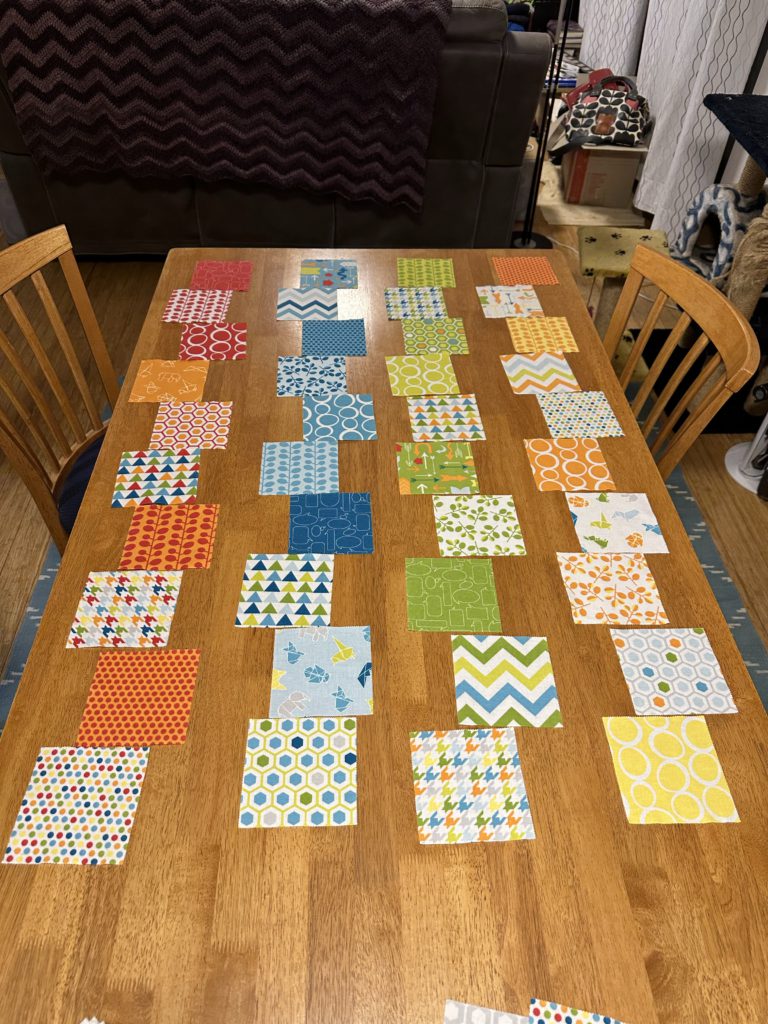
I settled on a design of 4 columns of 10 blocks each against a white background. I played with a few different layouts on my dining room table and got Rodd to give his opinion. I decided to go with the one on the left here, which was organised vertically by colour.

Piecing the quilt top was very quick! I used a plain white cotton for the background, which contrasted nicely with the brushed texture of the blocks. I sewed it together in horizontal rows, making sure each alternating row was offset by using a half block at the beginning or end.
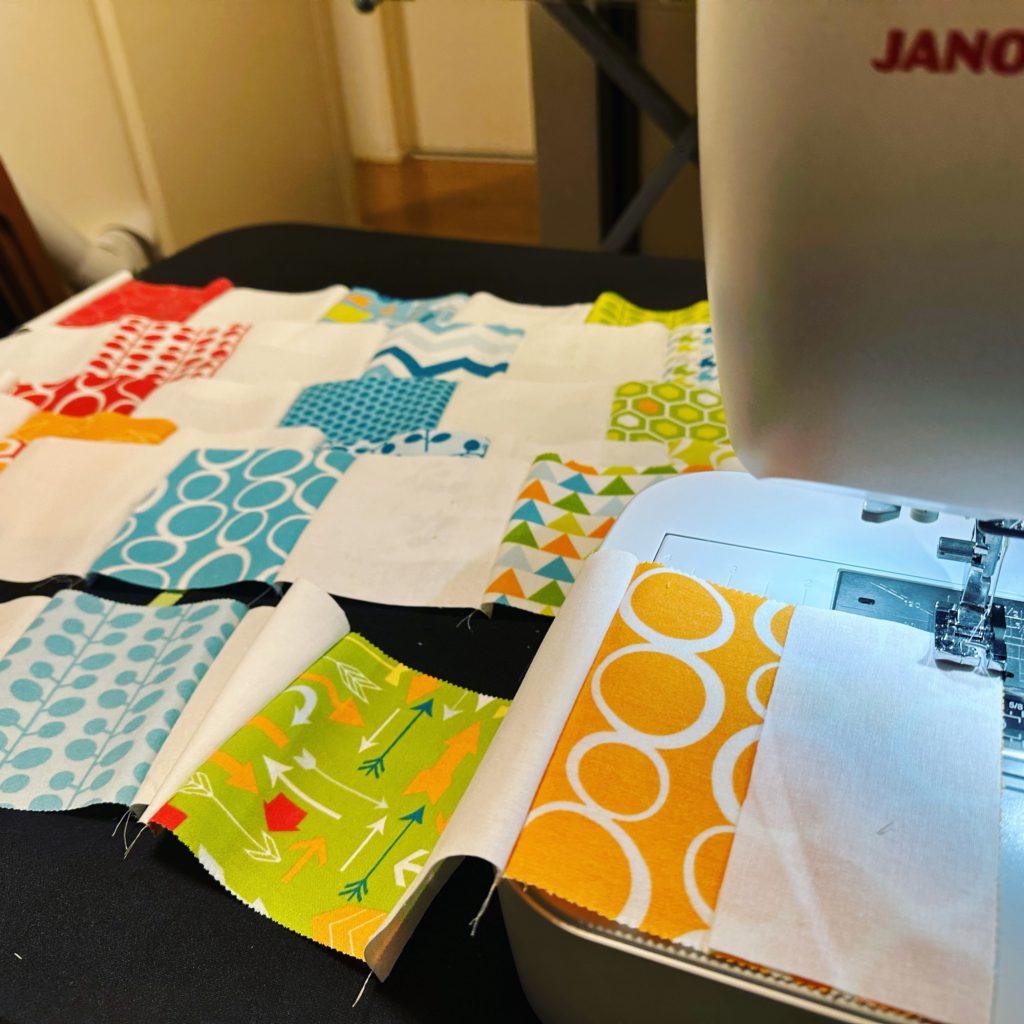
Once I had all the rows done, I simply joined them all together. Charm packs certainly made the process go faster. I had the whole thing put together in less than a day!
The back side of the quilt was more challenging. I thought it would be fun to use another fabric from the line, but it’s so old that I could find very little of it available online. I finally found one of the zigzag prints at the Remnant Warehouse; it’s not brushed but it’s fine. I still had 2 squares left over from the charm pack so I decided to break it up. I inserted a row of white along with the two squares and a plain one with some embroidery. This meant I got to do some playing around with the fancy computerised features of my machine…
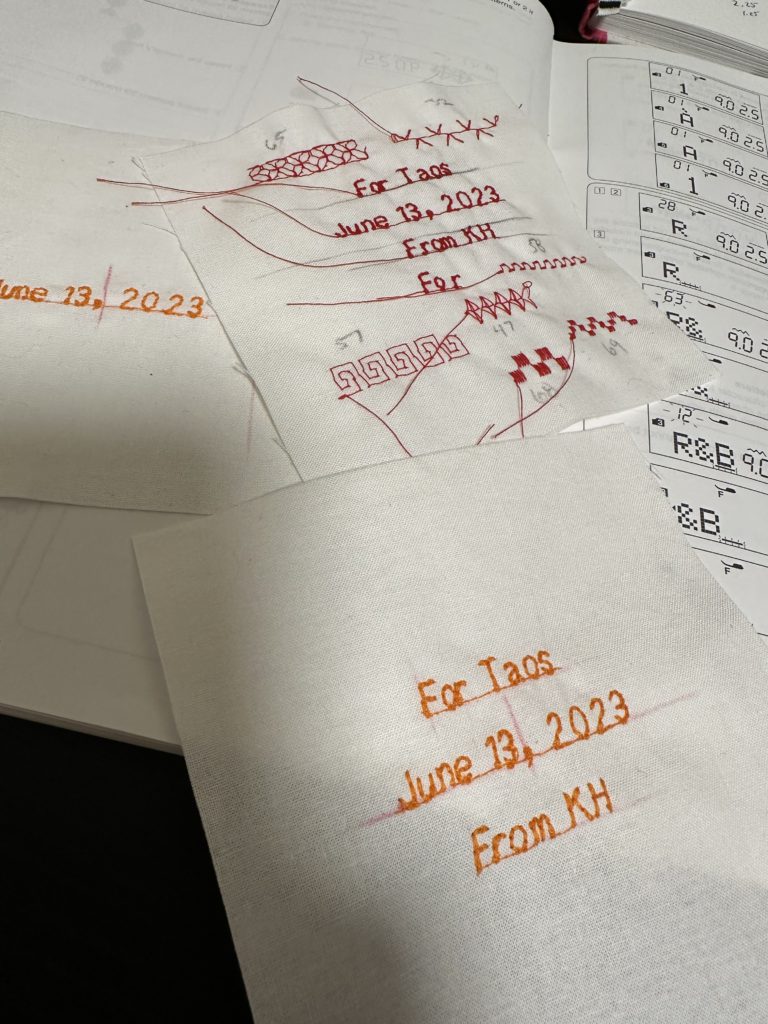
It was a lot of fun, even if the final version still came out a little crooked. I figure that gives it charm. 🙂
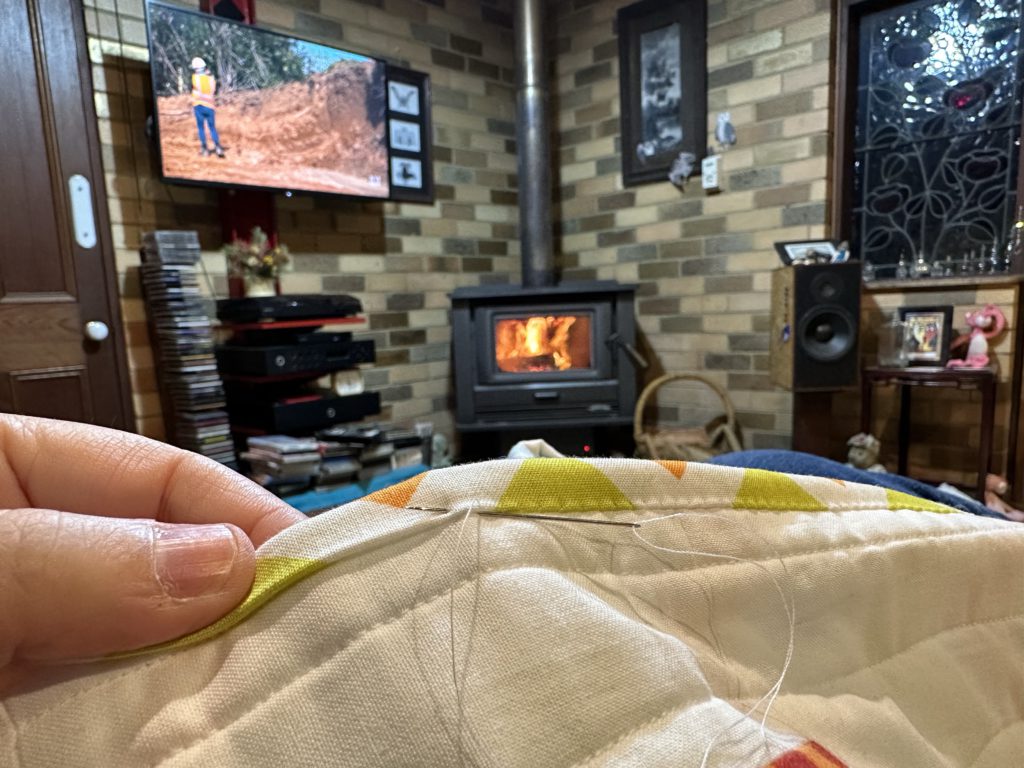
For the quilting, I sandwiched the front and back with a thin cotton wadding. (It’s too warm in Sydney for anything else.) I decided on long vertical lines but I deliberately made them a bit wonky and wandering. I thought that tied in nicely to the “wobbly blocks” theme I had going on. Then I used more of the backing fabric for the binding around the edge. I had fun doing the final slip-stitching by hand up at the Snook homestead in front of the fire.
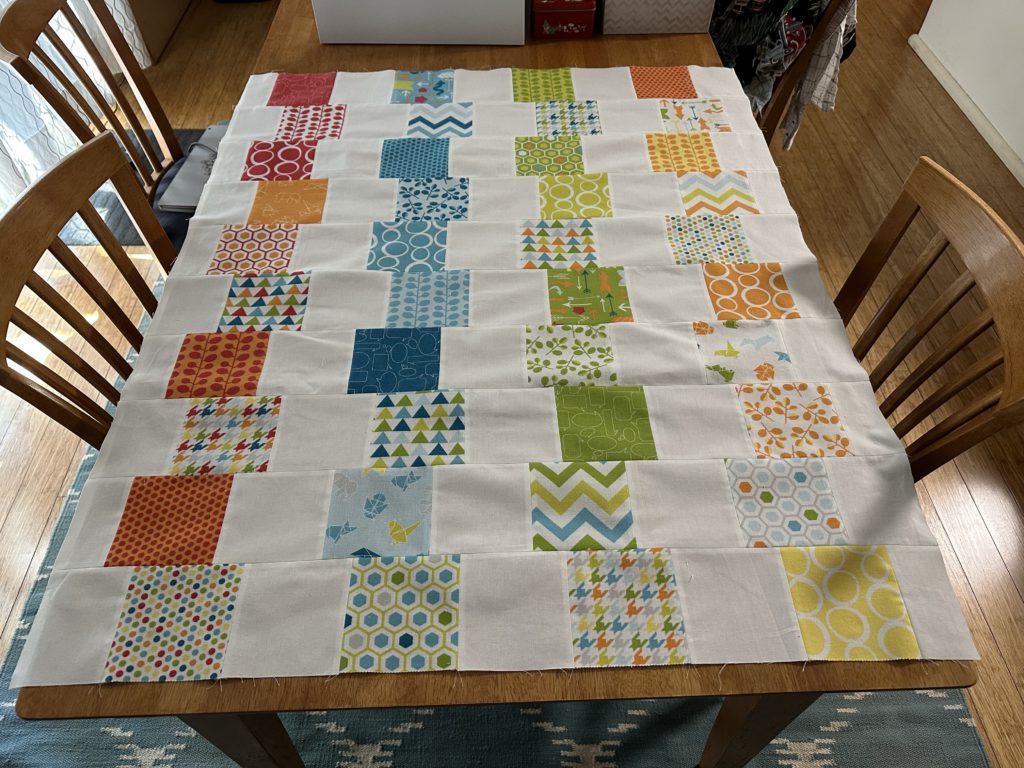
Here’s the final quilt front:

And the back (I put a little “handmade” label on as well):

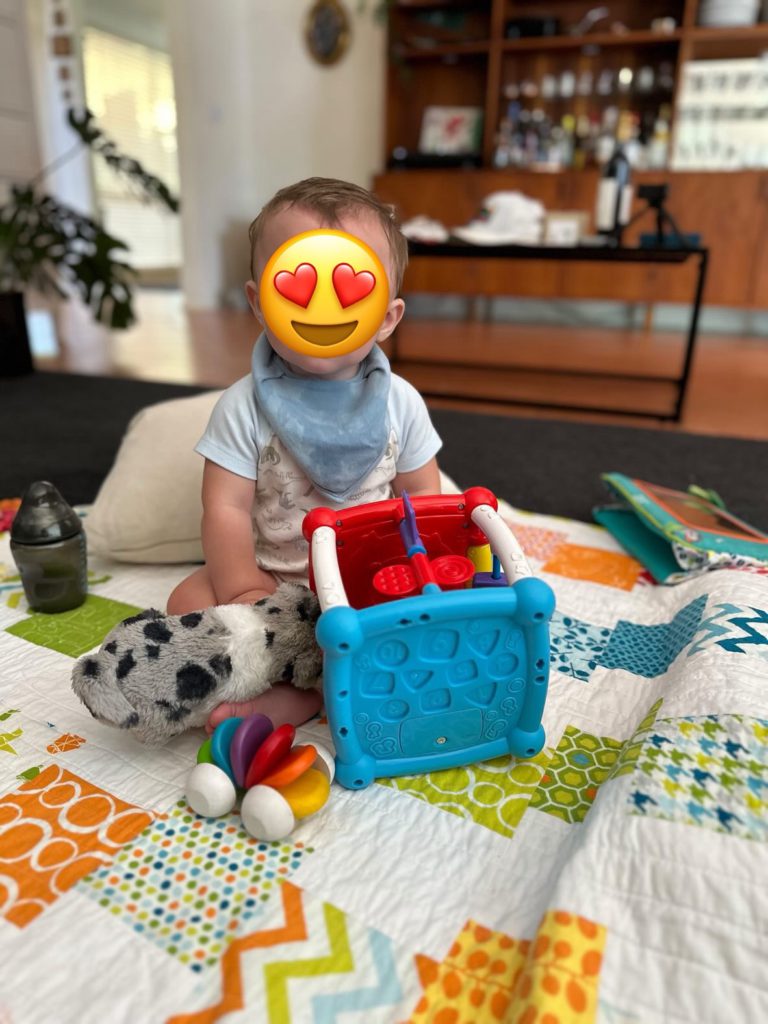
We met up with Josh and Taos in November and I got to give them the quilt. I told Josh my Mom’s standard Quilt Gift Rule: it comes with lifetime repairs, but only if you actually use it! Josh later sent me a photo showing baby Taos having a play on his new blanket. ❤️