One of the hardest skills for new knitters to master is recognising and fixing errors. If you catch something quickly, you may be able to just un-knit (or “tink“) the last few stitches and fix it. But if you spot it a few rows later and you can’t face the thought of tinking all those stitches, you’ve really only got a few options: you can pull the needle out and rip several rows, but then you’ve got to pick all the live stitches back up. This can take a while, and depending on how thick/thin and fuzzy/smooth your yarn is it can be a real chore. (If you’re knitting anything complicated like lace where you have a high change of screwing something up, it’s highly recommended to put in lifelines every so often.) The other commonly used option is the nuclear one – ripping out the whole project and starting over. If you’re near the beginning, this may well be the fastest method.
But there is another way. Let me illustrate.
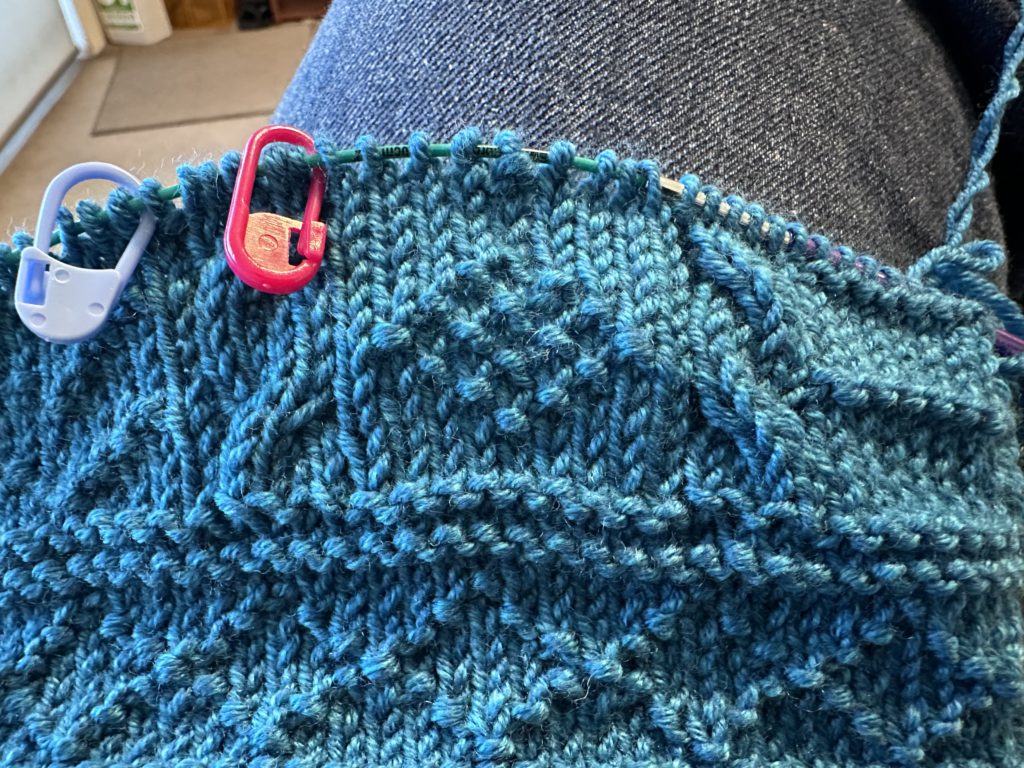
I spent a big chunk of hours yesterday working on a baby sweater. The body is stocking stitch, and then the top half has a pattern with columns of cables and garter stitch motifs. Here’s the photo I took at the end of the day:
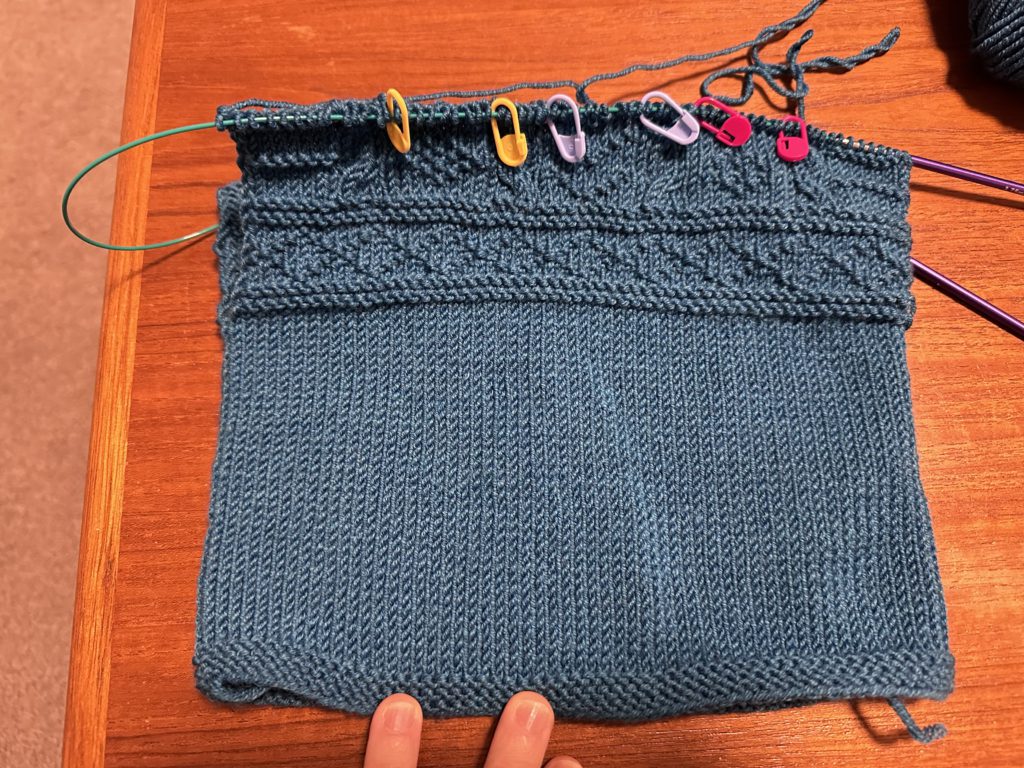
When I was looking at the photo, I suddenly realised I’d screwed up one row of the pattern. Can you spot the mistake? Here I’ve isolated the two diamond motifs, outlined by the yellow and red stitch markers:
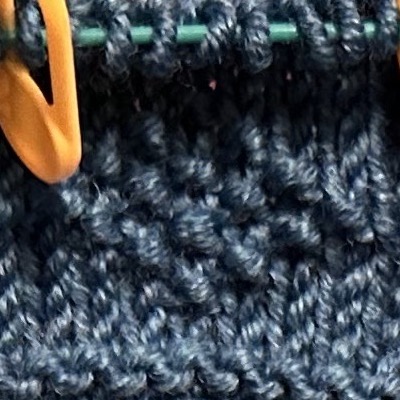
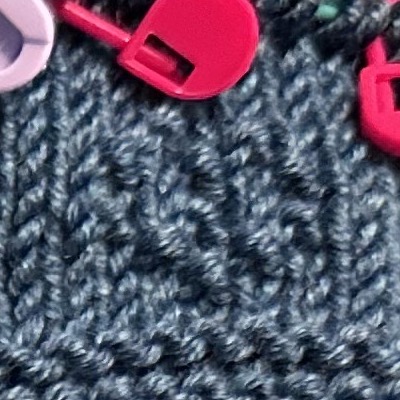
Even if you’re not a knitter, you can probably spot that they don’t match. I’ve somehow missed 4 purl stitches right through the middle of the motif on the right, which include the points at either side of the diamond.
The error occurred like 8 rows back, and while this yarn (Morris & Sons Empire 8ply in Aquamarine) would be relatively easy to pick up if I frogged those rows, reknitting the motifs would be a pain… and I’d be just as likely* to make a mistake again. So I decided instead to use the surgical method of dropping just the columns of stitches with the missing purls to correct them.
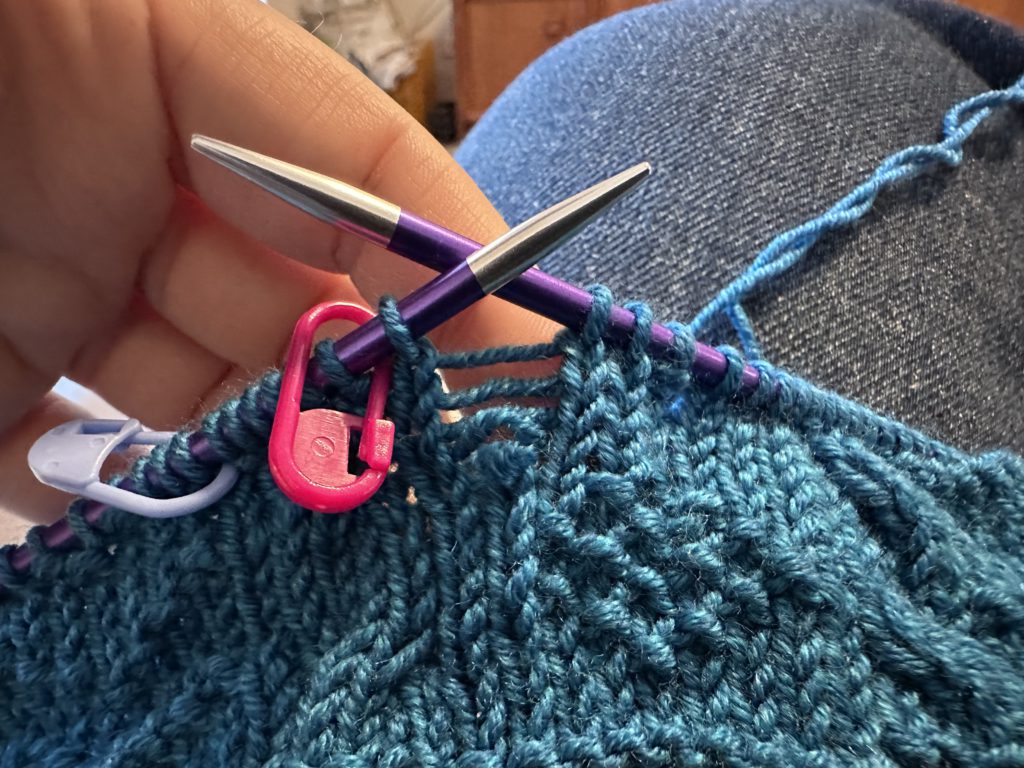
I don’t think this technique has a pithy name like tinking or frogging, but it’s often called “laddering down”. To illustrate, I’ve fixed 3 out of the 4 missing purls already and this photo shows me ready to correct the last one, the missing point of the diamond on the left. I’ve highlighted it in yellow. That knit stitch (looks like a V) should be a purl (looks like a horizontal bump). I’ve also shuffled my stitches around so that the column of stitches with the error is at the end of my left needle.
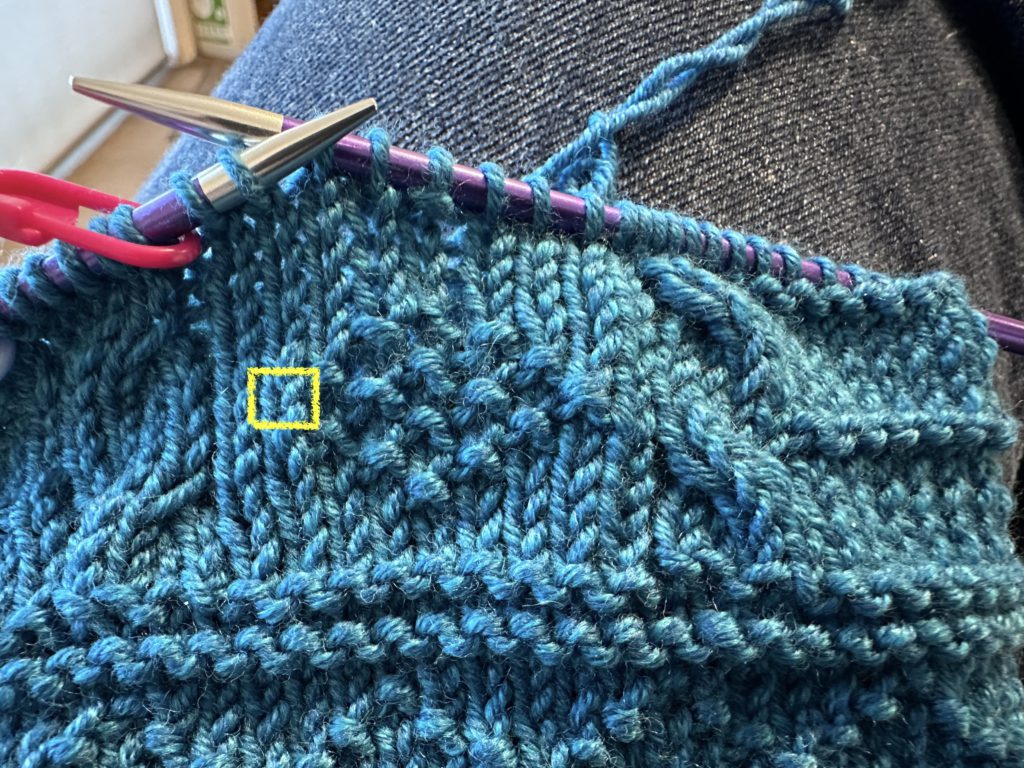
Now it’s time to drop that stitch and allow it to “ladder down” to the spot of the error. (It’s called laddering because each row you undo leaves a horizontal bar.) This wool likes to stick to itself, so I encouraged it where needed with the use of a spare needle.
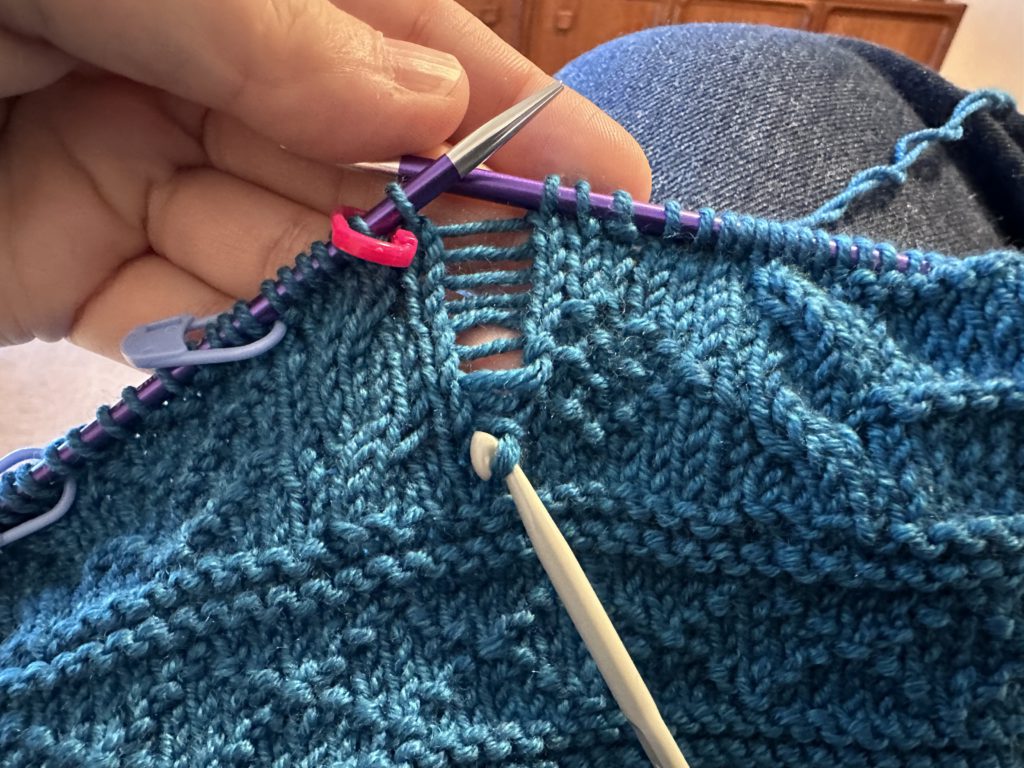
And here it is, down to the spot of the error. I’ve caught the live stitch that needs to be fixed with a crochet hook.
Now it’s just a matter of changing this knit to a purl, and then working my way back up the ladder again. For each stitch, you pull the lowest rung of the ladder through the current live stitch. For knits, you go in from the front and pull the ladder through from the back. For purls, you come in through the back and pull the ladder through from the front. You can use spare needles for this, but a crochet hook makes it really fast. (The photo below looks like I’m about to knit the stitch, but rest assured I moved the hook around to purl instead.)
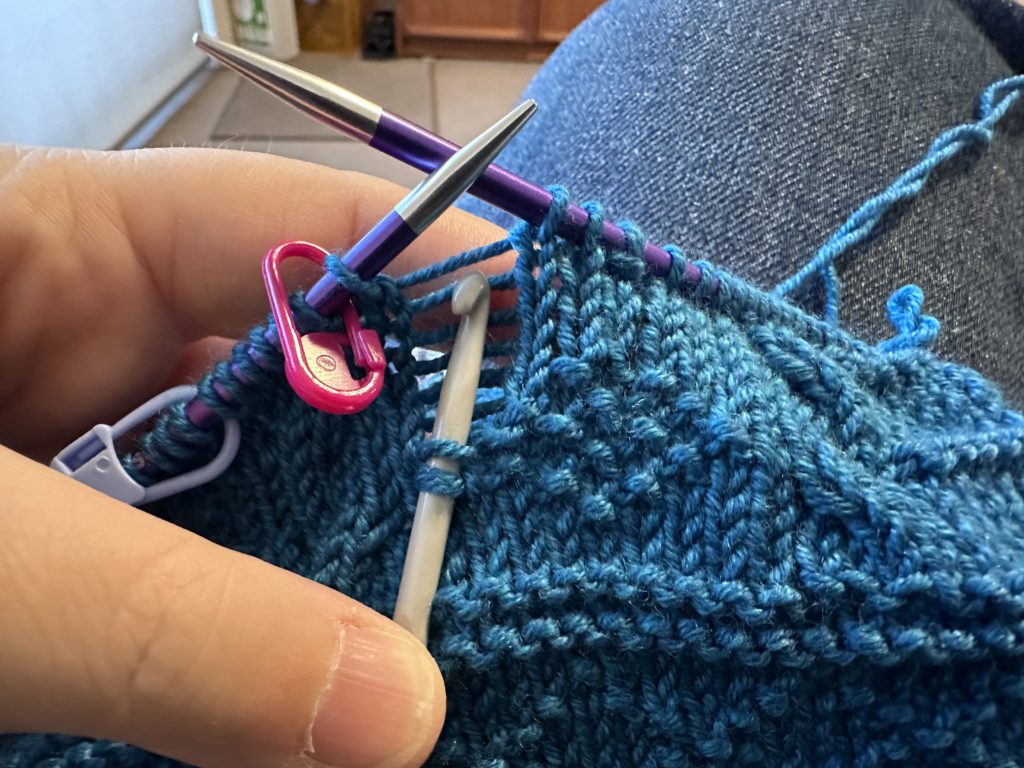
Here it is halfway along, showing the corrected purl and then the column of knit stitches above:
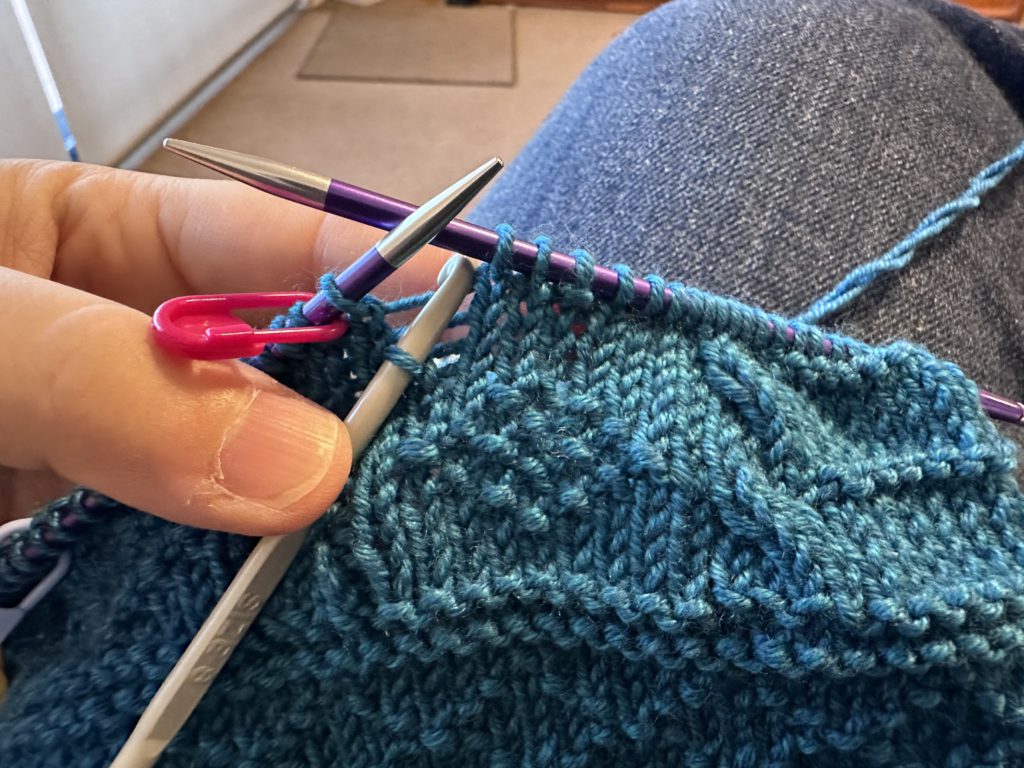
I made a short video showing the last couple stitches:
And here’s the completed motif after the repairs:
The only tricky bits are making sure you don’t drop down too many rows, and ensuring you don’t skip any rungs of the ladder on your way back up. I’ve even used this method to fix miscrossed cables! (Just drop down all the cable stitches, catch the live stitches on a spare needle, rearrange them correctly for the cross, and then ladder each one back up.) This technique can result in some wonky tension either side of the repaired column of stitches, but I find that a couple tugs on the work will fix it (and it’ll resolve itself during blocking anyway).
Much faster than tinking or frogging!
* The reason I made the mistake is that the damn pattern is an older one and it’s written out row-by-row without a chart. A chart would have taken up way less space and allow me to visually check for errors must easier. 😠 But this is something I’ve ranted about in the past…
