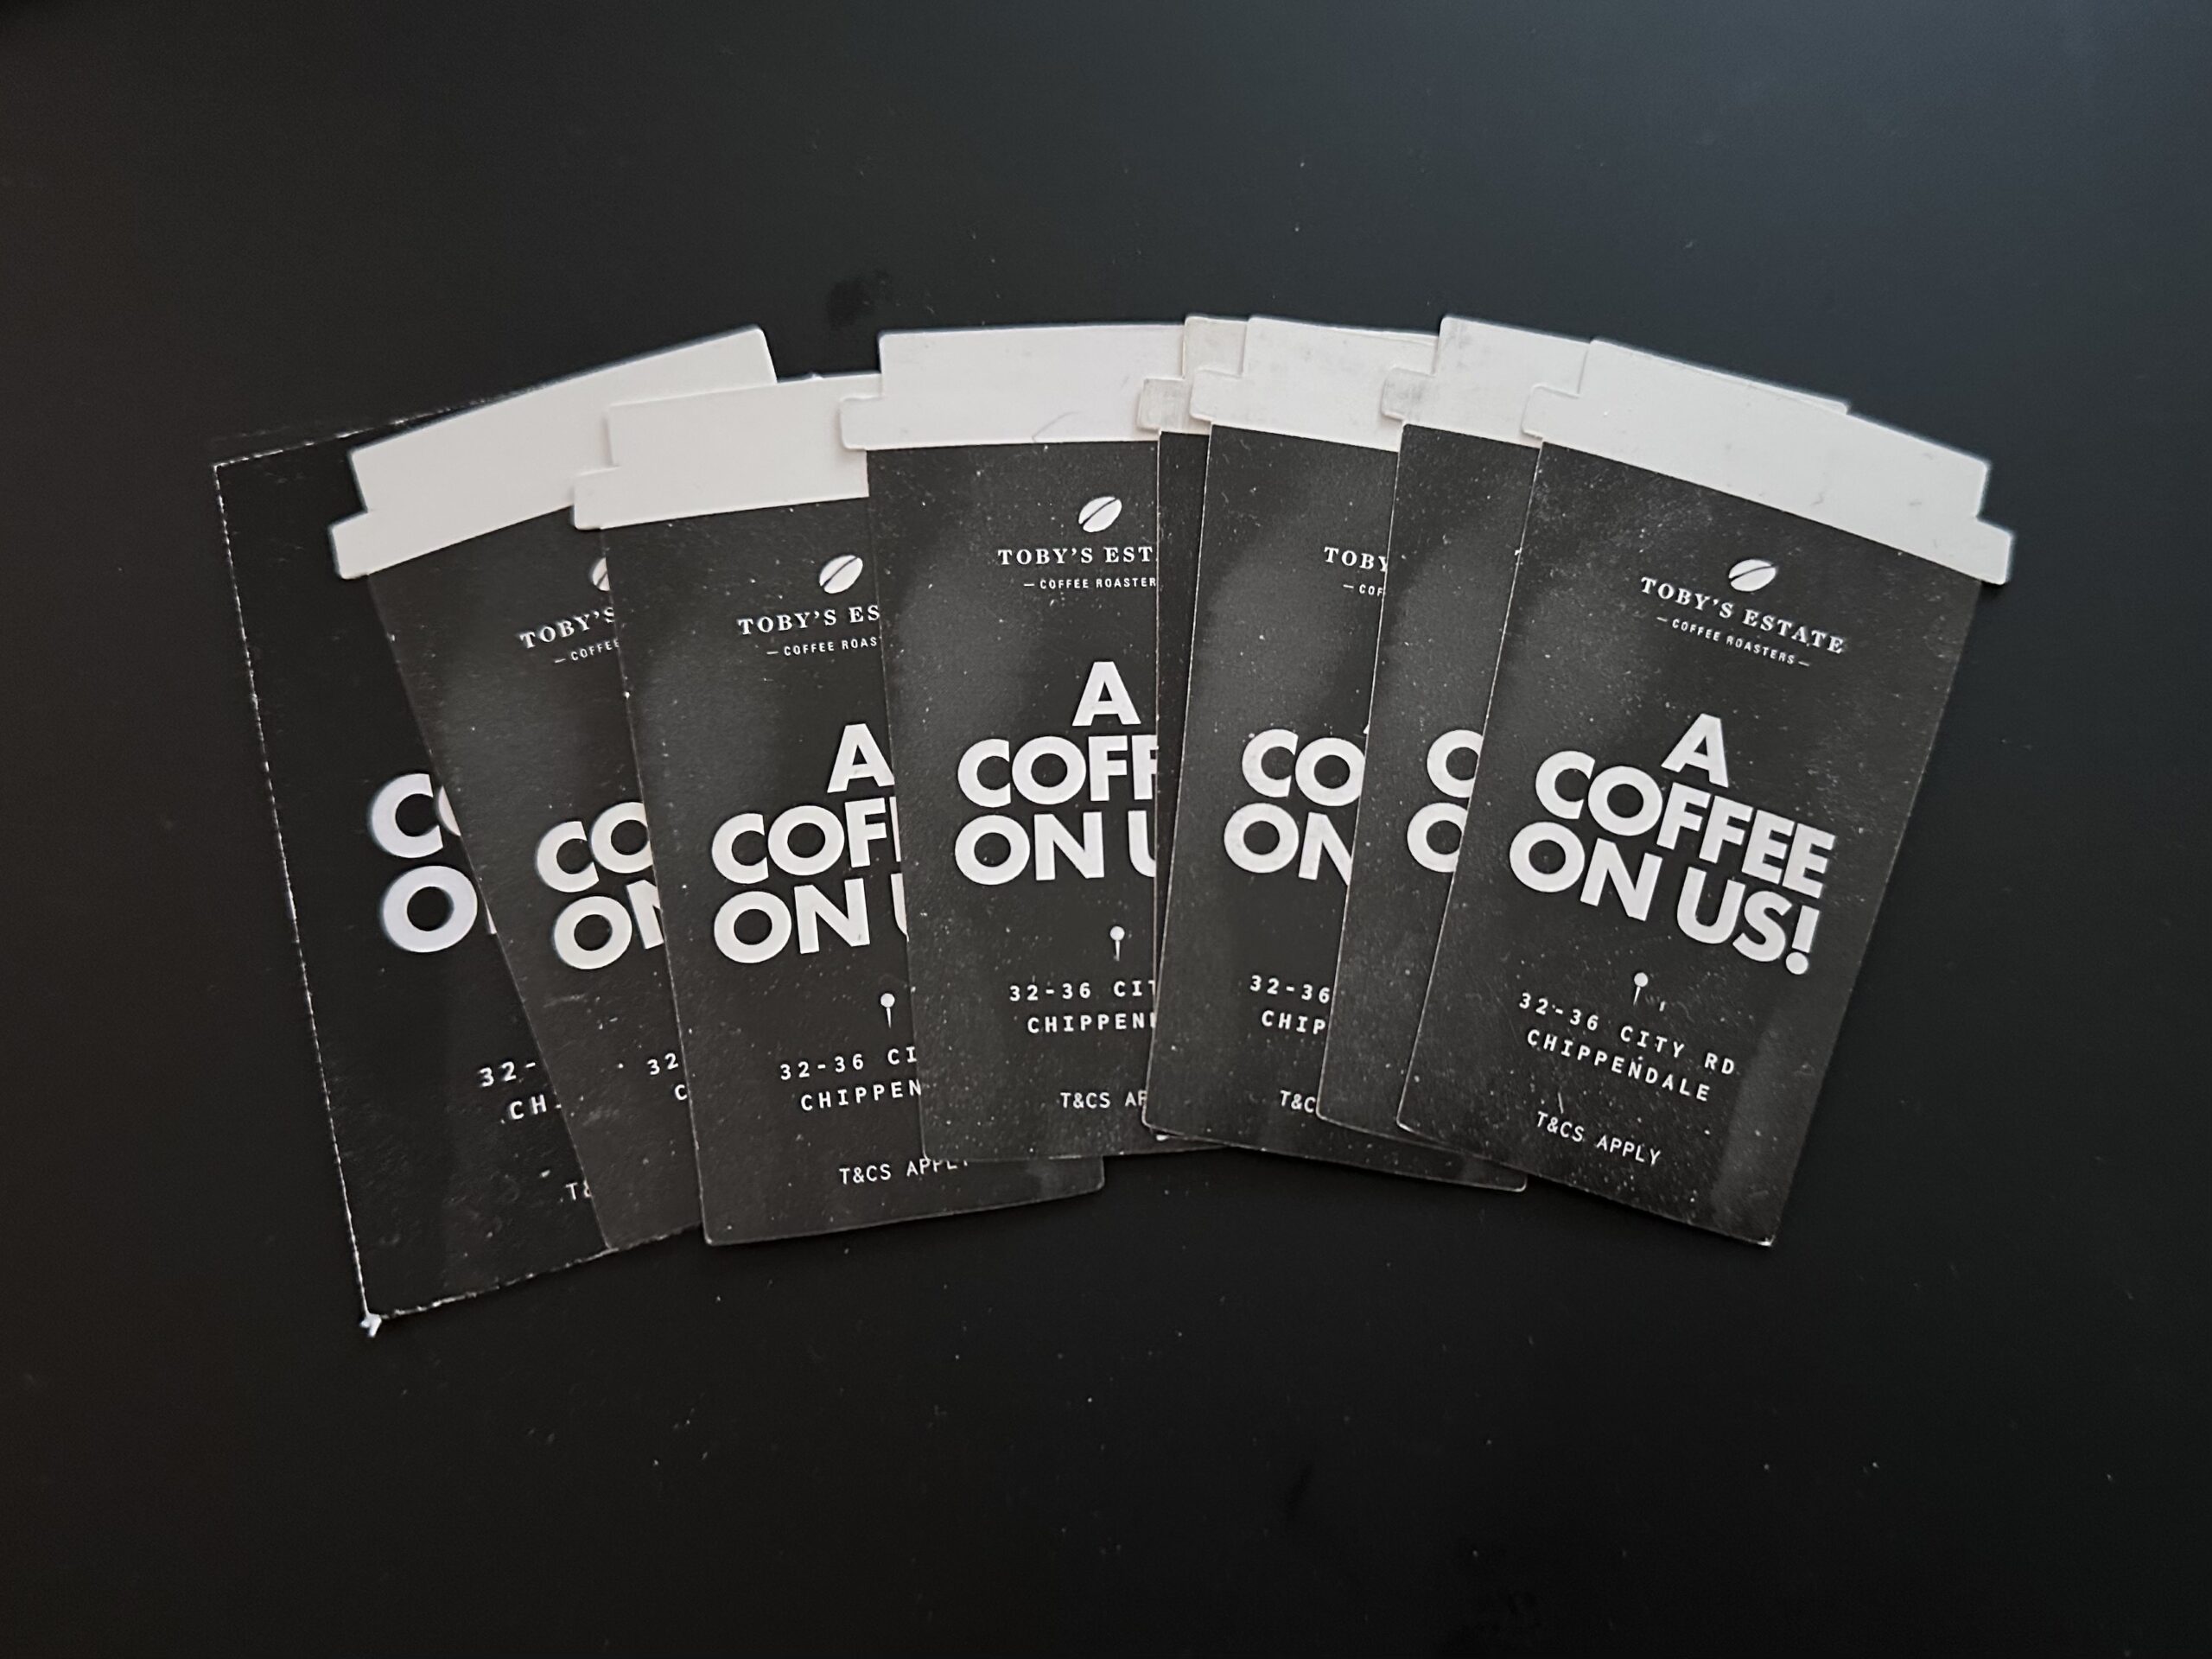
I’ve caught a cold so I had to pull out of a planned trip to visit the in-laws. While I will be without my in-house barista for 3 days, Mr. Snook has ensured that I will not lack for caffeine. (Toby’s gives you a voucher every time you buy a bag of beans.)
Author: Kris
-
Happy anniversary, part 2
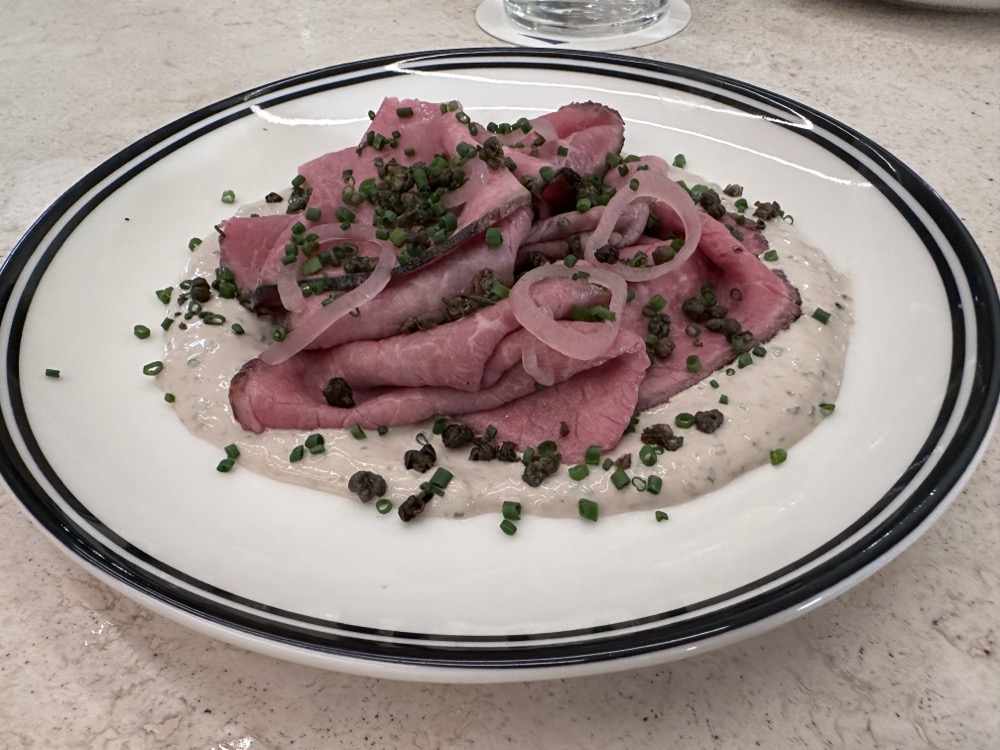
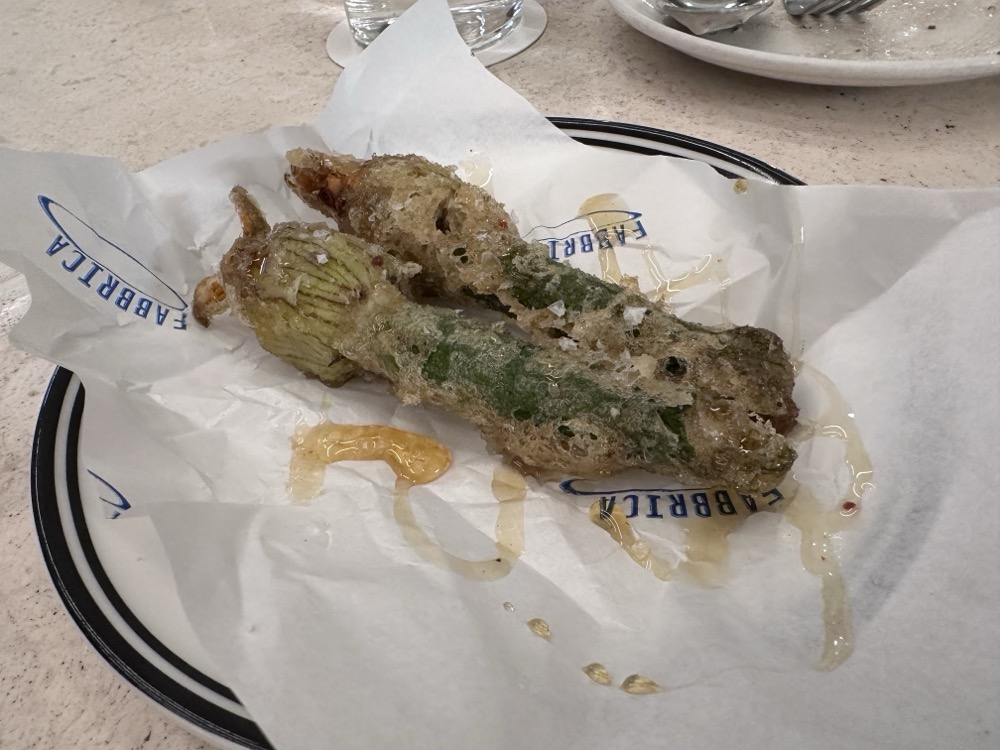
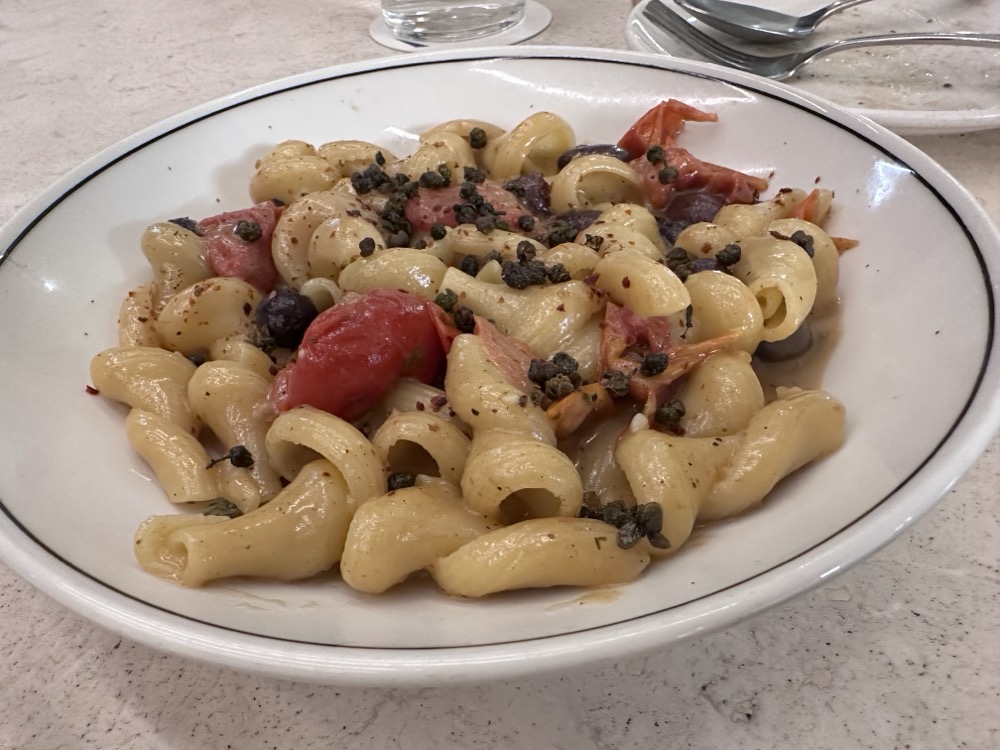
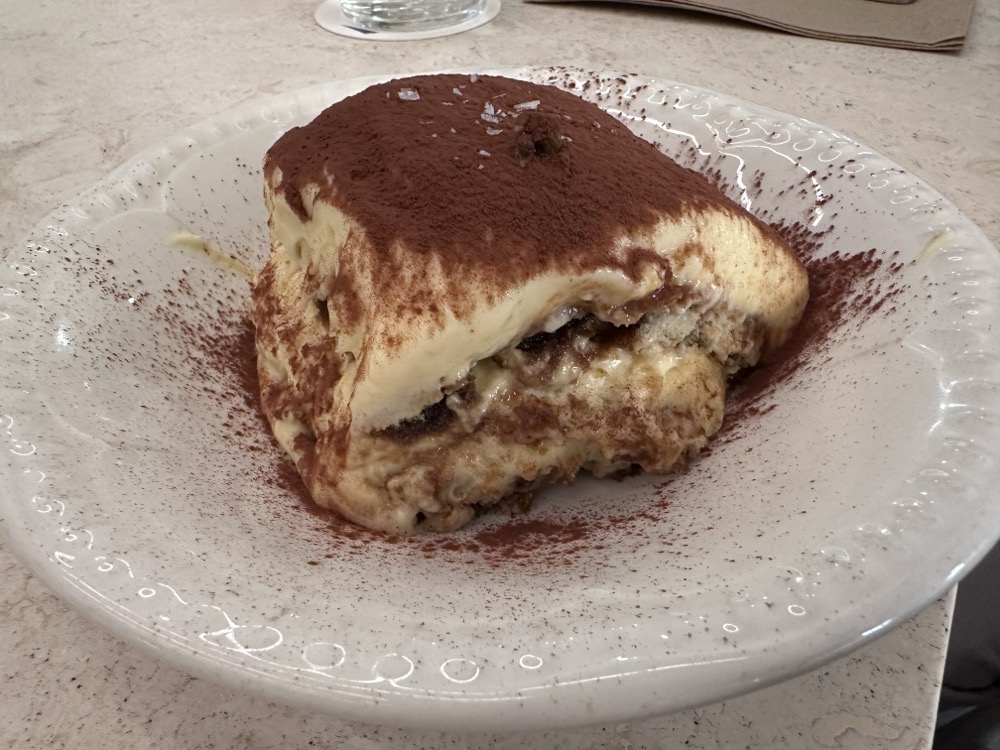
Since we had to get dressed up for an event in the city tonight, we took the opportunity to finally check out Fabbrica for dinner afterwards. We shared the wagyu tonnato, deep-fried zucchini flowers, trottole puttanesca, and hazelnut tiramisu. Everything was very, very good.
-
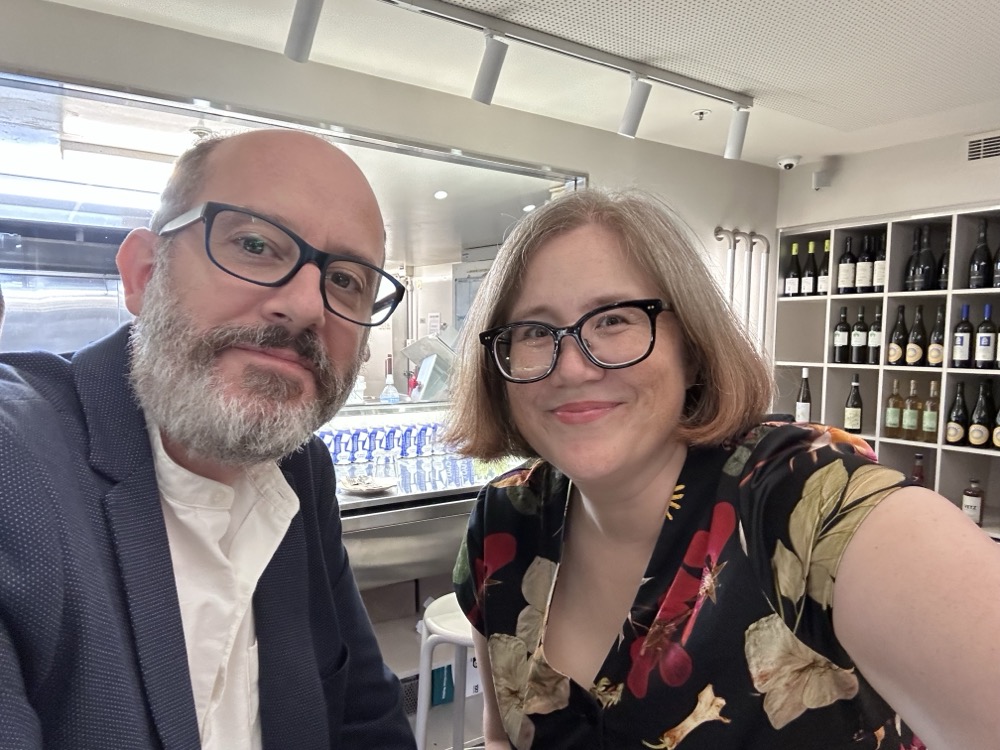
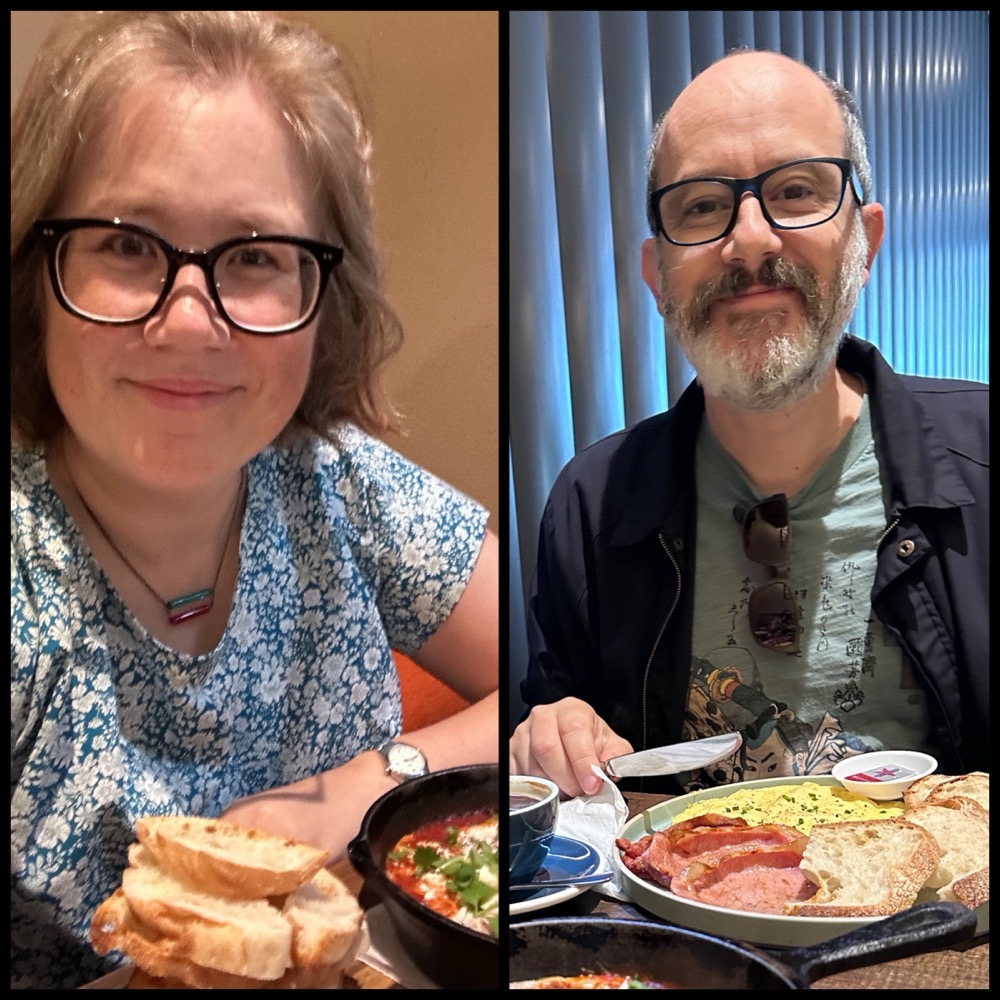
Happy anniversary!
We went out for breakfast to celebrate the fact that 24 years ago today, two silly, shy, impossibly young web developers got drunk enough on vodka-Redbulls at the Leopard Lounge in Fulham to confess their mutual crushes and have a pash on the dancefloor. ❤️
-
A tale of two dresses 👗👗
Earlier in the week, I popped into Made590 to pick up a couple shirts… and whoops, a new Liberty dress was right there. It was Tana Lawn and it felt like silk, and I looked great in it. 😍
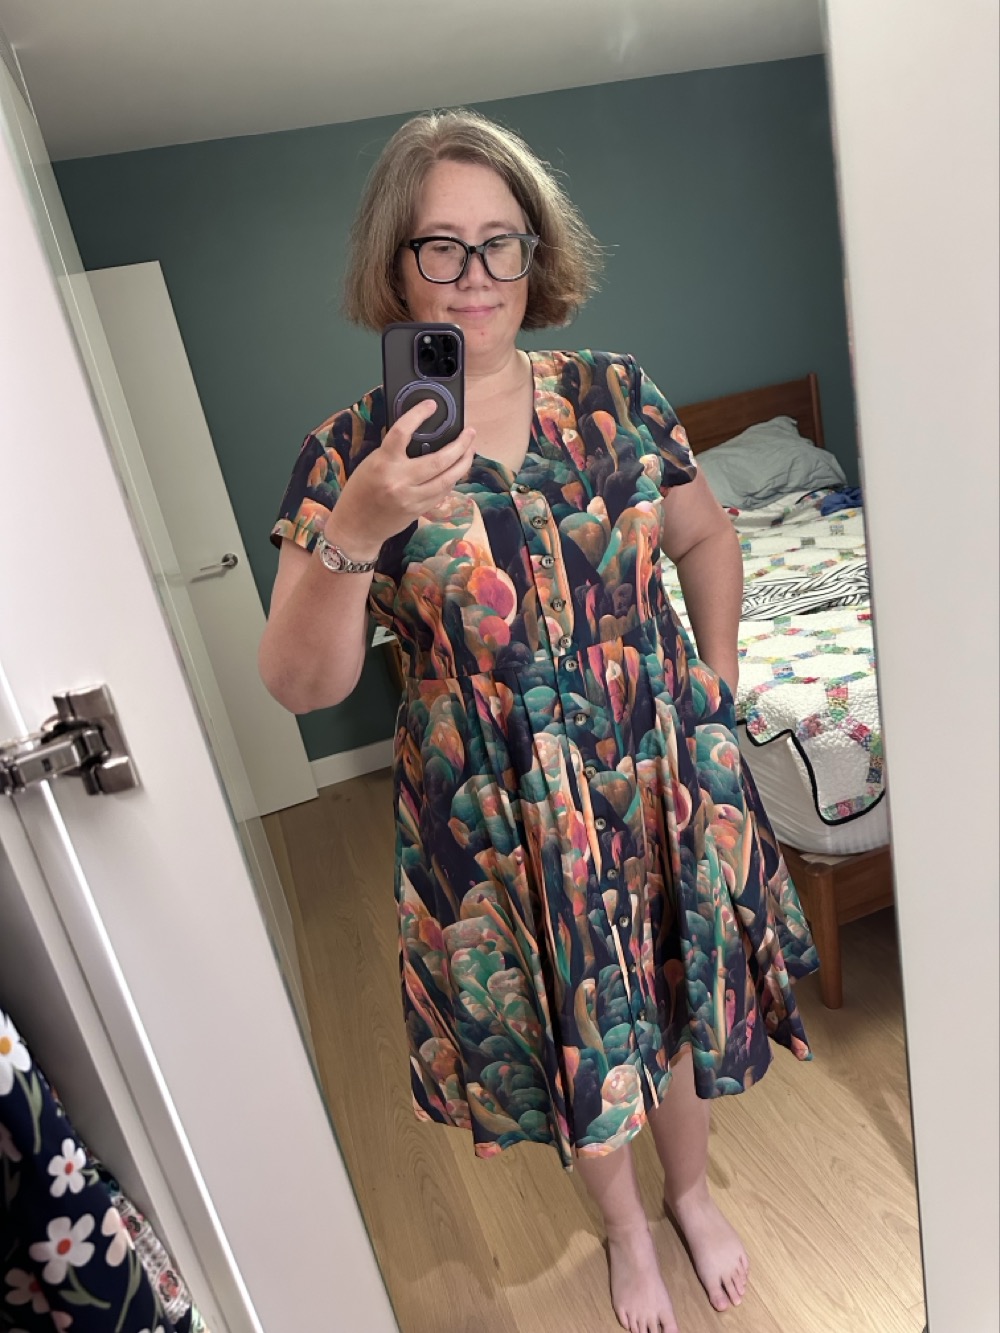
I sent the photo to a couple friends, and one of them went by a few days later to pick one up for herself. That night she said, “You know it’s AI-generated, right?”
Wait, what? Liberty of London? The famed 150-year-old “purveyor of craftsmanship,” that prides itself on its “dedicated in-house design studio” who are responsible for “hand painting and creating our beautiful prints”? THAT Liberty of London?
Yep, them. Check the “Editor’s Notes”:
For Avalon Scenes, the design studio approached Tom Furse, an artist and musician who specialises in creating artwork with AI in controlled environments. Harnessing the cutting-edge potential of AI technology, this design conjures a display of surreal landscapes morphing into psychedelic flower forms…
Well, that sucks. I had a good long think about it. It really is a lovely dress. I am not against algorithmic art entirely, and I can see cases where I’d be fine with this – like if the model was trained only on Liberty’s pattern archive. But I could find zero mention of the technology used, not on Liberty’s site or the artist’s website or Instagram. (The artist is actually a musician that seems to dabble in AI, so I doubt he’s training his own models for this.) I contacted Liberty through both their website and Facebook page to ask for details, explaining that I was concerned about whether the model used for their AI-generated fabric was trained on any stolen artwork, and how the environmental impacts of the project lived up to Liberty’s stated corporate social responsibility goals. I got a reply back asking “Which AI-generated fabric specifically are you asking about?”
Not good.
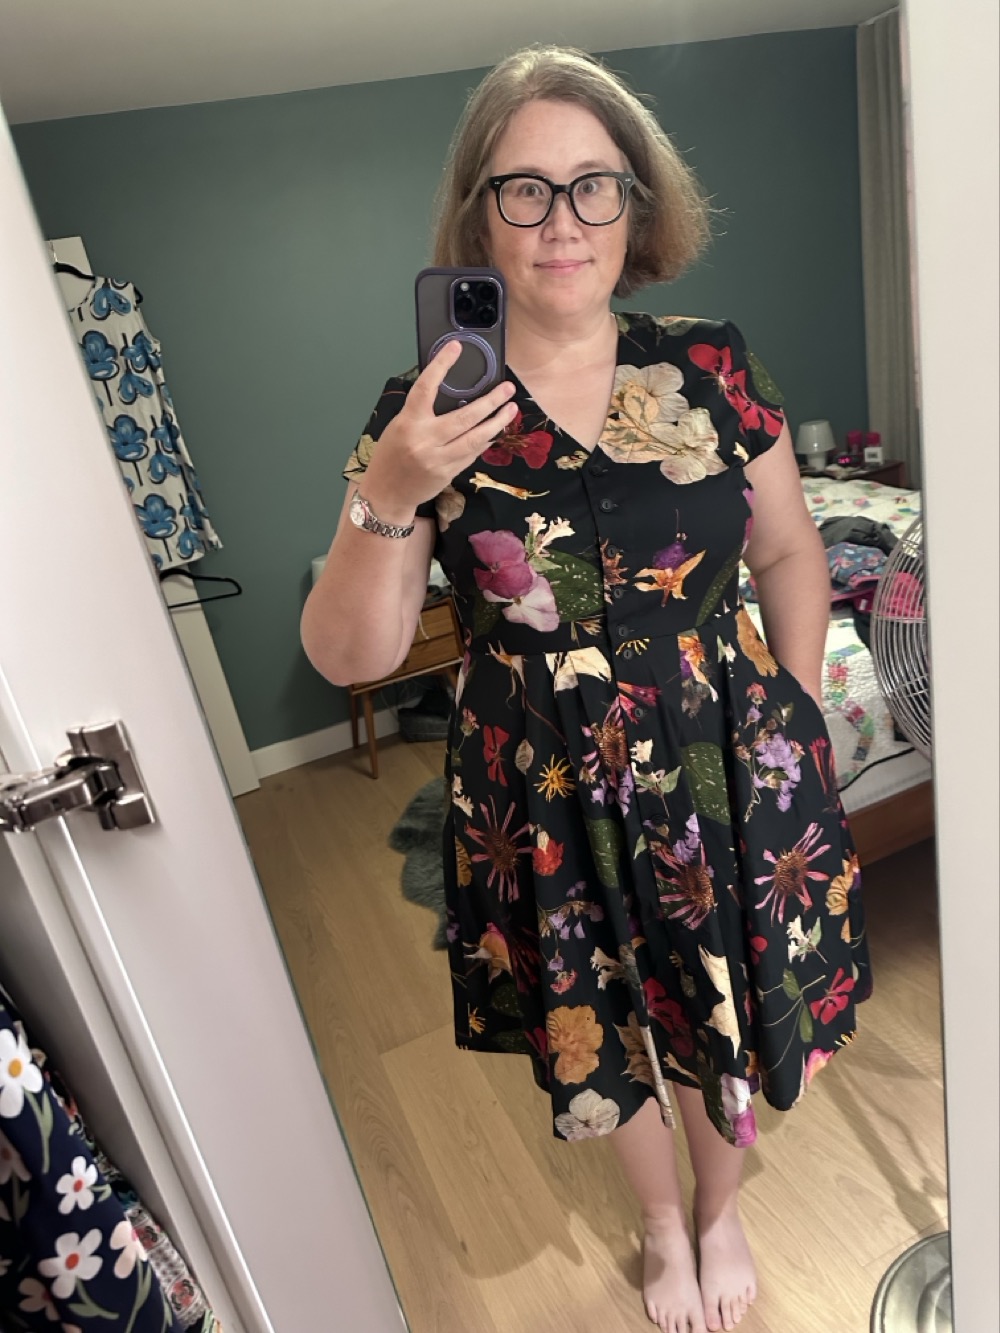
I decided to return the dress today for one featuring Australian plants photographed straight from the shop owner’s garden. Made590 were lovely about it, and I can’t fault them – most people wouldn’t feel as strongly about this as I do. But right now I’m in the “no ethical use of AI” camp, and I’d rather pay artists for their art. I’m so disappointed in Liberty – ACTUAL LIBERTY OF LONDON – jumping on the AI trend bandwagon. Ugh. I’ll update if they ever send me the details, but for now I feel a lot better about my pretty new dress.
-
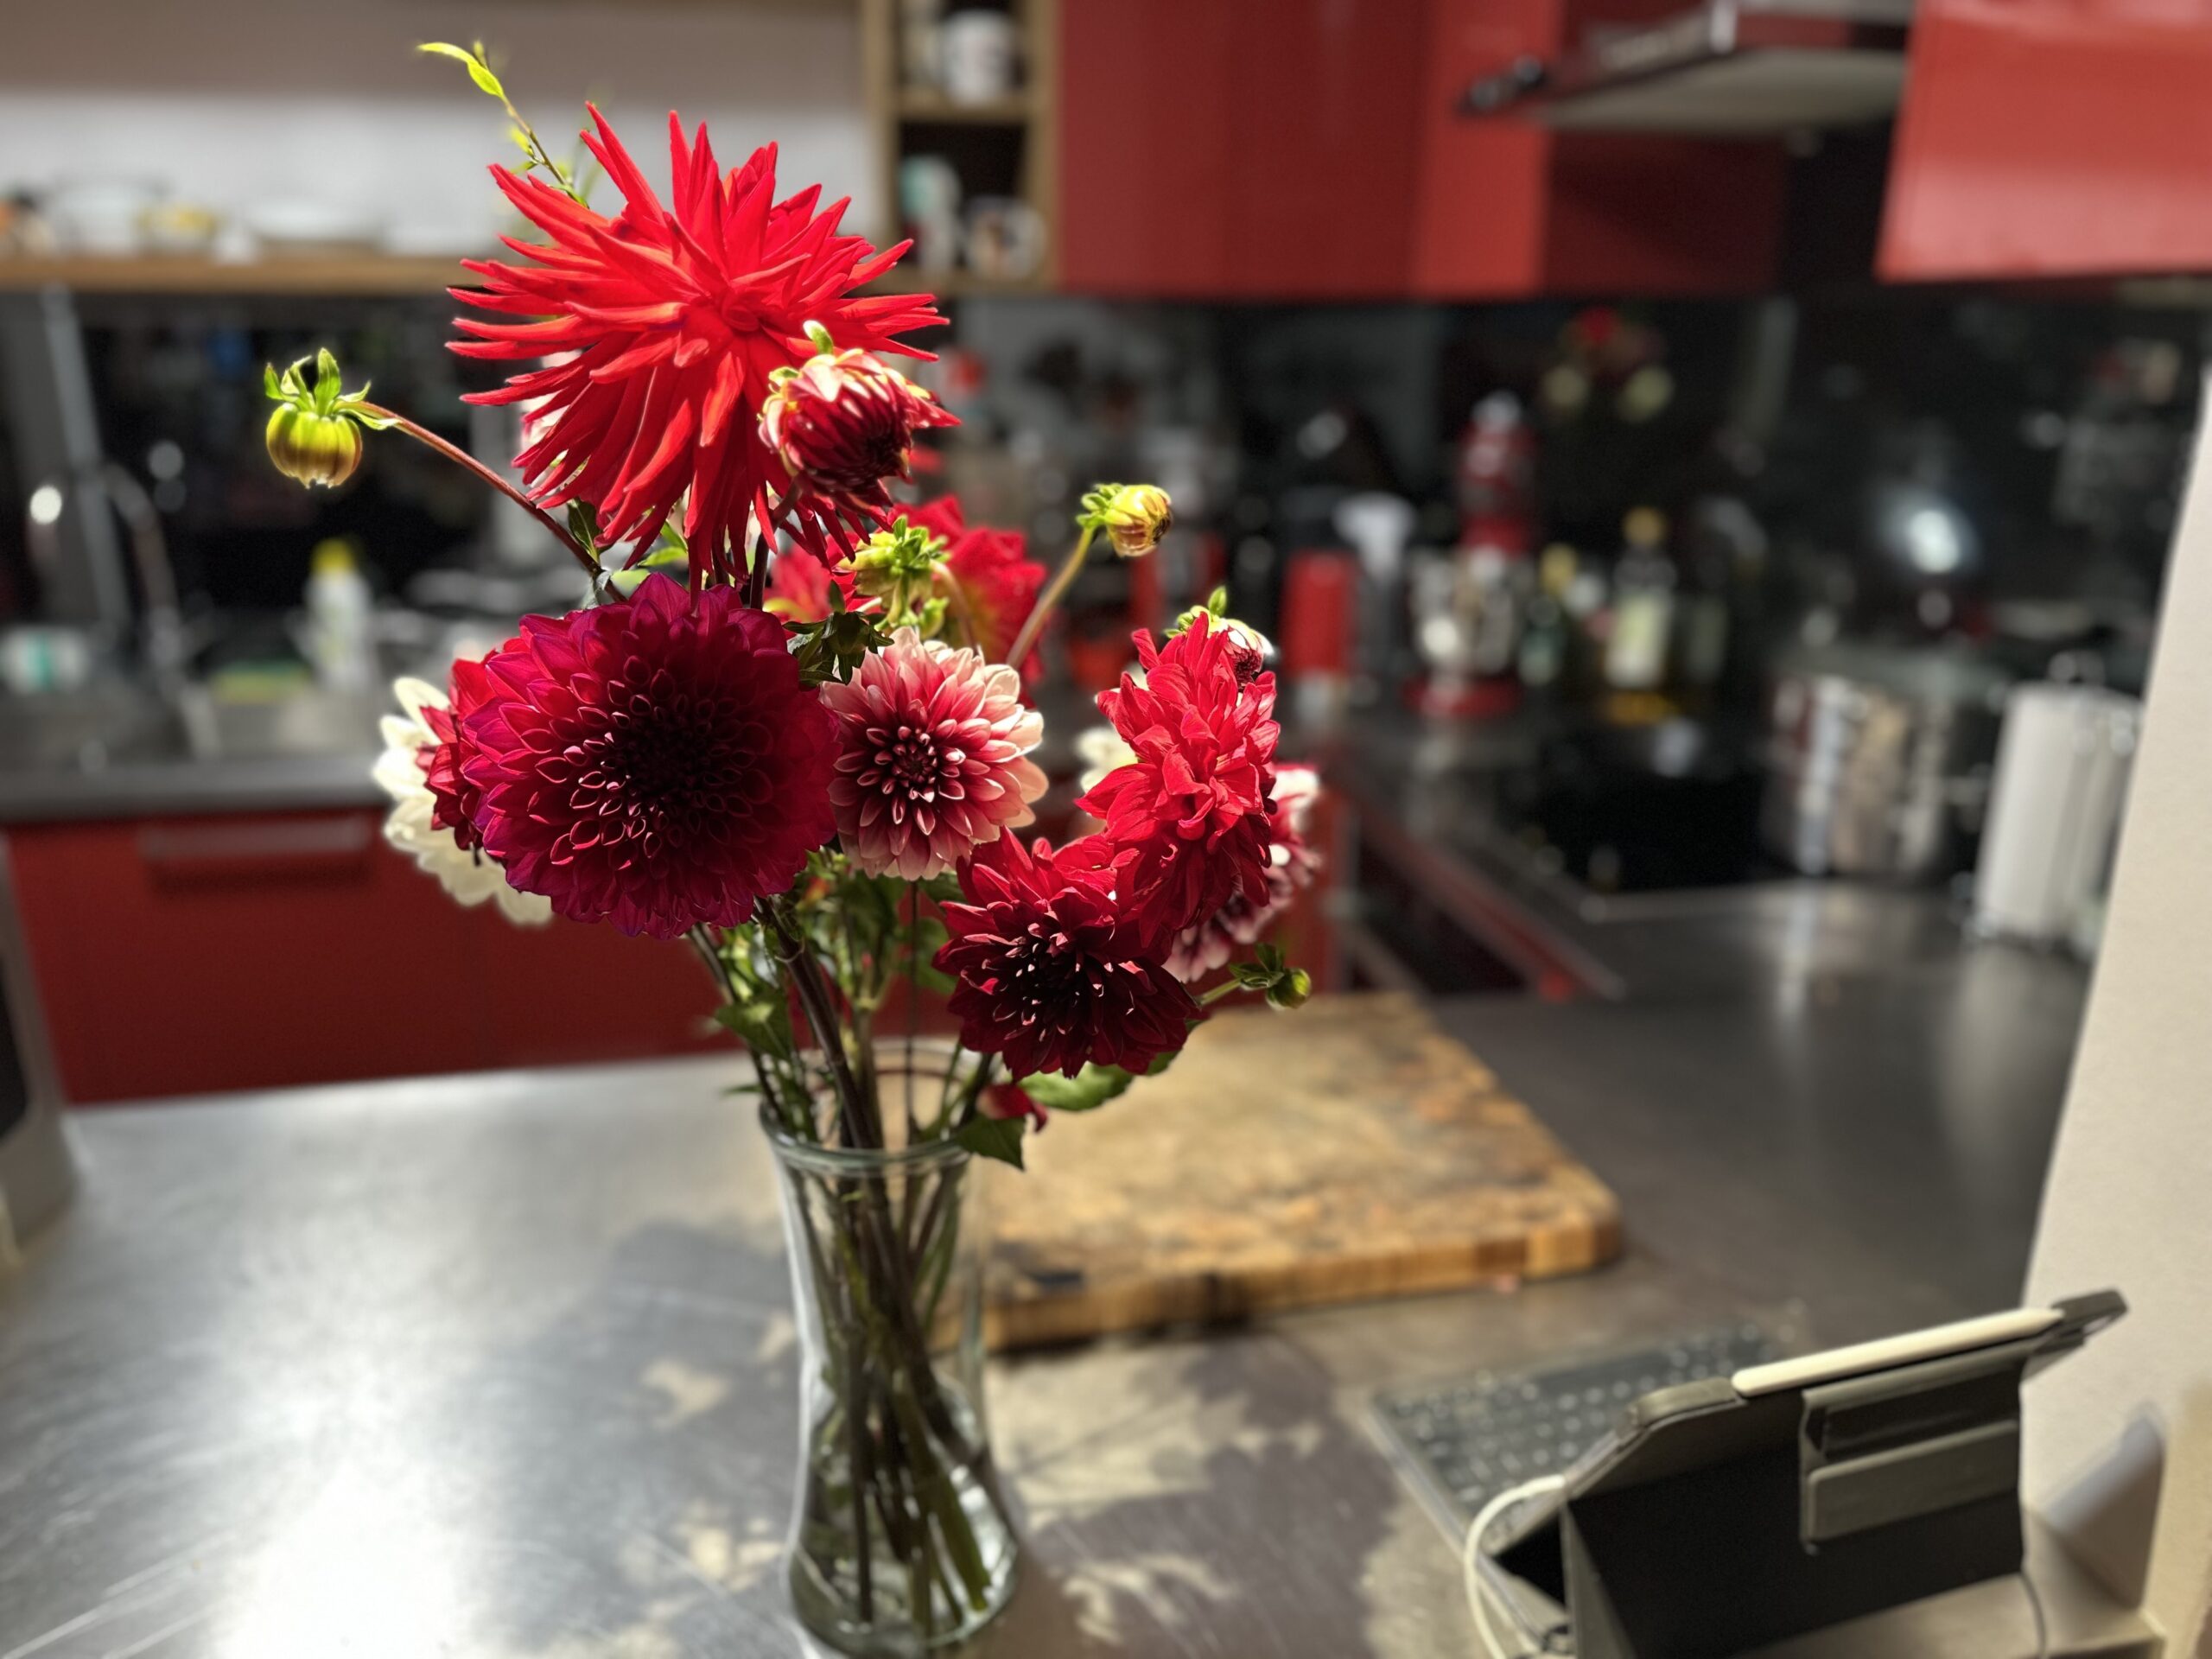
Bouquet 💐
Our neighbours have been growing some beautiful dahlias, zinnias, and sunflowers in the garden up at their weekend cottage, and they just gifted me a lovely bouquet “to match your red kitchen”! 😍
-
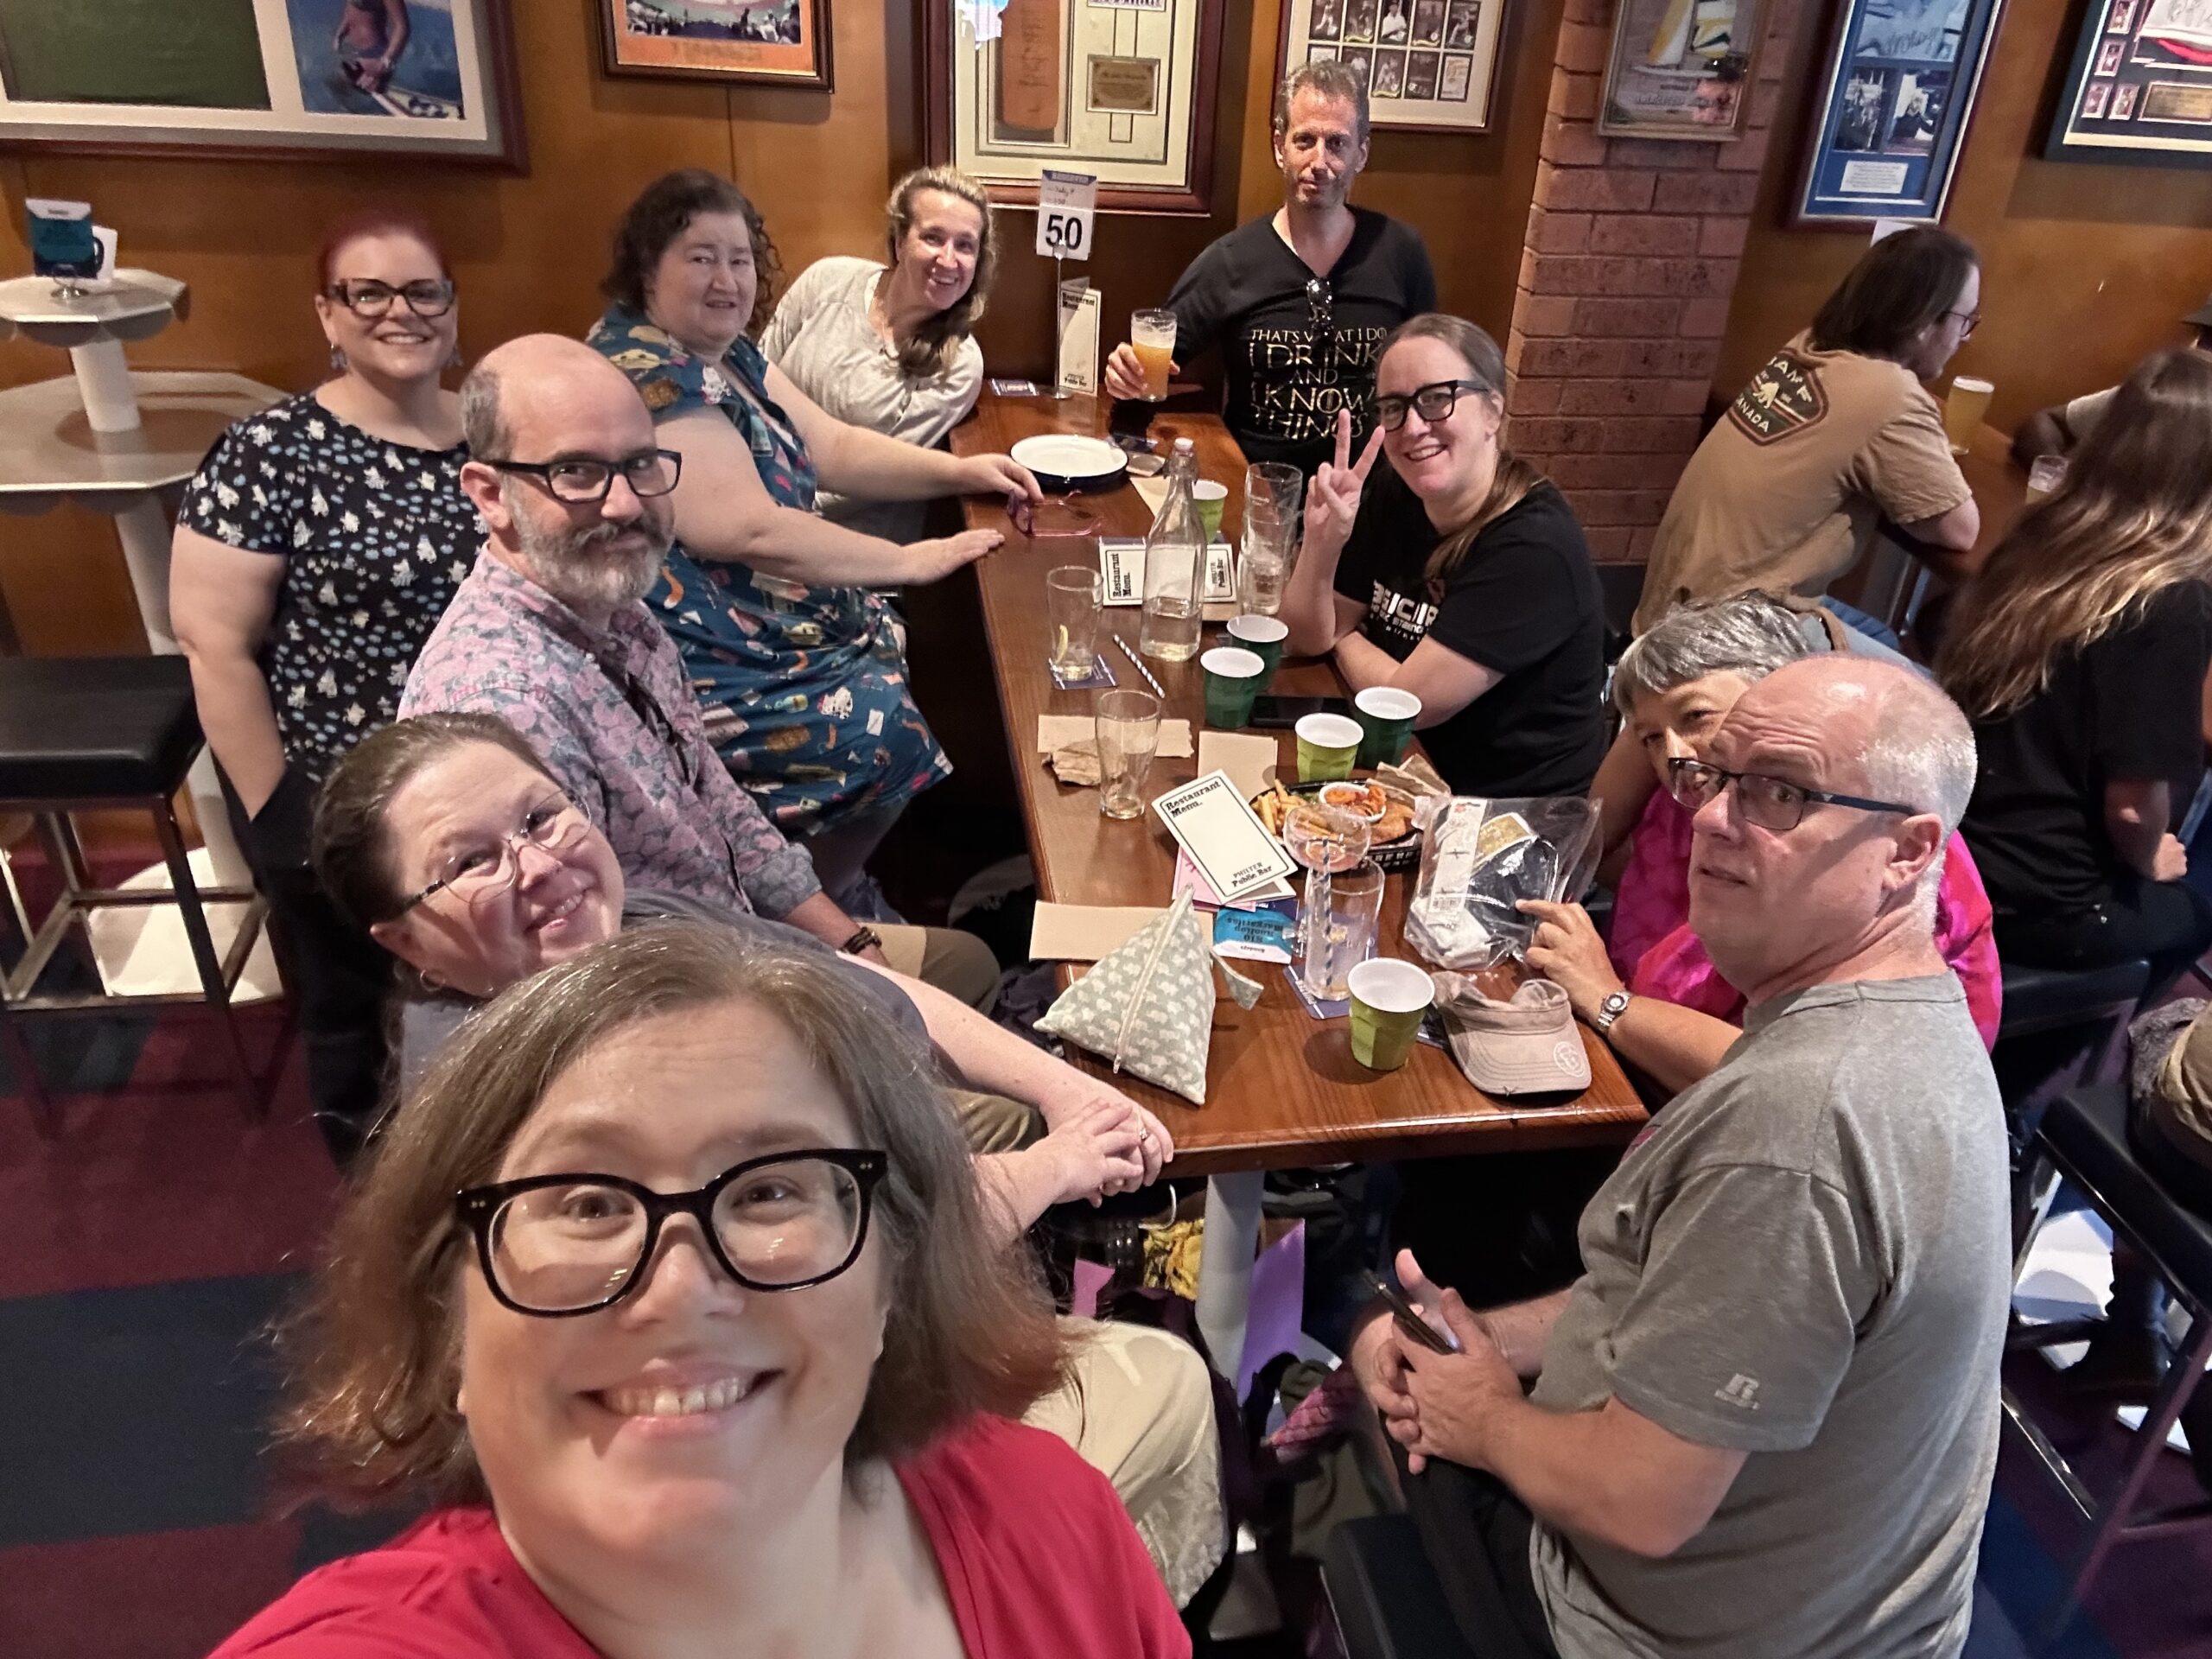
Pub lunch
The Purls of Wisdom all got together at Philter today to put a big dent in our $600+ of pub trivia vouchers!
-
Links I’ve been reading lately
- Hayao Miyazaki Would Hate You Fucking Losers – Harsh, but true. I can’t believe how many people I know jumped on posting those images on LinkedIn. So gross.
- How to make a book – Another great post from Mike Monteiro’s Good News. I immediately sent it to my sister, who is a freelance editor. It also made me think about whether I have a book in me.
- Michael Shannon Loves Music Like We Love Music – As a card carrying member of the R.E.M. fan club (not kidding), I unabashedly love this. I wish they would tour Australia!
- Knitting Through Digital Decay: A Collection of Digital Preservation Jumpers No One Asked For (But Here They Are Anyway) – LOVE this! I really need to get back to the project I started to knit a modern fairisle that incorporates the DOCOMO emoji.
- South Korea releases long-awaited report into overseas adoptions of thousands of children – I’m glad that some of these kids are starting to get answers. Heartbreaking, though…
-

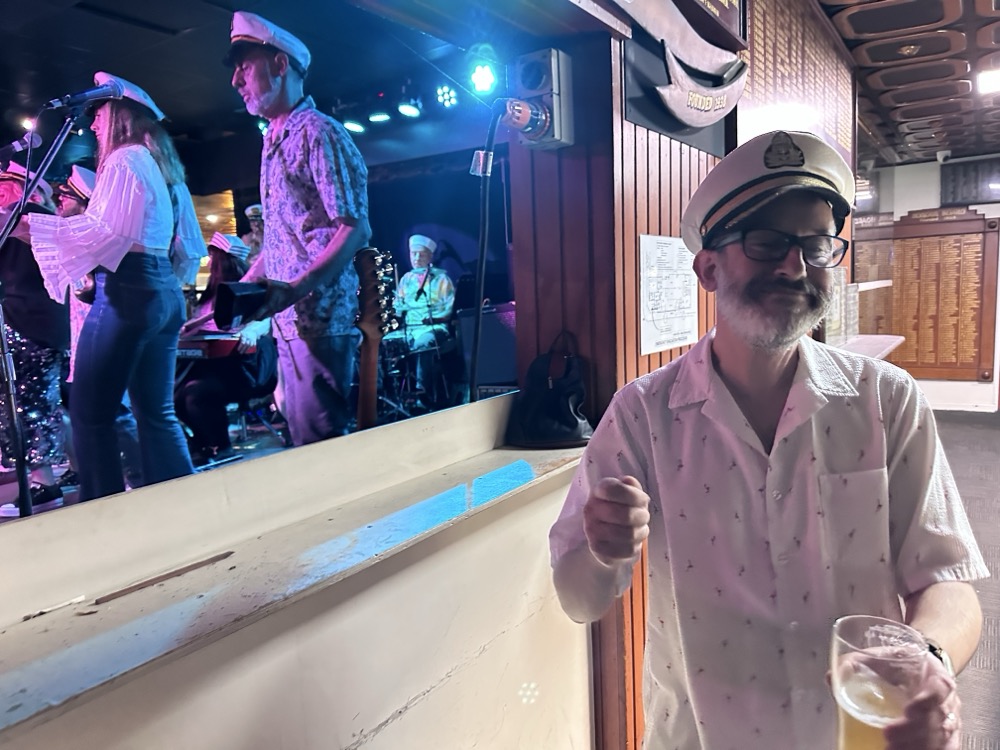
Smooth Sailing
This was our fourth(?!) time seeing this talented crew of yacht rock superstars.
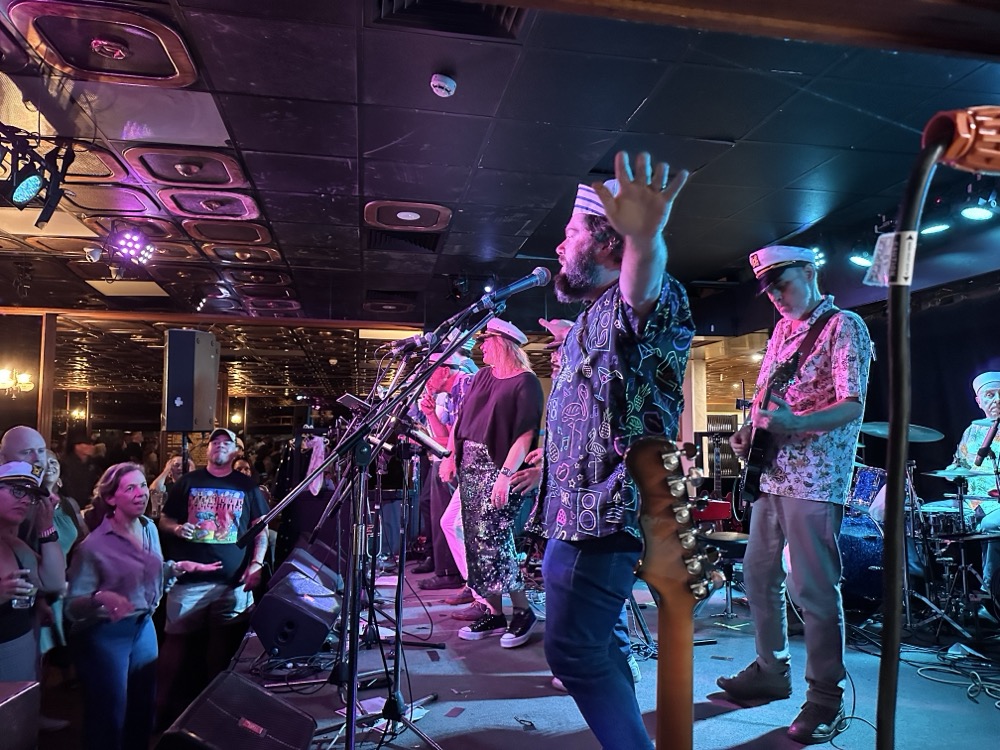
Mr. Snook always feels there should be more cowbell. 😂
-
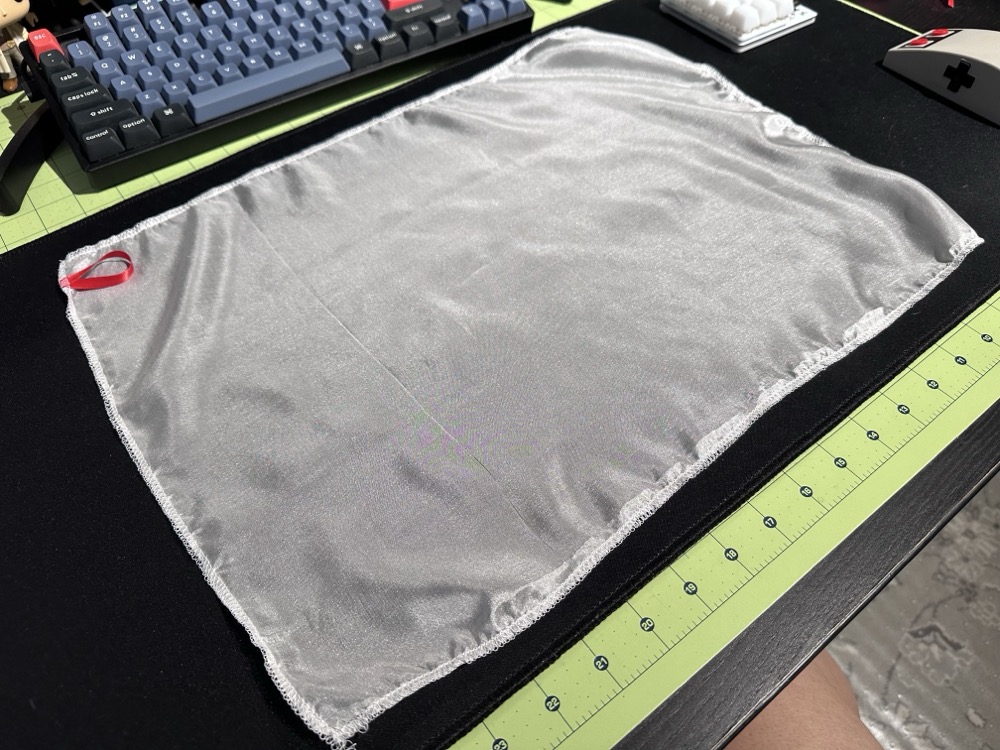
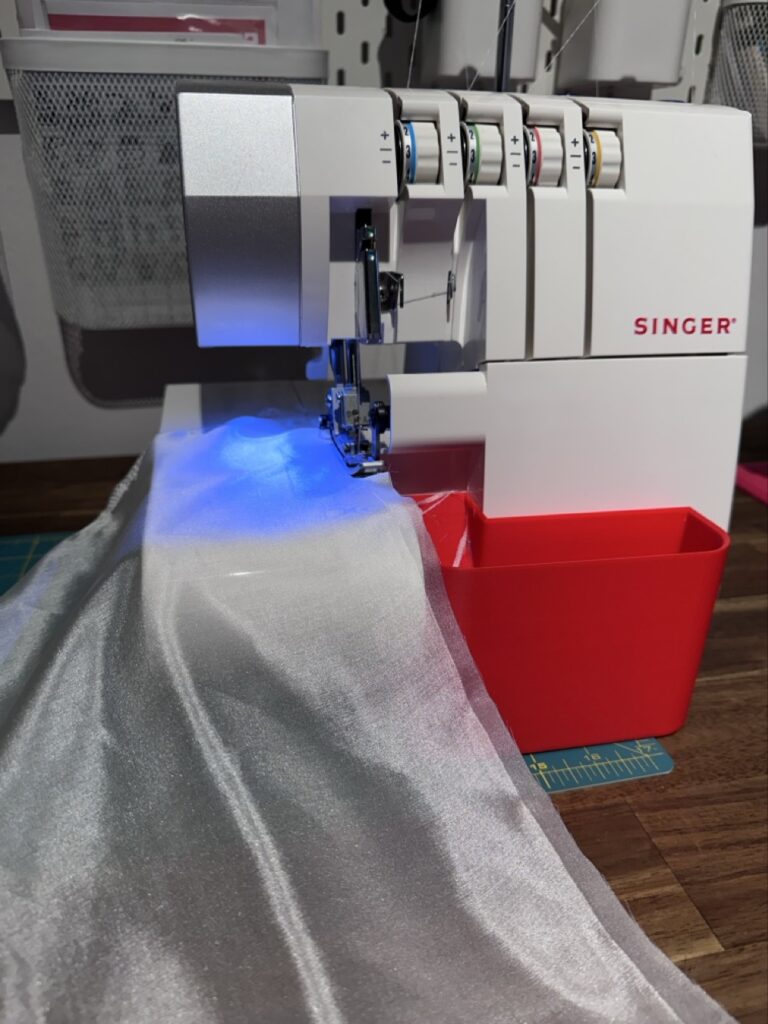
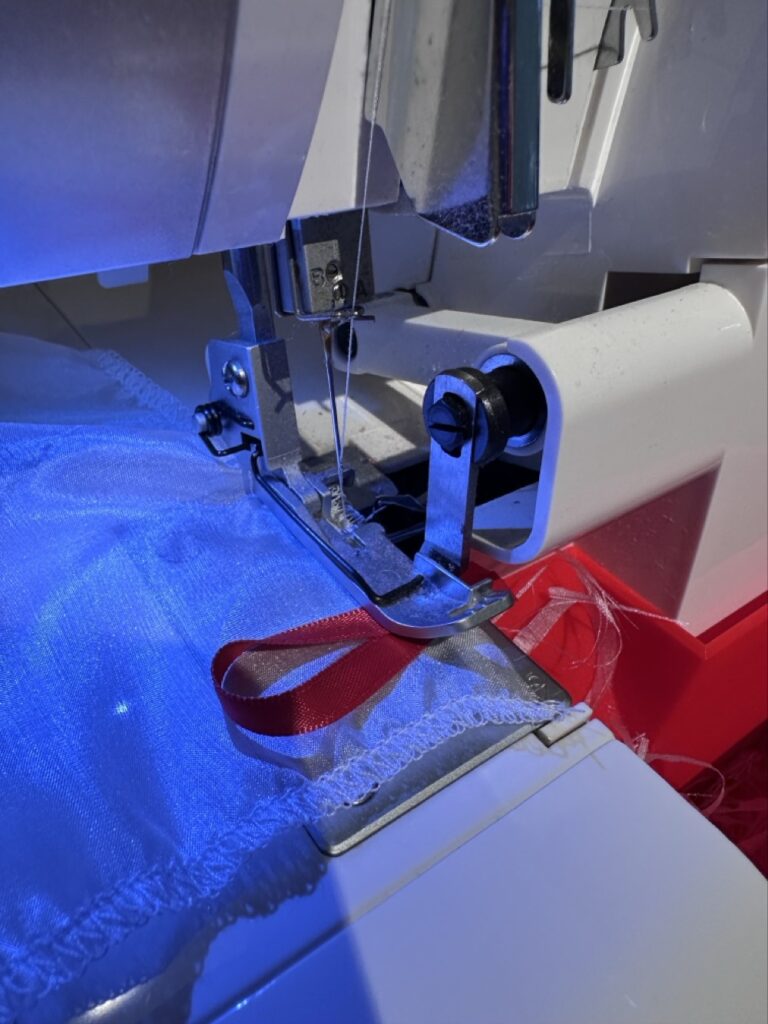
Silk organza press cloth
I was reminded while I was sewing the other day that I really do need a press cloth. This is a piece of fabric you put over your work when you are pressing seams, to keep the fabric from potentially getting scorched. We used them in my sewing class with Gertie a few years back, and I seem to recall they were silk organza. I’ve seen this recommended in a few places because silk has a high burn point and it’s transparent enough to see your work through it. I looked them up recently online but couldn’t really find any for under $20 AUD. Then today I found myself at Spotlight and realised I could make my own. They had one bolt of silk organza at $47/m, so I bought 30cm of it for $14.10. Then I cut it into three pieces of roughly 12″ x 18″ (31cm x 46cm) and overlocked the edges to keep them from fraying too much. I also cut a tiny bit of ribbon and put that in the corner so you can hang it up. That’s one for me, and two for friends for < $5 each!