Very excited to kick off today’s YOW conference in Brisbane! It’s been years since I’ve caught up with some of these folks. ❤️
Category: Computers
-
YOW Melbourne 2024
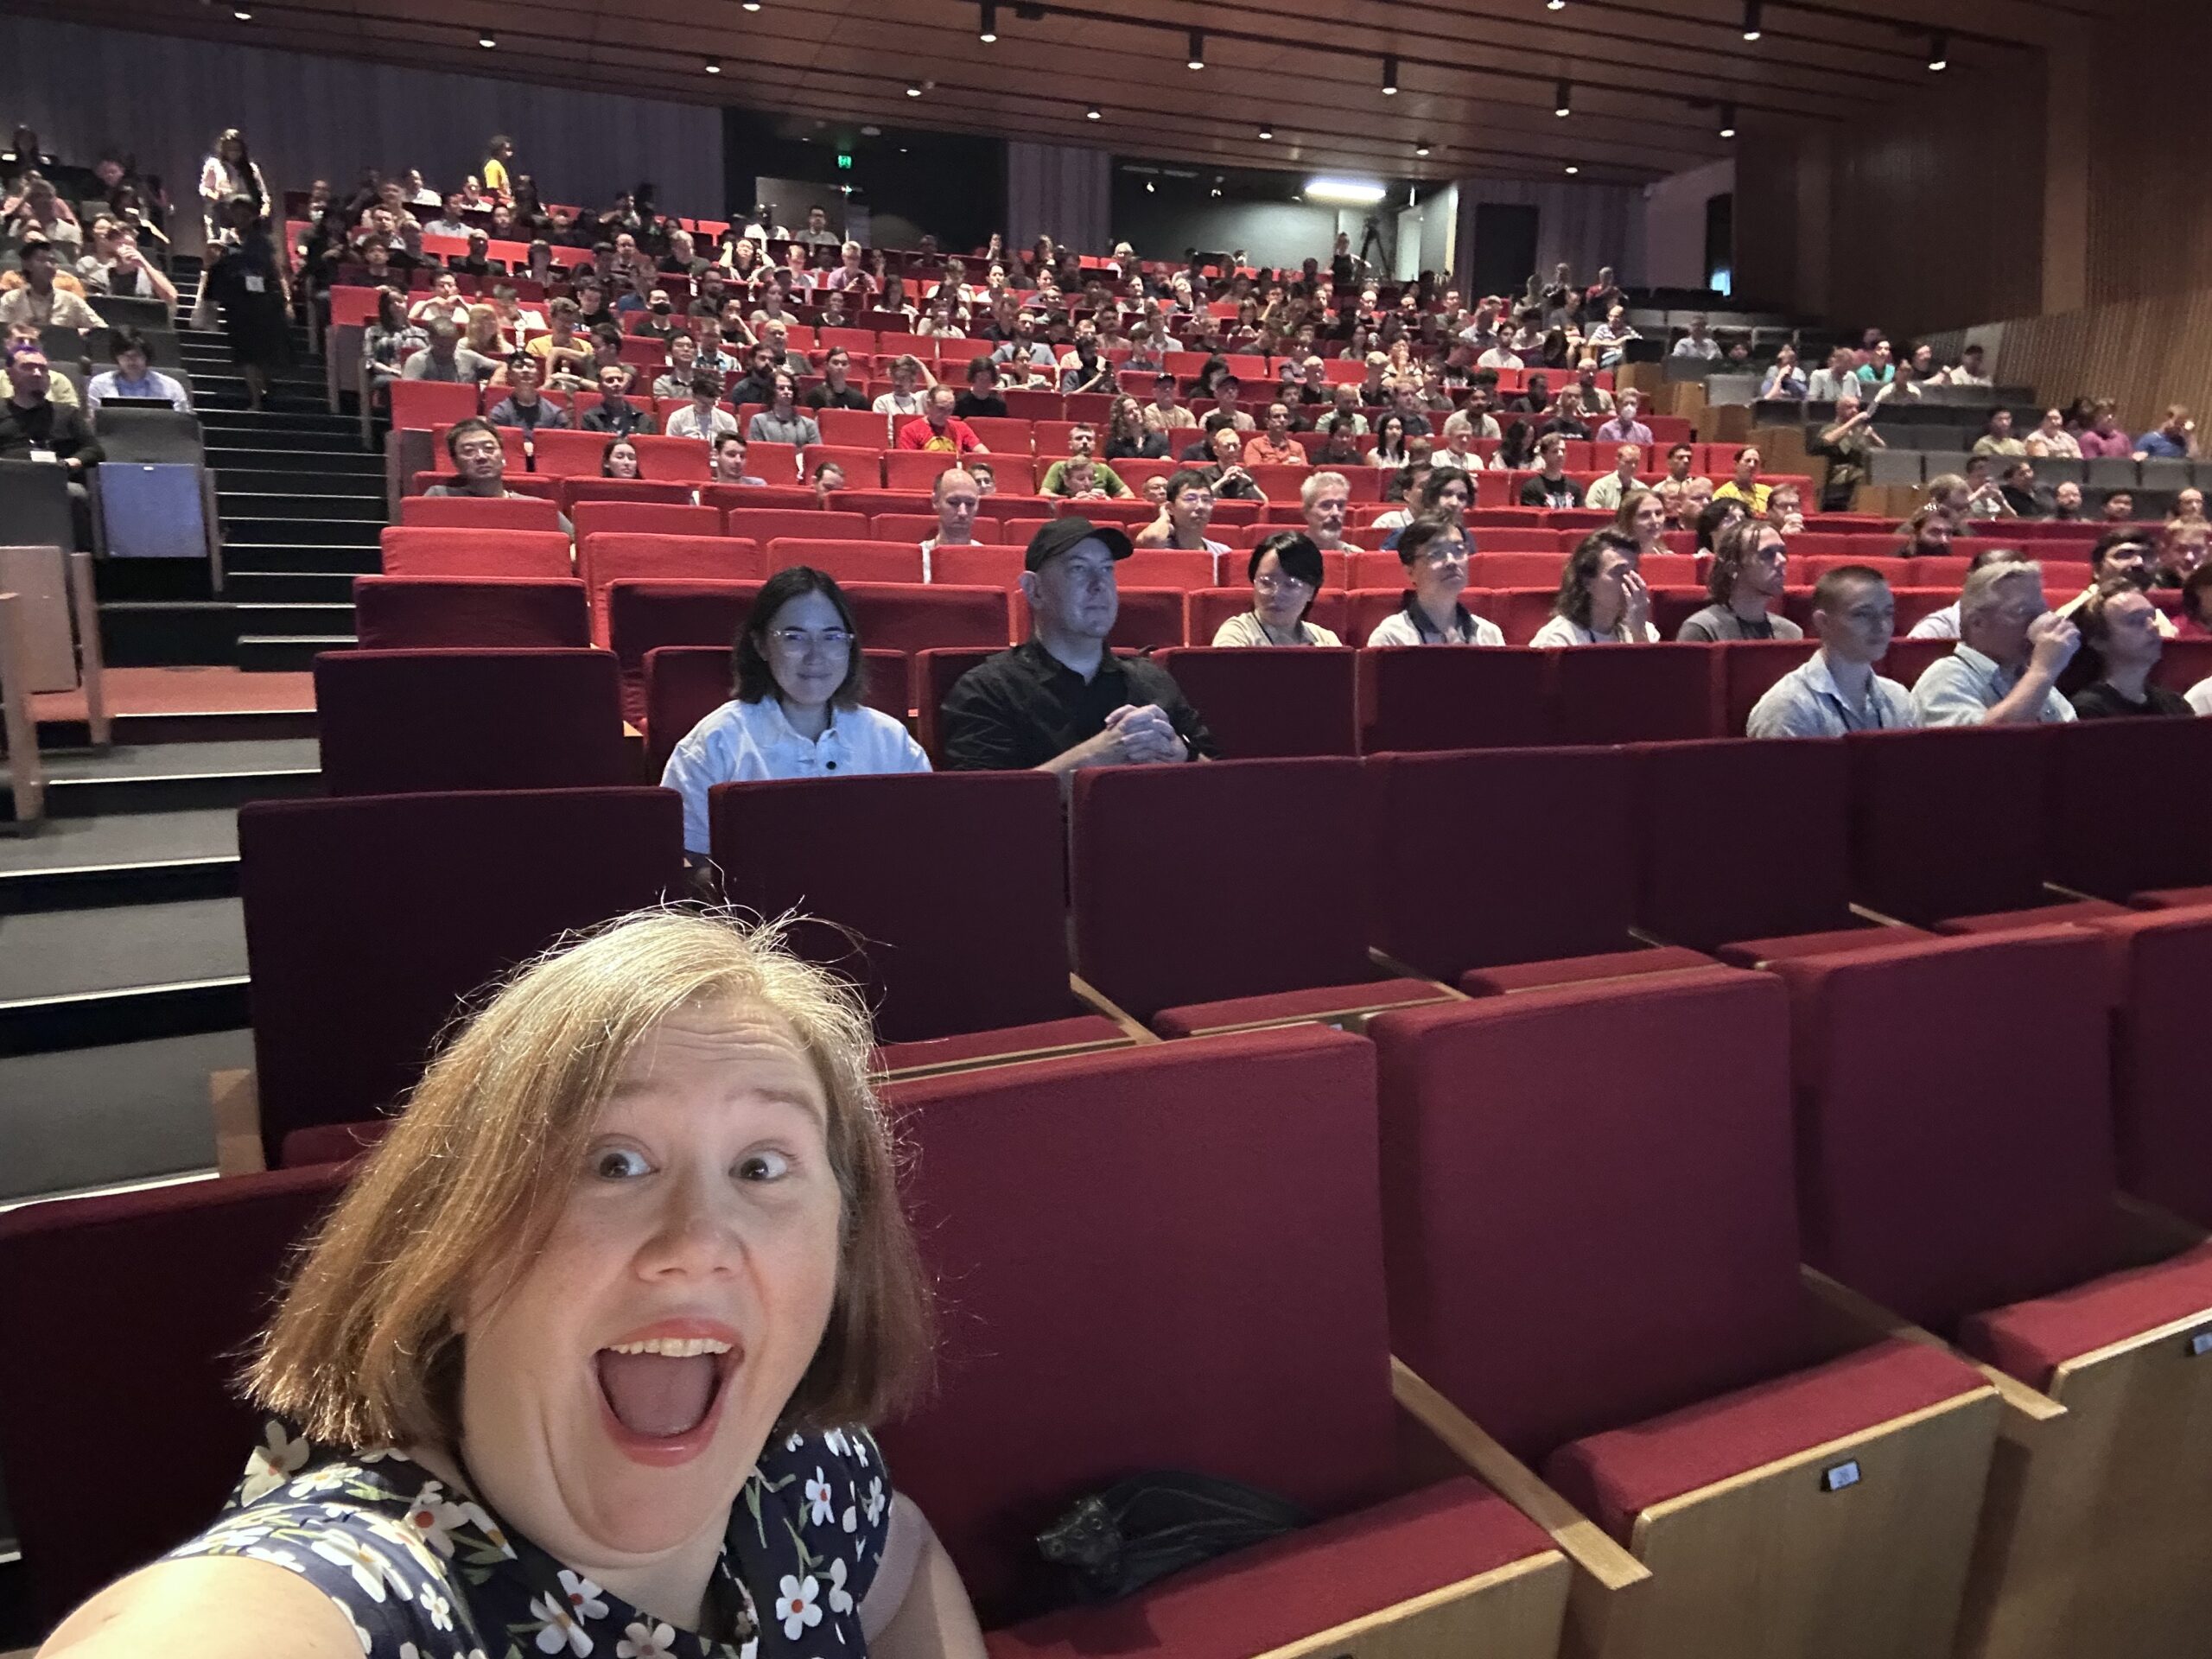
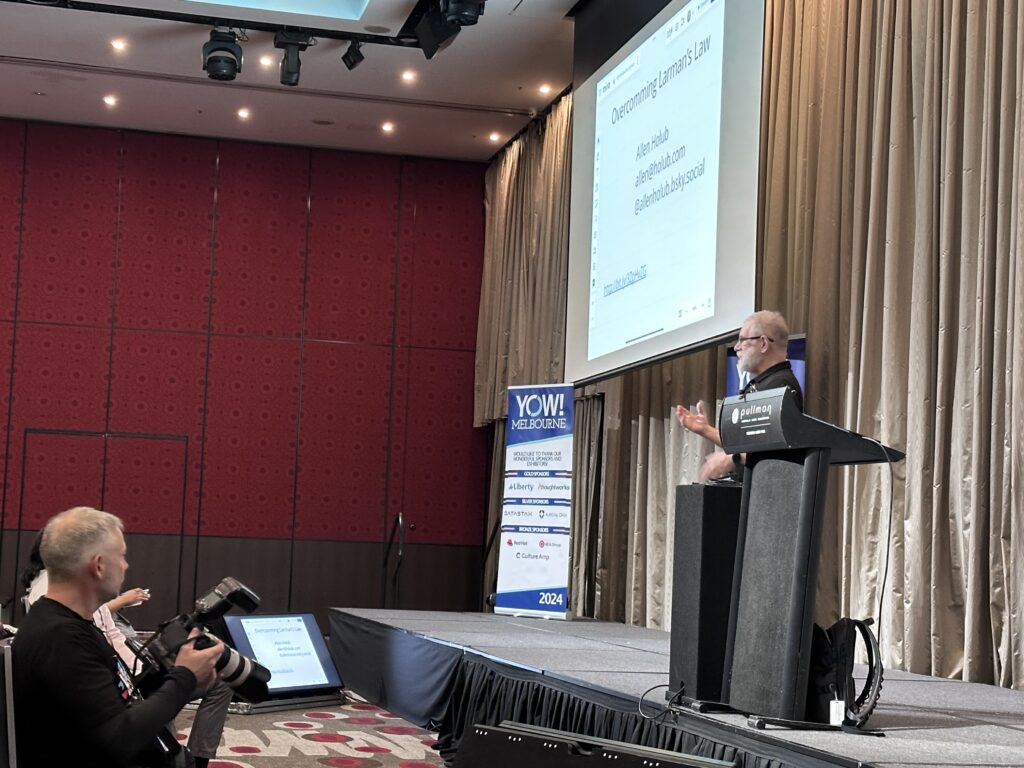
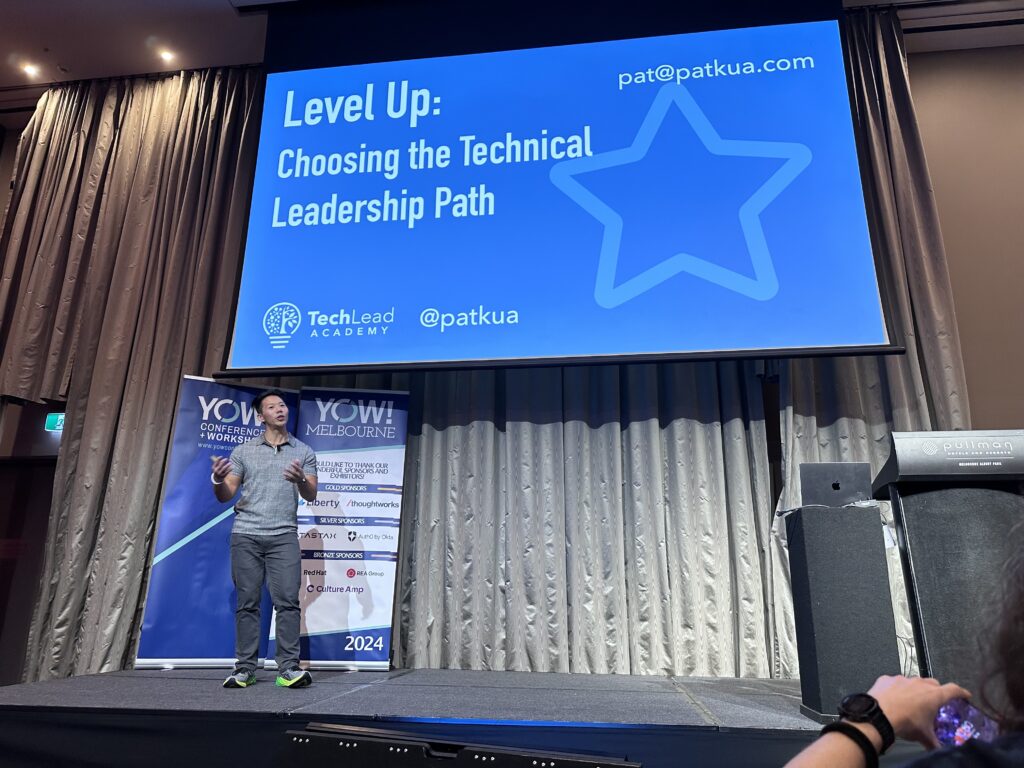
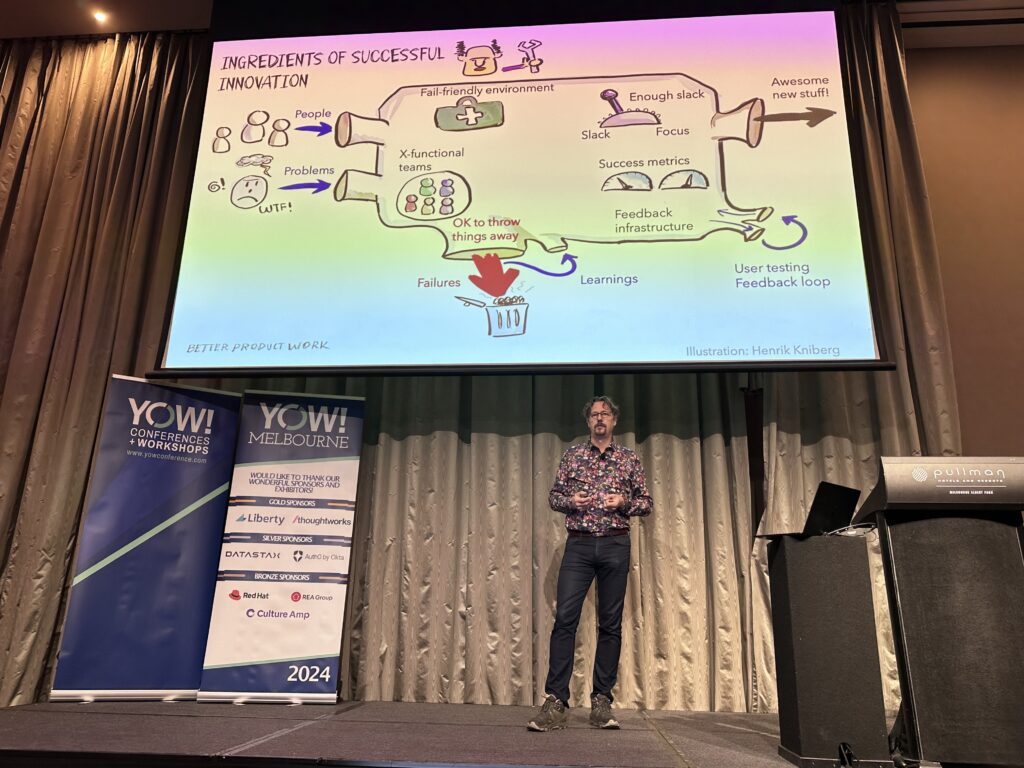
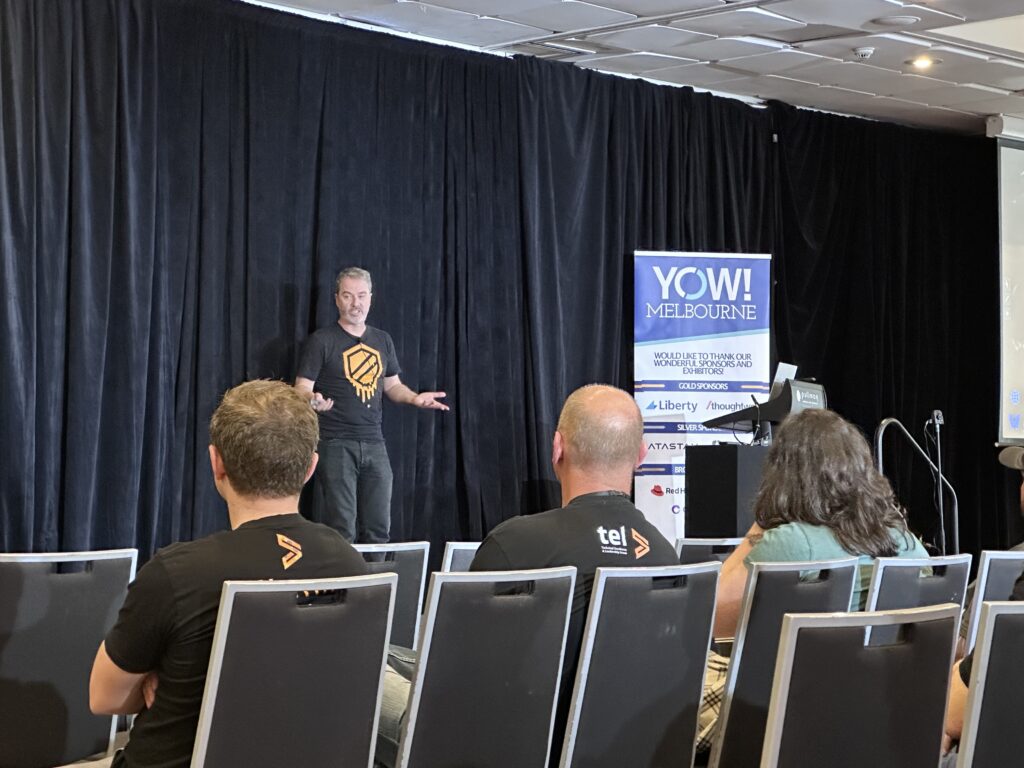
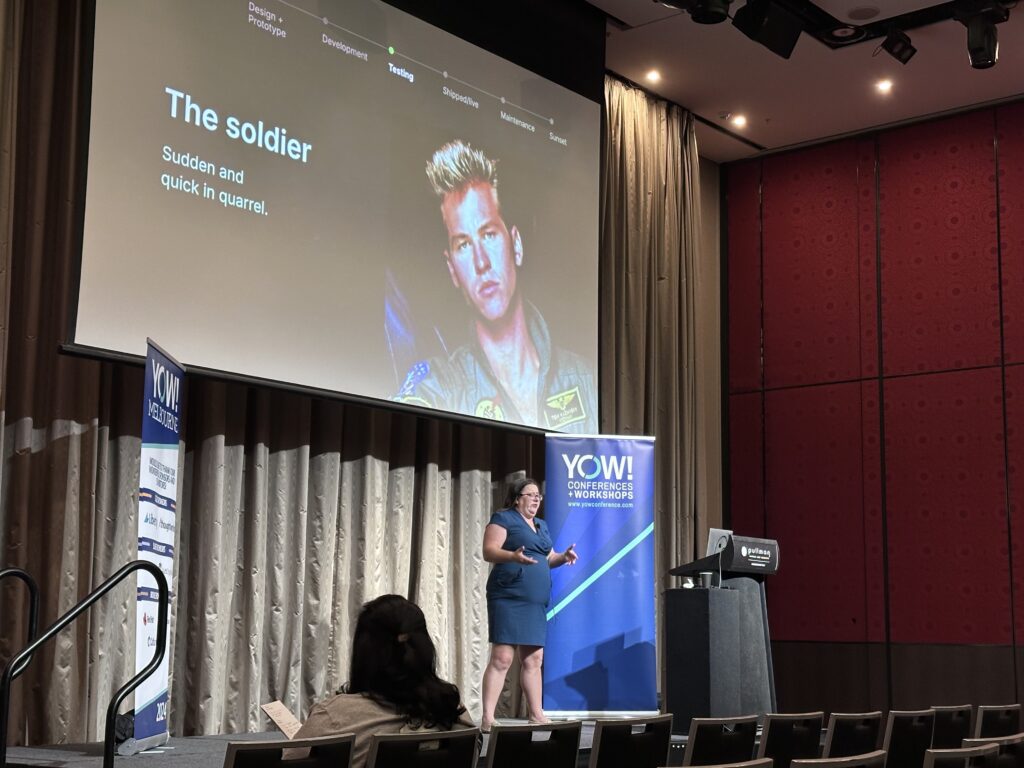
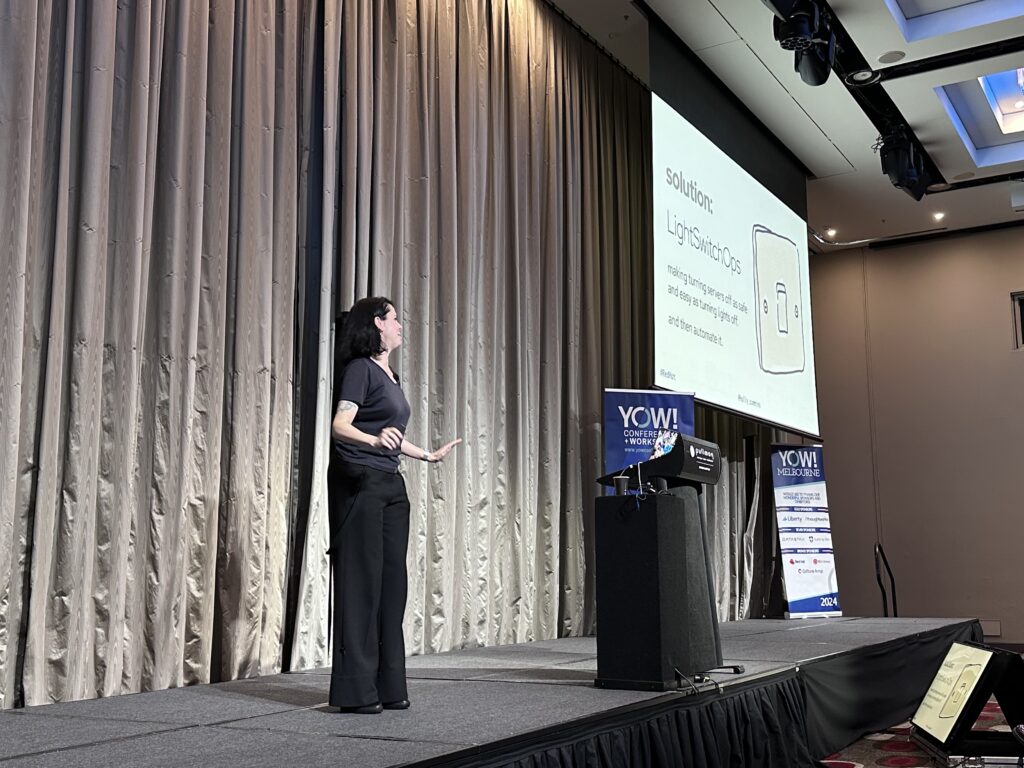
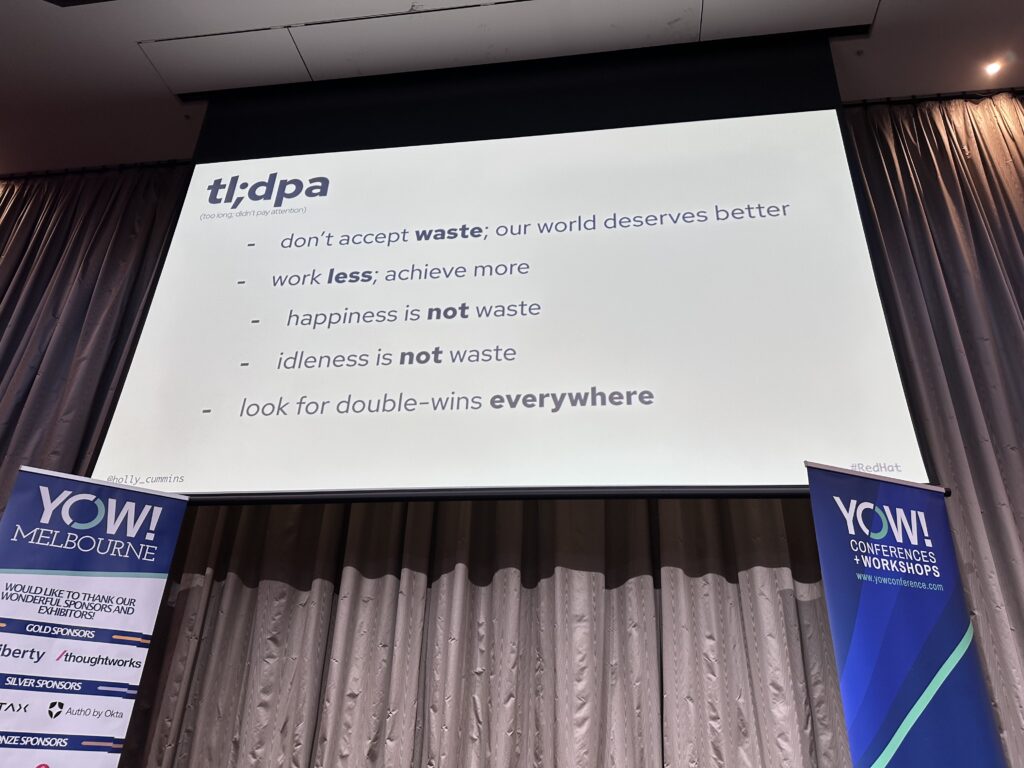
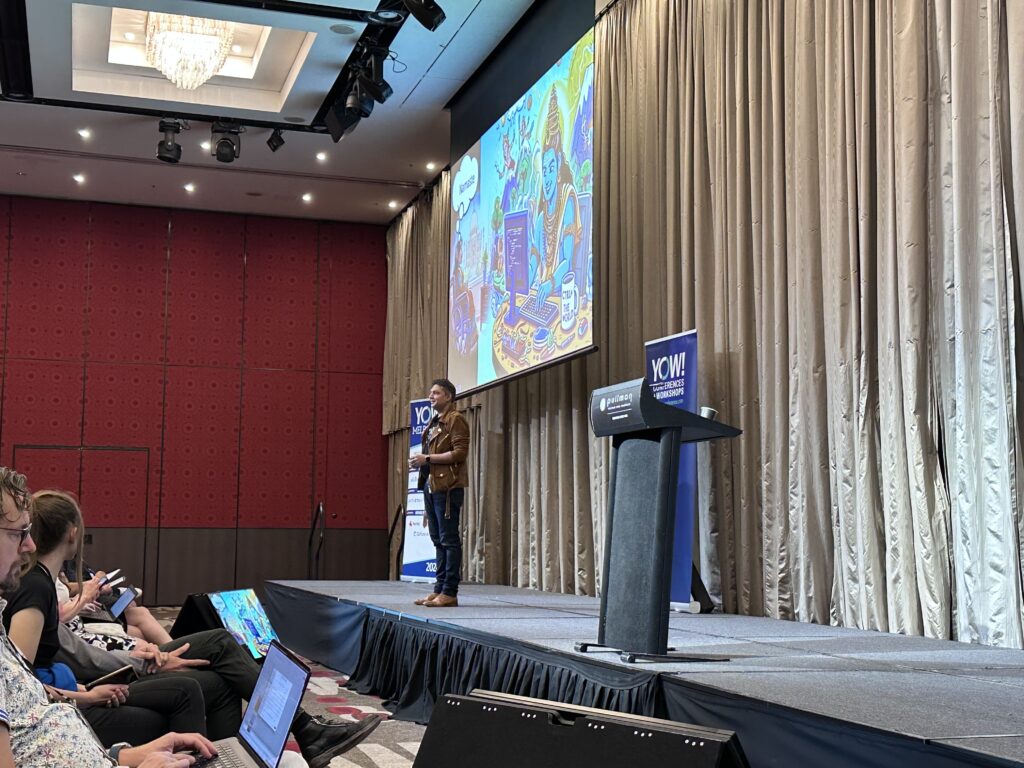
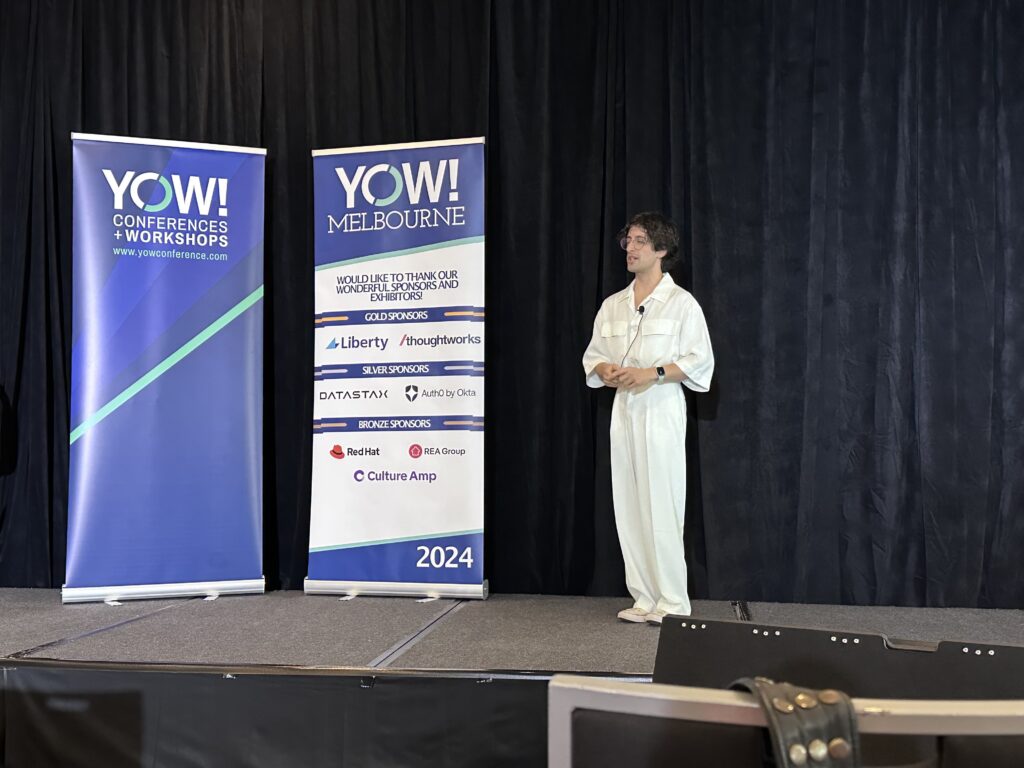
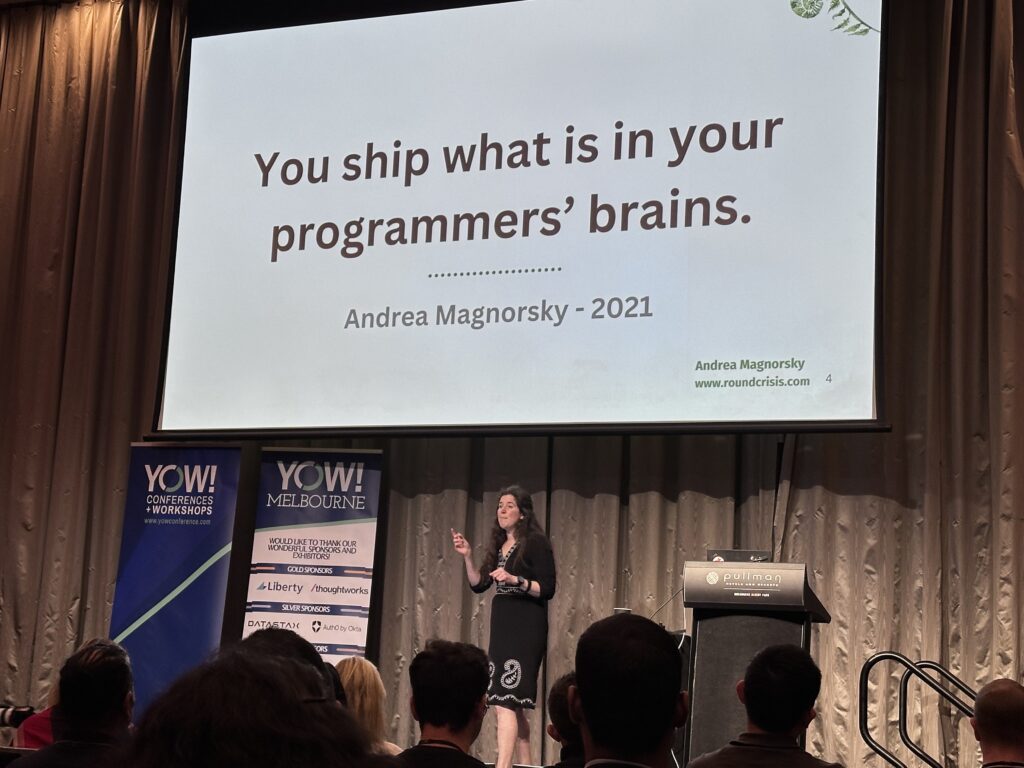
Day 2 at YOW 2024 Melbourne! I saw fantastic talks about getting executive buy-in, why you should develop your tech lead skills, how Spotify built Discover Weekly, nuances to programming in Rust, horror stories about not using feature flags, and why 100% efficiency is a bad goal.
-
YOW Melbourne 2024
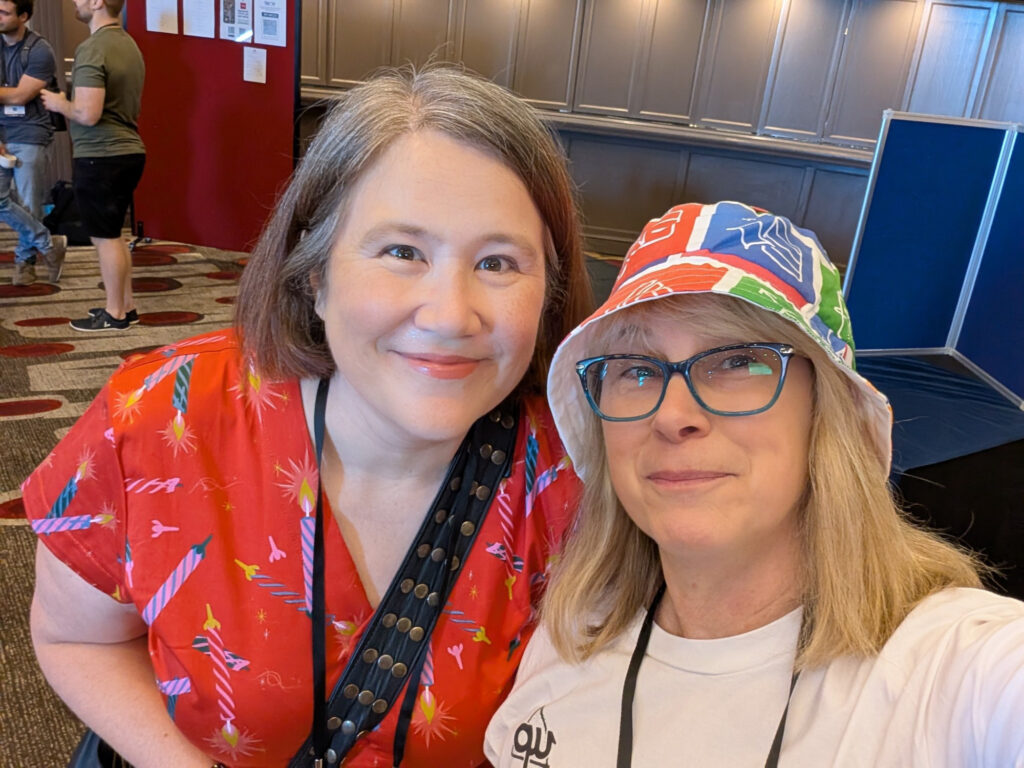
Having a great time so far at YOW 2024 Melbourne, catching up with friends and learning from some amazing speakers.


-
Web Directions Next 2024
Rodd and I were very excited to attend Web Directions Next 2024 last week. Web Directions have been running top-notch tech events in Sydney for decades (I’ve been a speaker for a couple of them), and this conference promised to focus on the future of product, design, and strategy. I wasn’t sure quite what to expect, and I took notes throughout the day to illustrate the breadth of topics covered.
John Allsopp (founder of Web Directions) kicked things off in the morning with an Acknowledgement of Country and a rather rueful note about the recent US election. It would turn out to be a common theme for the day, but John said he hoped that the day would still inspire us to hope (and work) for the best. John also mentioned that he’d created a Bluesky Starter Pack of all the speakers for the event, which seemed like a great idea that I hope will get traction with other events.
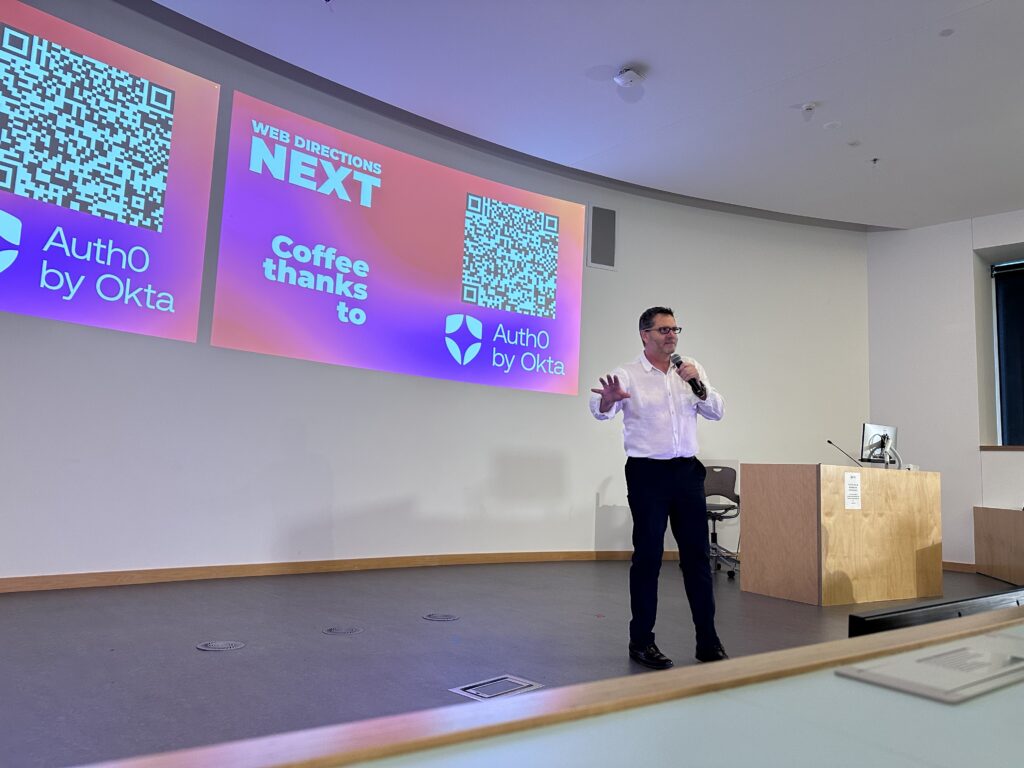
The first speaker of the day was Nicholas Gruen, a prominent Australian economist and former government advisor. (Unfortunately he’s the only speaker I didn’t get a photo of. Apologies, Nicholas!) He’s been working on a new series of videos about important topics like democracy, self-interest, and leadership, and he returned several times throughout the day to show us a selection of them. His point was that we need better institutions to help bring out “our better angels,” whether those institutions are governments or social media companies. He drew comparisons to Ancient Greece and Rome, and one point that really stuck with me is that the best leaders are often those reluctant to lead. We need a true meritocracy rather than a “shoutocracy” to counter the inherent hierarchical and competitive nature of elections. He also brought up a few examples of Citizens’ Assemblies, which drew a lot of discussion from the audience. He’s a fascinating guy, and I’m hoping the videos will eventually be shared online.
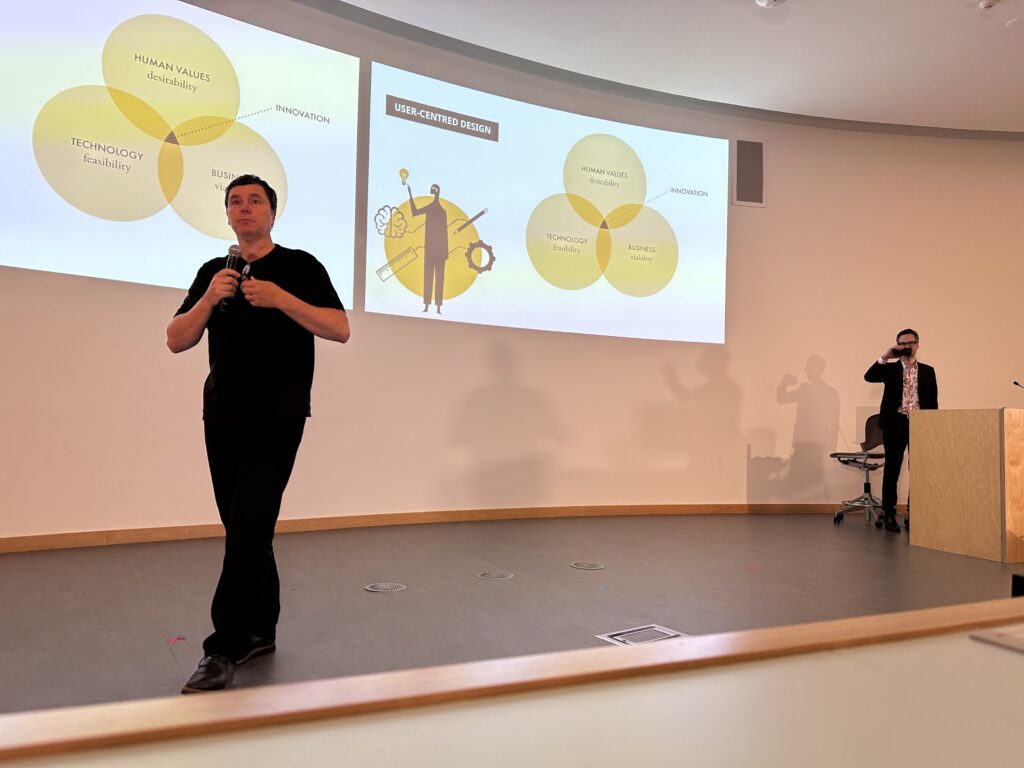
Next up were Martin Tomitsch and Steve Baty, talking about “life-centred design.” They showed the flaws in the traditional approach to user-centred design, which results in “innovation” like crash test and CPR dummies that don’t represent women, the worsening environmental crisis, and injustice. Life-centred design, by contrast, adds in environmental and ethical responsibilities. They also talked about how governments could help change corporations’ incentives in these areas, through tax rates, regulation, and pressure to report on environmental progress. You can read more about their nine principles of life-centred design on their website here.
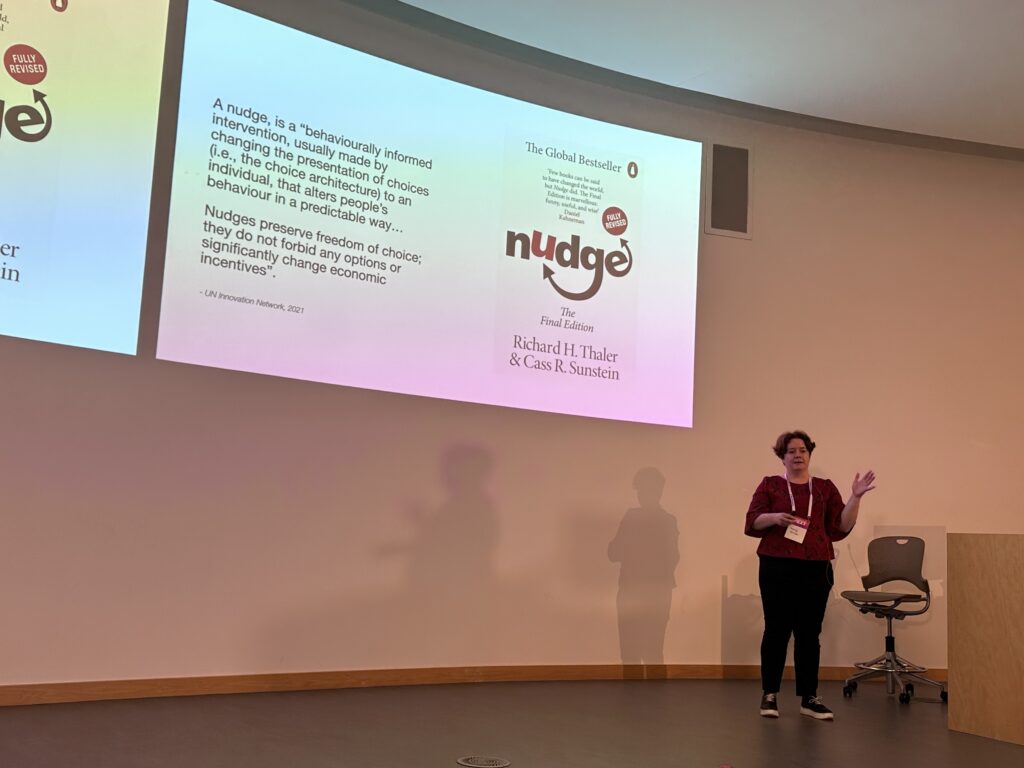
The next speaker was Mary Nolan, talking about nudge theory, which seeks to influence the behaviour of groups through “choice architecture.” Rather than forcing people to do the right thing, you subtly encourage them. Mary walked us through the basics of the theory, and I thought about some of the ways I’d encountered nudges in my own life recently: our electricity bill has a section comparing our energy usage to our neighbours, and how strongly I was encouraged to “make a plan to vote” in the lead-up to the US election. Mary pointed out criticism of the approach though, like the fact that it focuses on individuals rather than systems. “All the nudges in the world,” Mary said, “can’t get someone to recycle if there’s no recycling infrastructure.” Nudges have to be part of a solution, not the entire solution.
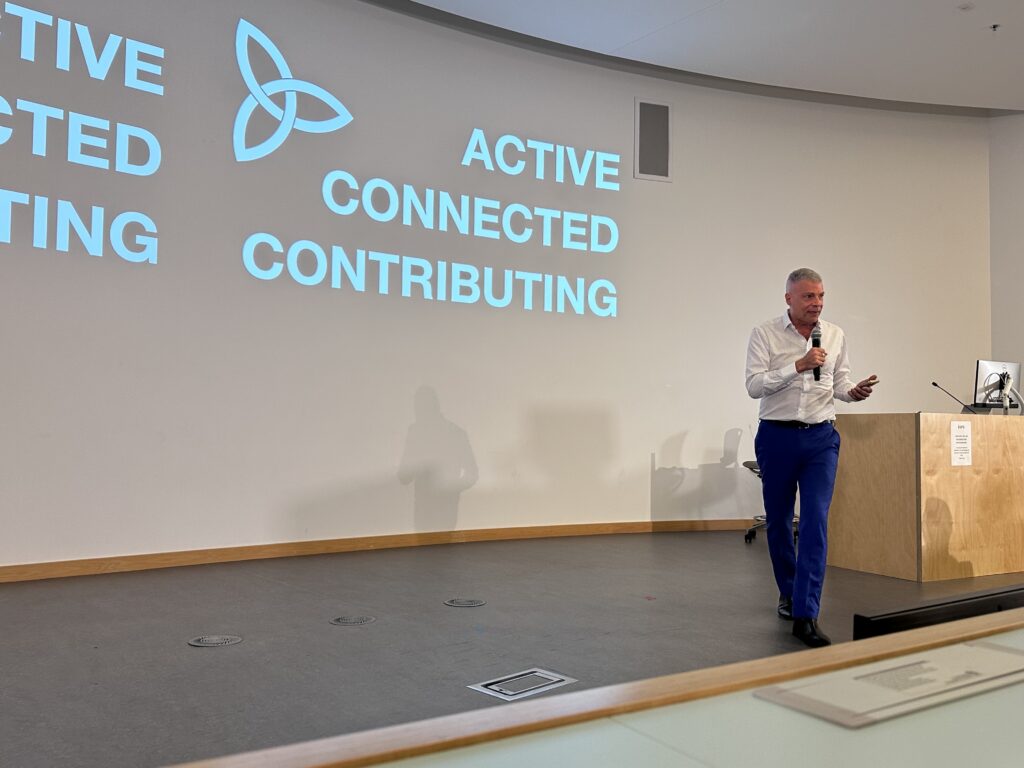
Our final speaker before the morning tea break was my friend and former neighbour Mark Pesce. Mark’s talk was brief but energetic, and it was one of the ones that resonated with me the most over the course of the day. Mark talked about human longevity, which I know is an interest of his, and how studies have shown that the three keys to remaining healthy as we age are to be active, connected, and contributing to society. I couldn’t help but reflect on Rodd’s and my situation now that we’ve left full-time employment. We have to very consciously make an effort to get out and engage with the world, rather than cocoon ourselves at home in our little bubble. Attending events like Web Directions felt like a great step in the right direction!
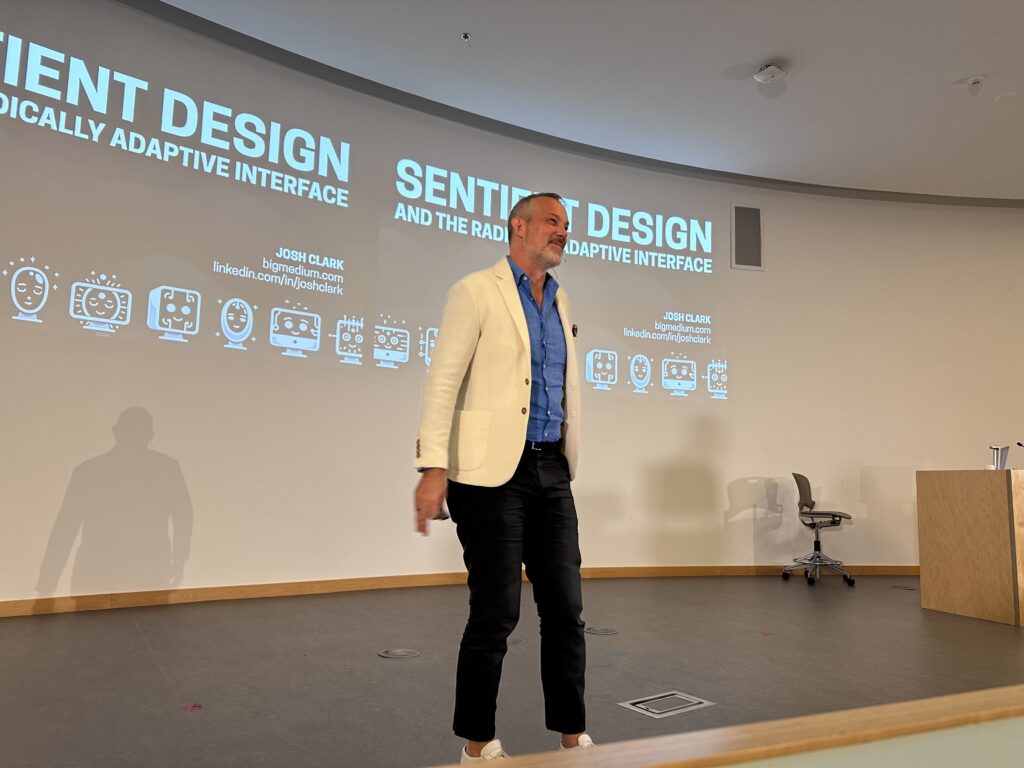
After the tea break and another video from Nicholas, the next speaker was Josh Clark talking about “sentient design.” Josh’s point was that AI needs to be woven into user experiences rather than just bolted on, and he gave a lot of examples that aren’t just another chatbot. One was the “Pinocchio” design pattern, where an application turns your lo-fi artefacts into working prototypes. “Machine intelligence is our new design material,” he said, and reminded us that “typing prompts is not the UI of the future.” His talk immediately reminded me of the Fantasy Game from Ender’s Game, which began to adapt itself to Ender and eventually became the sentient Jane.
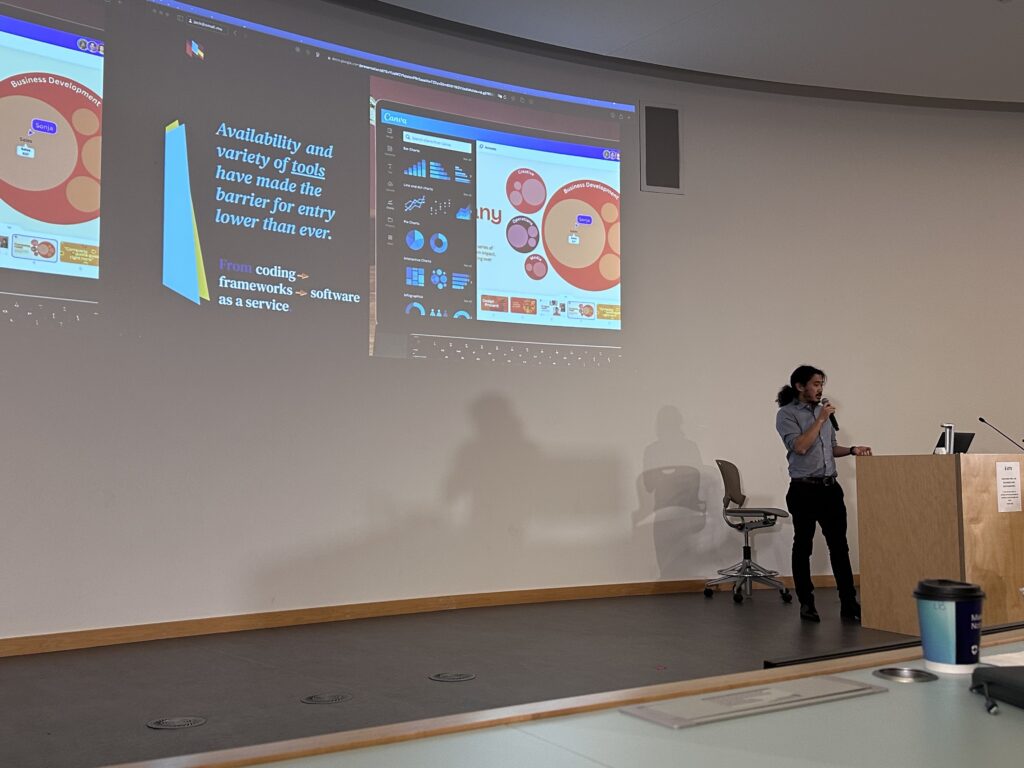
The next speaker was Jack Zhao talking about data visualisation. Jack walked us through the history of data visualising, reminding us that every two years, the volume of data in the world doubles. He also took us on the journey of his own design consultancy, and the skills you need as a leader to weather the ups and downs in the industry. Jack’s advice to the audience was to stop designing for the “average” person, to recruit teams of communicators rather than focusing on just technicians, and to “materialise all your ideas with new tech.” I was surprised to the degree which Figma had replaced a lot of tools in the designer’s arsenal these days.
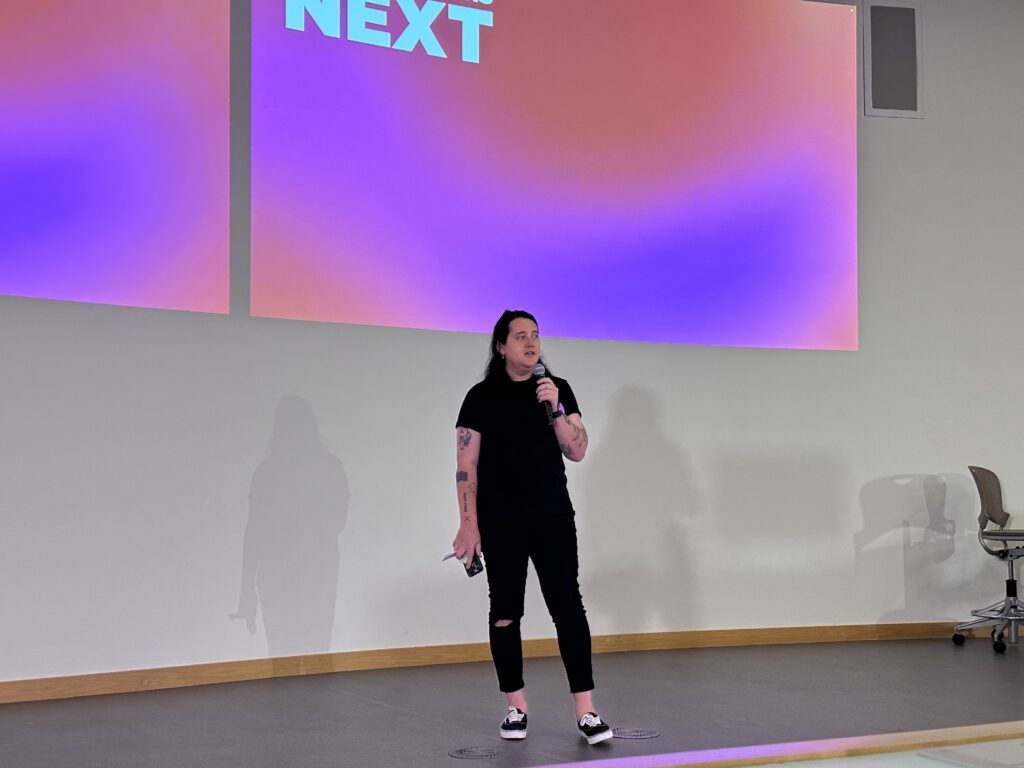
The next lighting talk was from Joan Westenberg, who presented without slides and immediately started dropping truth bombs on the audience. The Democrats lost, Joan said, because they campaigned on facts, while the Republicans campaigned with stories. “Stories,” she said, “are more exciting.” Stories are the oldest tech we have as humans, and you can’t fight stories with facts. Joan didn’t have any conclusions to this conundrum, but she got everyone thinking.
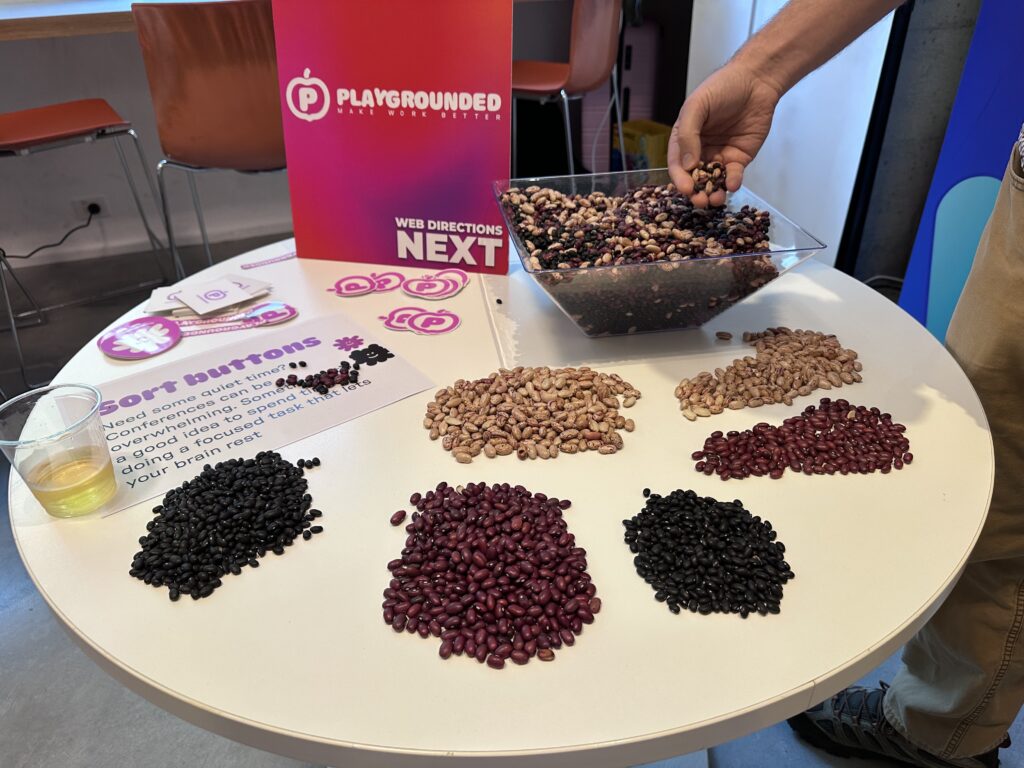
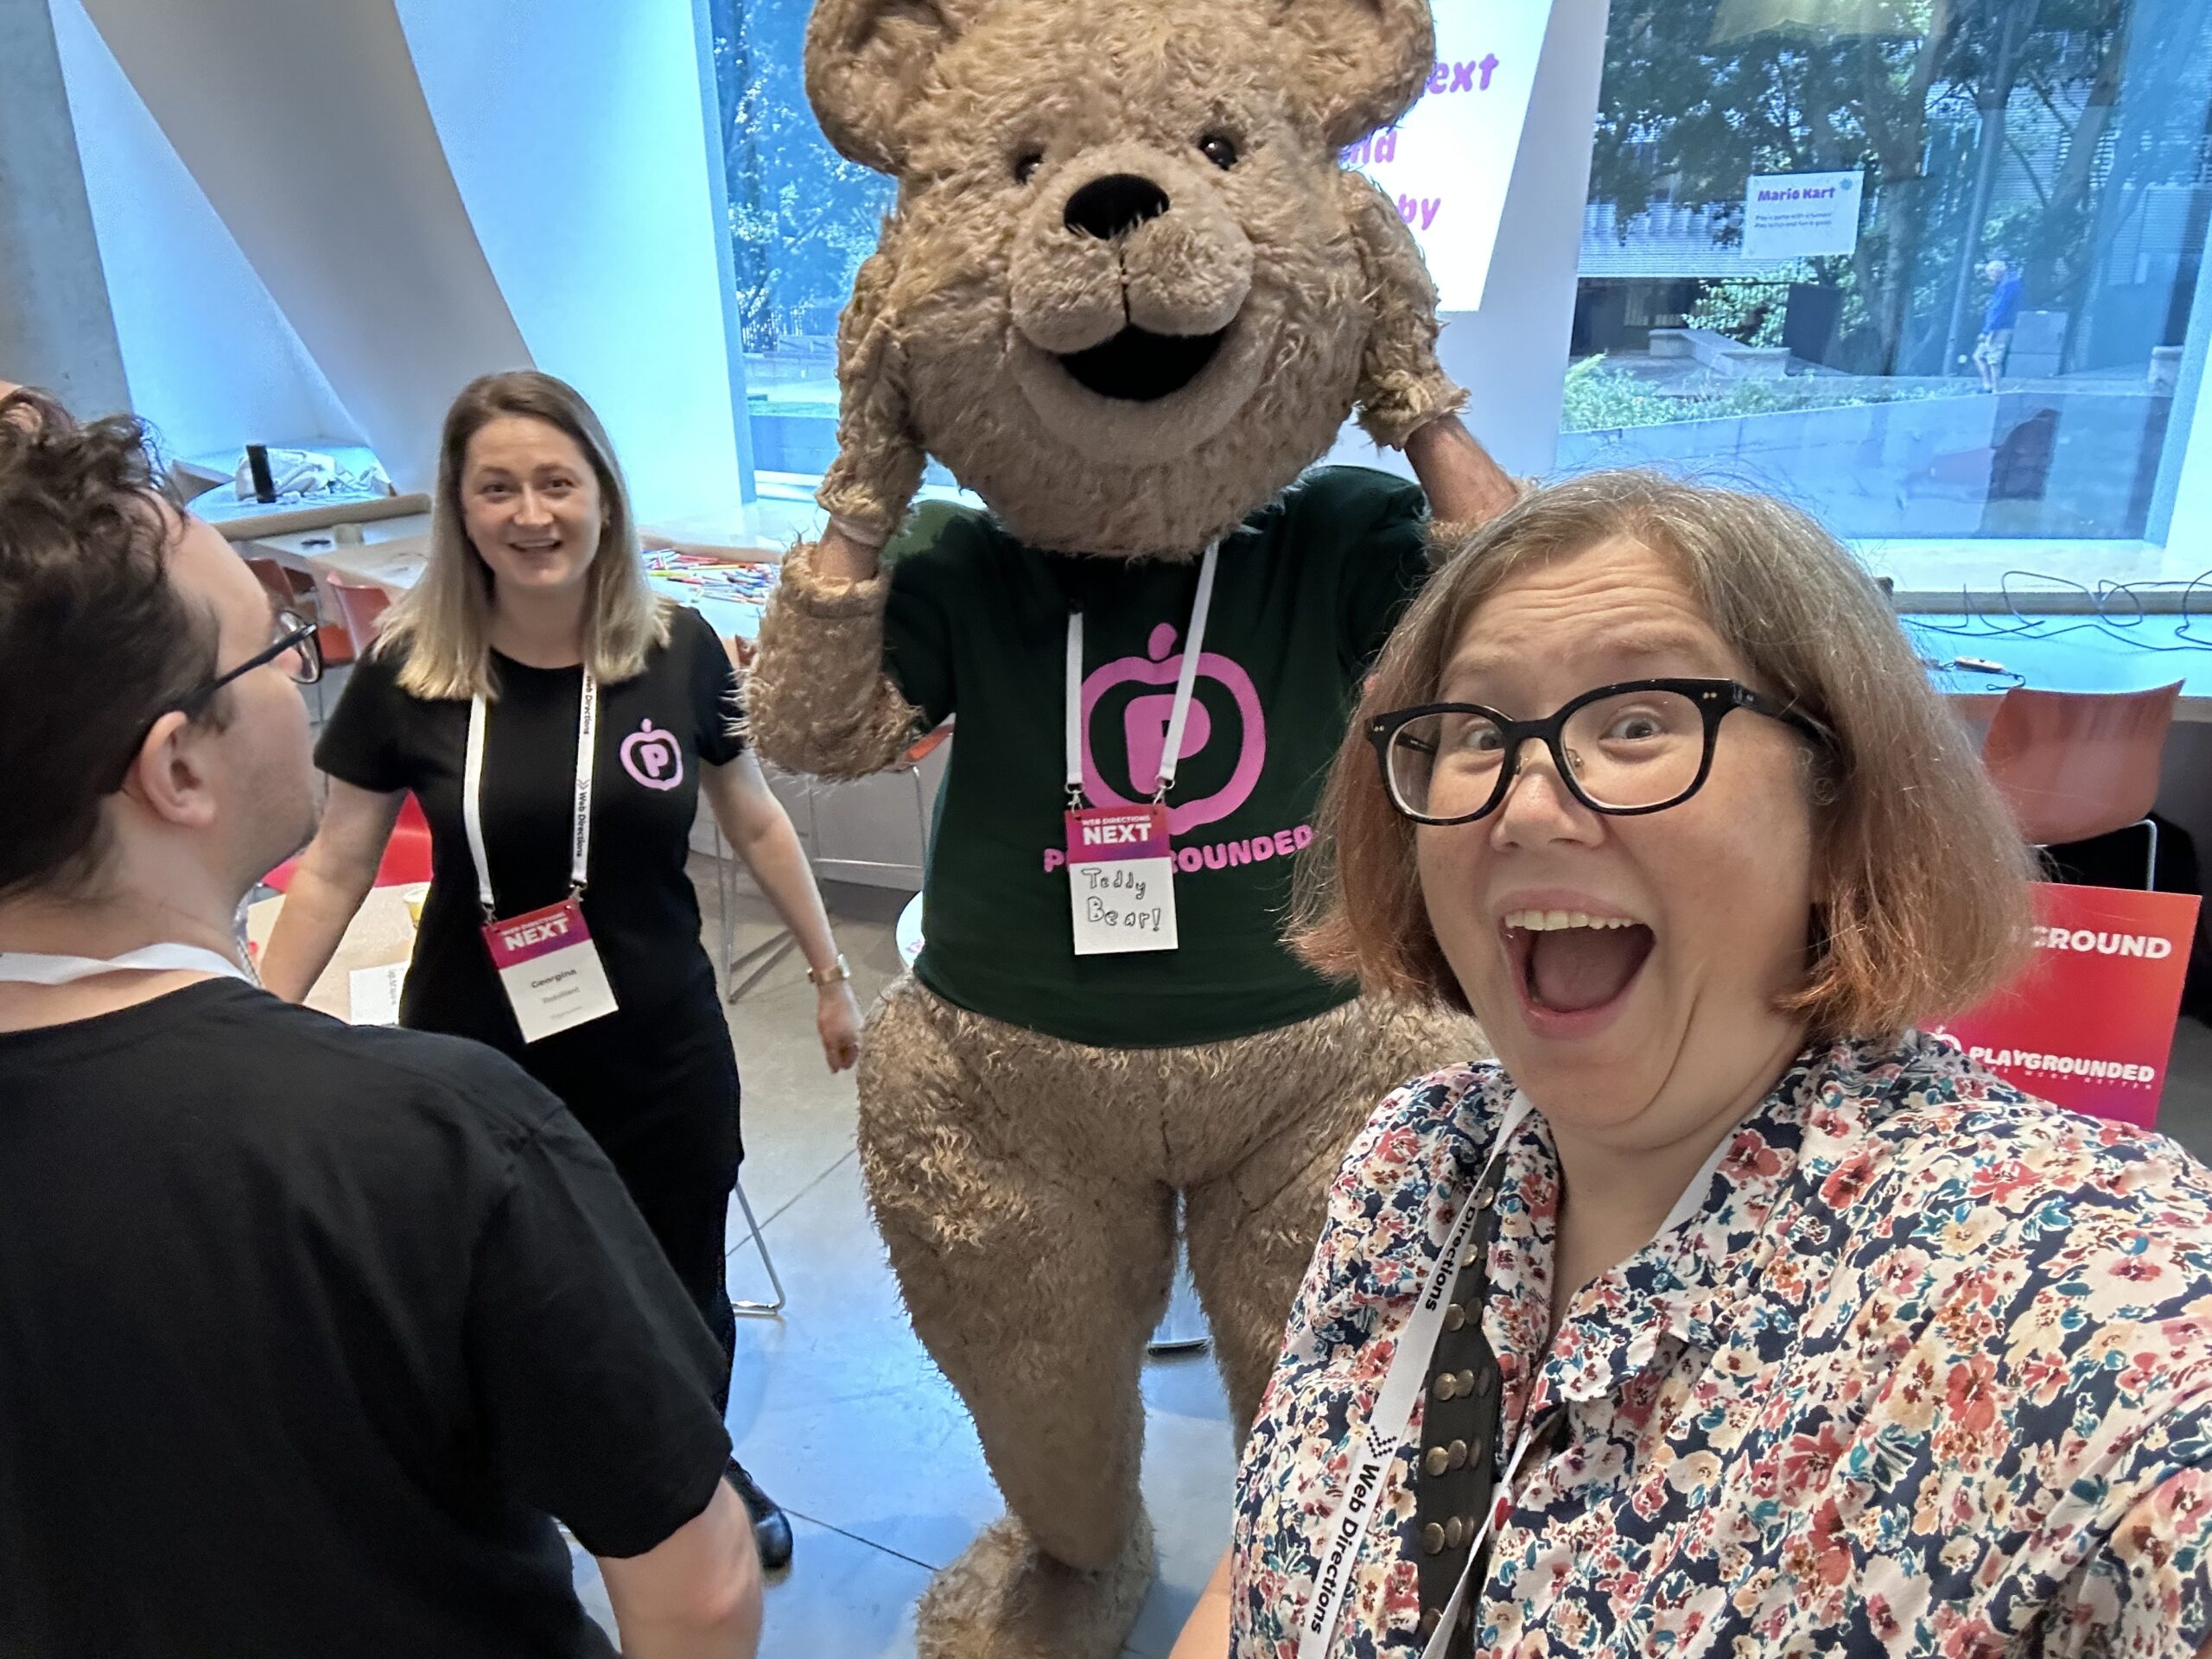
One of the charming parts of this event was the activations provided by my friends at Playgrounded out in the expo area. Stefan and Georgina had provided a number of ways for attendees to relax, meet new people, and learn by engaging different parts of their brain. They had Lego, Play-Doh, video games, and Stefan even dressed as a giant teddy bear at one point. I also really appreciated this “bean sorting activity,” and it appears I wasn’t the only one. (Playgrounded focus on helping leaders with growing, hybrid, and remote organisations to connect better with their groups. You should definitely check them out.)
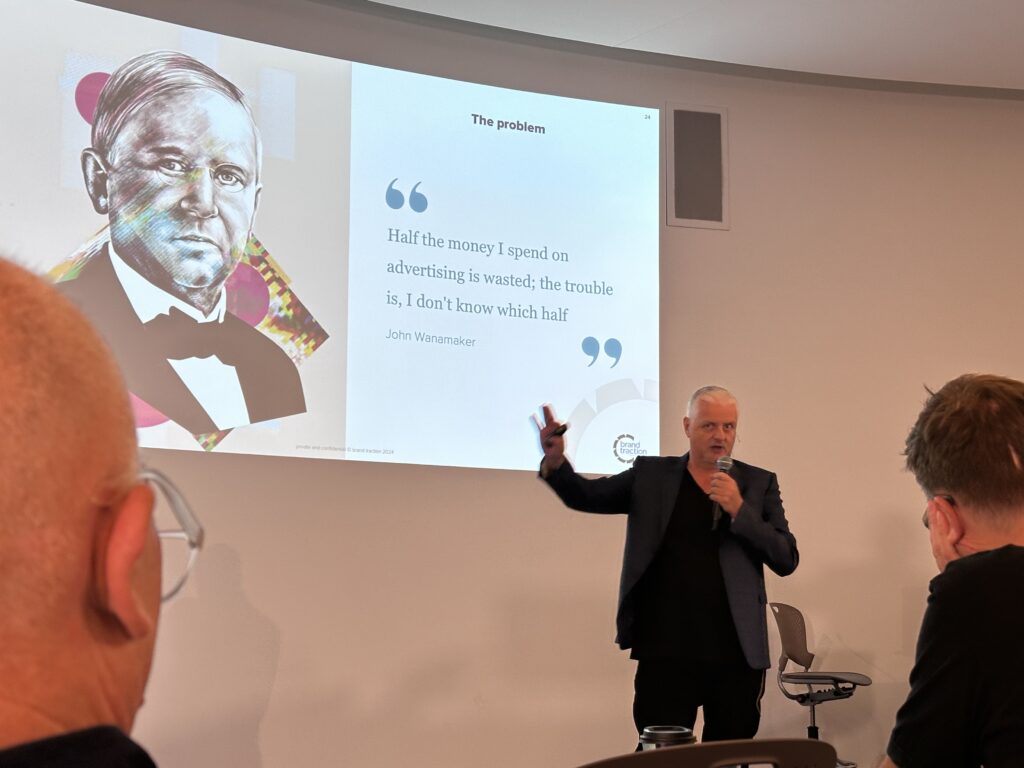
The next speaker was Jon Bradshaw, talking about something both Rodd and I have worked with in our careers: data-driven advertising. Marketing budgets are down, Jon said, but spending on MarTech is up. People are trying to make their money go further, but data-driven marketing is expensive and complex. Jon was realistic about the challenges and drawbacks of trying to use data to target your advertising, pointing out that data quality is often very poor and the sales it drives are incremental (ie. the person would’ve bought anyway). The best approach, Jon suggested, was still the traditional one: “fishing where the fish are,” and making sure that marketers fit their message to the particular medium.
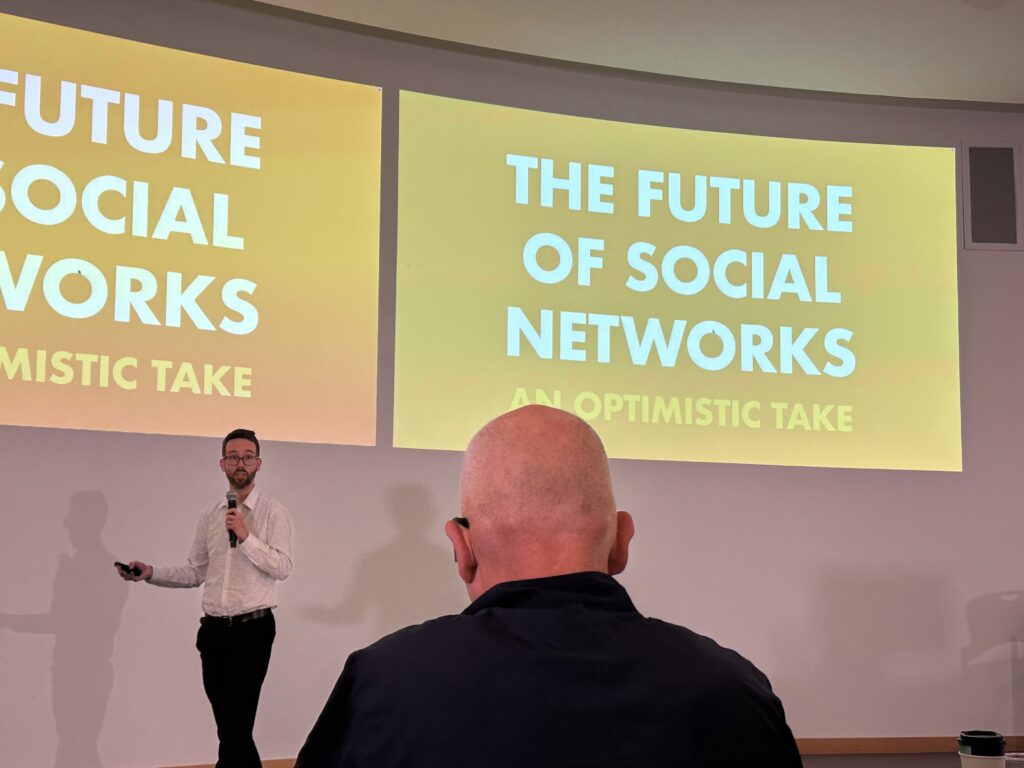
The next talk was also one of my favourites — Jon Bell talking about the future of social networks. And Jon should know, having previously worked at Twitter. Jon demonstrated a number of solutions to the problems of social media, and the best part, he emphasised repeatedly, was that they were all possible today. These aren’t theoretical concepts; they’re practical ways for filtering trolls, enabling better search, and improving our algorithms. It was really fascinating to connect this talk with many of the ongoing discussions I’ve seen lately on Bluesky and Mastodon about ways to verify identity on social networks, and methods to filter out noise and bad actors. (This talk was also delivered on the same day the Australian government banned under-16s from social media. Timely.)
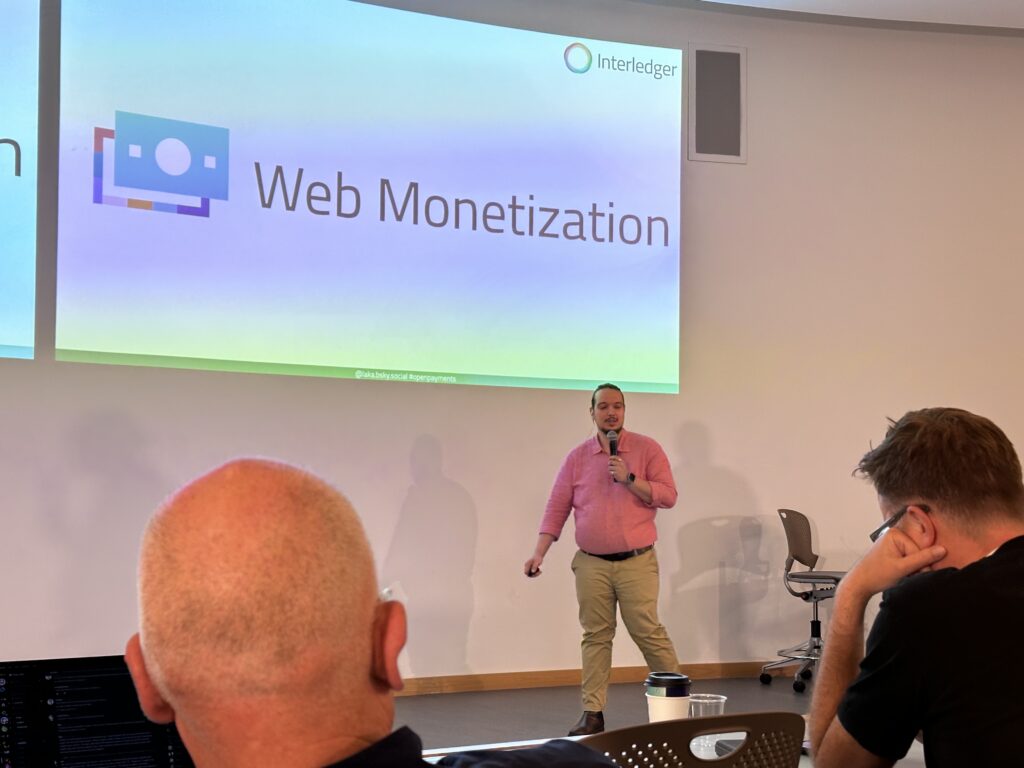
Next up was Alex Lakatos, who gave a fascinating talk about Interledger. Interledger, he emphasised, is not a crypto project. (Phew!) Instead it’s about developing a new standard for sending payments between banks overseas. As someone with money on three continents, this talk was definitely relevant to my interests! Alex pointed out that only around 70 countries in the world have connected banks, and banking software is really old and slow. This is why it takes so long to move money around. Alex talked about how the group mapped the principles of Interledger onto the founding principles of the Internet, and how they approached some of the problems around packet loss and different currencies. One intriguing effect of the Interledger protocol is that you can “stream” payment, meaning you could pay websites for the amount of time you spent on their site rather than having to watch ads! The biggest bottleneck to uptake of Interledger’s technology is regulators and lawyers. (The project is on Github if you want to contribute.)
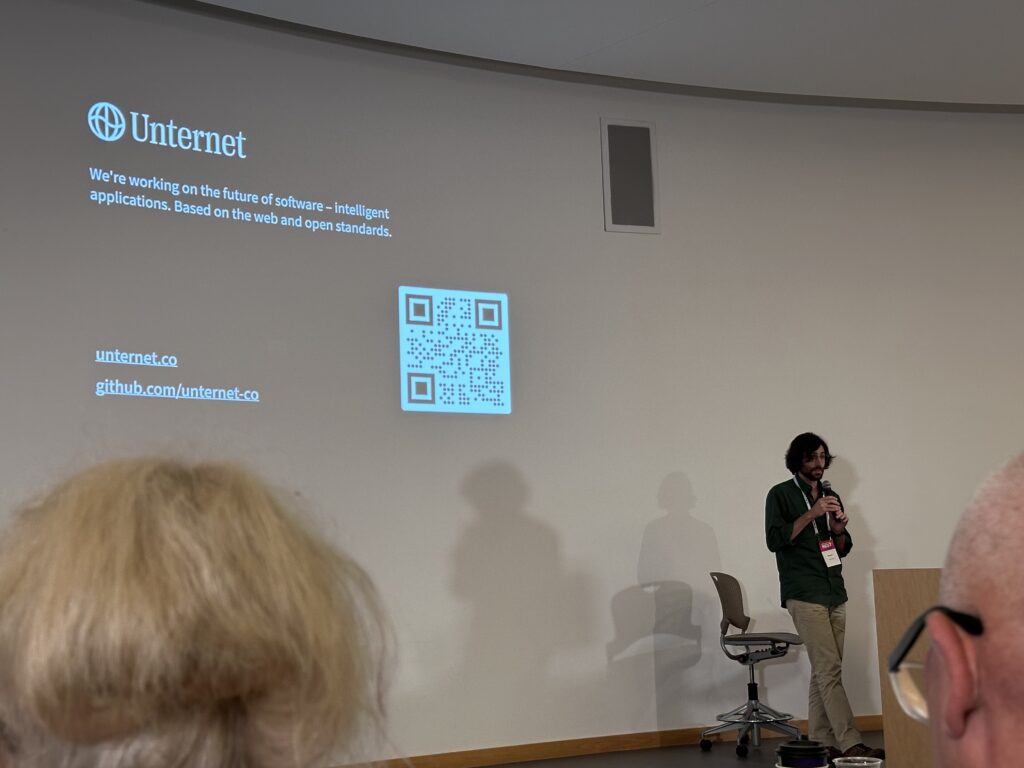
Next we had a very quick lightning talk from Rupert Manfredi, the CEO of a new project called Unternet. Rupert talked about how traditional point-and-click applications built for humans are dumb and unconnected, which means AI agents aren’t really able to take action on your behalf right now. Unternet are trying to create a new kind of software called Web Applets that are designed for human-AI collaboration. I need to dig into this a bit more, as it sounded like the process of defining an Applet is basically just defining an API. It would have been good to hear more about why this is different from traditional APIs, but unfortunately he didn’t have much time. (The challenge with a conference stuffed with amazing speakers and that prompts so much discussion is that by the end of the day, you’ve run far over the planned schedule!)
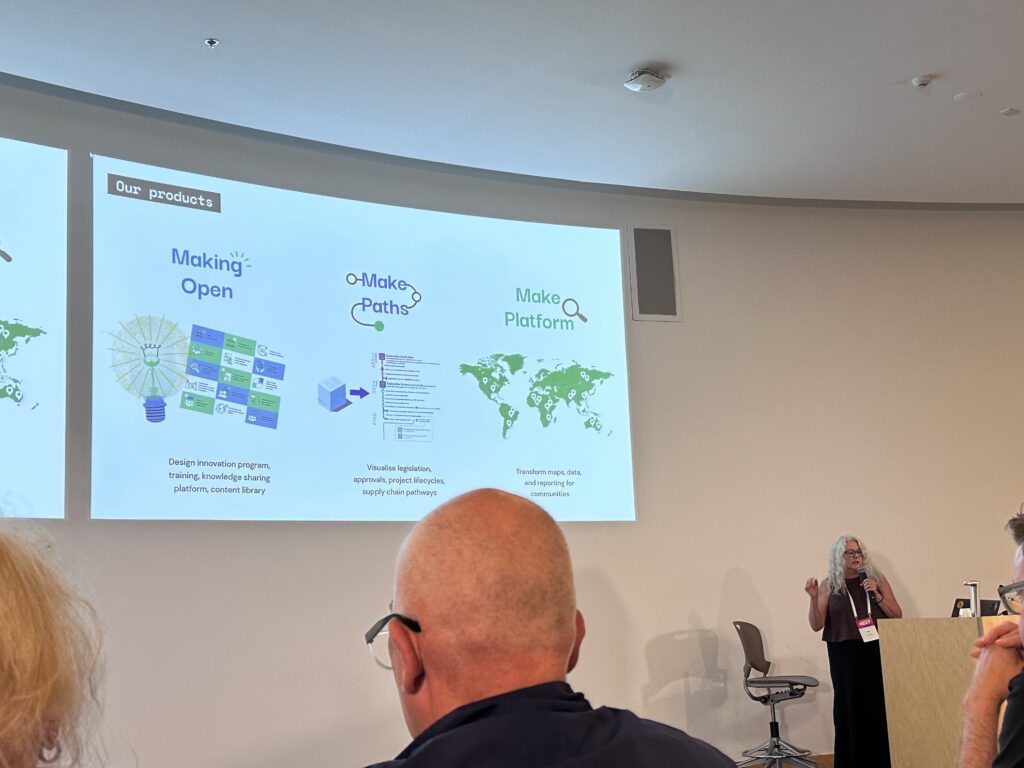
We also had a very, very quick introduction to Mel Flanagan from Nook Studios. In particular, Mel talked about some of the projects they’ve worked on for the government to make data and information more open and available to the community. I was really interested to hear about Common Ground, a web service that helped people access information about mining activities in their area.

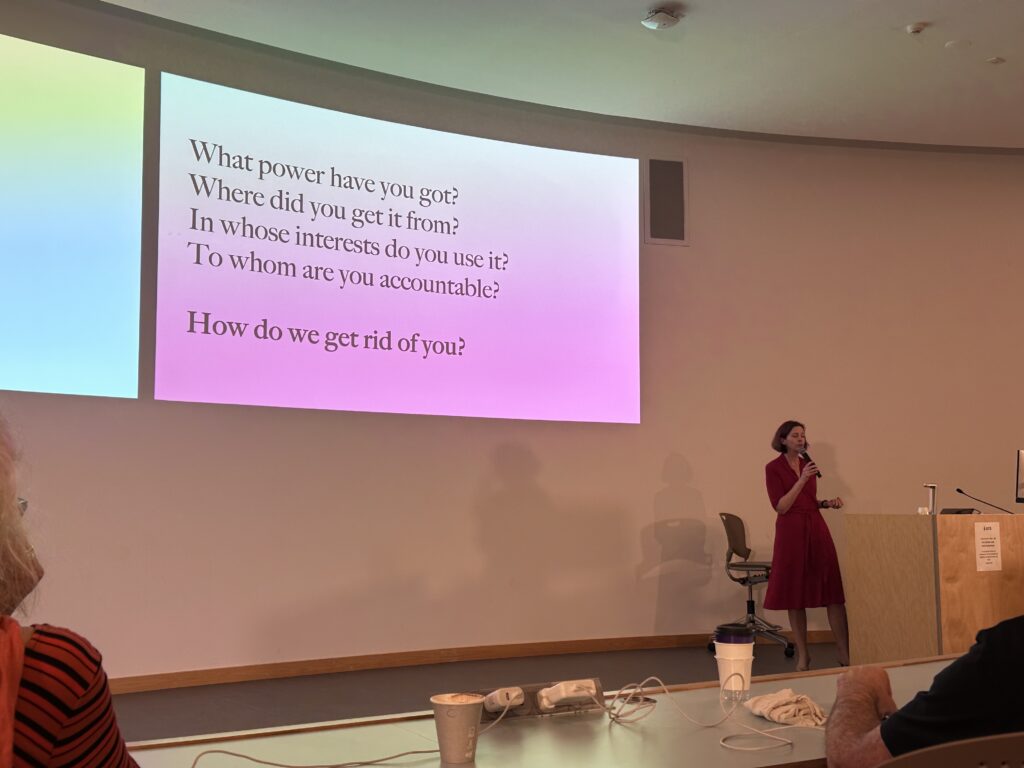
The final speaker for the event was Maria Farrell, talking about. “rewilding the Internet.” I absolutely loved this session and related to it strongly. It brought together a lot of the strands from the other talks, but she also challenged a few of them as well. Maria started off talking about Prussian forestry, and how the leaders chopped down old grown forests and replaced them with organised monocultures of trees grown for timber. This brought great profits for a short time, but then collapsed due to lack of resilience and diversity. The analogy to tech is pretty clear. Maria then pointed out that we have global duopolies across pretty much the entire tech stack, and you can see the effects with things like Crowdstrike. Maria shared with us her “OFG Theory of Internet Governance,” which is that there’s always One Fucking Guy extracting data and capital and exerting control over everyone else. “Big Tech loves autocrats and dictators,” she pointed out. Her talk was a call-to-arms to help disassemble these silos. She shared some questions that should be put to leaders, and pointed out that if they can’t answer “How do we get rid of you?”, then we don’t live in a democratic system.
So ultimately “rewilding the Internet” is about bringing back the Internet of weirdness and the Cosy Web, and getting rid of the OFGs. How do we do it? First, the government needs to use the coercive power of the state. They need to knock down monopolies and mandate interoperability. The way we get involved, she said, is to give our politicians hell. We can also do our own part to rewild the Internet, by using services outside the monoculture silos. She listed a number of services, and I made a mental note to investigate moving my email service away from Gmail. We can also choose how we pay the costs of data infrastructure and journalism, rather than giving up our data and privacy to OFG. The goal of all of this, she said, is to regain the feeling of being connected, of being part of something bigger. 🩷 Like I said, I really resonated with Maria’s talk, and it’s very much in line with my recent attempt to Get Back to Blogging and to start centralising my data onto my own platform rather than scatter it across silos.
Thanks again to John and the Web Directions team for putting on such an excellent event. It was lovely to meet all the speakers and to learn about so many new things. I’m going to try to hold onto this feeling of optimism and engagement as we head into 2025. Things are going to suck, but together we can put up a strong resistance and try to build a better future.
-
Custom Bluesky and Mastodon usernames with your own domain
I recently went through the process of setting up custom handles/aliases for myself using my domain name on Bluesky and Mastodon. I figure I’ll share the steps here in case anybody else with a similar setup (WordPress on Amazon Lightsail) wants to do the same.
Bluesky
Simply follow the instructions that Bluesky have provided here. In Step 5, you will need to add a TXT record to your domain DNS. If you use Amazon Lightsail, click on the Domains & DNS option and then select the relevant DNS zone (in my case, web-goddess.org).

Then click on the DNS records tab and click the + Add record button.

Change the record type to TXT record and then put in the name and response provided by you by Bluesky. (The “host” is the “Record name,” and the “value” is the “Responds with.”) Click save.

Wait a little bit — in my experience, 30 seconds is usually sufficient — and then click that Verify DNS Record button in Bluesky. And then you’re done!
In my case, you can now find me at @web-goddess.org on Bluesky.
Mastodon
Mastodon is a slightly more involved process, and it doesn’t change your official server username but rather gives you an alias that you can give out. In my case, my current Mastodon account is @web_goddess@aus.social. However, if I give out an alias instead, then it doesn’t matter if I change servers in the future — you’ll still be able to find me. I was inspired by these posts by Phil Nash and Maarten Balliauw for how to do it.
First, open up a new browser tab and go to this URL, substituting your own Mastodon account values in there:
https://{instance}/.well-known/webfinger?resource=acct:{username}@{instance}So in my case, I went to https://aus.social/.well-known/webfinger?resource=acct:web_goddess@aus.social. What you’ll get back is a blob of text (JSON). Copy that and set it aside for the moment.
Then go to the Lightsail console and click on the little terminal icon to Connect using SSH to your instance.

A window with a terminal will appear.

Now you need to go to where the WordPress files are stored for your site. Type in this command in the terminal and hit enter.
cd stack/wordpress/
Important note: The path above is for one of the newer WordPress Bitnami instances. If you have an older instance, the path to where your WordPress files are stored might be different.
Then you’ll need to create a new directory called “.well-known.” (Note the dot in front of the name.) Type in this command and hit enter.
mkdir .well-known/
Then go into that directory. Type in this command and hit enter.
cd .well-known
Now you will need to make a special file called webfinger. Type in this command and hit enter to open a text editor in the terminal.
nano webfinger
This is where you will paste in the blob of JSON text you copied from your Mastodon server. Copy and paste it straight into the editor, and then hit CTRL-X to exit.
The editor will ask if you want to “Save modified buffer?” Type Y for Yes, leave the name as webfinger, and hit enter to save.
You can then exit the Lightsail terminal and close the pop-up window.
exit
If everything worked correctly, you should now be able to go to your own domain and receive the JSON blob back by substituting your domain in this address:
https://{yourdomain}/.well-known/webfingerIn my case, I went to https://www.web-goddess.org/.well-known/webfinger in a browser tab and verified that the JSON was returned.
And that’s it! What does this actually mean? It means I can tell people that my Mastodon username is @kris@web-goddess.org, and if they type that into a search box on Mastodon, it will point them to my official account.

If I change servers in the future, I’ll just have to update the JSON blob with the correct values from my new Mastodon server, and people will continue to be able to find me from the alias.
-
Palia on Mac
I’ve been casually playing Palia on my Switch for the past couple months. I’d heard it described as a “cozy” game, and I’m all about the cozy. You are a human in a fantasy realm, and you build a little house and farm. You hunt; you craft things; you cook food; you go fishing. There are some quests and puzzles along the way, but you don’t have to do those if you don’t want to. Nothing attacks you, and if you do manage to kill yourself (like by falling into deep water) it just resets you right nearby with no damage. I’m enjoying it.
Playing on the Switch has some downsides though. Eventually I noticed that in the chat, other players were sharing where special items could be found. But typing messages with a game controller is painful. It seemed like most other people were probably playing on their PCs. But I don’t have a PC. I have a Mac mini, and Palia doesn’t have a Mac client yet.
 BUT! Apparently this is no longer a problem these days? I found some Reddit posts where people mentioned getting it to work on Mac using Whisky, which seemed doable. Then I found this Palia on Mac launcher that handles a lot of the setup for you. I kicked it off and installed Whisky, and followed the steps to setup a “bottle.” First problem: my bottle disappeared. I’m not sure what the issue was, but I tried it several times and they’d just vanish (but I could see the folders in the Finder). Eventually I reinstalled Whisky directly (rather than going through the launcher), and I went into the Finder and deleted the extra bottles. Suddenly my original one appeared. Yay! Then I went back to the launcher to finish the setup and download the game files. Second problem: the downloads would seem to hang with, like, no visual feedback what was happening. It looked like other folks on Reddit had similar issues, and that the key was just to keep restarting the launcher and it would continue where it left off. After leaving it alone for an hour or so today, it managed to get everything and the “Run” button appeared!
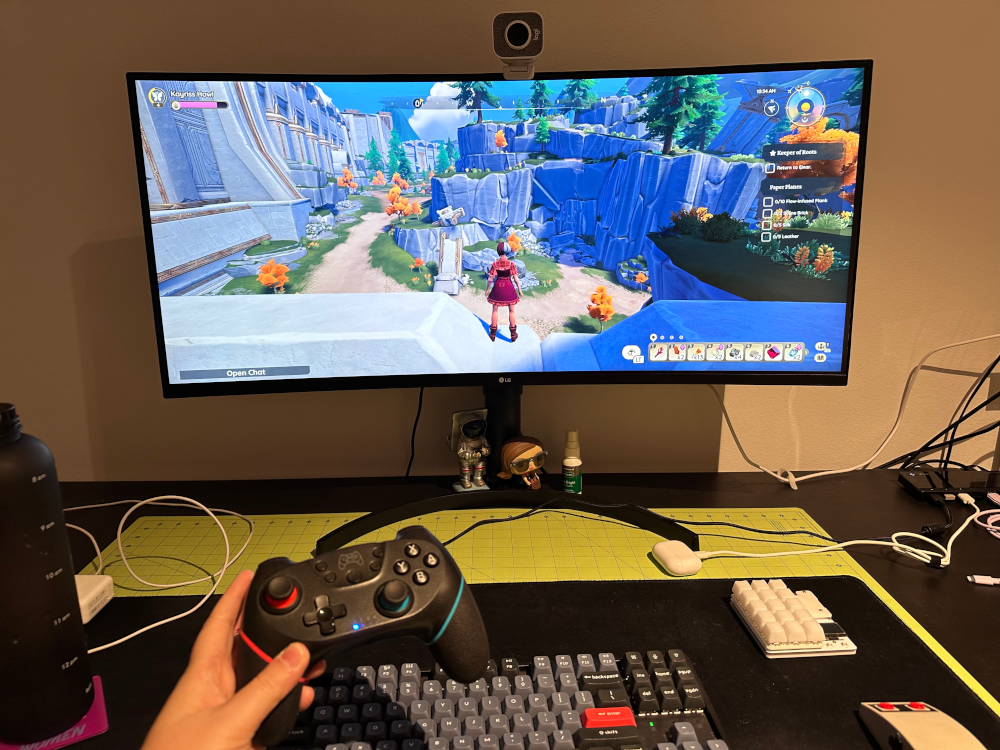
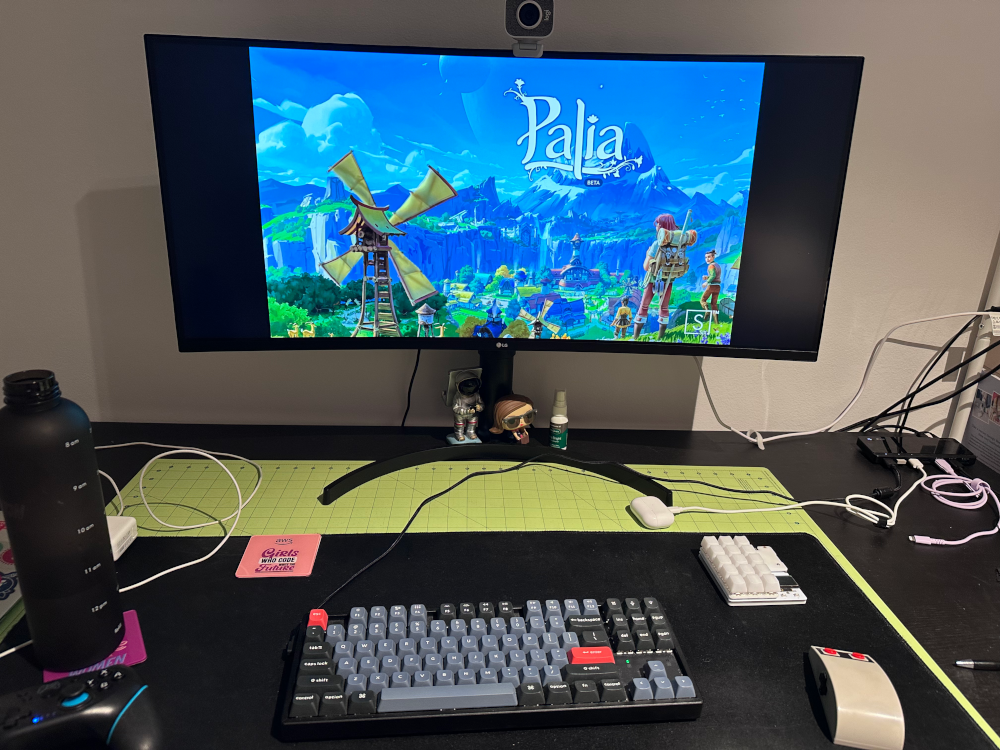
The game looks fantastic compared to the Switch. Mac mini is a lot more powerful, obviously! I was prepared for some glitchiness, but it was really minimal. I had one crash, but otherwise everything worked really smoothly. Rodd suggested I change it to play in a window rather than full screen, as on my wide monitor it was actually making me motion sick. But I’m going to just try to get used to it, because it looks so gorgeous.
At first I tried playing with keyboard and mouse, which took some getting used to. I just don’t have the muscle memory yet. I could see that it was really great for some things – choosing stuff from your inventory, moving around the map, chatting to other players – but for other things it felt a bit awkward. And fishing sucked – there was so much lag that I lost every fish I hooked. Eventually I hooked up a Bluetooth controller, and that gives the best of both worlds. I can run around and catch fish, but also easily switch over to the keyboard for tasks that need it.
Anyway, if you want to try it out, you can use my “Refer a friend” code and I might get some in-game swag for it. The game is free to play, but apparently you can use real money to buy, like, funky outfits and stuff. (You don’t need to though; I haven’t paid a cent!) Let me know if you start and I’ll friend you in there!
-
Mac mini + duckyPad
 When I handed back my work laptop a few months ago, it occurred to me that I needed a new computer. My 2015 MacBook Air is still going strong but it’s many, many years old, and I knew it would struggle with streaming or playing games. So off I went and merrily started pricing new MacBooks when I suddenly wondered… maybe I don’t actually need a laptop?! It was a strange feeling. But I’ve got the Air and an iPad, and it’s not like I need to do work on the road. So I ended up choosing a Mac mini M2 Pro, and so far I’m really happy* with it.
I realised today though that I needed to update my duckyPad. Many of my shortcuts were related to work and therefore obsolete, and I also noticed that a few macros weren’t working anymore. So I downloaded the latest Mac ARM Configurator app and fired it up. Unfortunately it failed to connect to the duckyPad. Hmmm. I went through the troubleshooting and added some permissions, but that didn’t fix it. I also dug around in the official Discord to see if anybody had similar issues. I figured maybe there was some issue with the latest Macs, so my next approach was to plug it into the old MacBook Air, which still had an old version of the Configurator on it. That’s when I remembered that with the old version, you didn’t connect to the duckyPad directly but instead used an SD card reader. D’oh! As soon as I did that, it told me that my firmware was out-of-date. Makes sense.
I went back to the Mac mini and followed the instructions for updating the firmware, which included using Brew to install a utility. That worked perfectly and I was able to then flash the firmware, and as soon as that happened I was able to directly talk to the duckyPad. Brilliant! I was able to remove all the old work macros, set up some new ones, and fix the old ones. (It turns out that I was using “HOLD” in some of them, which has since been replaced by “EMUK.”) The only challenge is that the Configurator is oddly unresponsive when you’re editing. I had to often click multiple times to get it to register or to change focus. Not sure why that is. It works; it’s just super super slow. When I was done, I hit “Save” and the new config was written to the pad.
And incidentally – there’s a new duckyPad Pro coming! It’s got more keys, and knobs. I don’t really need it, but it looks cool.
* My only complaint about the Mac mini is that without a Mac laptop or keyboard, I don’t have Touch ID. That gets really annoying when typing my long master password into Strongbox. I’ve seen a few folks though that have hacked a standalone Touch ID button though… A project for another time. 🙂
-
Video games I loved recently…
I’ve been on a real gaming tear this year. Back in January I wrote about Dave the Diver and Unpacking, and I thought I’d mention a few more Nintendo Switch games that I’ve been playing lately and really enjoyed:
- Yoku’s Island Express – Rodd found this one recommended on Reddit for people who like no-stress platformers. You play a little bug postman who pushes a ball around an island, and it’s like a platformer crossed with pinball, two things I LOVE. The artwork and world building is really cool too.
- Steamworld Dig 2 – Another fun platformer where you play a little robot exploring a (mostly) underground world, digging minerals and trying to solve a mystery. There were one or two places were I got stuck and had to look up how to solve something, but I managed to defeat the end boss today all on my own. Good times!
- Palia – Anybody else playing this? I literally just rolled a character tonight. I’ve heard good things about it…
We also spent some time playing Breath of the Wild (a friend lent it to me) and I can see why it won so many awards. It just wasn’t for me, though. I struggled with all the different mechanics, and every time I picked it up I had to relearn how to do everything. There was just too much. I like something a bit more casual and low stress. If you’ve got recommendations, please share them!
-
Switching mobile plans to Boost
When I was working full-time, I was fortunate in that my Australian employer had a generous mobile phone benefit. To maximise that, I did what most of my colleagues did – go to the nearest Telstra store and get a handset with the biggest plan that came under the cap. Now that I’m not working, I have to pay my own bills… and I know the Telstra plan is massive overkill for what I actually use. So I called them up, found out cost to pay out the rest of my contract, and worked out that it would be far more effective to switch over to a pre-paid 12-month Boost SIM. It uses the Telstra network and for $230 you get 170GB of data, unlimited Australian calls and texts, as well as unlimited calls to the US. I bought one of the SIMs at Coles and was able to port my number over and be up and running in less than an hour.
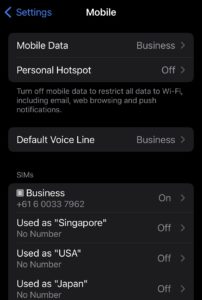 HOWEVER! I did have one issue with my iPhone, and I thought I’d mention here in case it helps someone else. See my Settings here? Even after my existing number was ported, the Mobile settings still showed the phone number that came with the SIM (that +61 6… one). It wasn’t a huge problem; I double-checked by calling and SMSing Rodd that my ported number was being used correctly. It did screw up iMessage and FaceTime though, as my ported number wasn’t listed as an eligible Receiving option. I tried changing it (both in Settings -> Mobile and also Settings -> Phone -> My Number) but it wouldn’t save. I restarted the phone multiple times. I contacted Boost, who couldn’t see any issue on their side. The agent said he thought that something was just cached, and it would eventually fix itself. But it stayed that way for weeks… until I finally figured out the solution myself.
If you find yourself in the same situation, just go to Settings -> General -> Transfer or Reset iPhone. Click the Reset button (a bit scary, I know!) and then the “Reset Network Settings” option. It’ll ask you to confirm before it does it. And that fixed it! My ported number was finally showing for the SIM, and I was able to add it back to iMessage and FaceTime.
(And if you’re curious about the overseas SIMs showing there, those are eSIMs that I use when travelling. I’ve been using Airalo for my overseas data needs for the past couple years and I’m very happy with them. Much cheaper than paying Telstra’s $10/day charge!)
-
You have died of dysentery.
Friday night fun: watching a 90min documentary on “The Oregon Trail” educational video game. (I’m not even kidding. This was a massive nostalgia trip for me and I learned heaps about the Minnesota tech industry in the 70s and 80s.)
* Trivia – The phrase “You have died of dysentery” never actually appears in the game!