Chambray Shorts

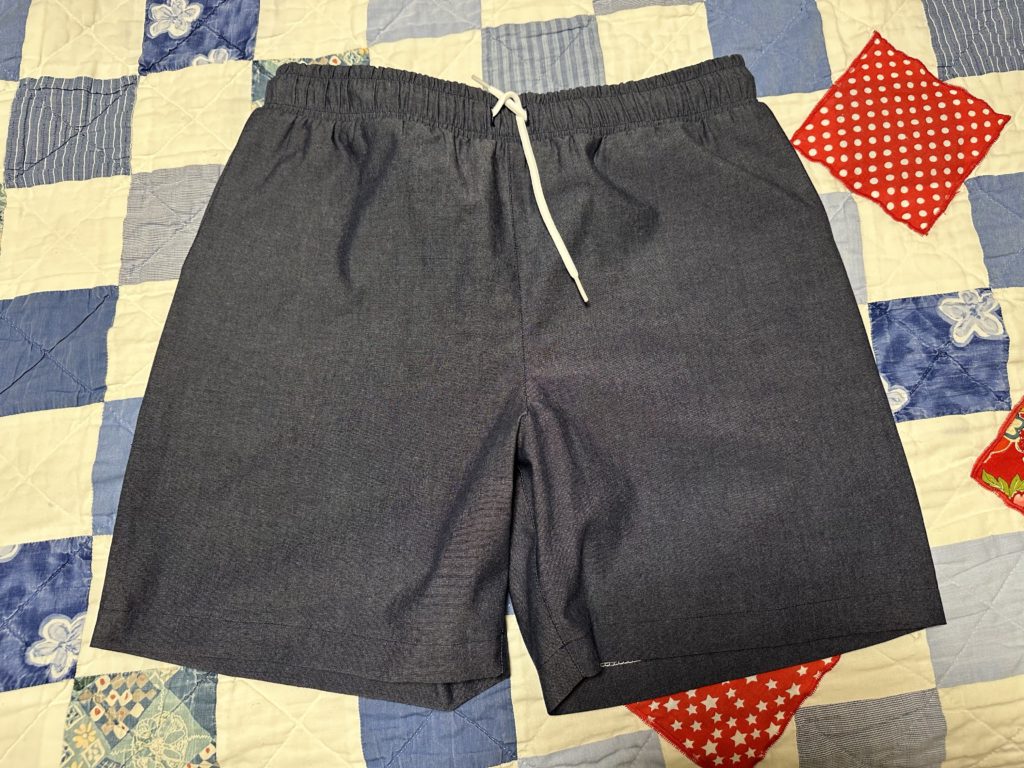
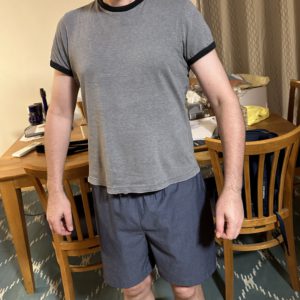
Trigg ShortsI had such fun making Rodd’s Trigg Shorts for New Year’s Eve that I decided to make another pair. I’ve had this chambray in my stash for a few years, thinking it might make a nice pair of shorts. And guess what? It does!

I asked the Snook if I needed to make any size adjustments, and the only thing he asked for was a slightly bigger waistband when fully stretched out (like when he’s pulling them on). Consequently I made the same size as before – size D – but this time I extended the waistband piece by about an inch. (So I added around 2″ in total.) I still cut my elastic the same length, which meant that I just needed to stretch it a bit more when sewing. As you can see, you can’t really tell at all but it makes it a little stretchier. The only other change I made was to use machine-sewn buttonholes for the waist tie, rather than metal eyelets.

Trigg Shorts

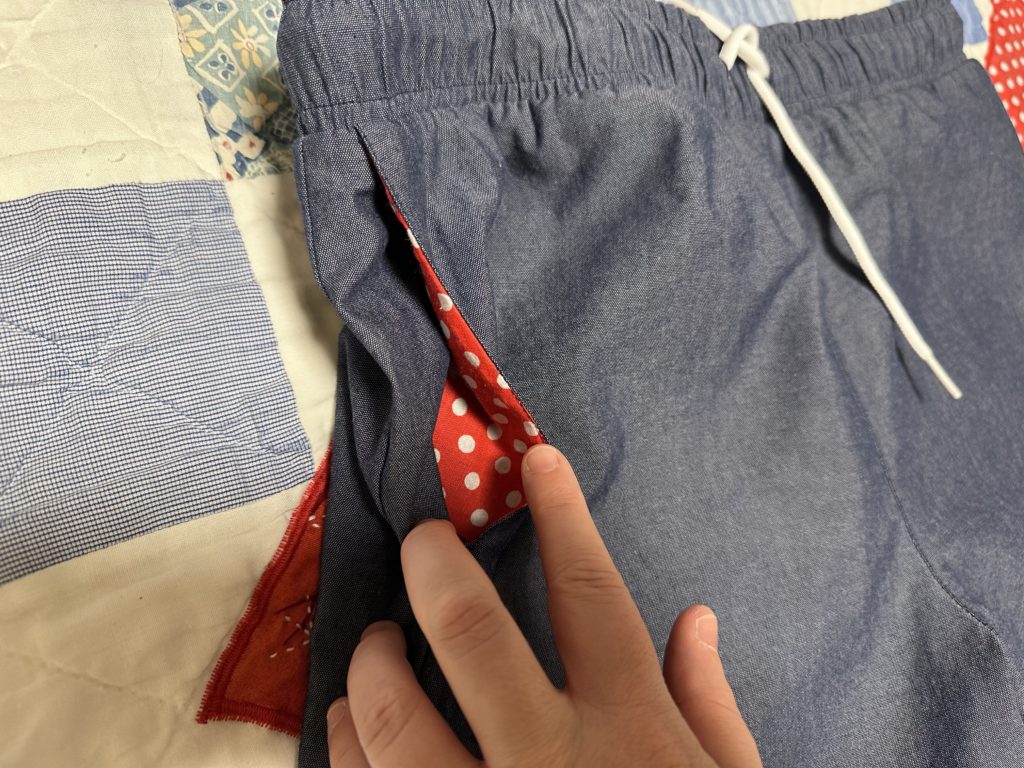
I decided to get a little whimsical with the pocket bags and used some red polka dot from my stash. Cute, huh?

Pockets

GlowStitch LEDs

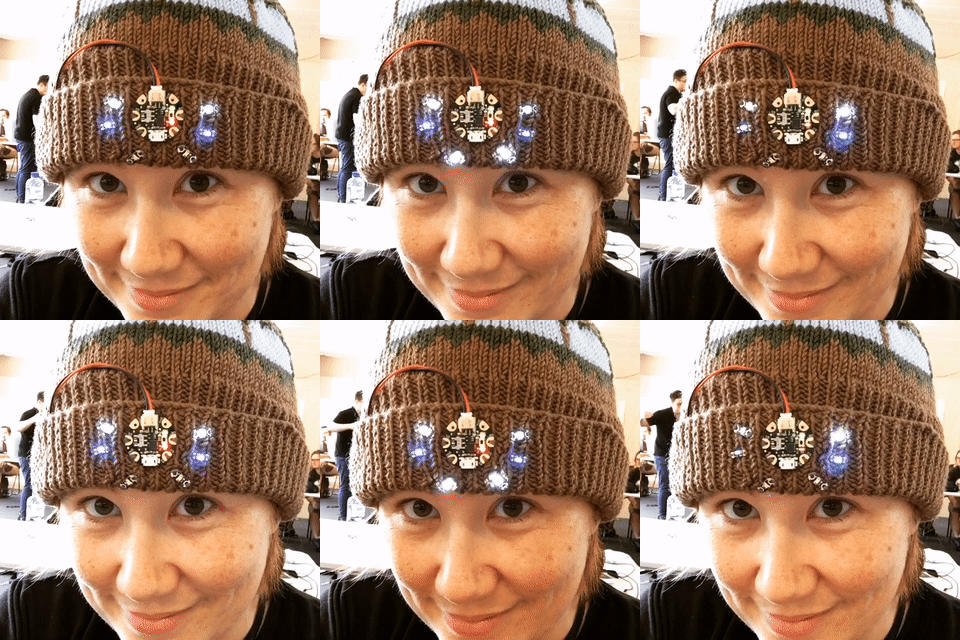
I’ve had some fun combining LEDs with textiles before, most notably with my Canva Three Commas Cushion and my light-up CampJS beanie. Both of them required laborious hand-sewing though, so I was very excited to see Steph’s newest project – GlowStitch LEDs. These use conductive tape rather than thread, and can therefore be machine sewn. AMAZING! I’ve backed the crowdfunding campaign, and I can’t wait to get them and have a play. I especially liked Steph’s project log where she talks about all the decisions along the way, the mistakes she made, and the lessons she’s learned. Very cool…

A Quilt for Baby Taos

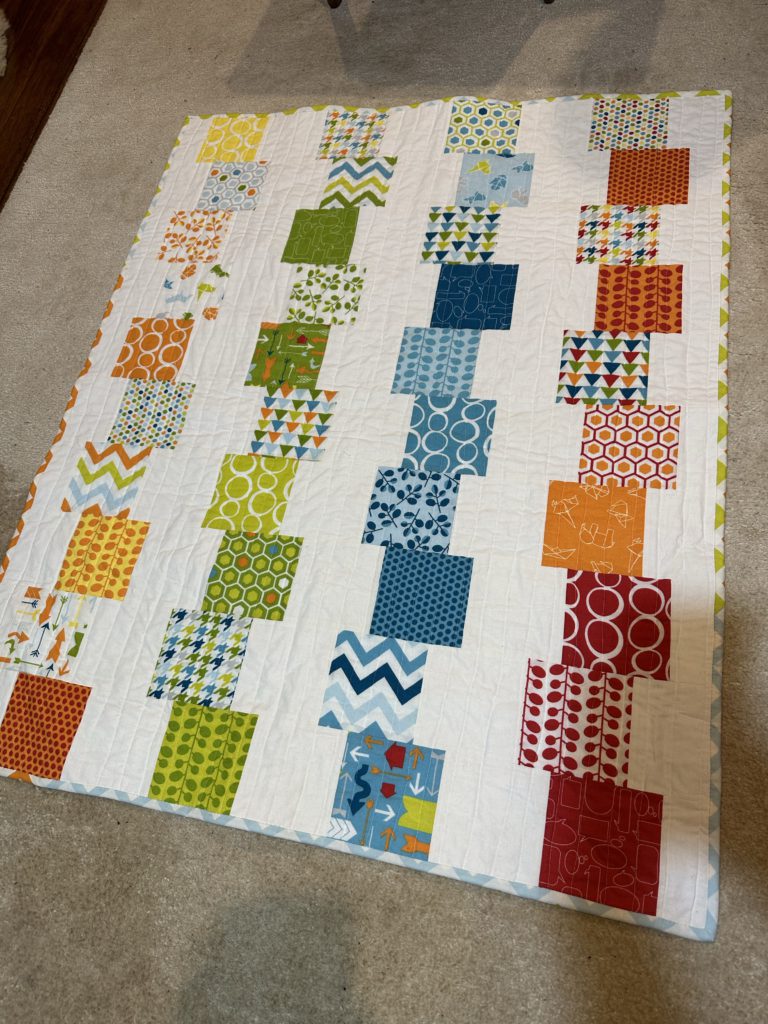
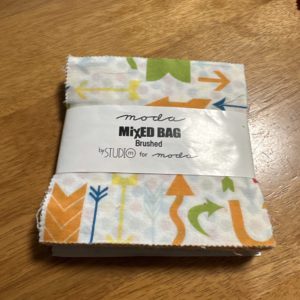
Moda Vera MIxed Bag Charm PackMy dear friends Josh and Jamie welcomed their new baby son Taos this year, and I decided that I wanted to make him a little quilt. I’ve had this Moda Fabrics “Mixed Bag” Brushed Cotton charm pack in my stash for a long time, and I realised it would be perfect for a little one. (A charm pack is a set of precut 5”x5” fabric squares, all from the same fabric line so they coordinate.) I started googling to get inspiration and spotted this Building Blocks pattern. I realised that I didn’t even need the pattern; I could just design my own using the same idea.

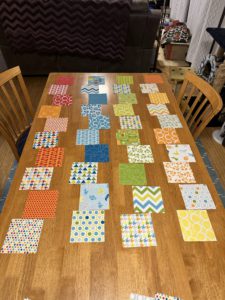
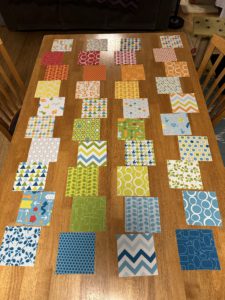
I settled on a design of 4 columns of 10 blocks each against a white background. I played with a few different layouts on my dining room table and got Rodd to give his opinion. I decided to go with the one on the left here, which was organised vertically by colour.

Piecing the quilt top was very quick! I used a plain white cotton for the background, which contrasted nicely with the brushed texture of the blocks. I sewed it together in horizontal rows, making sure each alternating row was offset by using a half block at the beginning or end.
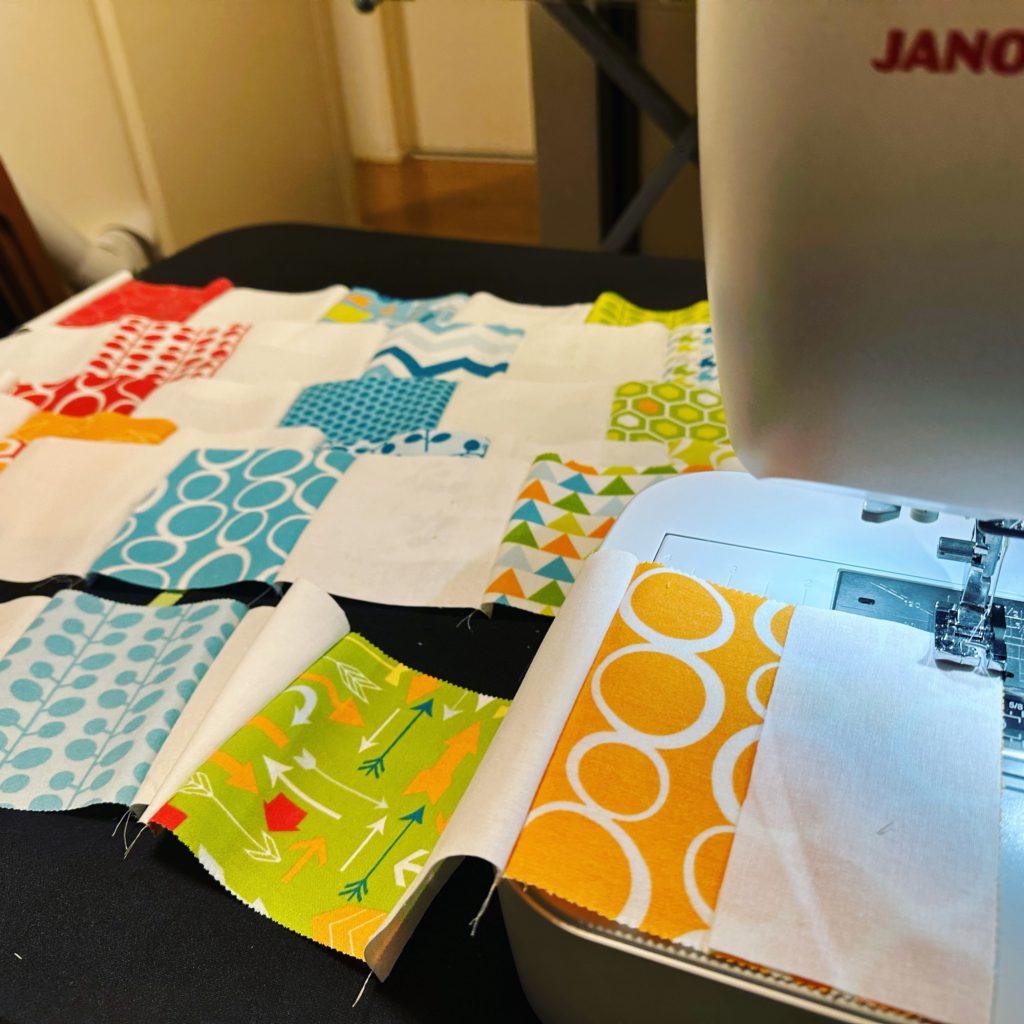
Sewing the quilt top

Once I had all the rows done, I simply joined them all together. Charm packs certainly made the process go faster. I had the whole thing put together in less than a day!
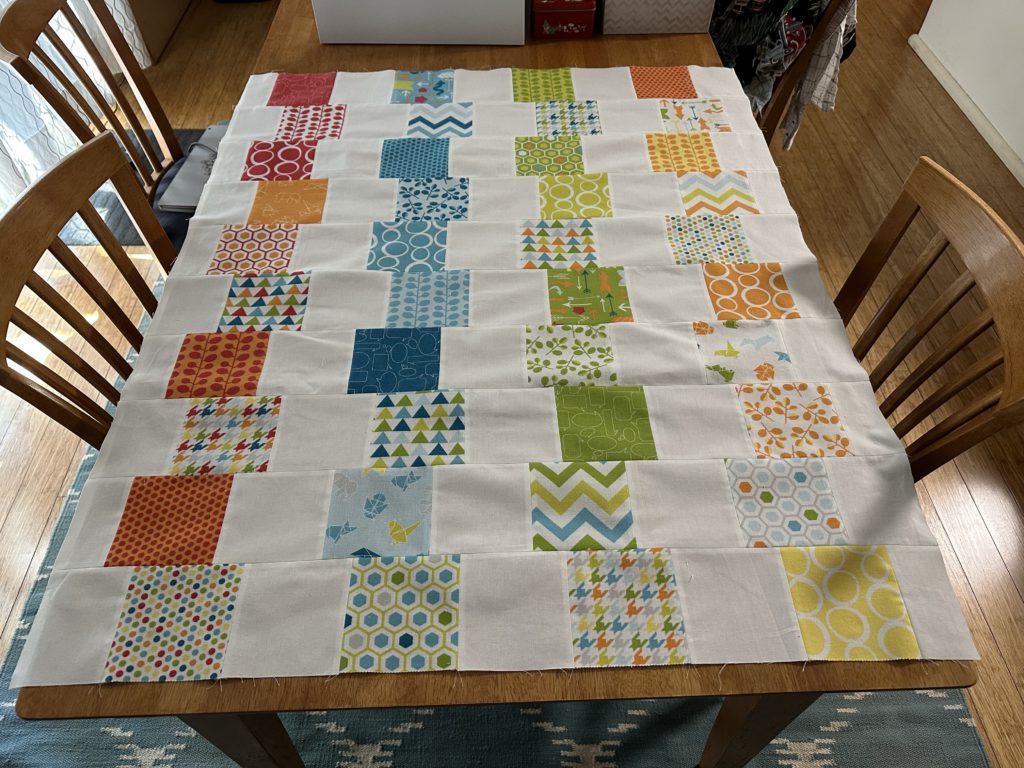
Finished quilt top

The back side of the quilt was more challenging. I thought it would be fun to use another fabric from the line, but it’s so old that I could find very little of it available online. I finally found one of the zigzag prints at the Remnant Warehouse; it’s not brushed but it’s fine. I still had 2 squares left over from the charm pack so I decided to break it up. I inserted a row of white along with the two squares and a plain one with some embroidery. This meant I got to do some playing around with the fancy computerised features of my machine…
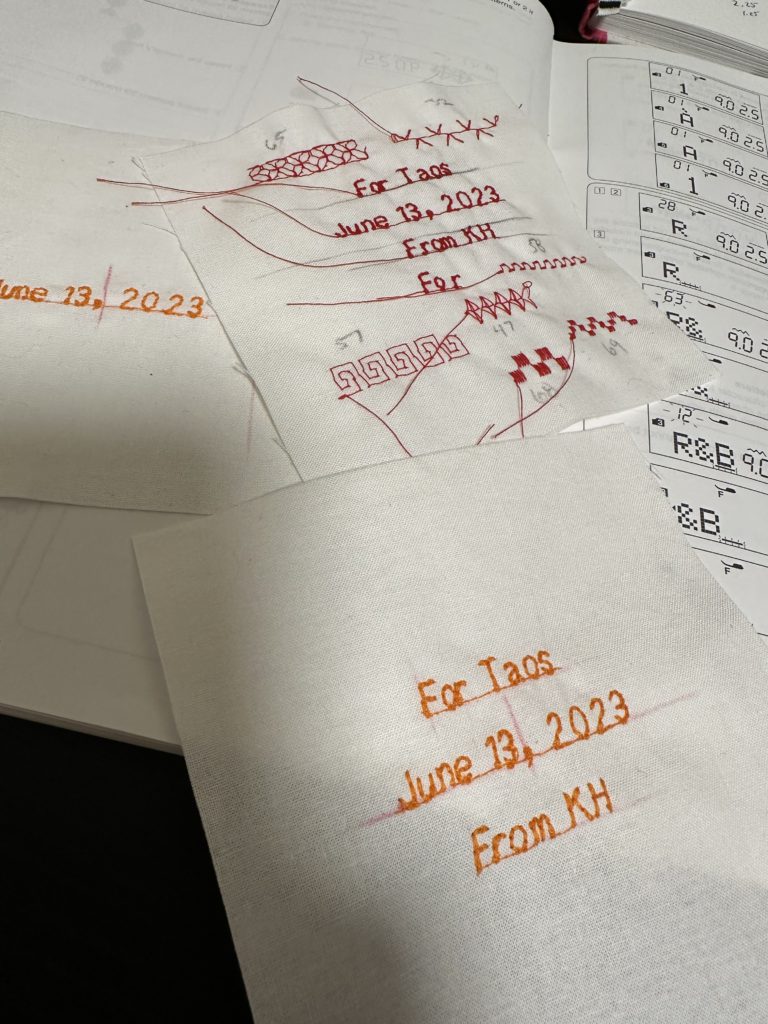
Embroidery practice

It was a lot of fun, even if the final version still came out a little crooked. I figure that gives it charm. 🙂

For the quilting, I sandwiched the front and back with a thin cotton wadding. (It’s too warm in Sydney for anything else.) I decided on long vertical lines but I deliberately made them a bit wonky and wandering. I thought that tied in nicely to the “wobbly blocks” theme I had going on. Then I used more of the backing fabric for the binding around the edge. I had fun doing the final slip-stitching by hand up at the Snook homestead in front of the fire.
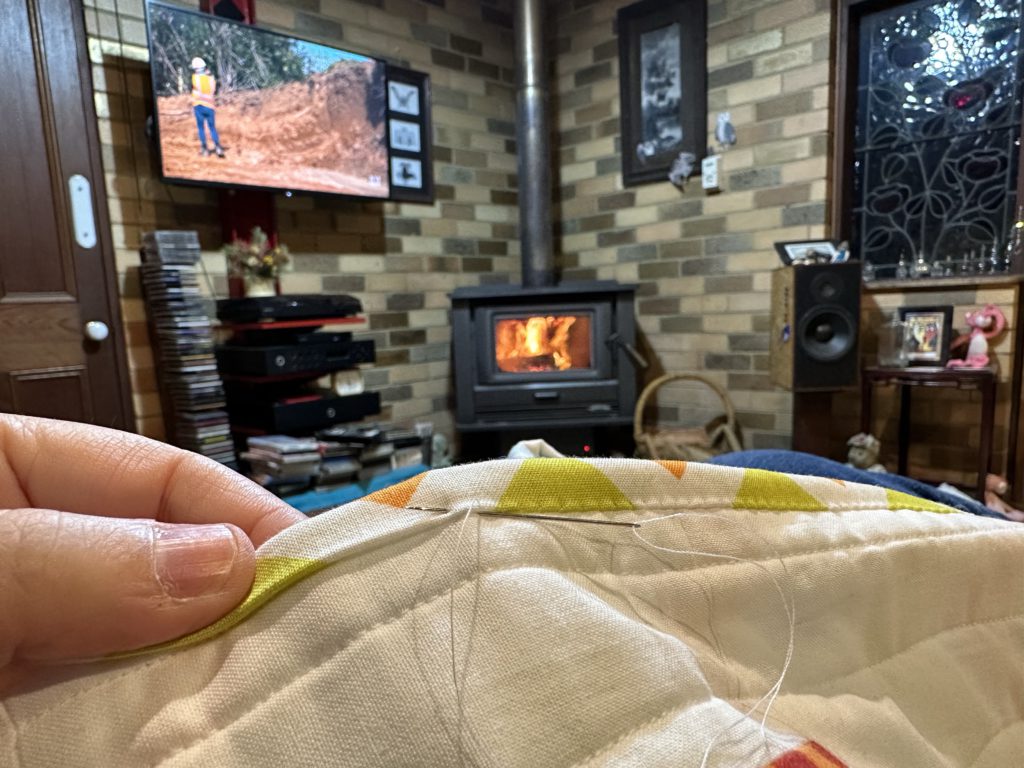
Sewing quilt binding

Here’s the final quilt front:

Quilt front

And the back (I put a little “handmade” label on as well):
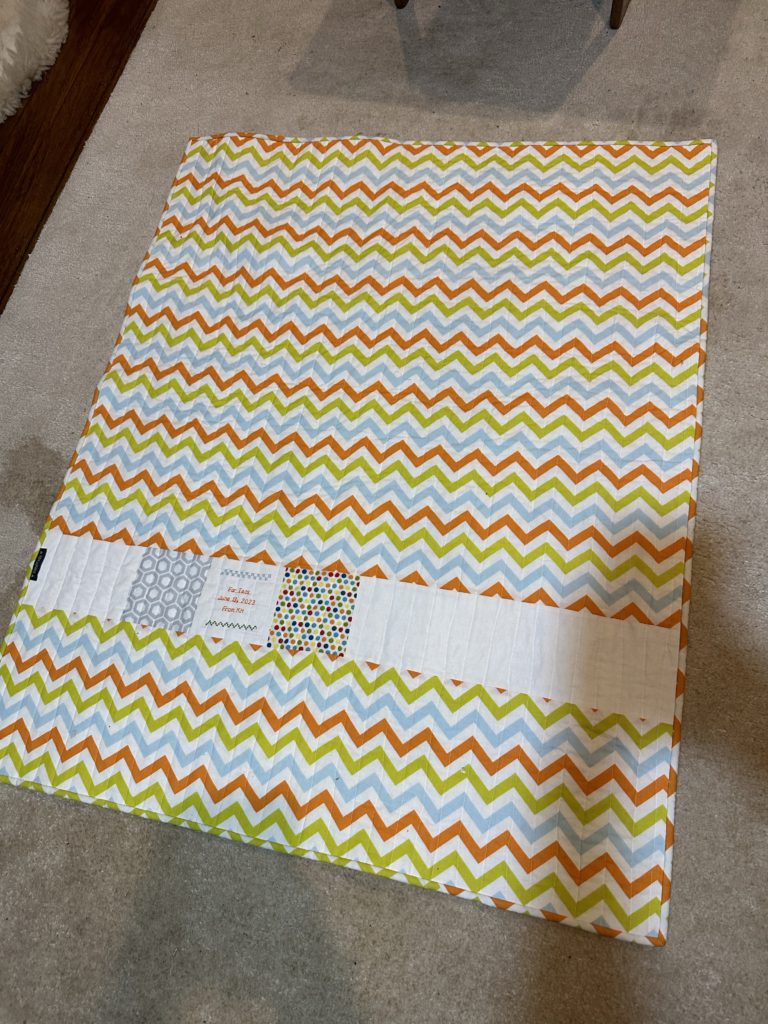
Quilt back

We met up with Josh and Taos in November and I got to give them the quilt. I told Josh my Mom’s standard Quilt Gift Rule: it comes with lifetime repairs, but only if you actually use it! Josh later sent me a photo showing baby Taos having a play on his new blanket. ❤️
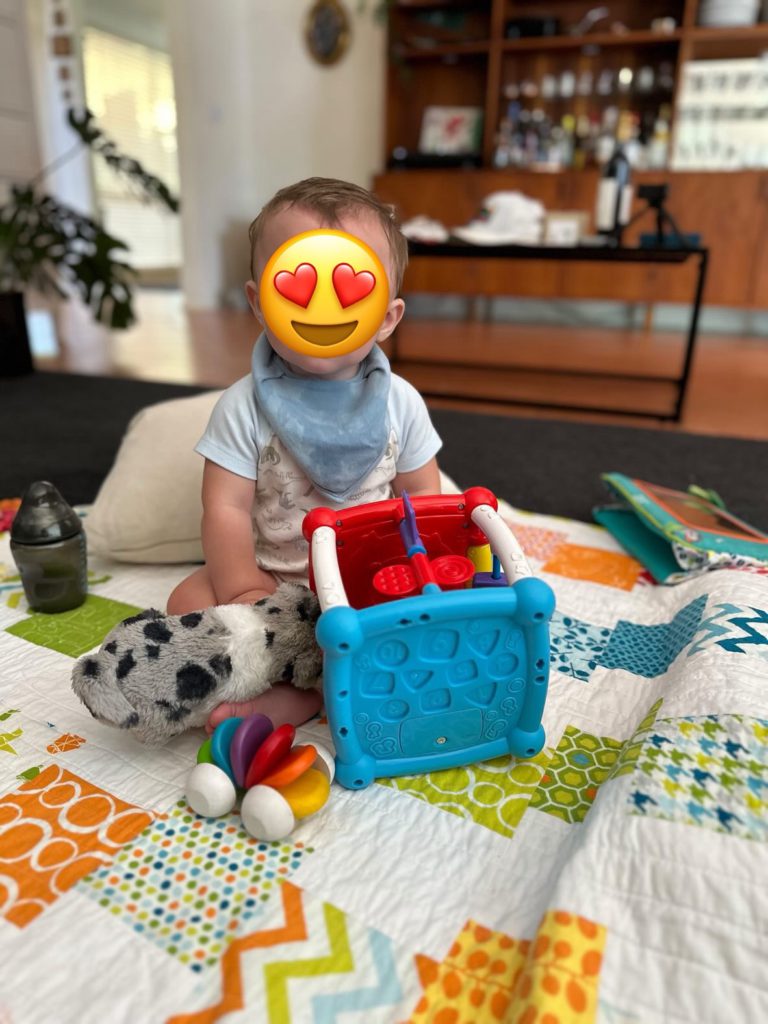
Baby Taos

Video gaming

A few months back, I won a Nintendo Switch in a contest at work. I haven’t owned a video game console in a long time, so it’s been fun messing around with it. I signed up for a yearlong Switch Online membership so I could play some of the NES games from my childhood, but before long I got sucked into Tetris 99. This is an online “battle royale” version of Tetris where you play against 98 other people and try to be the last person standing. So far my best performance is 2nd place, and I’m still hoping to win one someday. (It’s hard. You have to both play Tetris but also strategically target your opponents to dump garbage blocks on them at the same time.)

I was surprised by how expensive games are these days. The top tier ones are well over $80 each! I didn’t want to jump into one of those without being sure I’d actually play. Then last month I started reading lists of the best video games of the year in search of one to try out. I kept seeing Dave the Diver mentioned, and it seemed like a fun idea – harpooning fish and running a sushi restaurant. I downloaded the demo and quickly fell in love. When I spotted it on sale, I jumped on it.

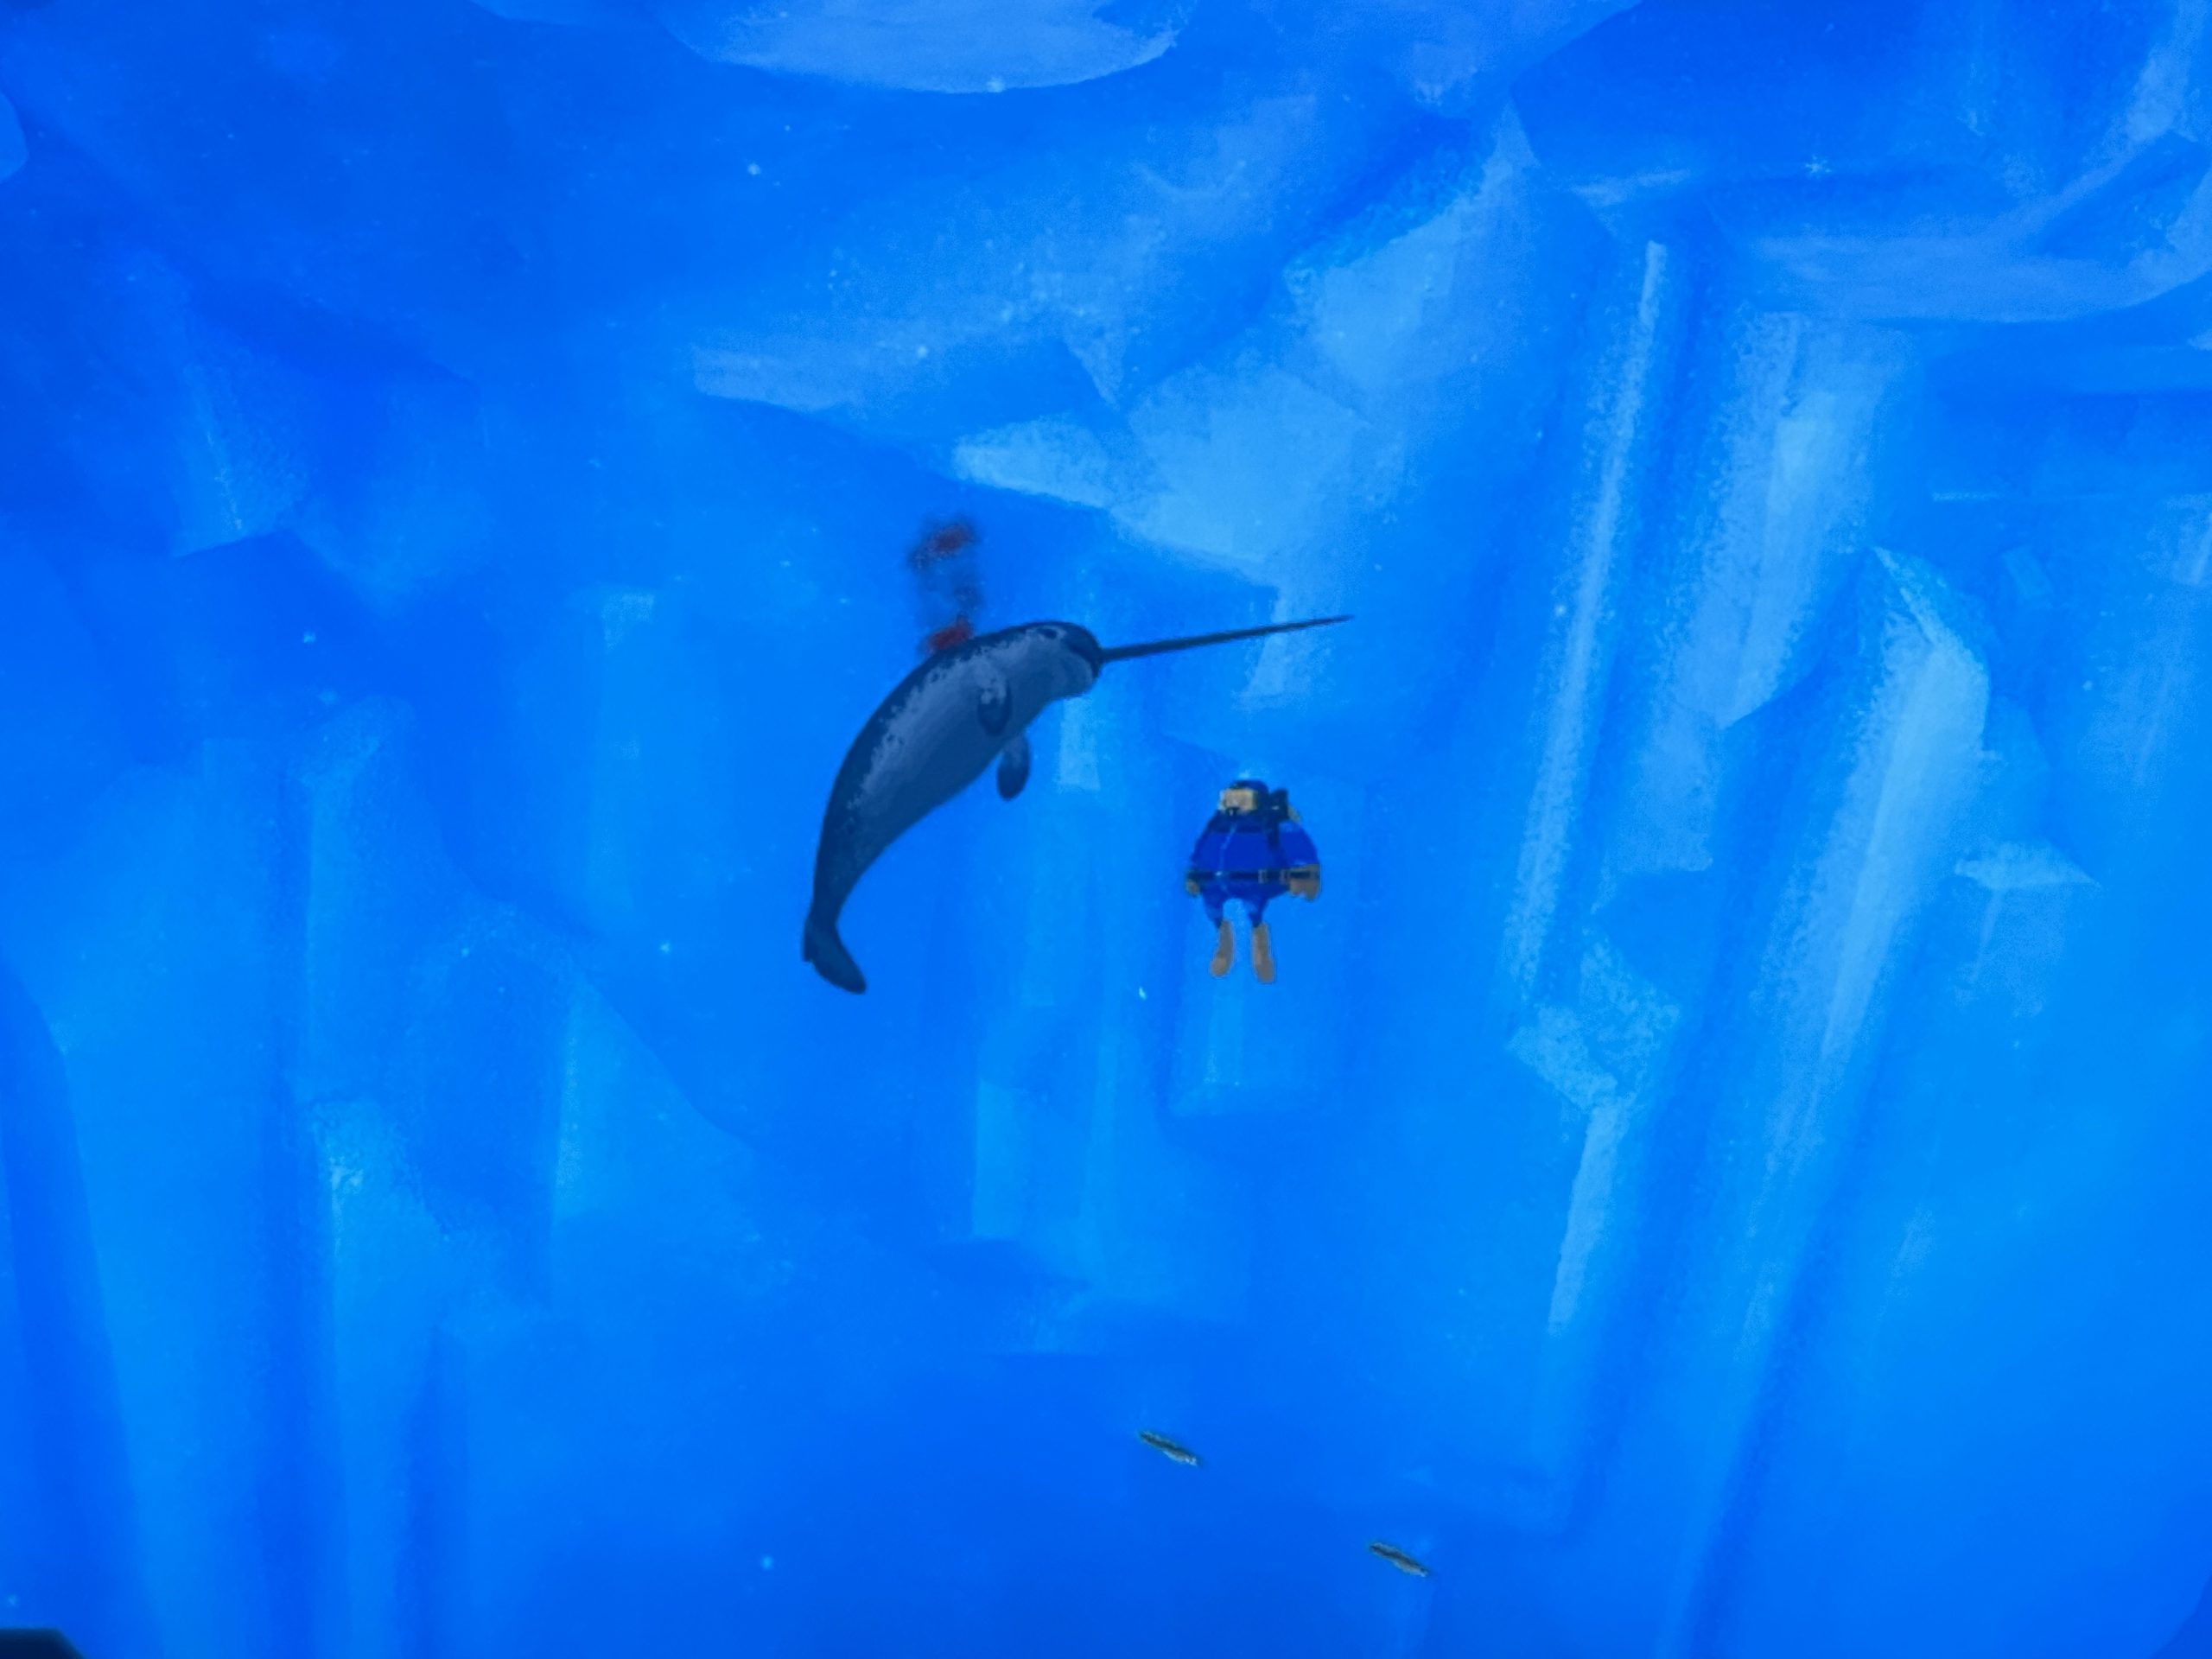
THIS GAME RULES. When I wasn’t sewing over my Christmas holiday, I was probably playing Dave the Diver. At first I felt a bit overwhelmed between fishing and running the restaurant, but the game does a good job of slowly introducing you to different features and tasks. There were only a few times I had to resort to looking things up (e.g. the advantages and disadvantages of using the “Auto-supply ingredients” option when creating your nightly sushi menu). The cutscenes are hilarious, and more than once I laughed watching Bancho put together his latest masterpiece or Duff upgrade my underwater rifle. I couldn’t believe the wide variety of mini-games and gameplay mechanisms, from petting manatees to solving underwater puzzles with laser beams and mirrors to competitive seahorse racing to cooking food for a televised chef battle to a fever dream anime popstar rhythm game. You can even decorate the restaurant! I remember the terror at facing down each of the bosses (especially the Great White Shark and the Giant Gadon), and my annoyance at that goddamn narwhal that kept spearing me. (Let’s just say that once I levelled up my skills, narwhal sushi featured on the restaurant menu heavily.)

Narwhal

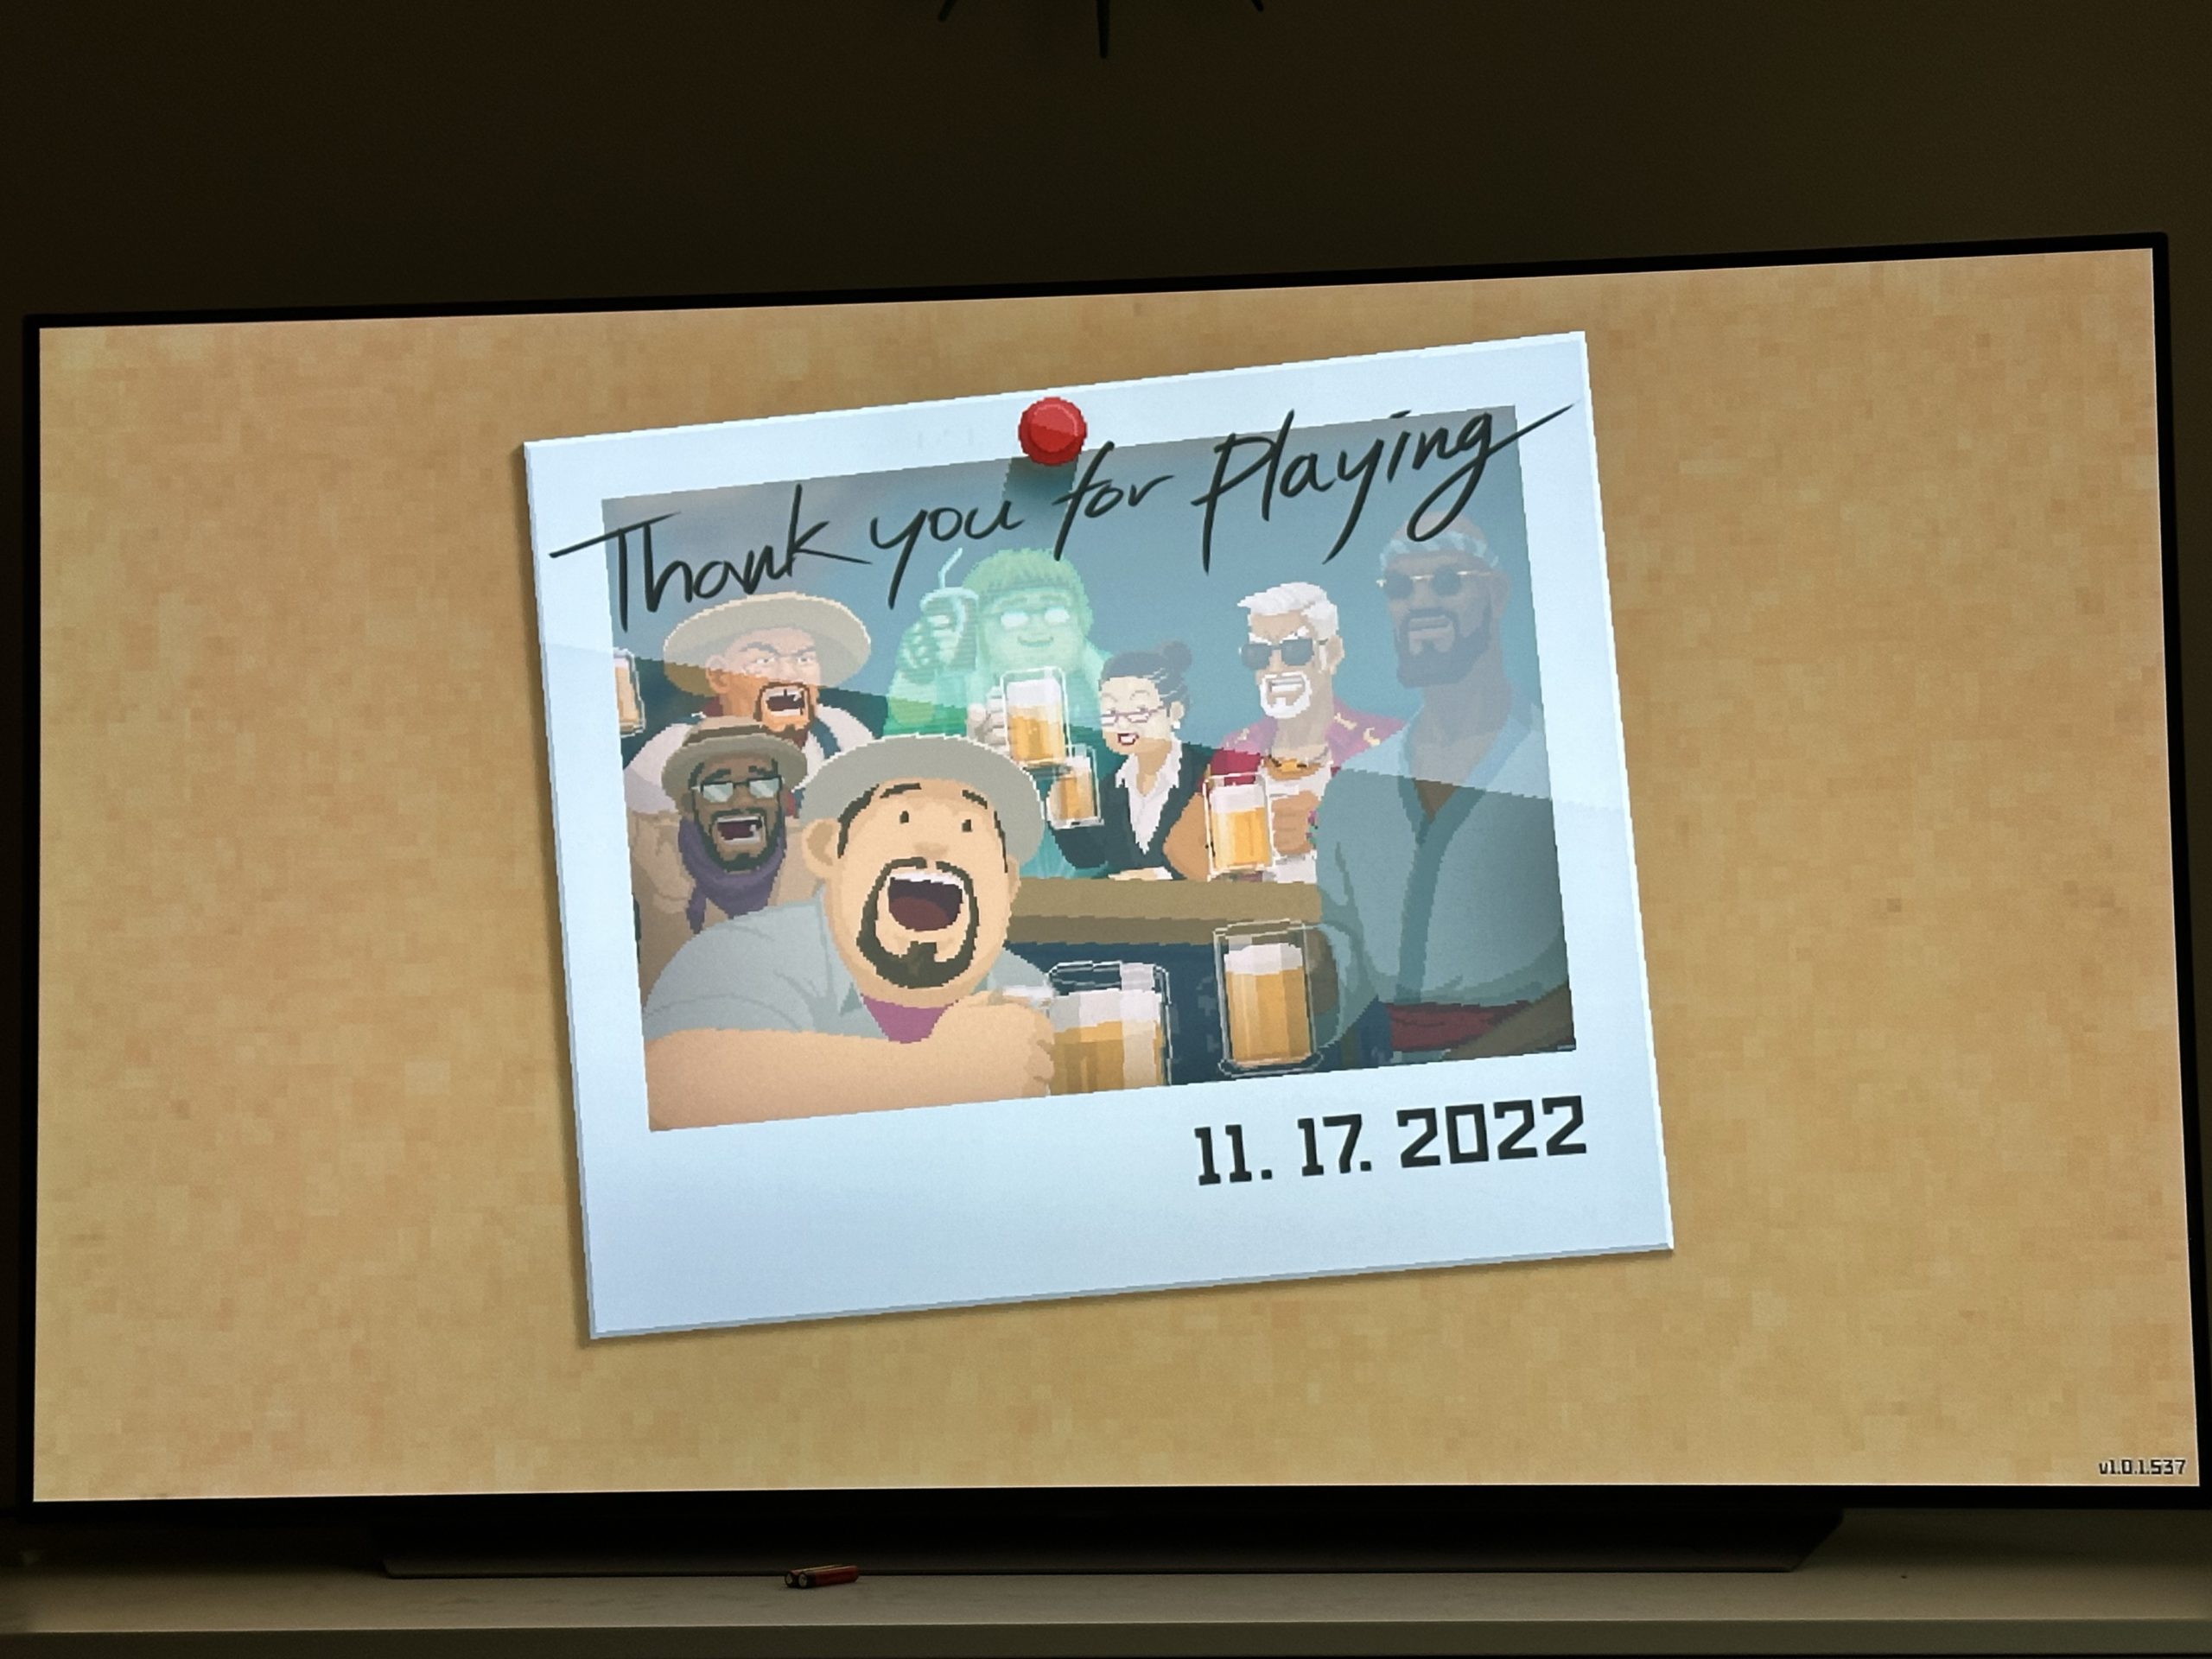
I finished the main story of the game on Christmas Day. It has a surprisingly touching end scene, and I actually felt a little sad that it was over. Thankfully you can keep playing to complete your fish collection, and it took me another couple of days to track down the last few. (That bonito was a real pain!) Now I’m working on getting three-star versions of everything, which means catching them in a net rather than harpooning them. I also received a surprise new task – there’s apparently one more secret boss I can take on during the next stormy night. So I’m not done with Dave yet! I really, really recommend this game, and it was well worth the price in terms of the hours of fun it delivers. My only complaint is that I had a couple game crashes along the way, most frustratingly after I’d completed some difficult task that I then had to redo. It only happened a couple times though, and the auto save mostly worked. (I’ve seen the developers pushing updates, so hopefully they’re addressing this.)

After I finished Dave, my friend Amy recommended Unpacking. This is another game I’d seen recommended in recent years. It’s a very simple concept, barely even a game at all really: you have a series of rooms where you unpacking moving boxes and put things away. That’s it. But as you go, you start to learn things about the main character. You see the things she carries from house to house, and you learn about her hobbies and her passions. I don’t want to spoil anything because this is really a game that needs to be experienced to have the proper effect, but there was one point – where she was moving in with her boyfriend – where I had a realisation that really pissed me off on her behalf. And then when I saw where she was moving to next… I think I actually said “OH NO” out loud in my living room. It’s a lovely game, especially for people who maybe don’t think of themselves as gamers. I’ve never experienced anything like it. It’s quite short – you can finish it in just a couple hours – and it’s very satisfying in the end. I was also really pleased to learn that the game was made by an Australian studio! Definitely worth checking out.

Yacht rockin’ New Year’s Eve

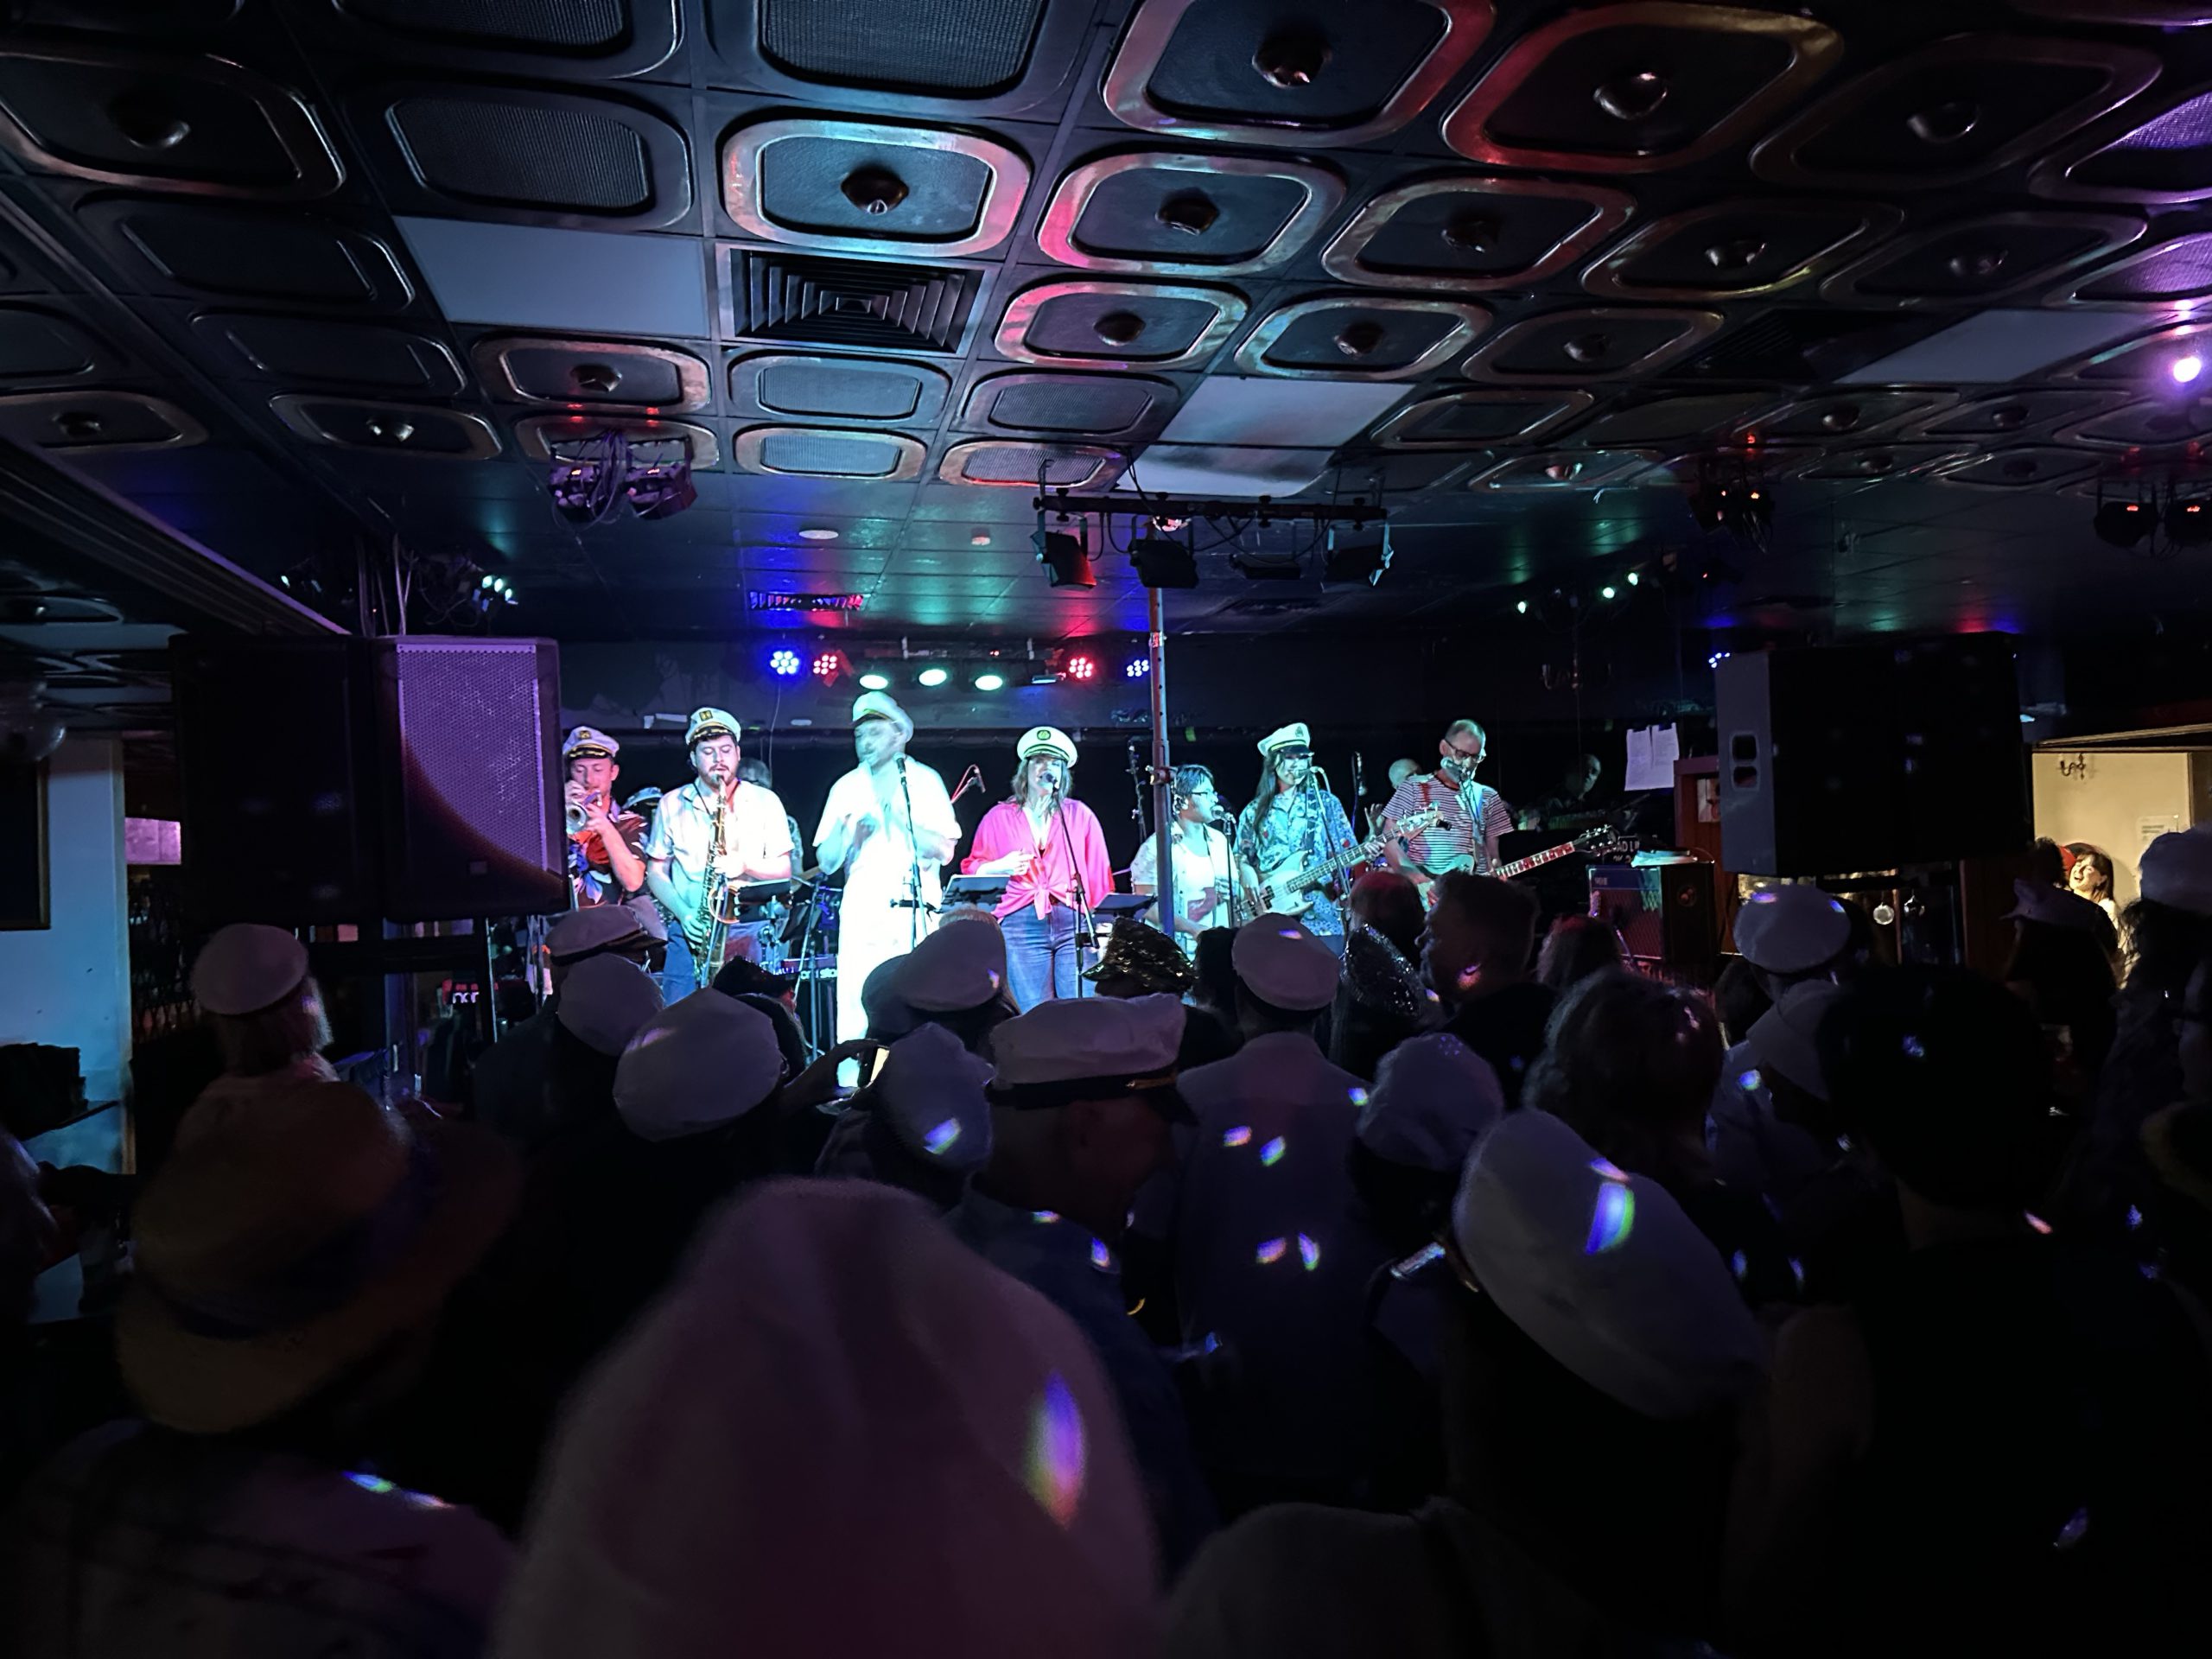
Happy 2024! We spent the evening at the Marrickville Bowlo with our friends Jody, Alayne, and Meredith watching Smooth Sailing ring in the new year with yacht rock classics of the 70s and 80s…

Smooth Sailing band

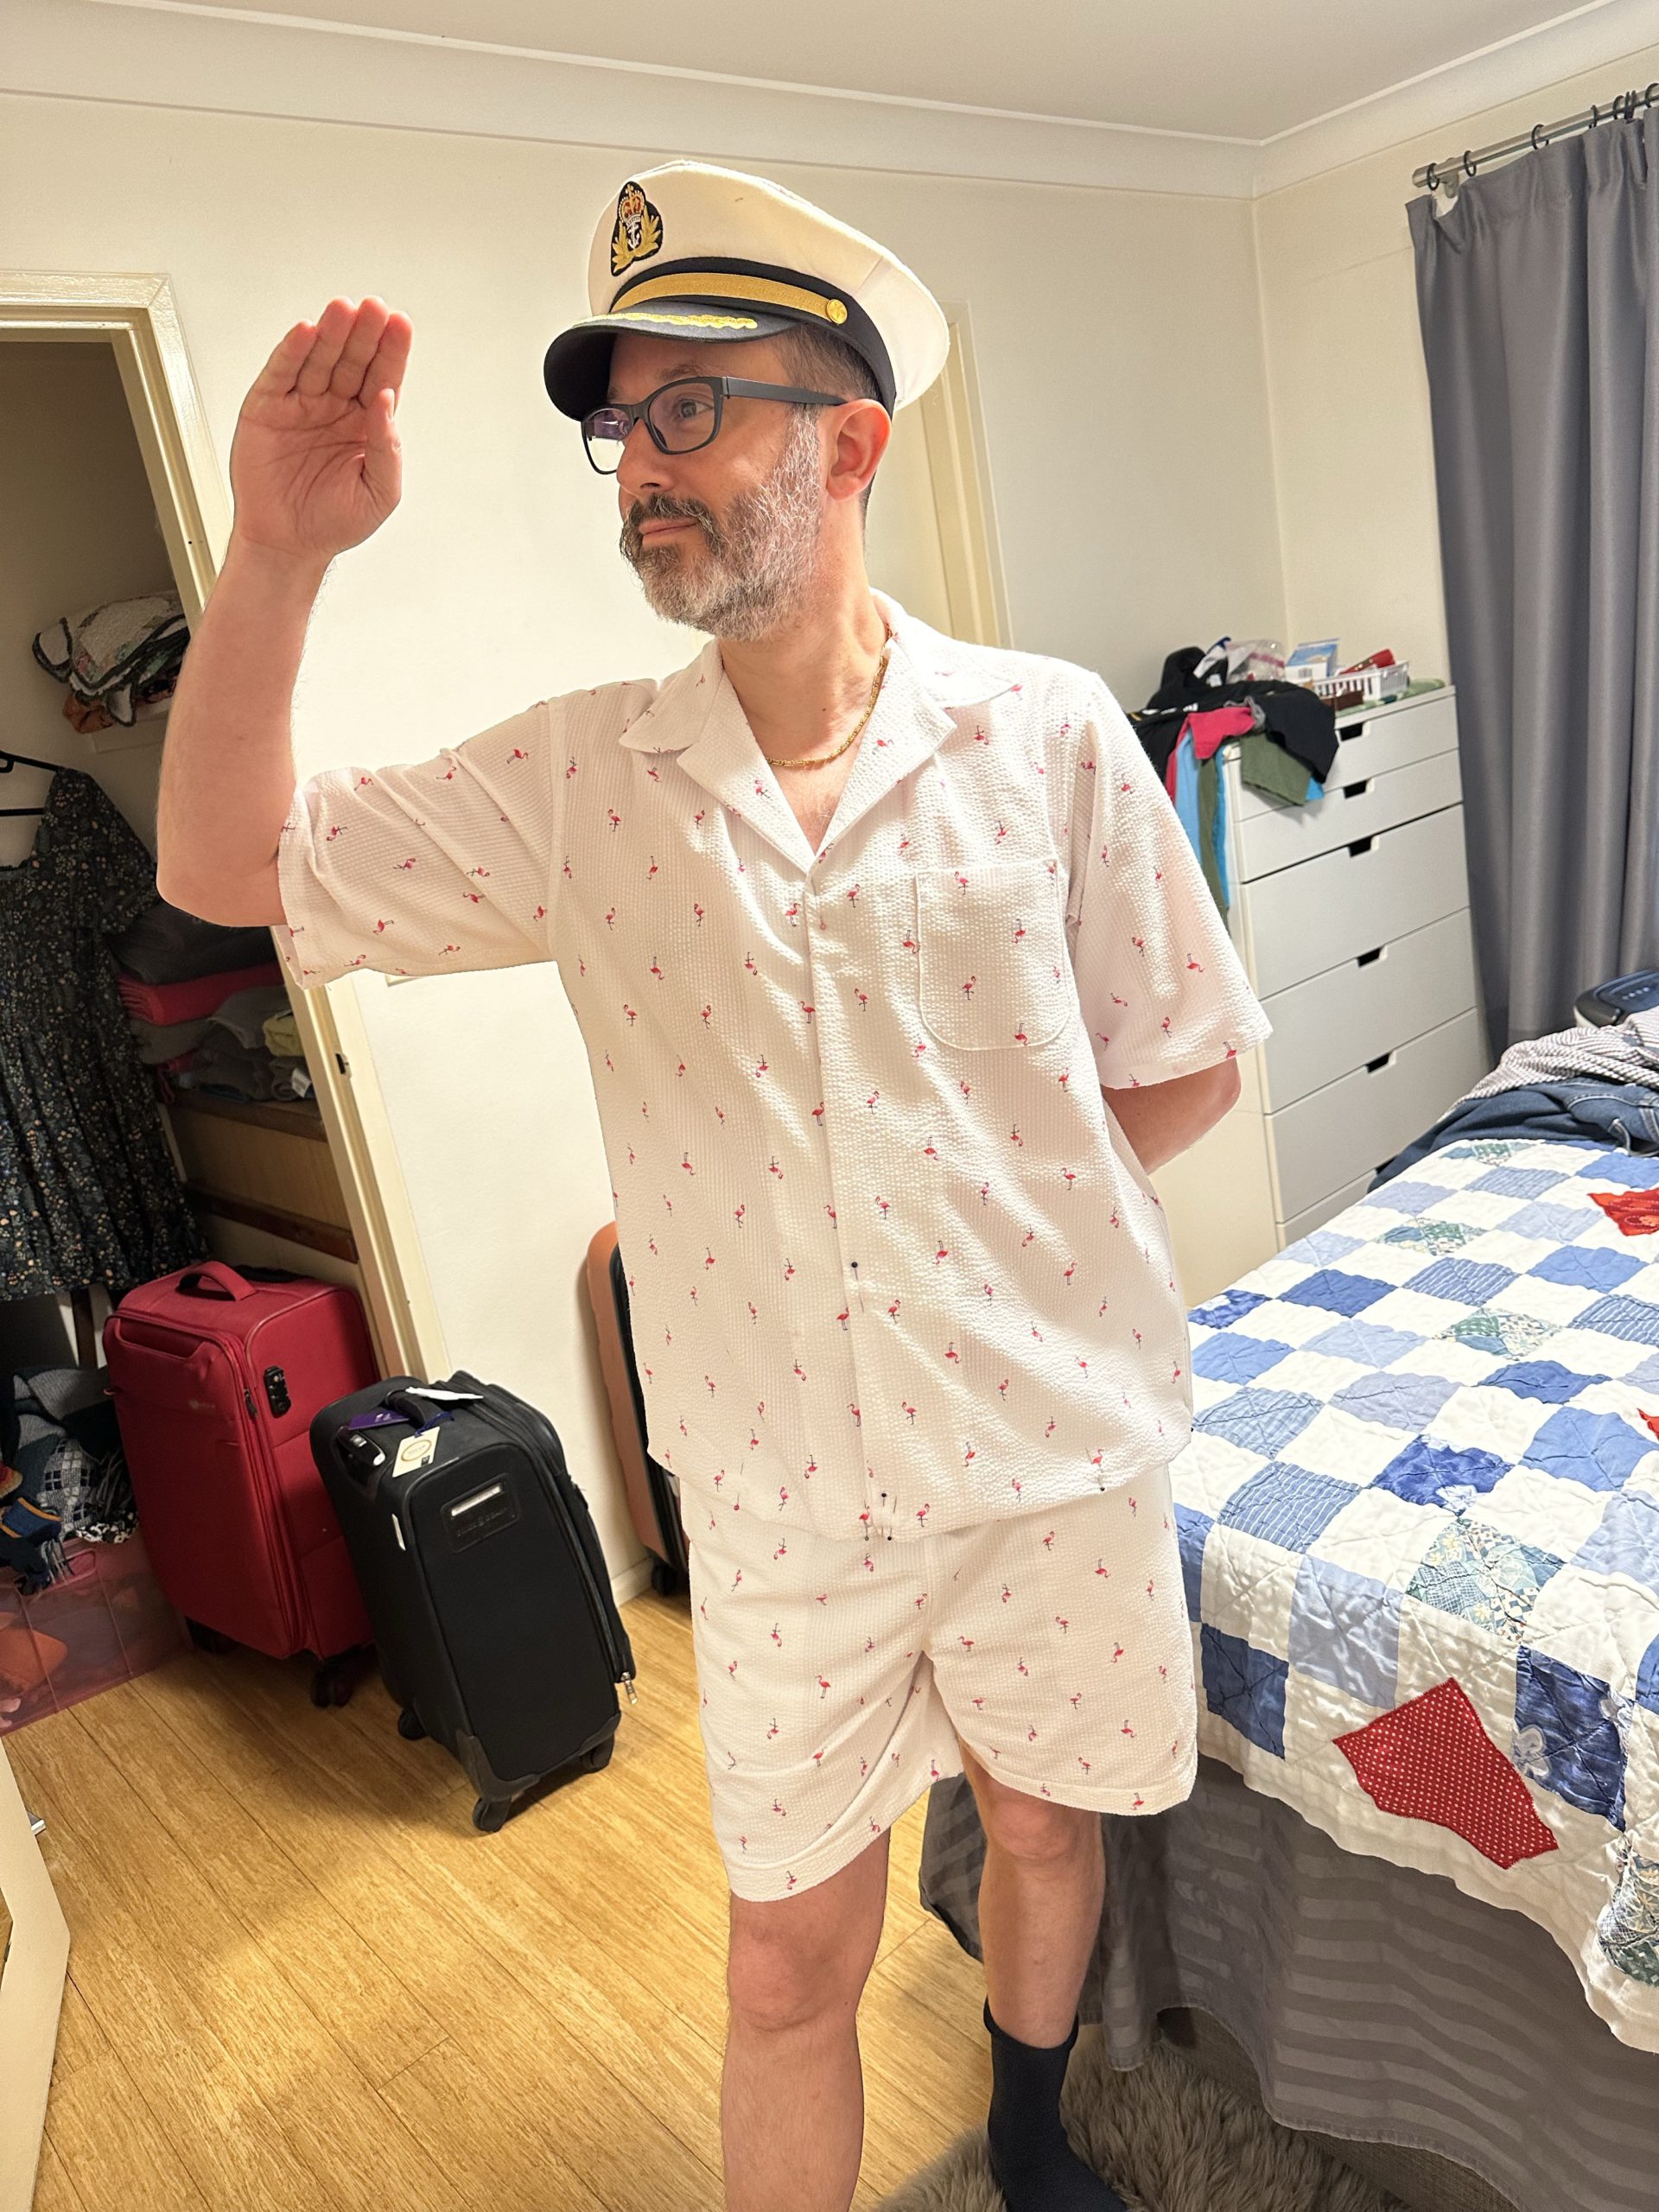
Of course, I had to make us special outfits for the occasion. I’ve been wanting to make Rodd a matching short set for some time (inspired by Taika Waititi’s pineapples), and I happened to have the perfect fabric in my stash (courtesy of my mother): Robert Kaufman’s Seersucker Coastal Print with tiny pink flamingoes. For the shirt, I used my tried and tested Seamwork Negroni pattern, just straightening the side seams and grading out a size at the waistline for some extra roominess. For the shorts, I used the Trigg Shorts pattern and modified them to have a full lining (because the seersucker was a bit see-through). I used some plain white cotton to sew a version without any pockets, and then inserted that into the seersucker before joining on the waistband. Worked great!

Rodd in his flaming short set

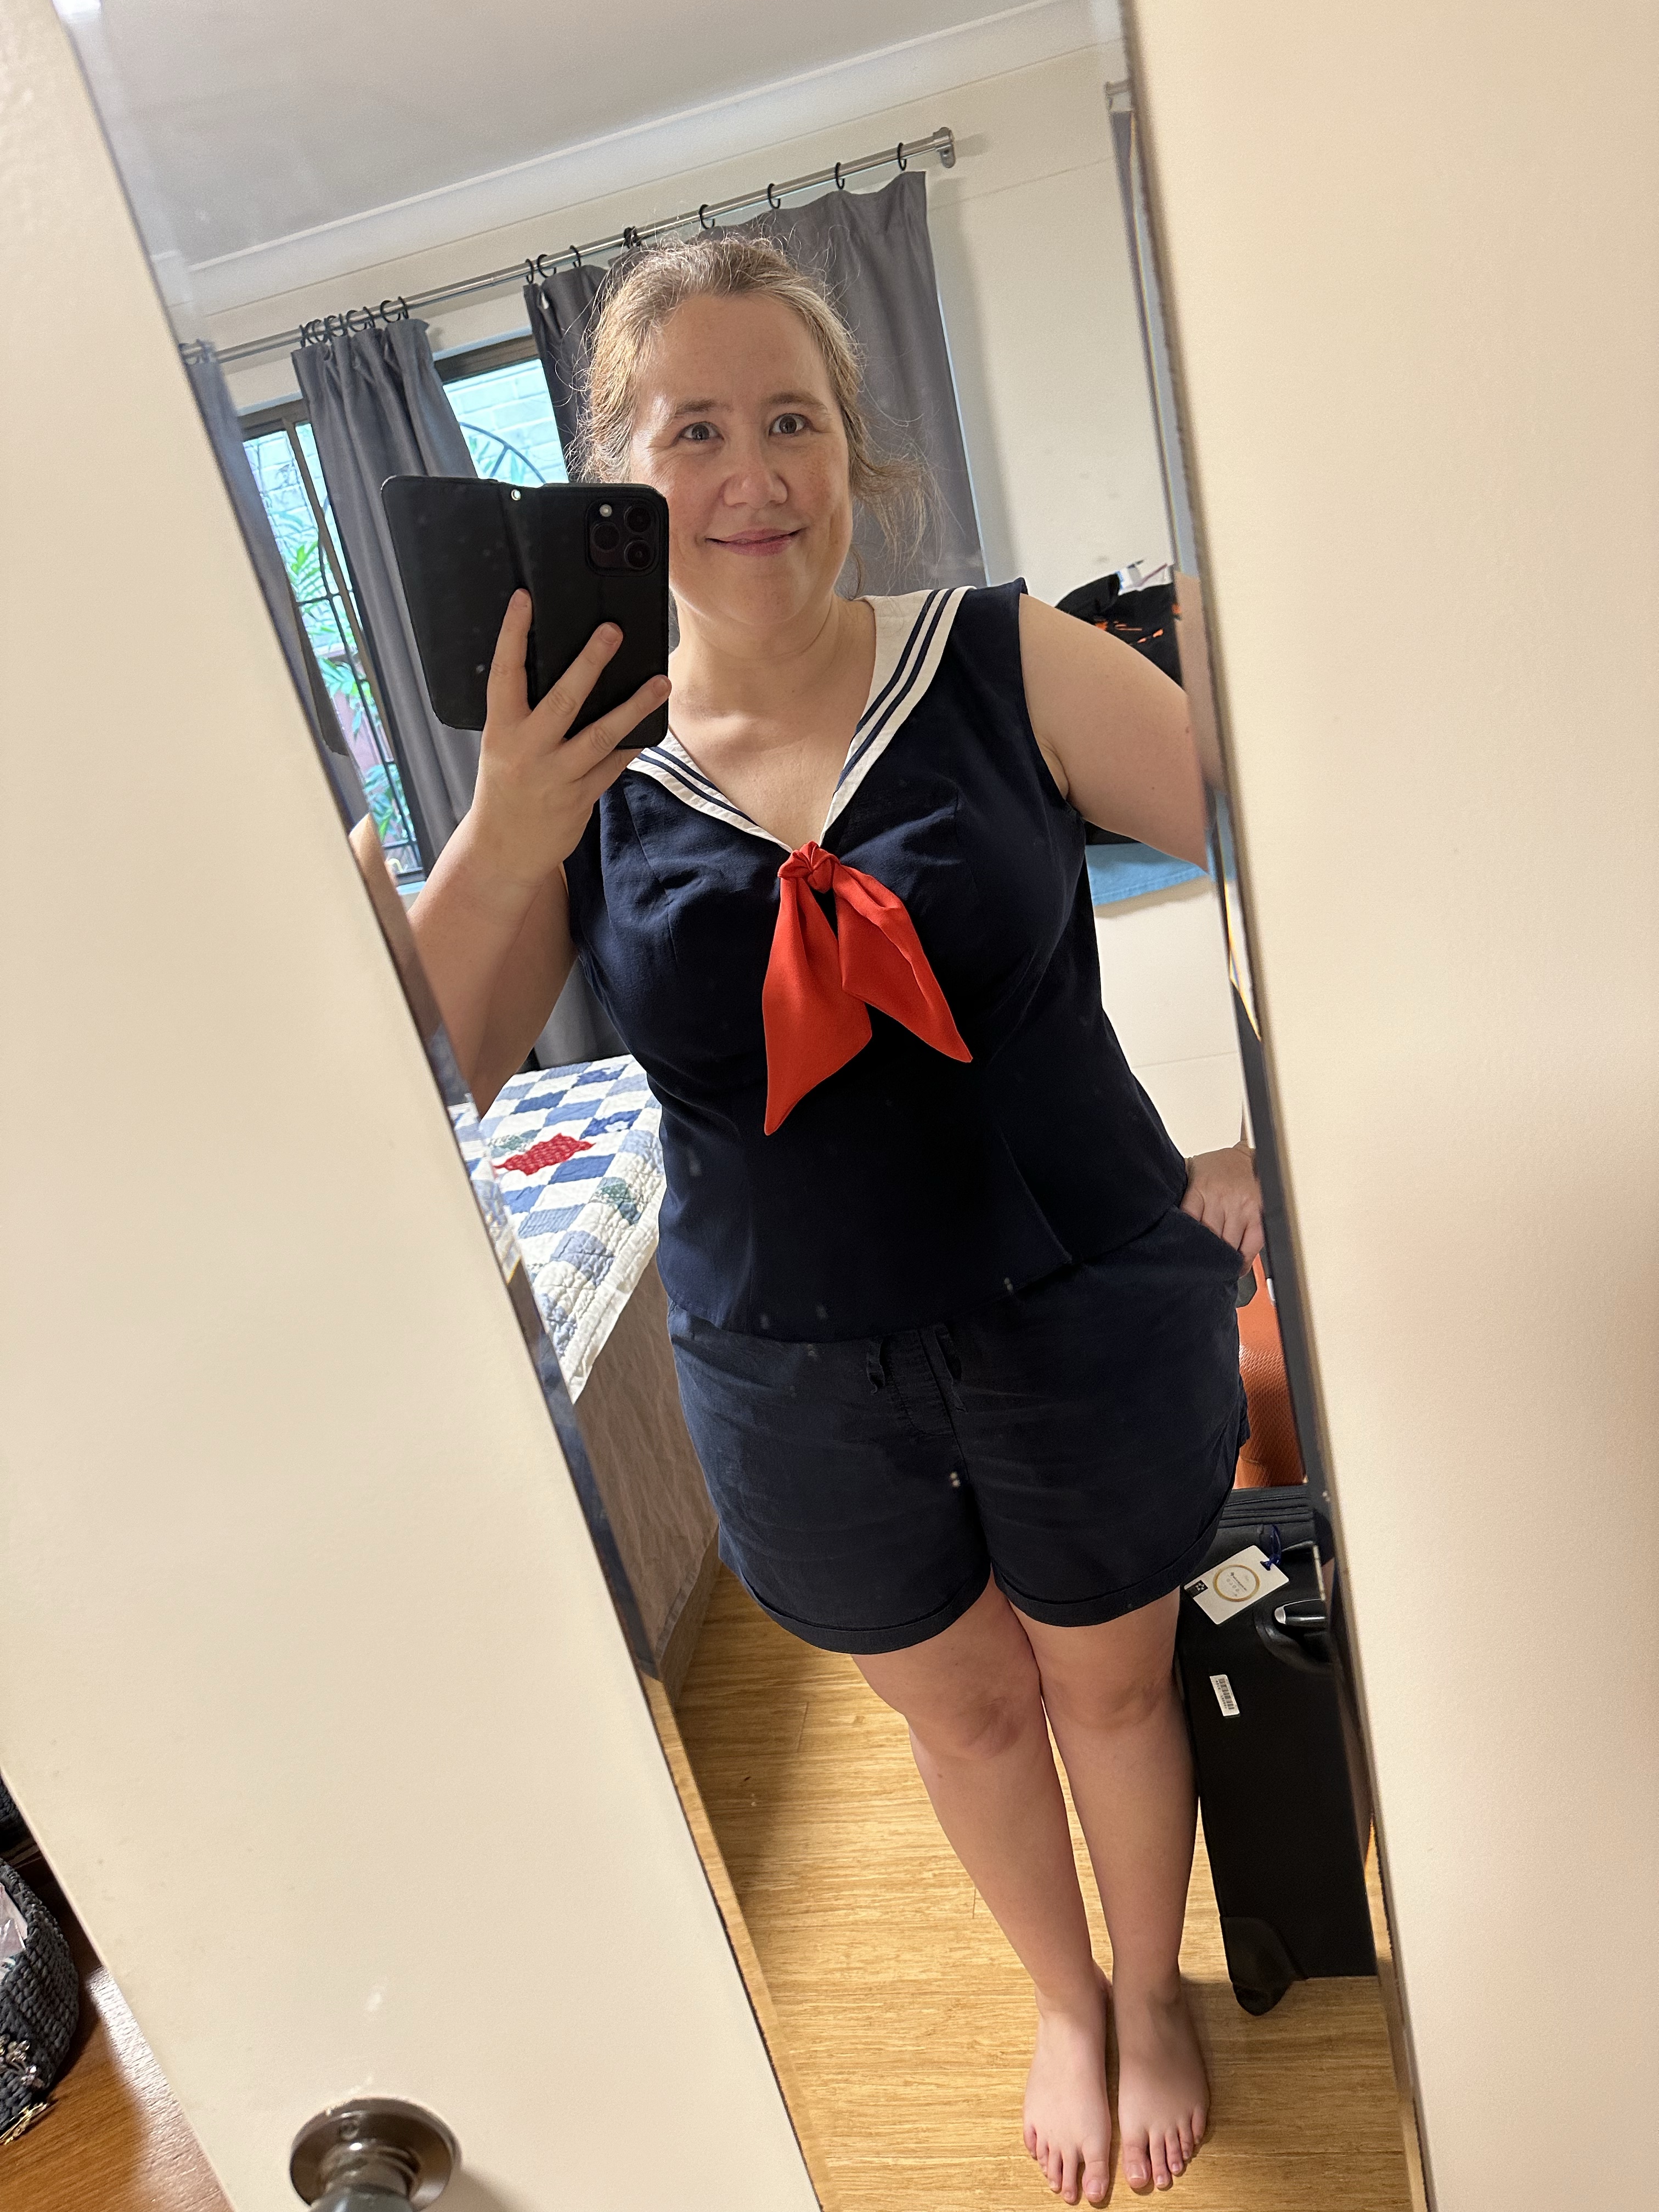
For my outfit, I decided to go literal with the Charm Mariner Top. This was my first time sewing princess seams, so I wisely opted to make a muslin first with an old bedsheet. I’m glad I did, because the fit was Not Great. Turns out that Charm revised their sizing a few years back, and they have two separate ranges now: the old one from 2-20, and the new one from 18-34. I happen to fall in the overlap. My first muslin was using the new range, so I decided to try the old one for comparison. That second one was better, but still needed some tweaks. I ended up removing half an inch at the top of each shoulder, and half an inch in width at the underarm as well. Not gonna lie – it was a fiddly pattern and I felt clueless as I tried to figure out how to improve it. Happily, the end result more than justified all my efforts:

Sailor Suit Kris

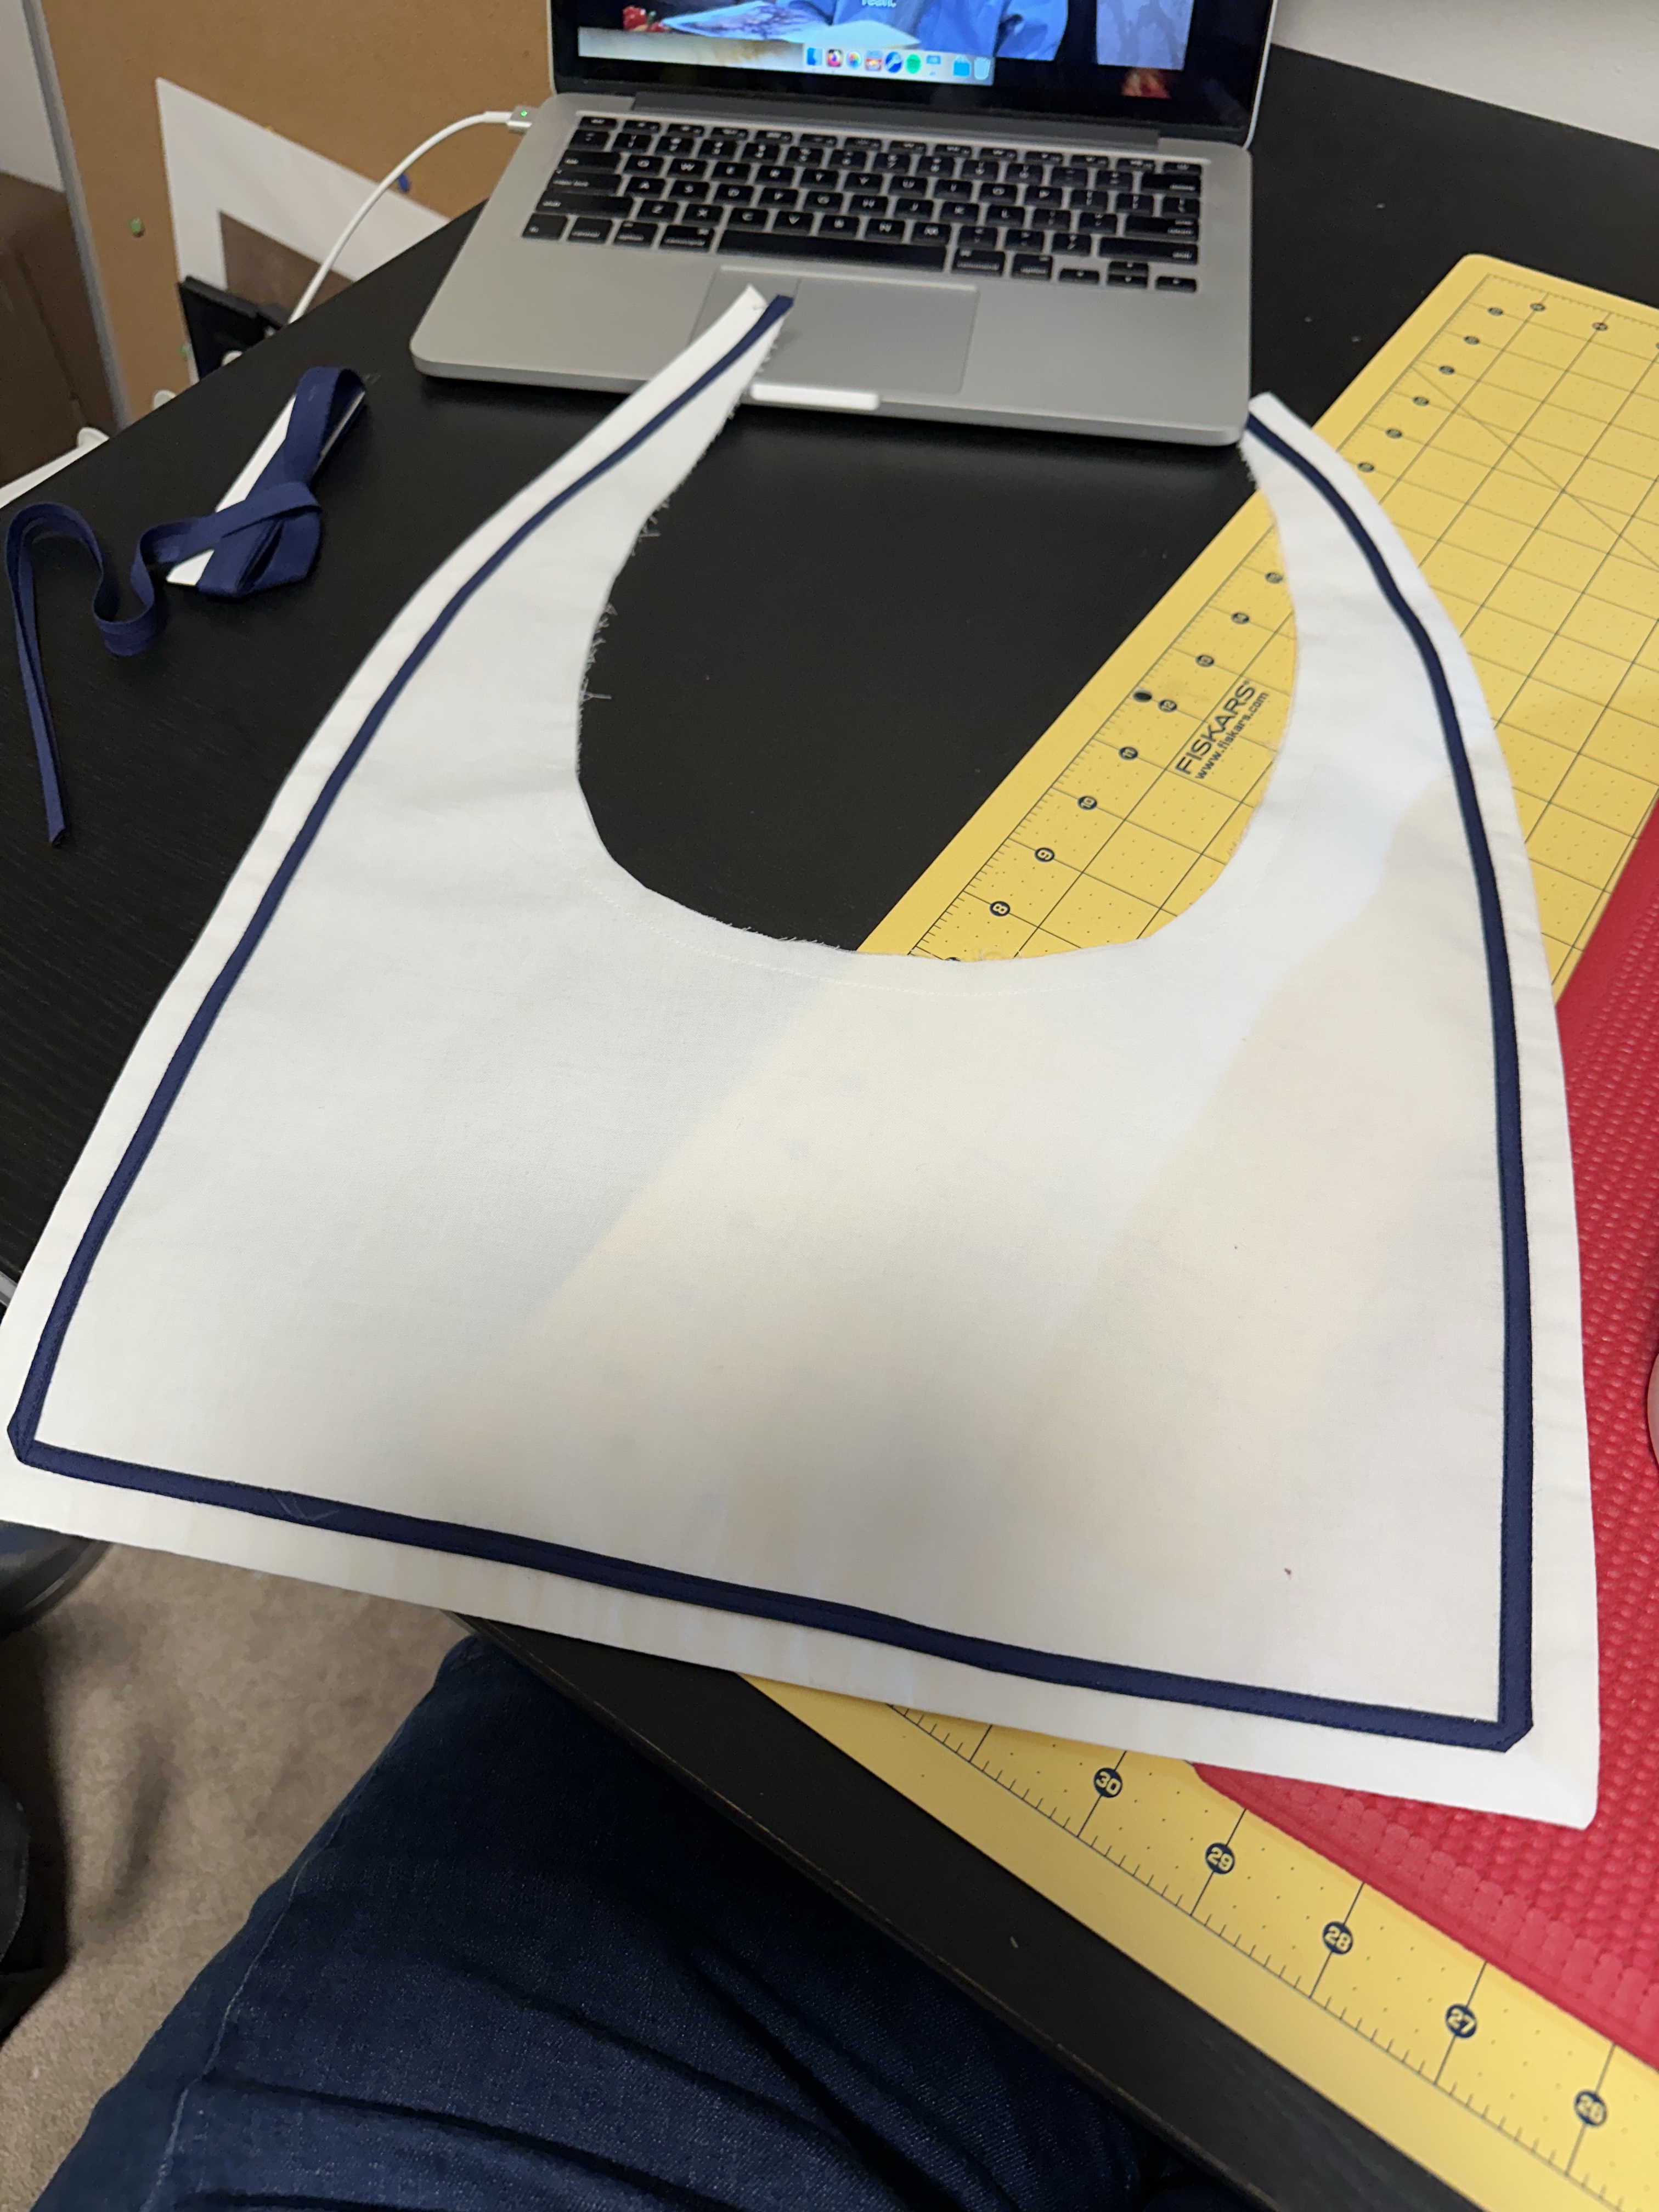
The fabric for the top is a navy cotton piqué I got at the Fabric Store, and I LOVE it. It’s woven but had a lovely thickness and drape to it. For the collar, I used white cotton lawn (sandwiched with some interfacing). You’re meant to use ribbon for the decoration, but I realised I had some navy bias binding that would work perfectly. I simply folded it in half and then edge stitched two rows around the edge. Here’s a photo halfway through, when I realised it was going to look awesome…

Decorating the collar

The red knot tie is a piece of actual silk that we found in the remnant box for $10. It was quite sheer so I used a double layer of it. Once I knotted it, I sewed a safety pin onto the back so I could pin it to the shirt. That way I can take it off for laundering. I paired the top with a pair of navy shorts from Uniqlo.

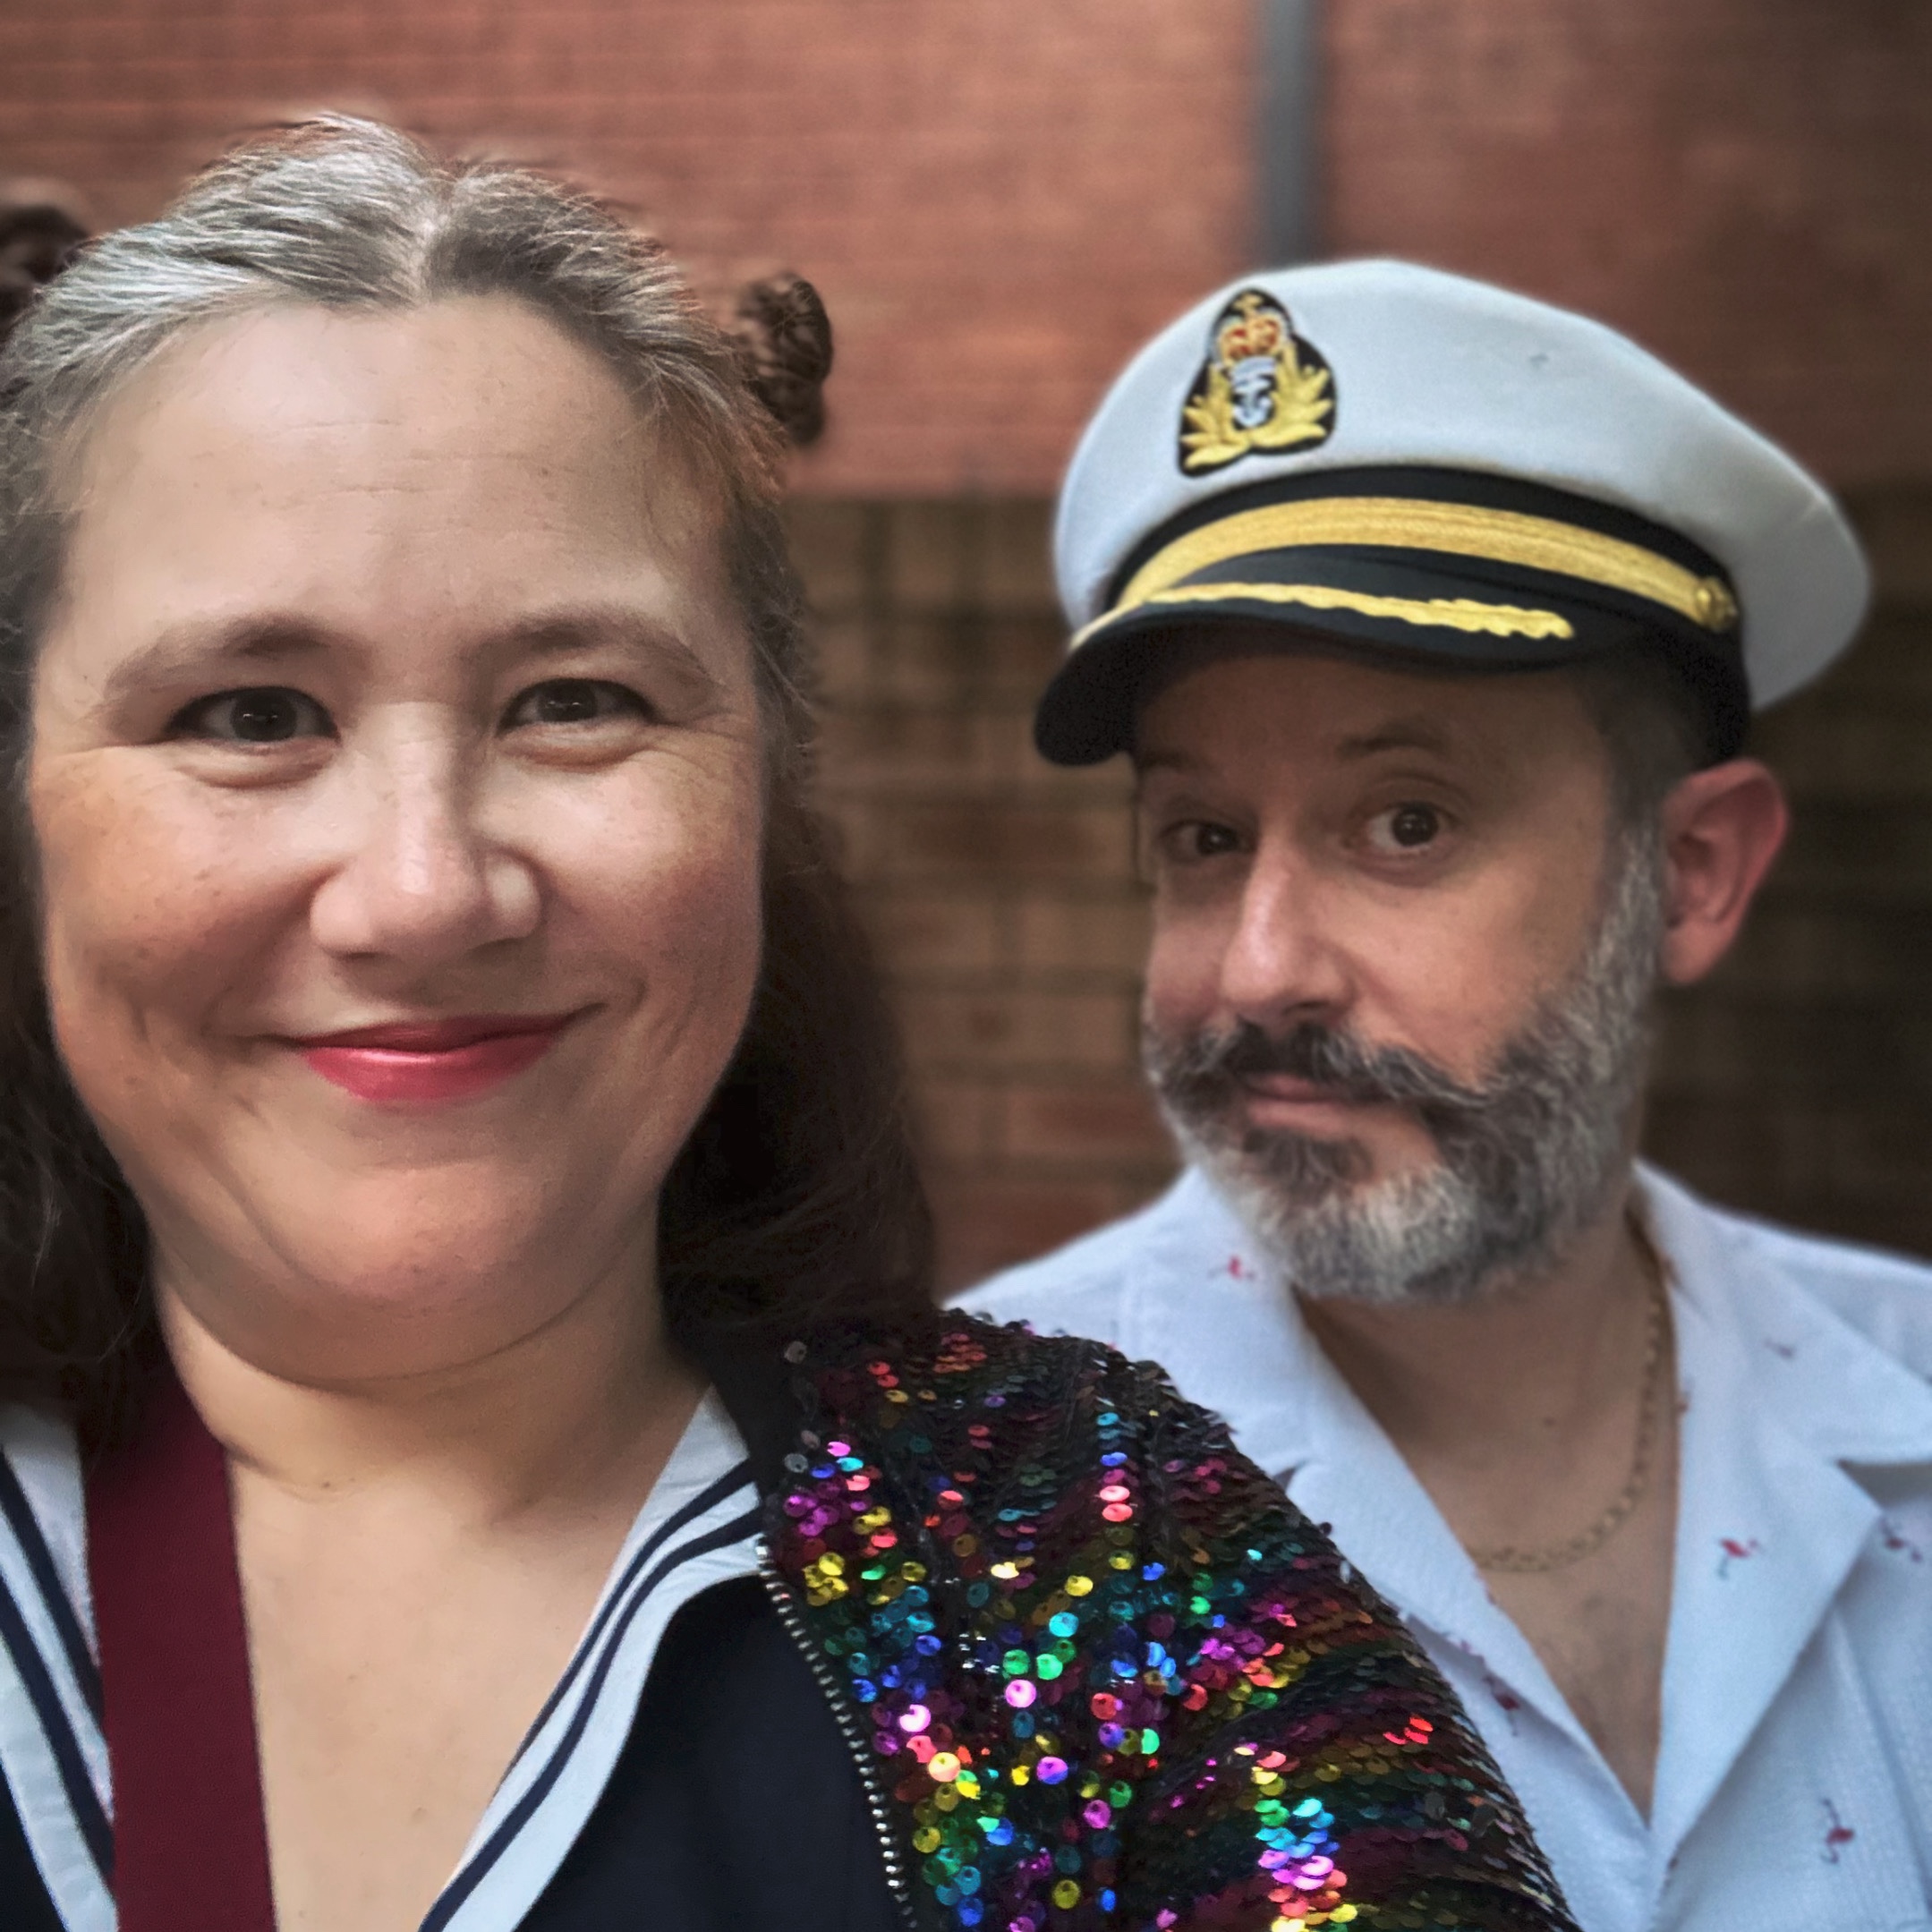
Aren’t we cute?!

Selfie of me and Rodd