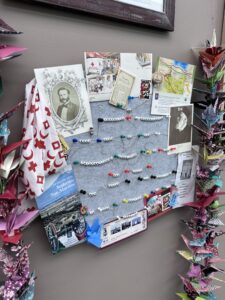
Queer quilts, rebellious knitting and political pants: the radical world of textiles – What a cool looking exhibition! I love those trade union flags… and the pink shorts. 😉 If you’re going to Adelaide in the next four months, I’d definitely check it out.
Month: November 2024
University of Sydney Alumni Festival
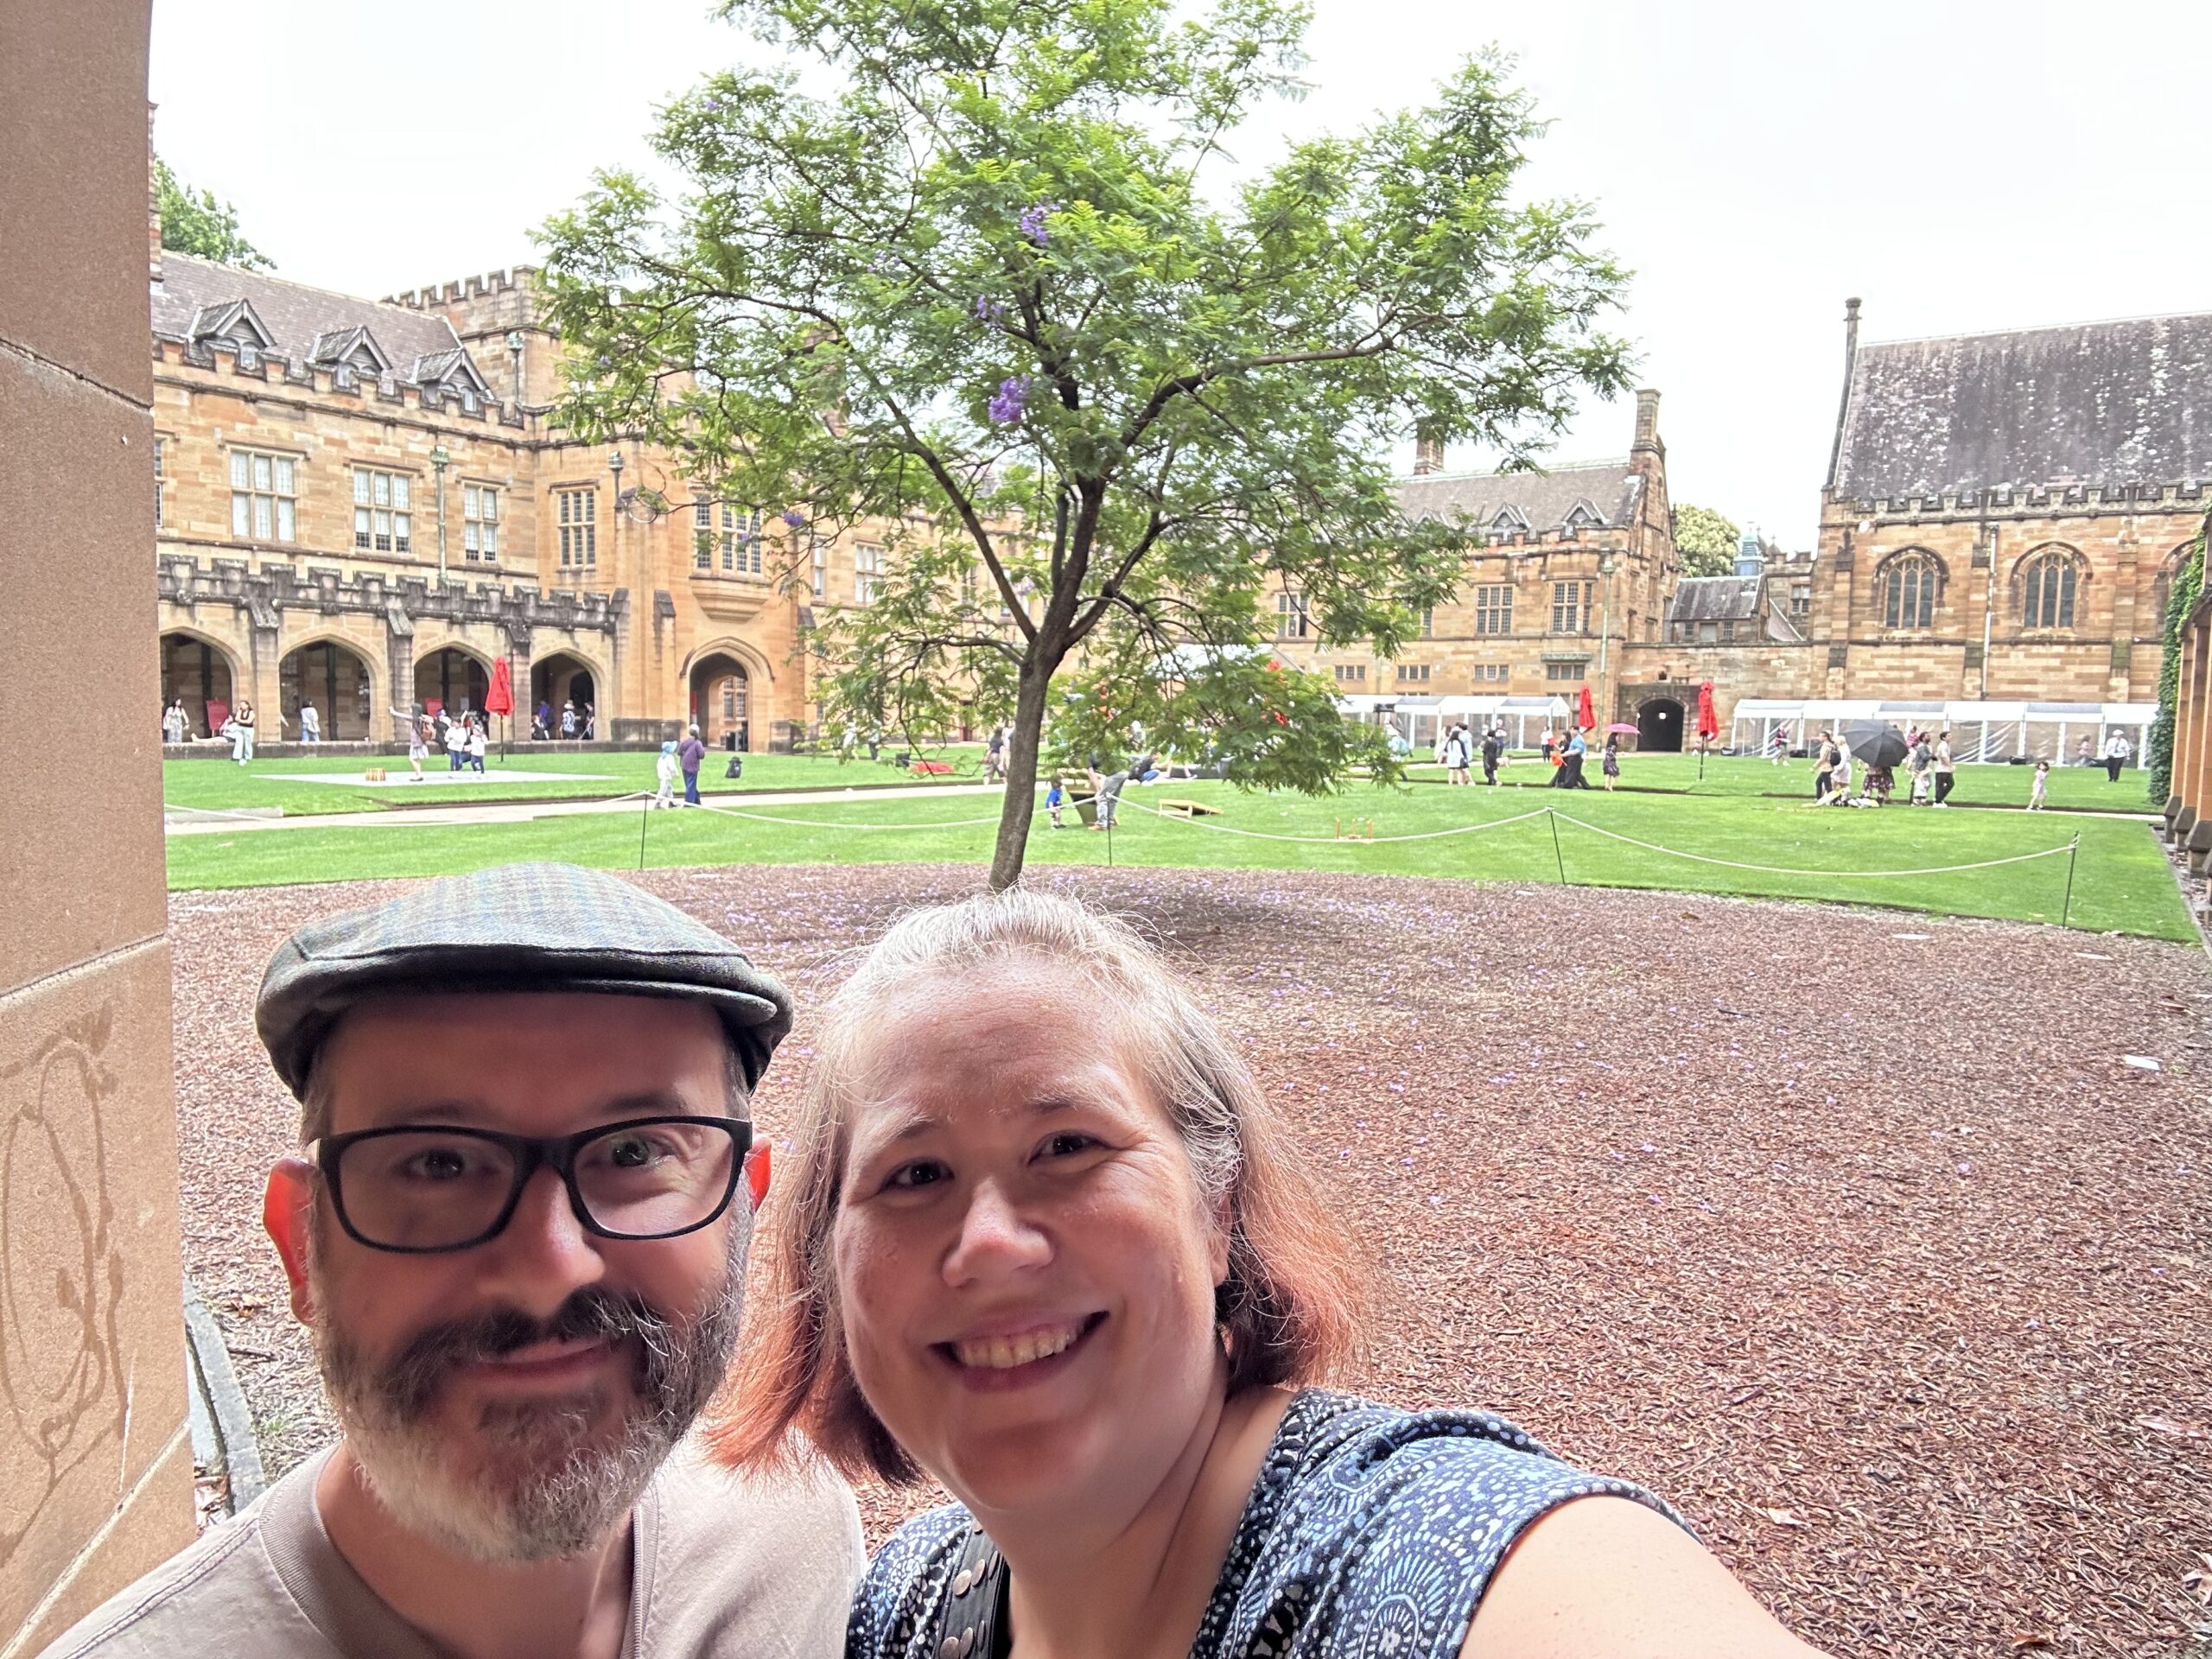
Today was the University of Sydney Alumni Festival, which Rodd registered us for some time ago. They had tours, exhibitions, talks, and events happening all over campus, and it would have been perfect if it hadn’t been drizzling and gray all day. We went over in the morning for a tour of the New Law School building, which opened 15 years ago.
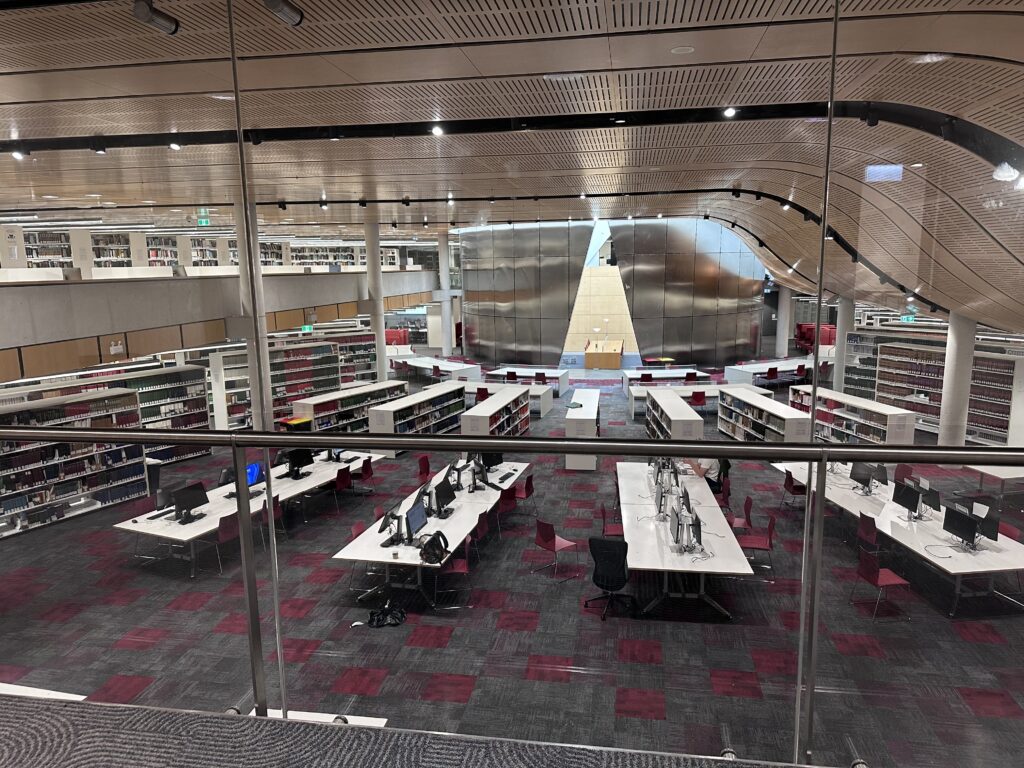
We started down in the basement at the library, which is massive and connects to the nearby Fisher library.
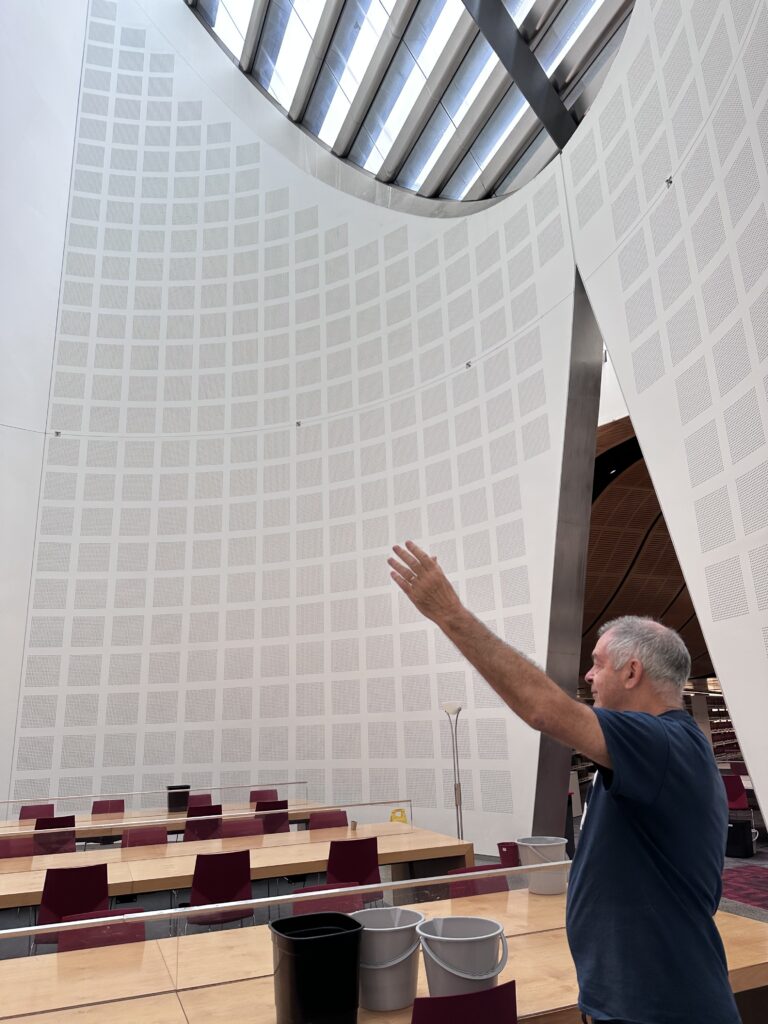
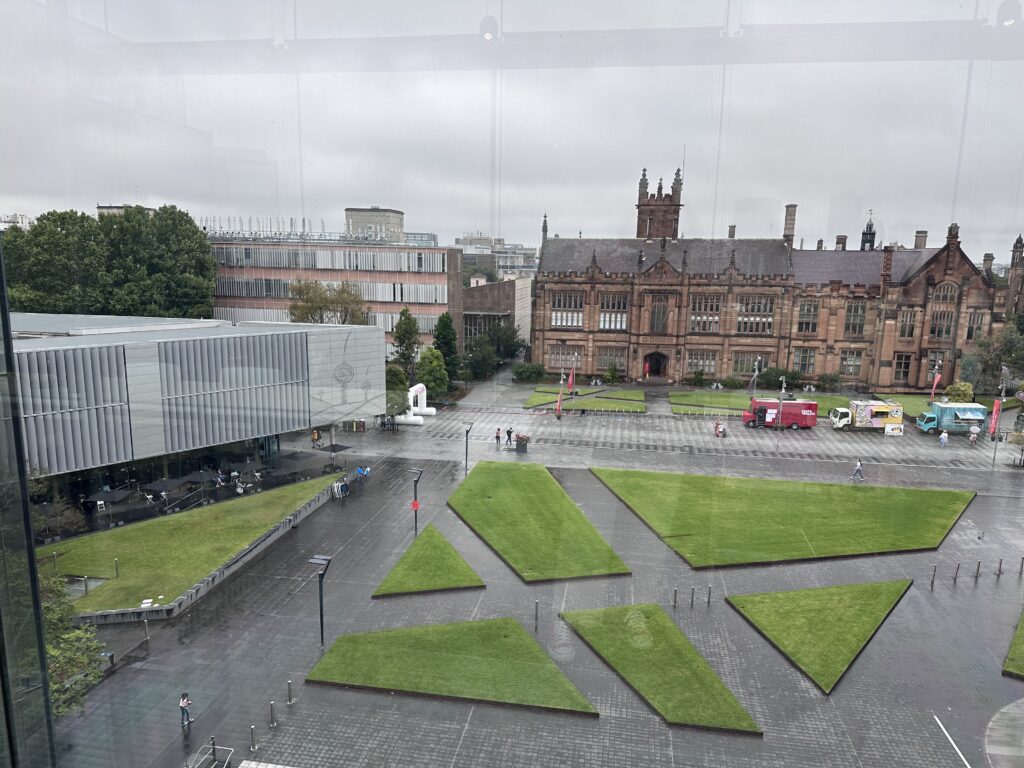
I was especially eager to go into the light well, that bit you can see in the middle in the triangular opening. It’s a stunning space, but as our tour guide pointed out, you really see the challenge with “big glass box buildings” in Sydney: it has persistent leaks when it rains. They had several buckets out, and we saw a few different spots throughout the building where rain had gotten in and caused damage.
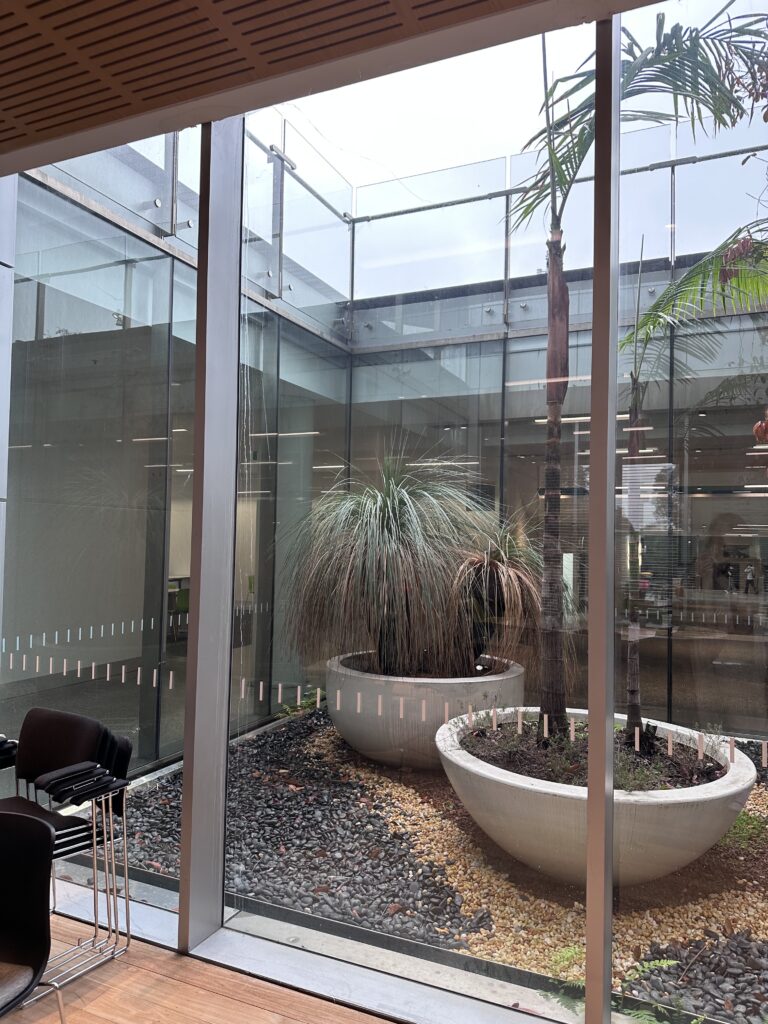
They also have a native garden that includes a grass tree, or “gadi.” I was especially interested in this one as we’re planning to put one in our back garden when the landscaping is finished.
From the second floor, we had a great view of the art installation featuring gadi on the exterior facade of the building. It was designed by First Nations artist Michael Jalaru Torres.
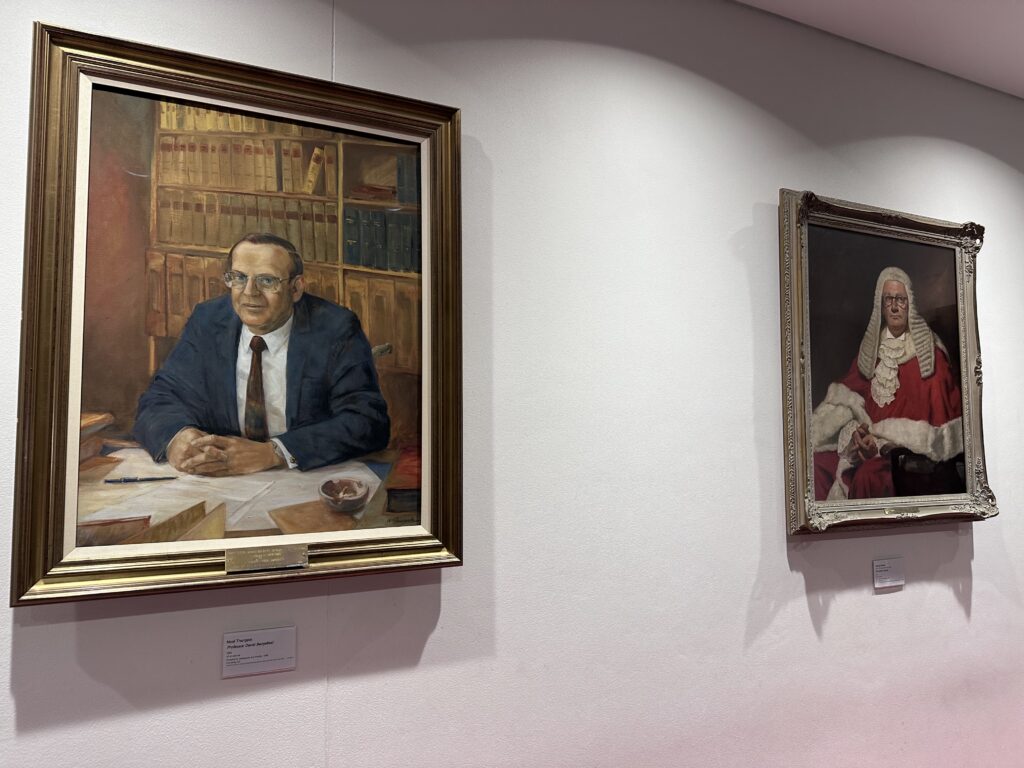
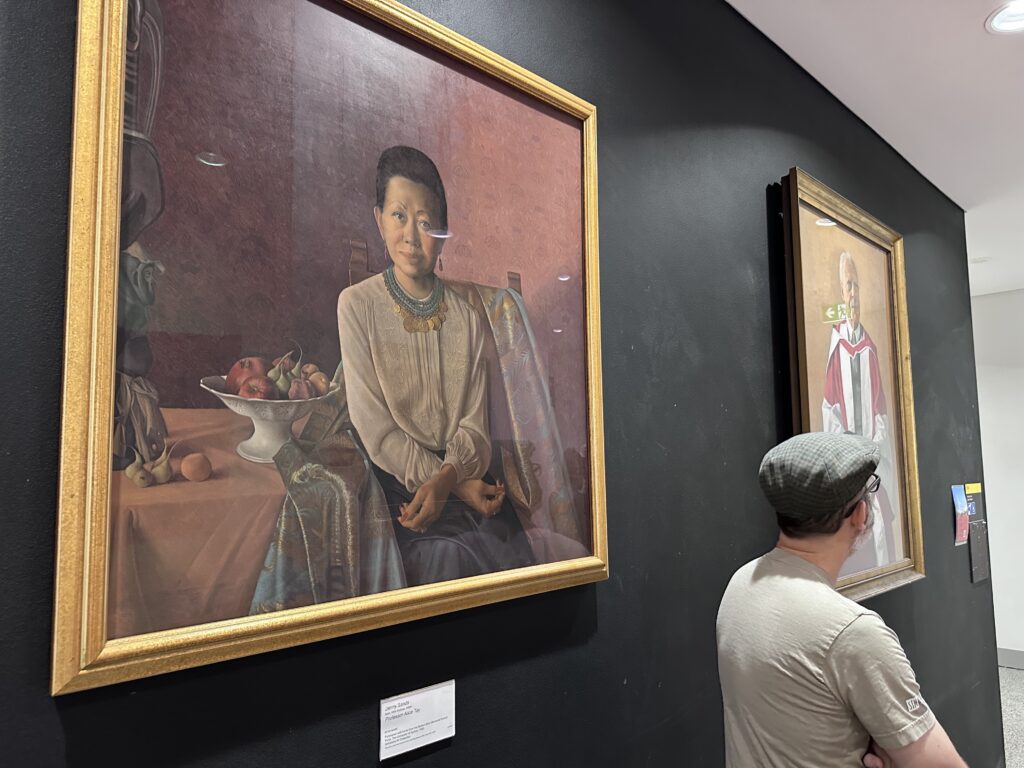
Our tour guide mentioned some of the more famous alumni from the law school, but admitted that they were mostly of the “old white guy” variety. We checked out a hall with many portraits, and we were all pleasantly surprised to see a woman of colour included: Professor Alice Tay, who certainly had an illustrious career.
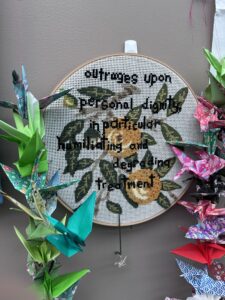
Up on the top floor, there was an artwork about the human rights crises in Ukraine and Gaza. I was especially interested to see the artist’s use of traditional craft mediums like cross stitch and beading.
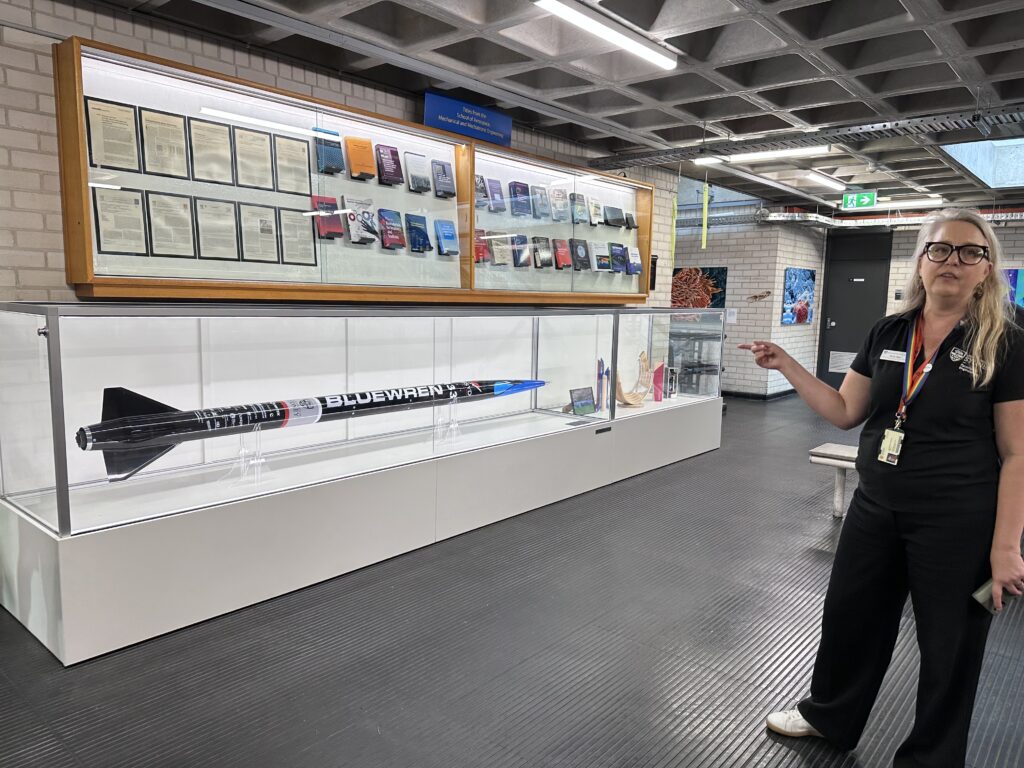
In the afternoon we went for a tour of the engineering buildings. I was really excited to see and learn about the award-winning rocket from the USYD student rocketry team.
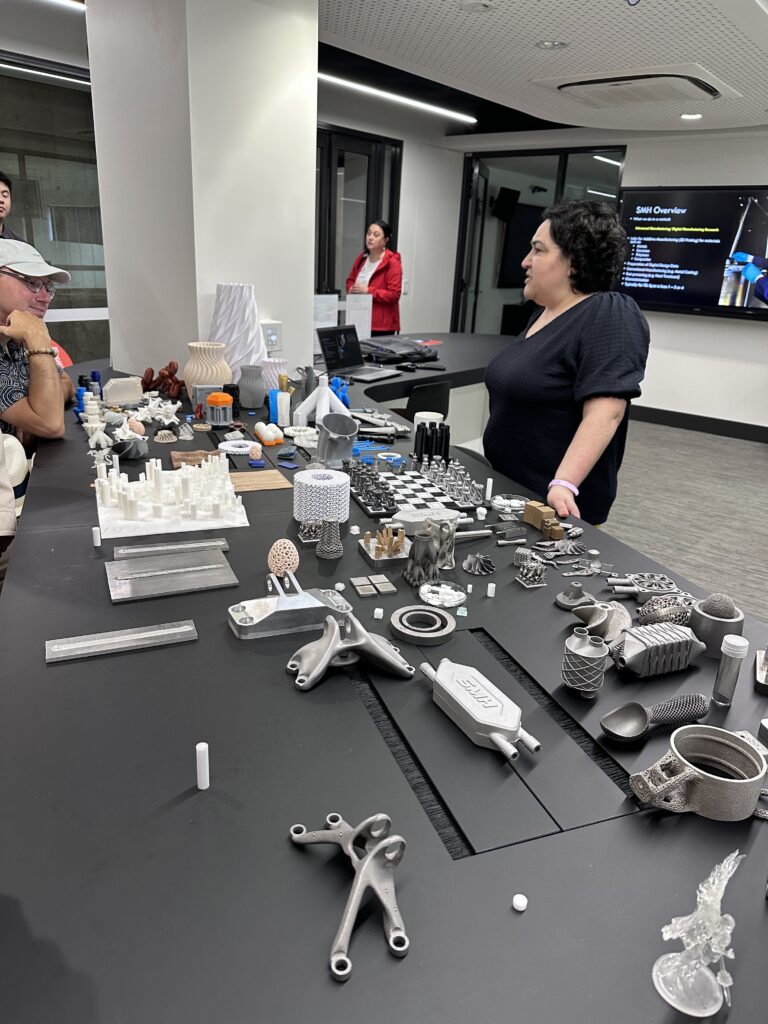
My other favourite part was the Sydney Manufacturing Hub. We had a fascinating talk from one of the faculty about all the different forms of 3-D printing they do, including unusual materials like ceramic and stainless steel.
Our final activity for the day was a talk with Katherine Bennell-Pegg, who this year because the first qualified astronaut under the Australian flag, as well as the first female Australian astronaut. What an amazing and inspiring person! She told us how she’d always wanted to be an astronaut, and all the steps and challenges she overcame in achieving her goal. The audience loved it, and my favourite part was seeing how many young girls were excited to meet her and ask questions.
Sydney University Alumni Festival
Any other Sydney Uni alumni at the festival today?
ChatGPT Did Not Write This Talk
Yesterday I was invited to give the final talk of the year for the Tech Leader Chats meetup group, which is run by Multitudes from NZ. I had a righteous rant about generative AI and creativity, and I think I did a pretty good job with it! My references are below, and you can watch the talk online here:
I also wanted to share the list of references and news stories that I mentioned during the talk:
- “The Great Automatic Grammatizator” by Roald Dahl
- Google’s “Dear Sydney” commercial that ran during the Olympics
- Alexandra Petri’s response in The Washington Post to Google’s ad
- Forbes‘s article suggesting you use ChatGPT at the Thanksgiving table
- The Verge‘s review of Google’s Pixel 9 phone
- The Guardian’s story about LJ Hooker’s hallucination-filled home listings
- The Harvard Misinformation Review‘s article about GPT-fabricated scientific papers on Google Scholar
- The Atlantic‘s exposé revealing that AI systems have been trained on TV and film writers’ work
- The Verge‘s article about OpenAI engineers accidentally erasing critical evidence from a lawsuit
- Study in Nature about how AI generates covertly racist decisions about people based on their dialect
- Bruce Sterling’s blog post about “Delvish”
- Wired‘s story about the prevalence of AI-generated text on LinkedIn
- International Business Times story about the environment crisis the AI industry is exacerbating
- Dr. Linda McIver’s keynote from PyconAU 2024
- Working Backwards: Insights, Stories, and Secrets from Inside Amazon
- Ted Chiang’s essay on why AI isn’t going to make art, from The New Yorker
- Slate article about this year’s NaNoWriMo AI controversy
- The Bookseller article about new startup Spines aiming to disrupt publishing
- Issue #218 from Nick Cave’s Red Hand Files
- The Economist article about the AI investment bubble
- Procreate’s AI statement
Dessert
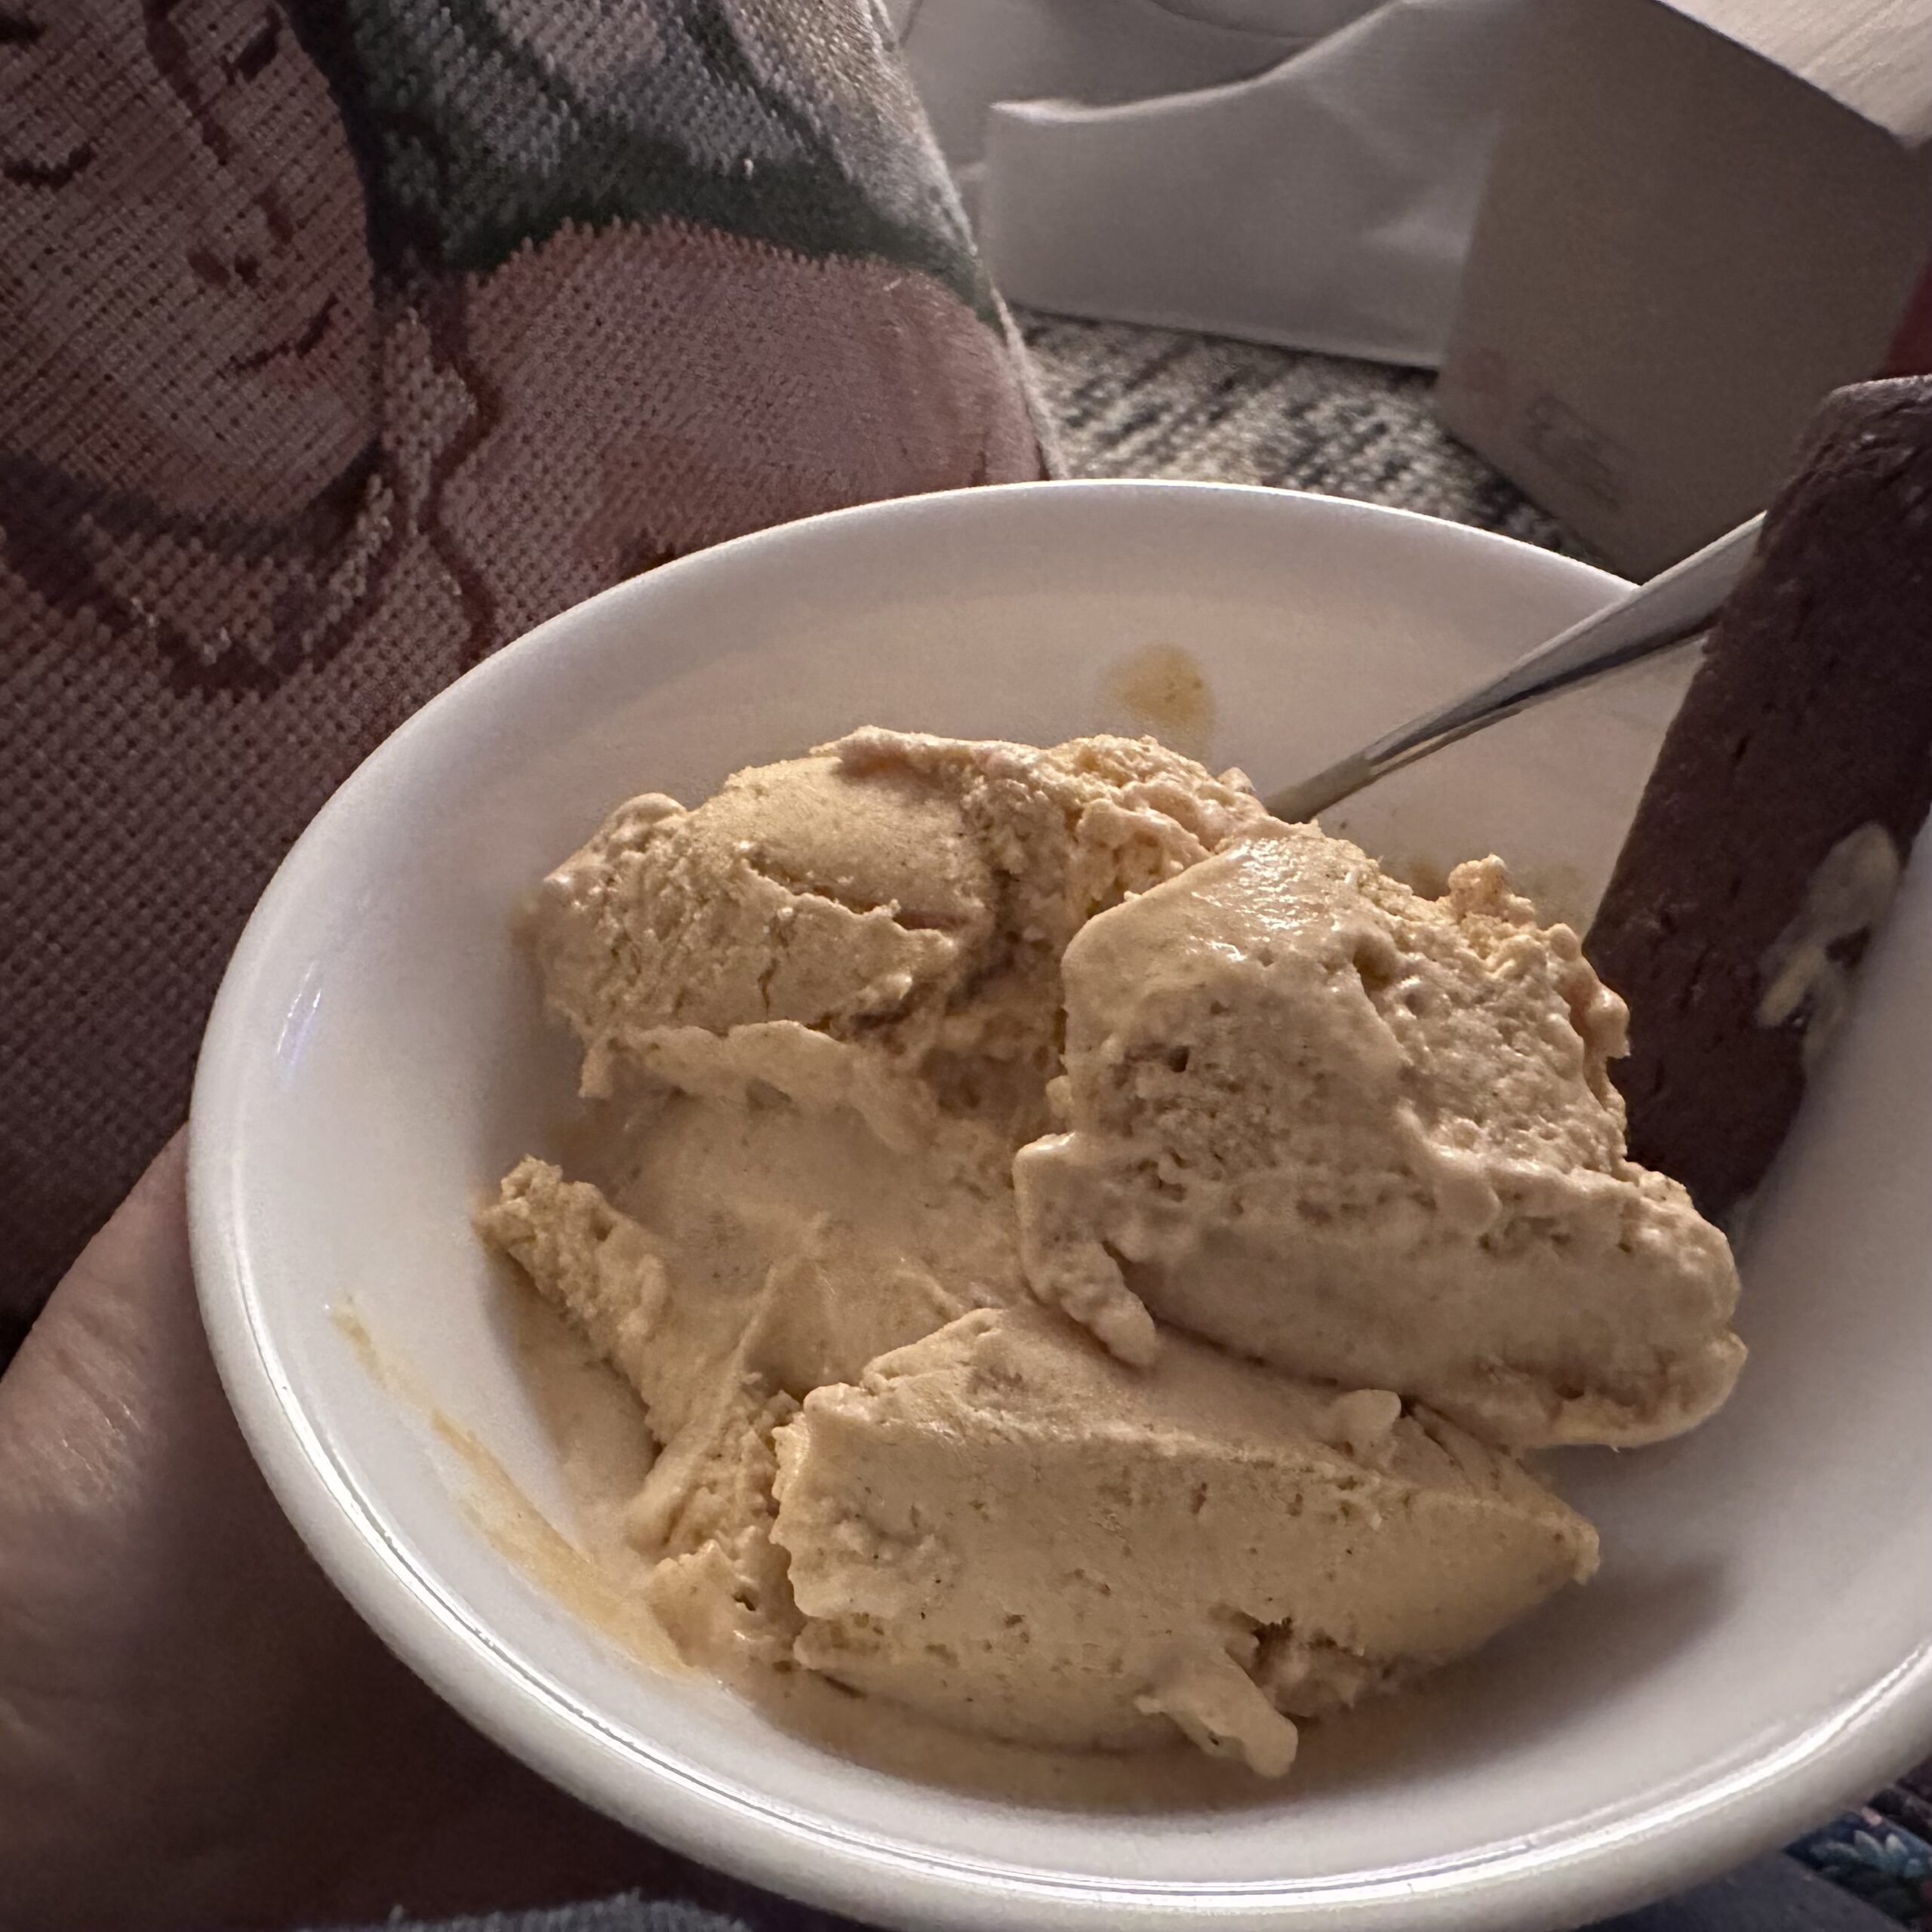
My pumpkin pie ice cream turned out really well! Much more suitable on a hot day than trying to bake.
MTV Thanksgiving Special 1997
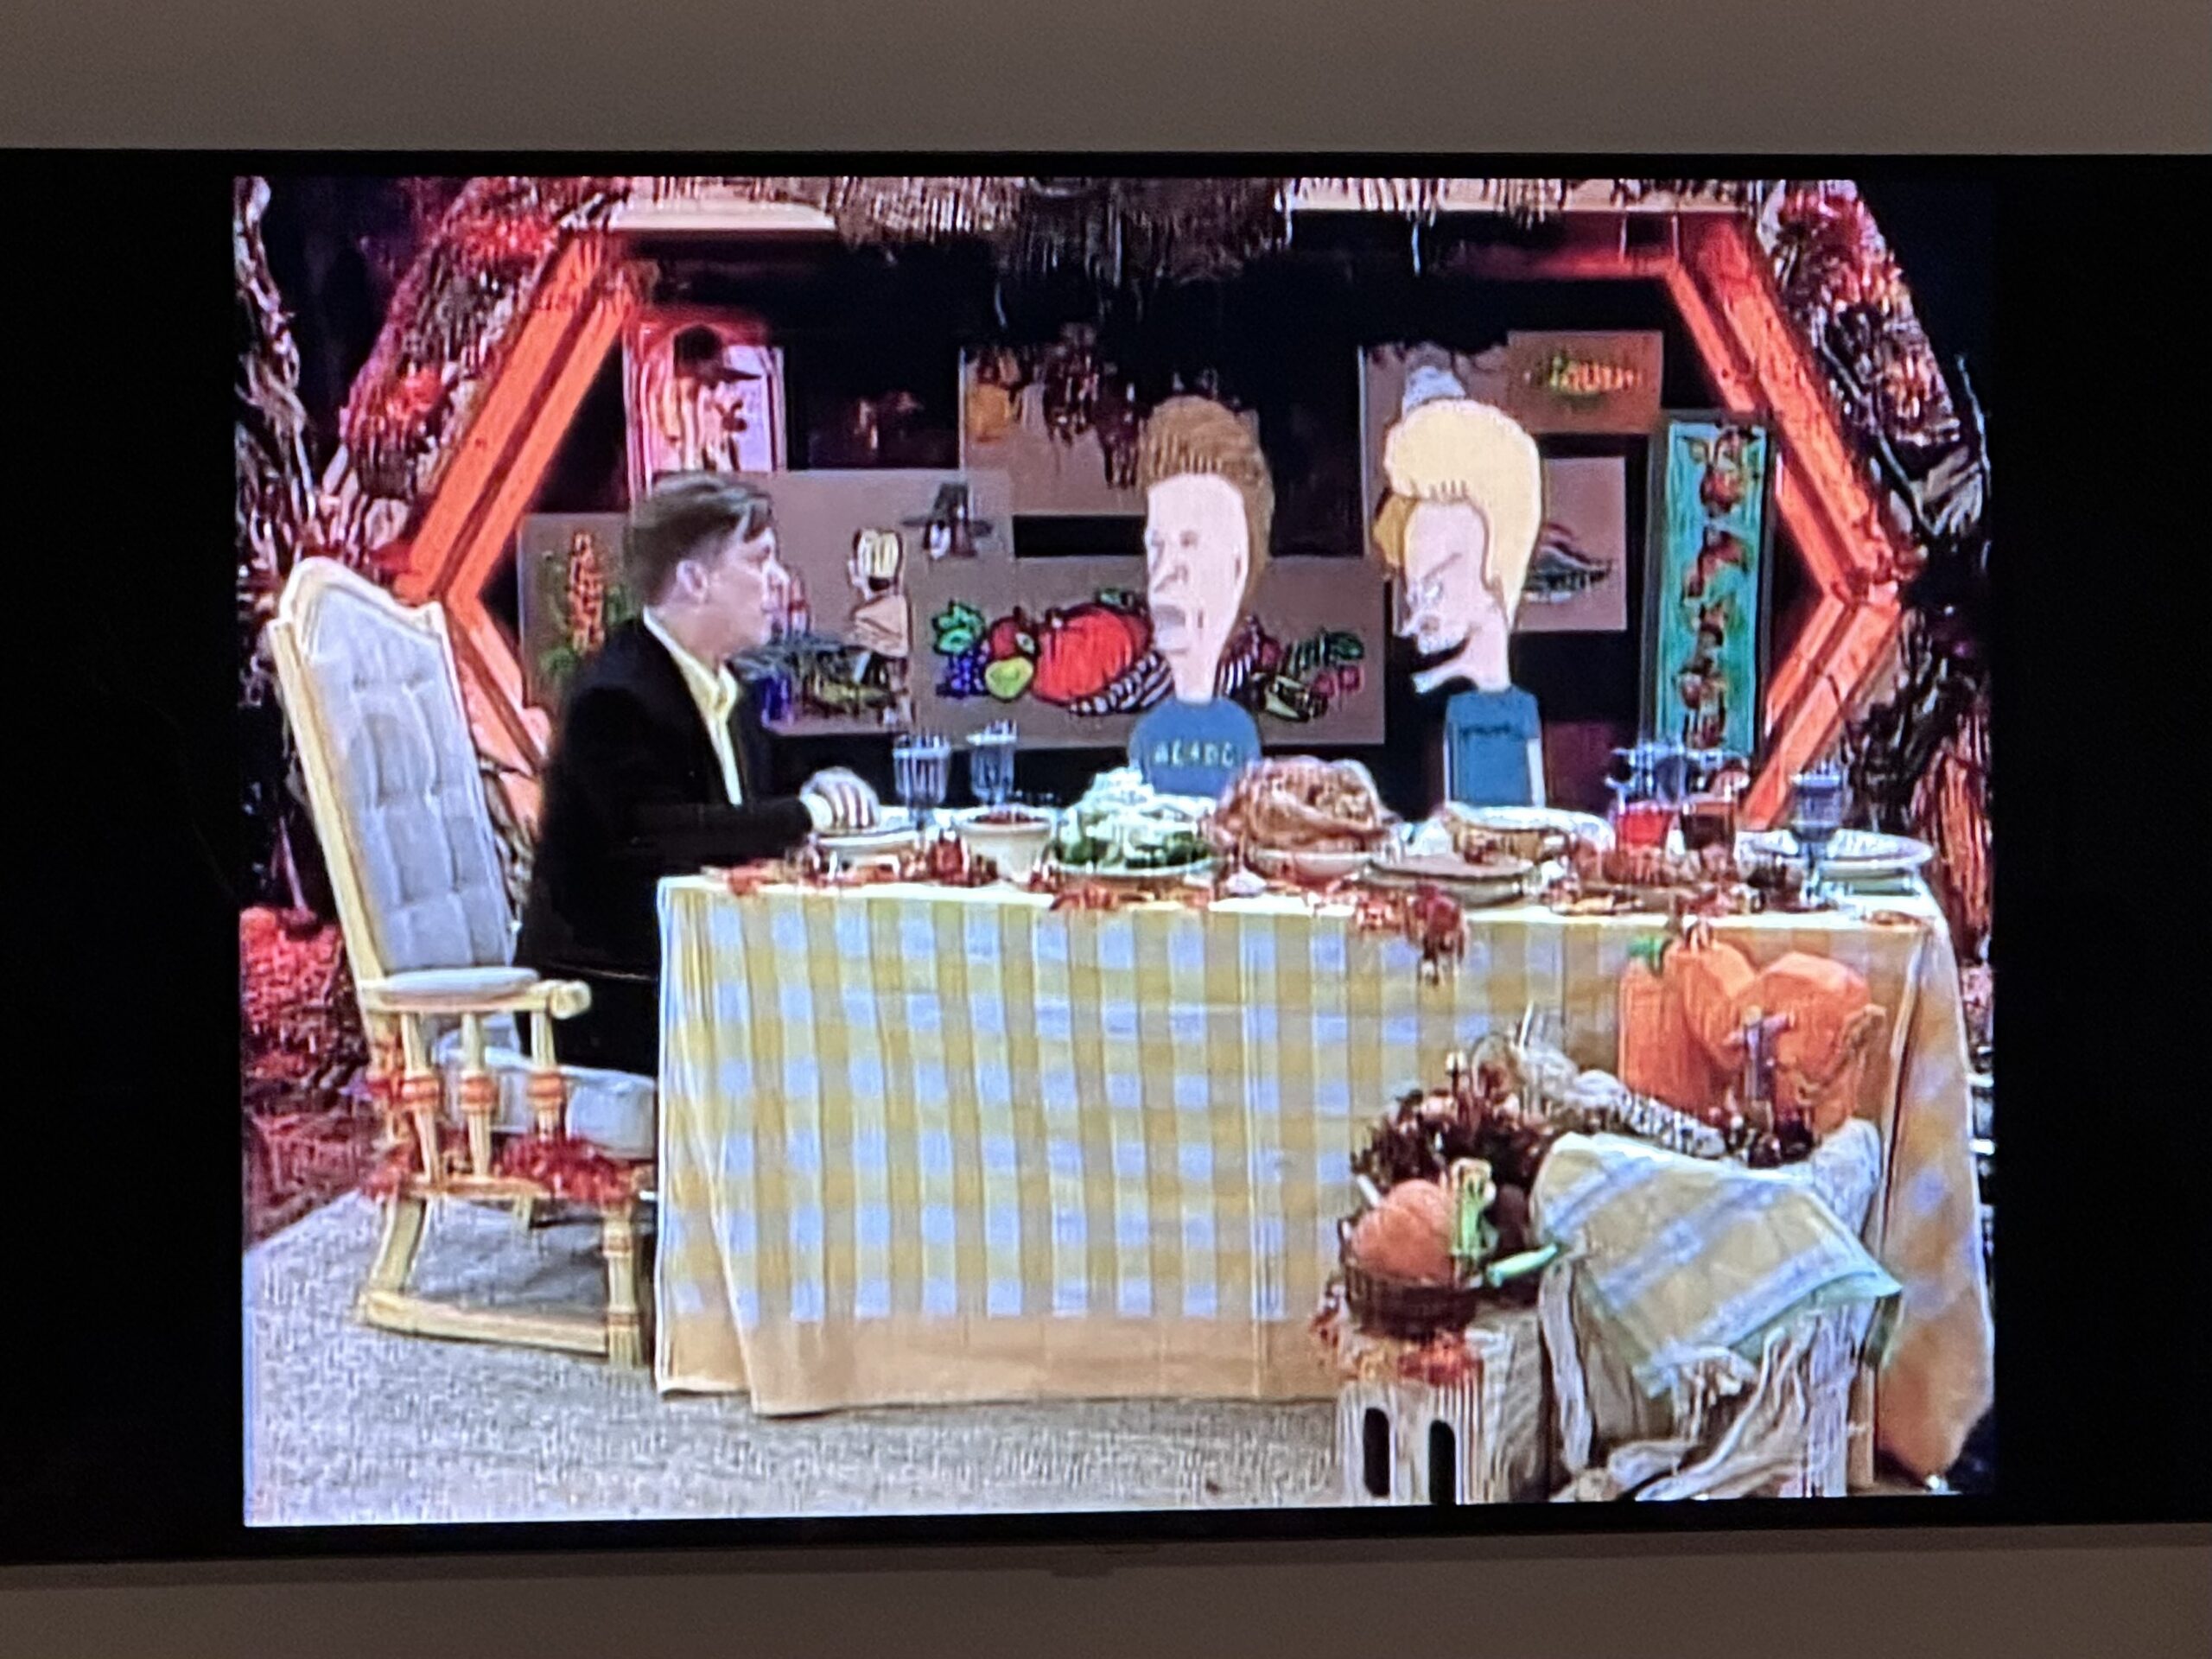
The Snook had a special Thanksgiving surprise for me: he downloaded the 1997 MTV Thanksgiving special, with poor Kurt Loder trying to interact with Beavis and Butthead. 😂 It’s terrible.
Happy Thanksgiving!
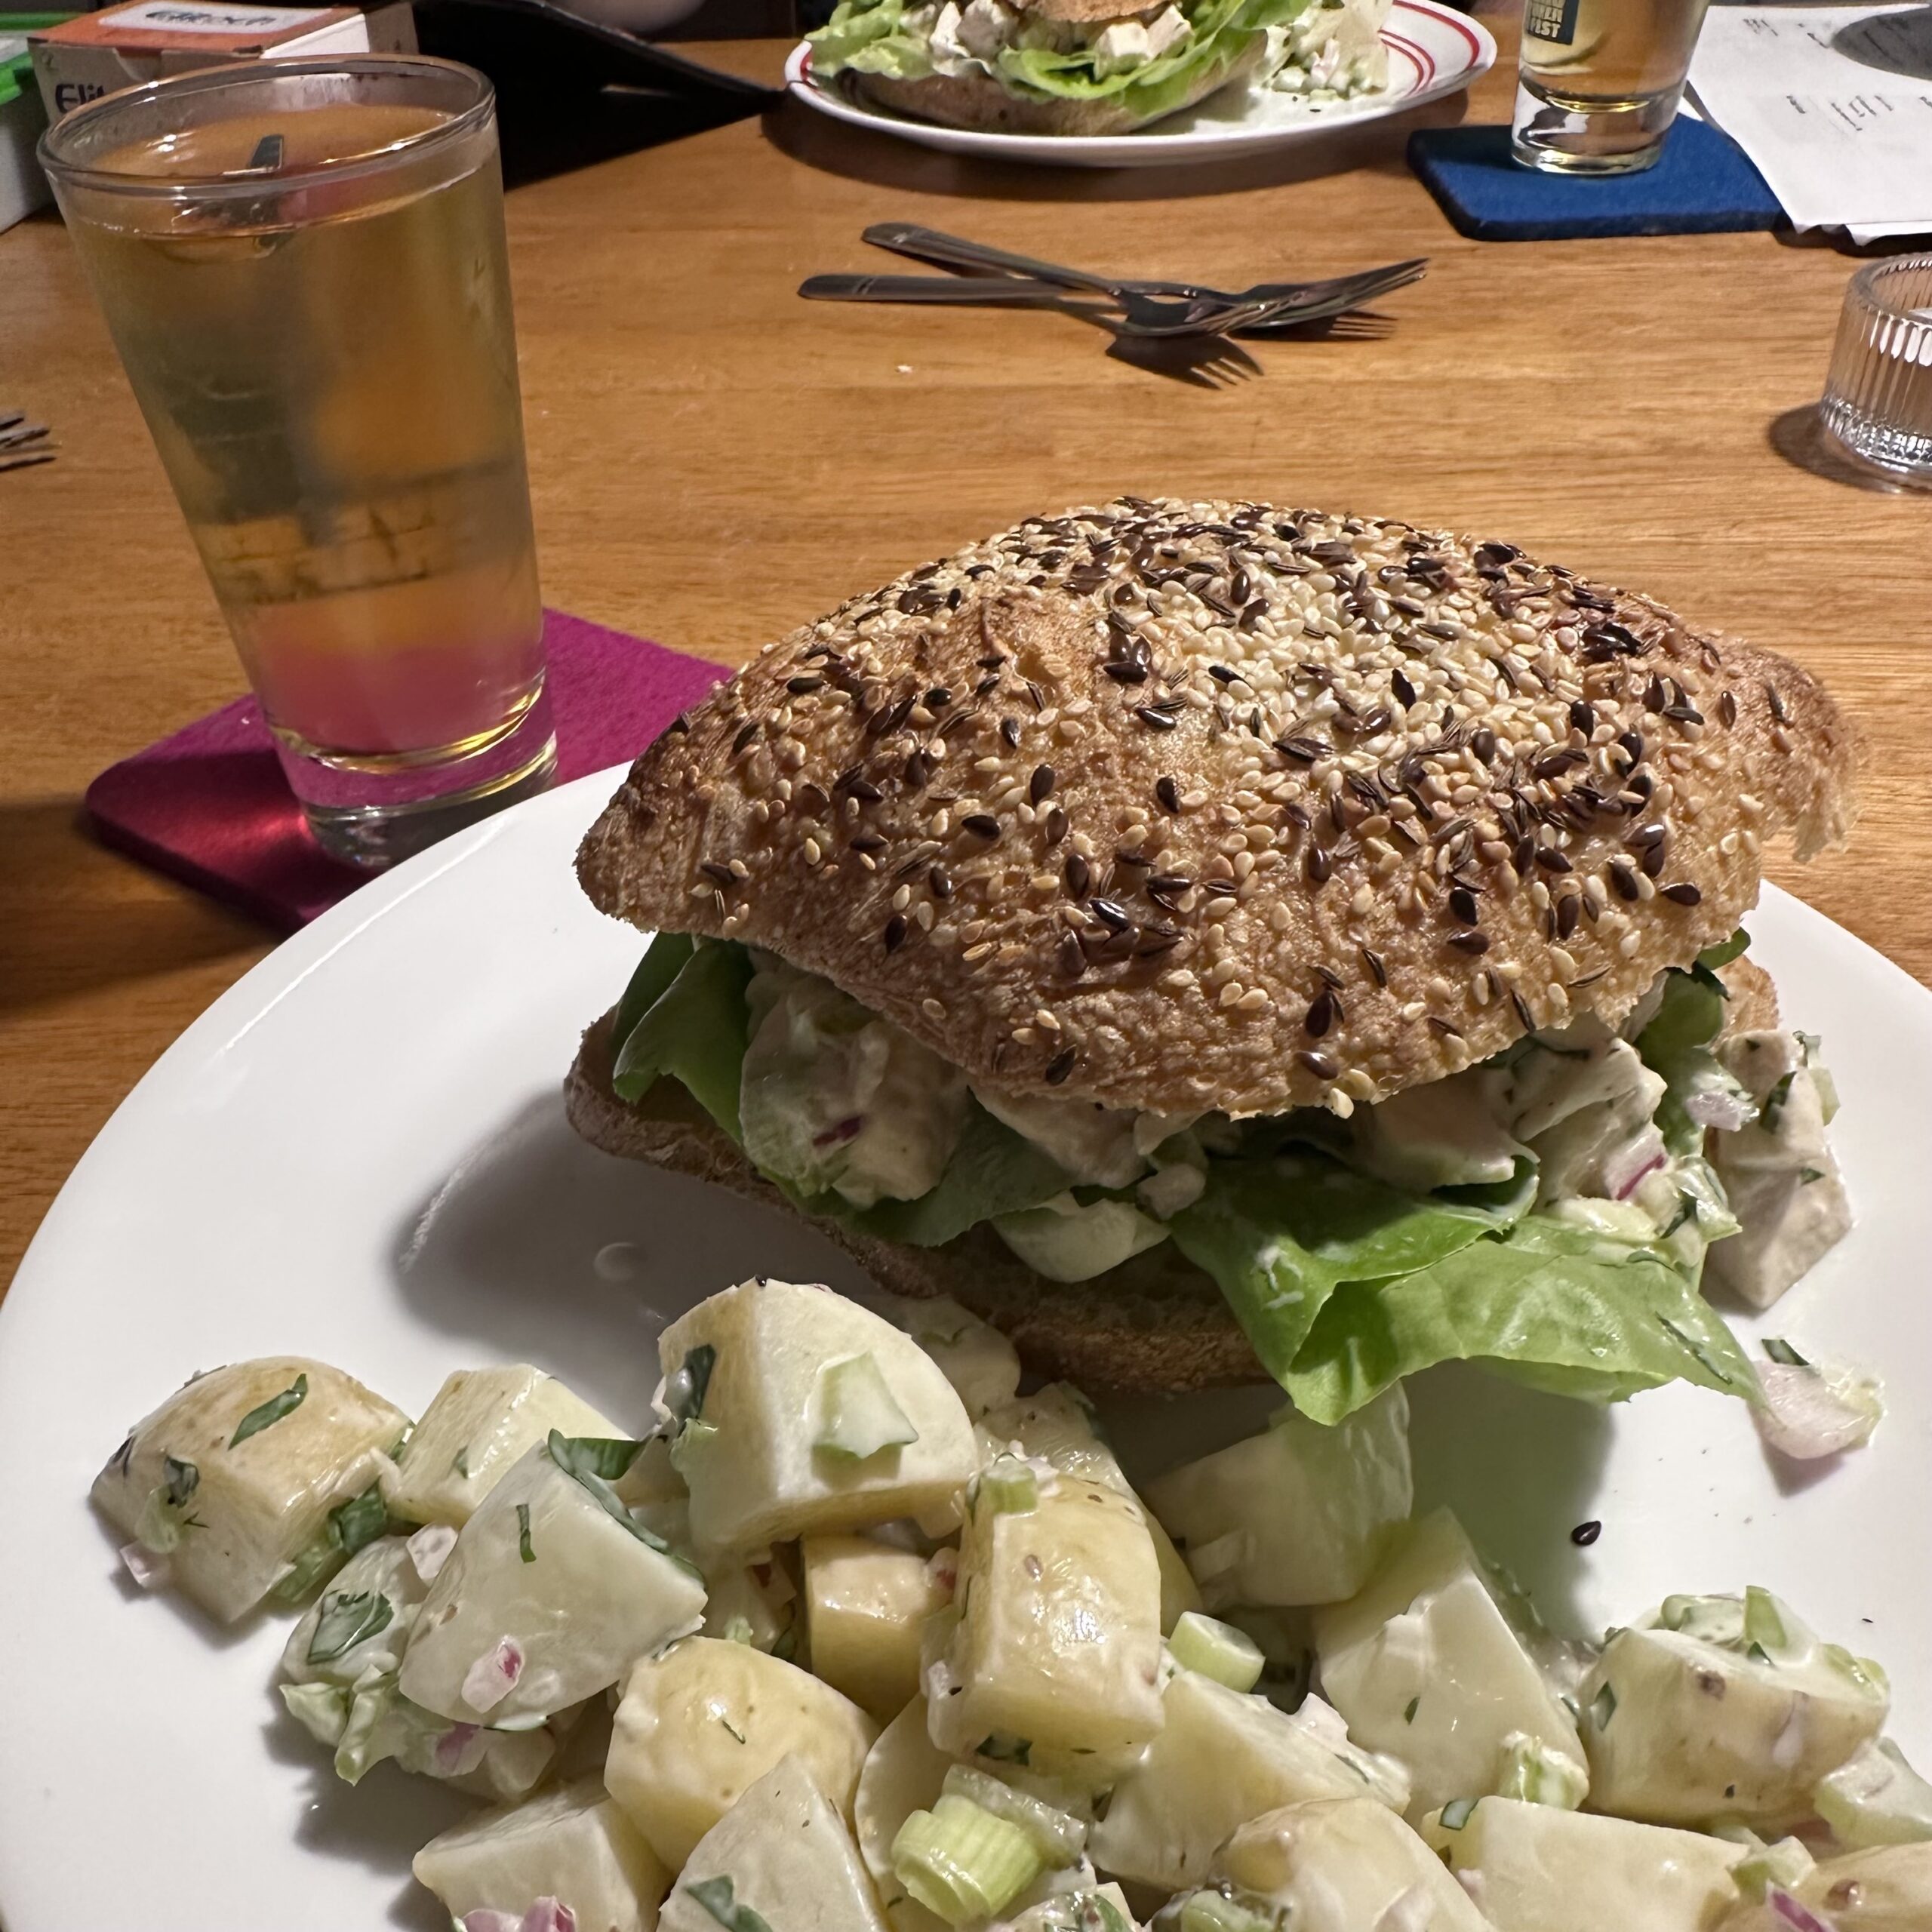
It’s way too hot to cook a traditional Thanksgiving dinner in Sydney this week, so I decided to spin it into a classic American picnic: chicken salad rolls and potato salad. Yum. 🦃
Recipes:
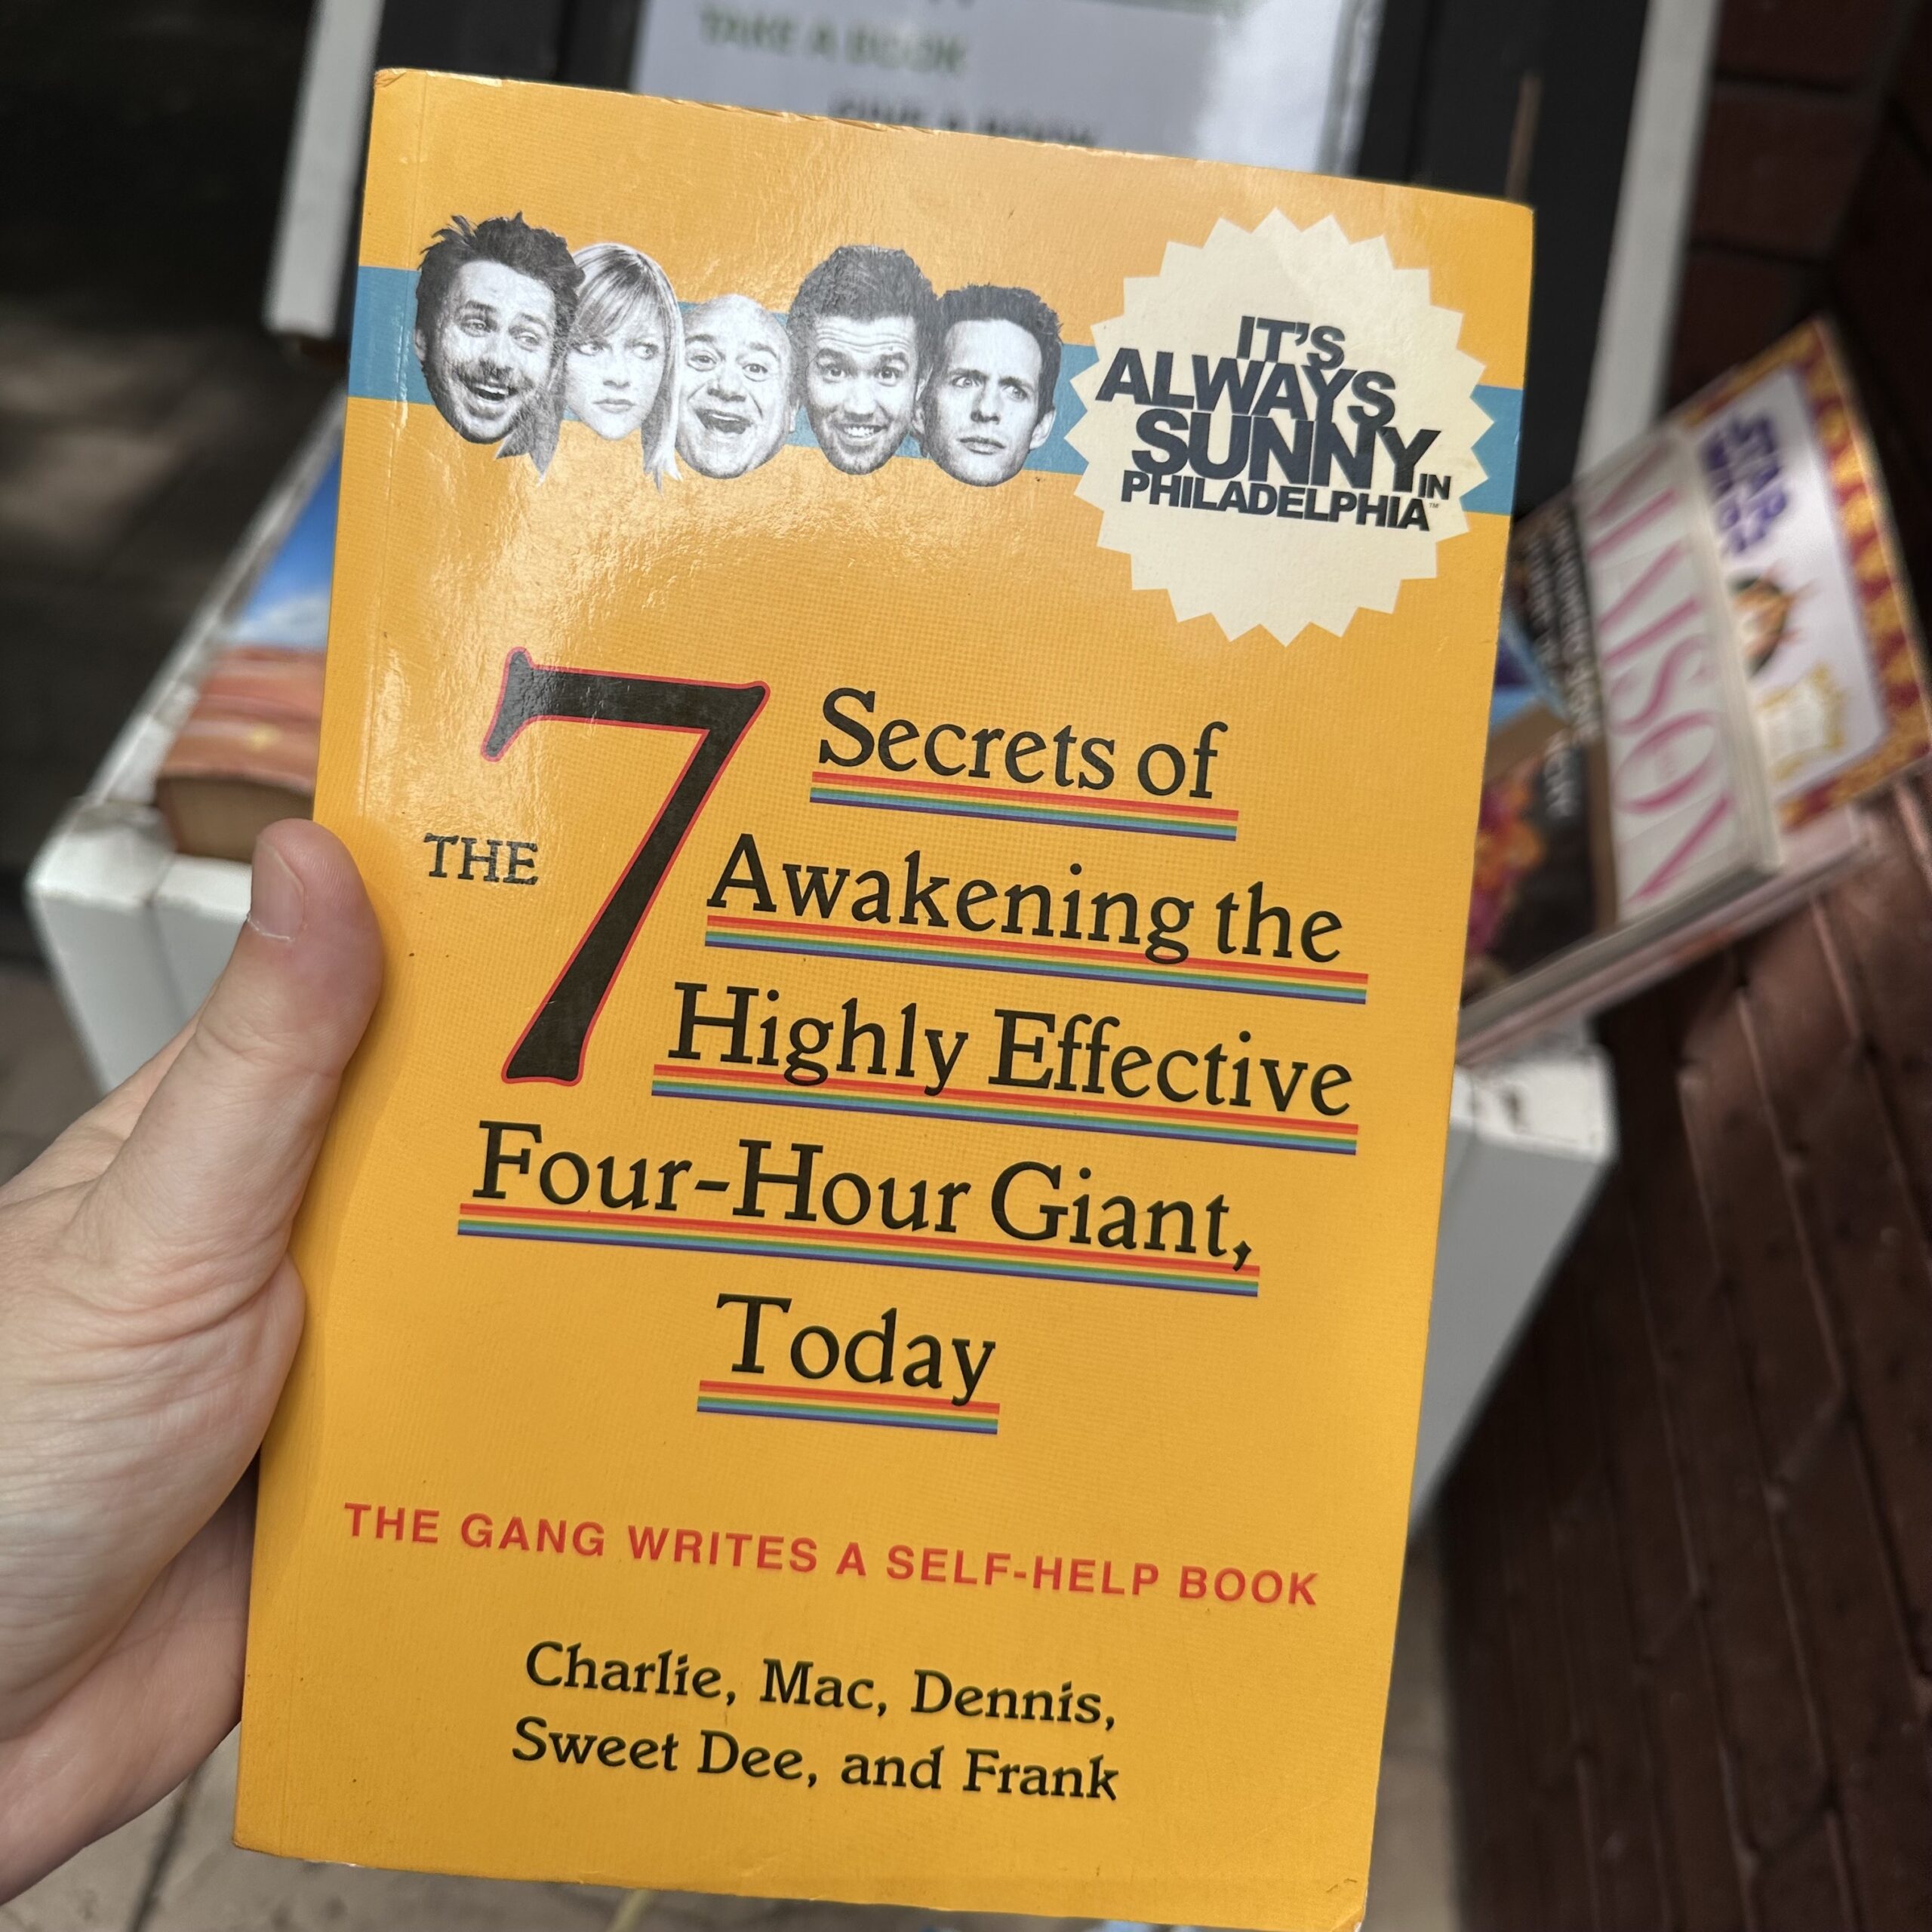
Used book JACKPOT
I’ve put a fair number of old books in our local “Street Library” box over the past few months, but this is the first time I’ve fished one out! #sunny
Thanksgiving
It’s 35C/95F out; all of Sydney is under extreme heat warning; and all I want is a goddamn can of pumpkin so I can make pumpkin pie ice cream. But alas, none to be found, not even for ready money. I will be roasting butternut this evening once the sun goes down…
Oh, and I asked the butcher how much it would be for a turkey breast to sous vide, and he told me $97 AUD (that’s $62 USD), and I laughed in his face and then bought a couple chicken breasts instead. I think it was actually a turkey crown roast, but whatever. Chicken it is.
EDITED – ONE HOUR LATER:
Me: So we’re going to be roasting pumpkin tonight so I can get puree, because I couldn’t find any canned. 😒
Rodd: You know, we already have some frozen puree from the last time you did that?!
Whaaaaaaat. THANKS, PAST KRIS!
7-11 Onigiri 🍙 – continued!
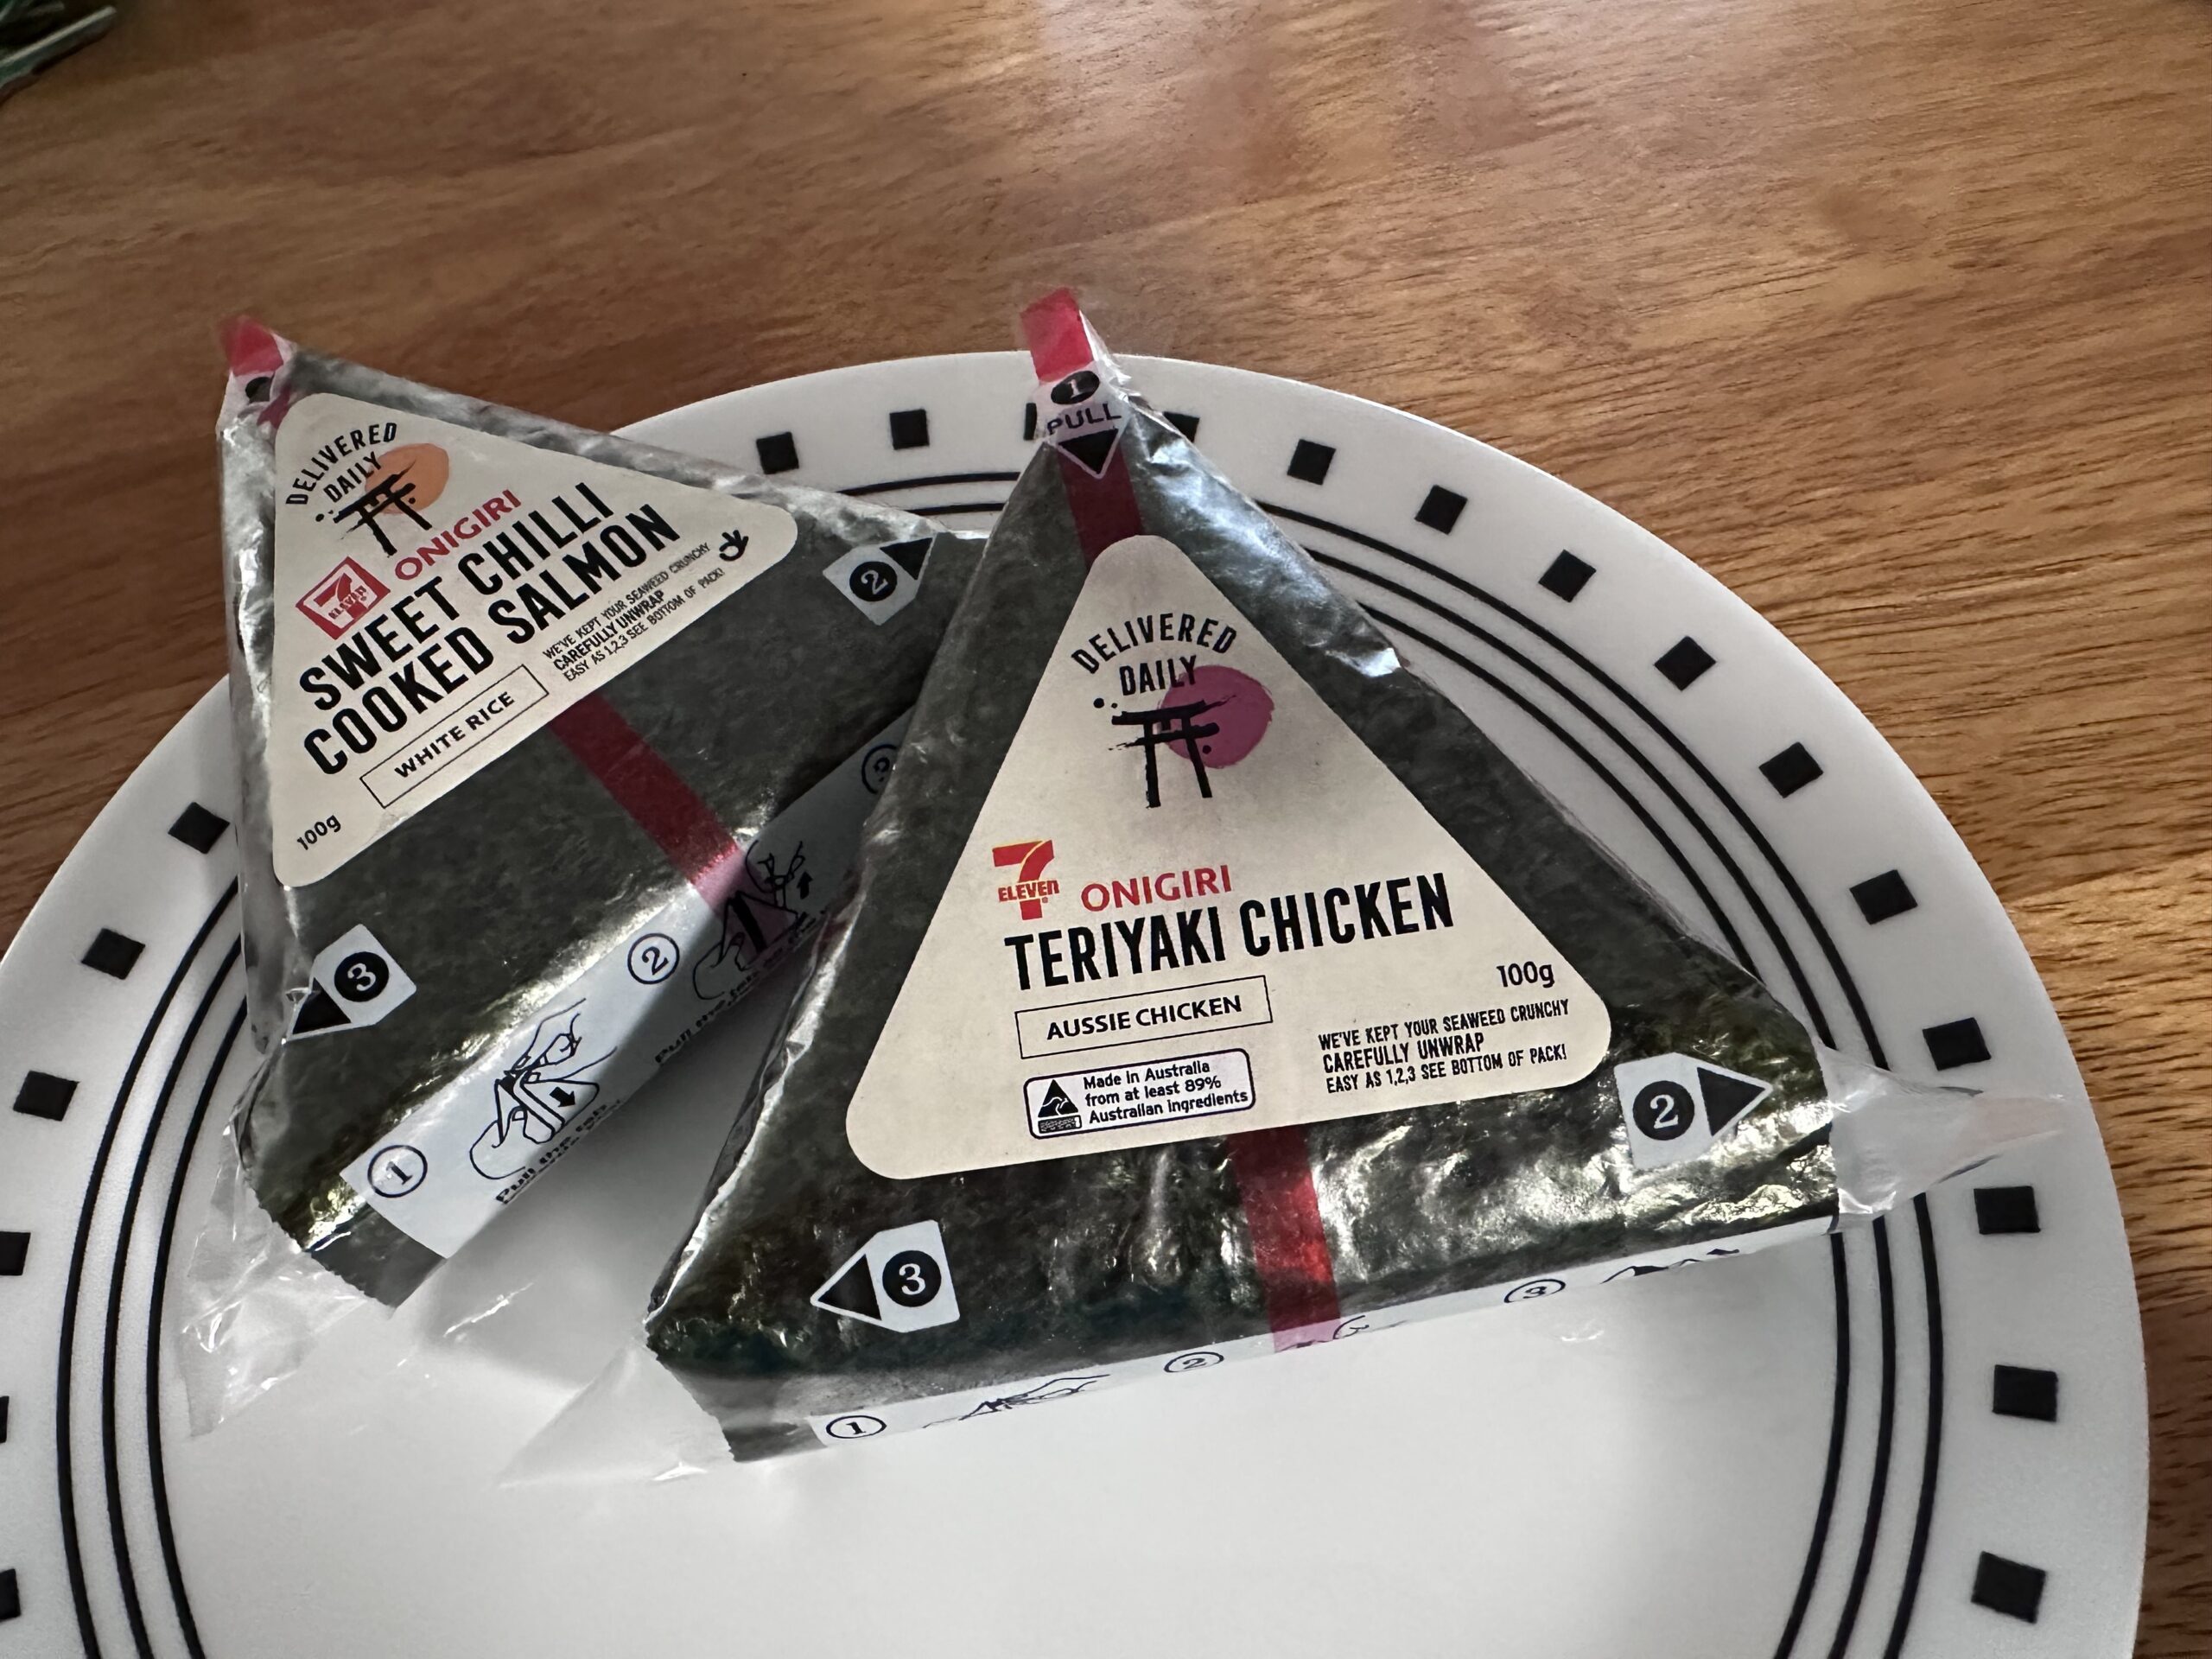
Time to try the other two 7-11 onigiri flavours!
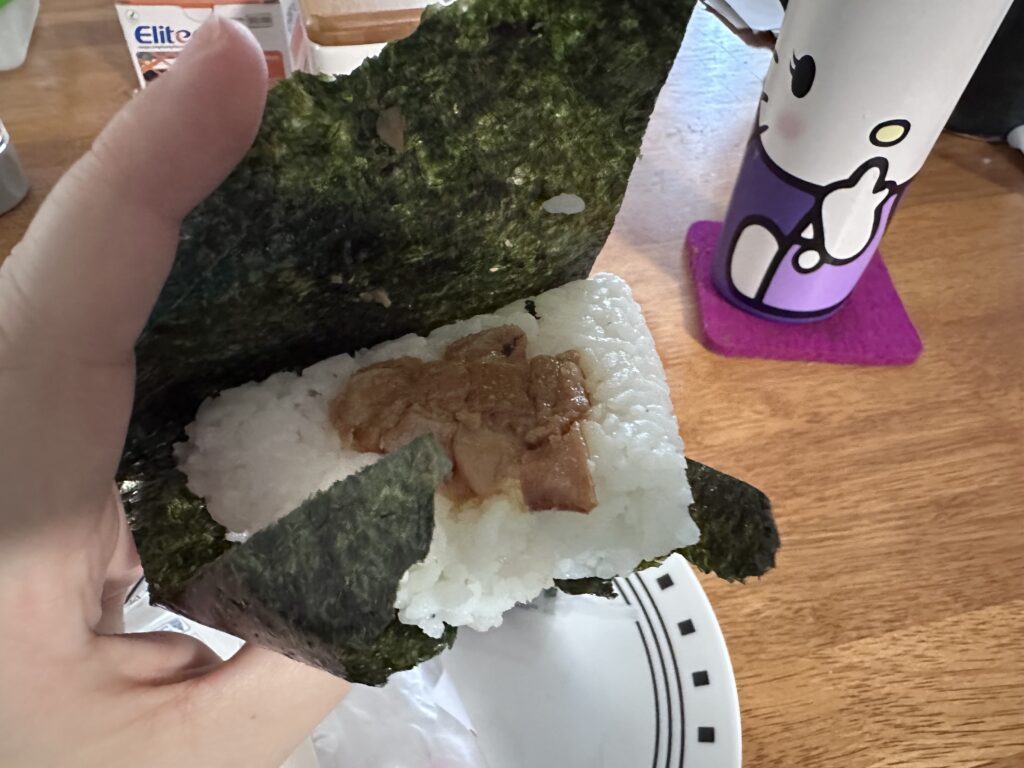
First up I went with the Teriyaki Chicken, which I think illustrates just how “ungenerous” the filling is in these. It also didn’t really taste of much. Definitely my least favourite of the three.
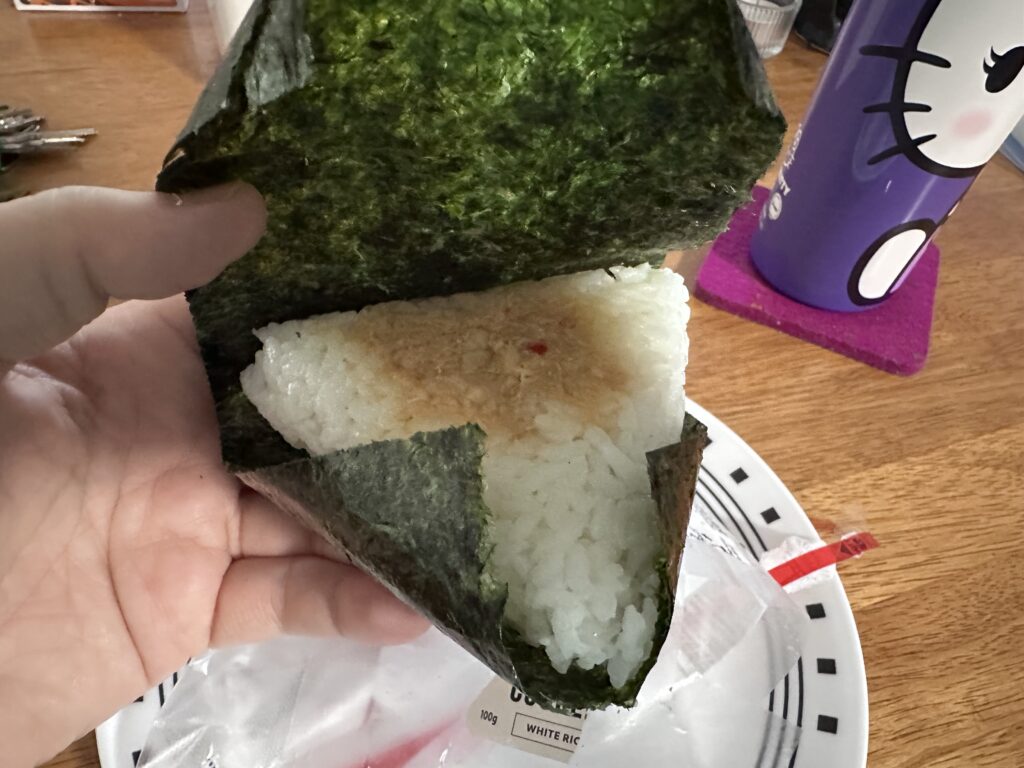
Lastly, we have the Sweet Chilli Cooked Salmon. I definitely wasn’t expecting much (Sweet chilli? Really, Australia?!), especially when I saw the little blob of filling. BUT I was very happily surprised. It’s great! Lots more flavour than either of the other two, and if I ever get them again, this will be my choice.

