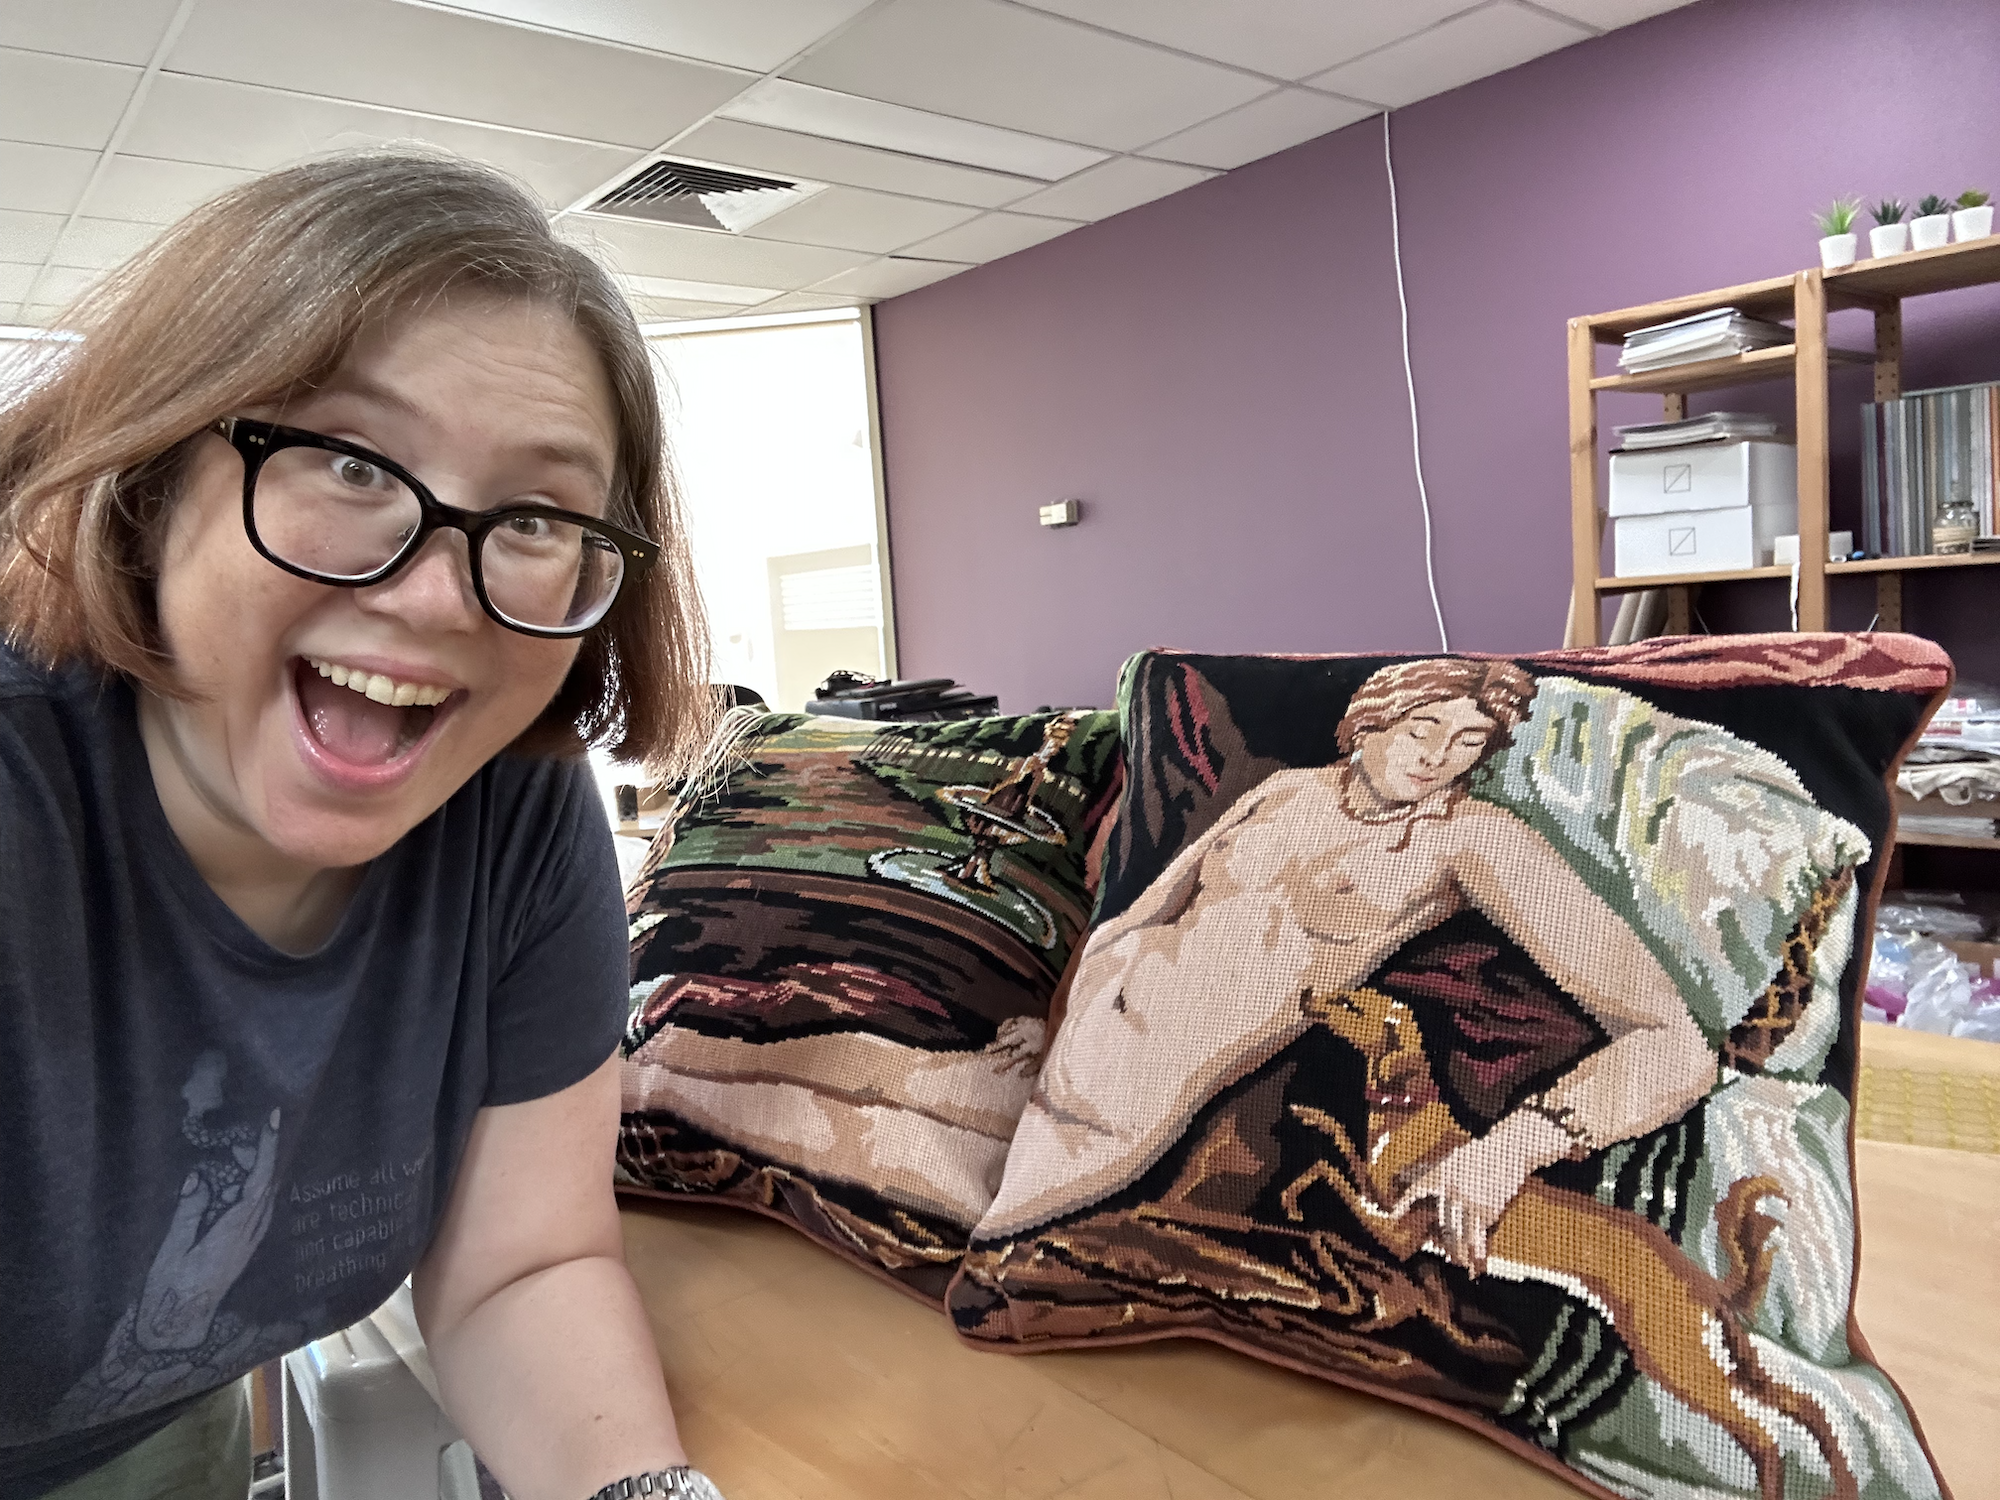
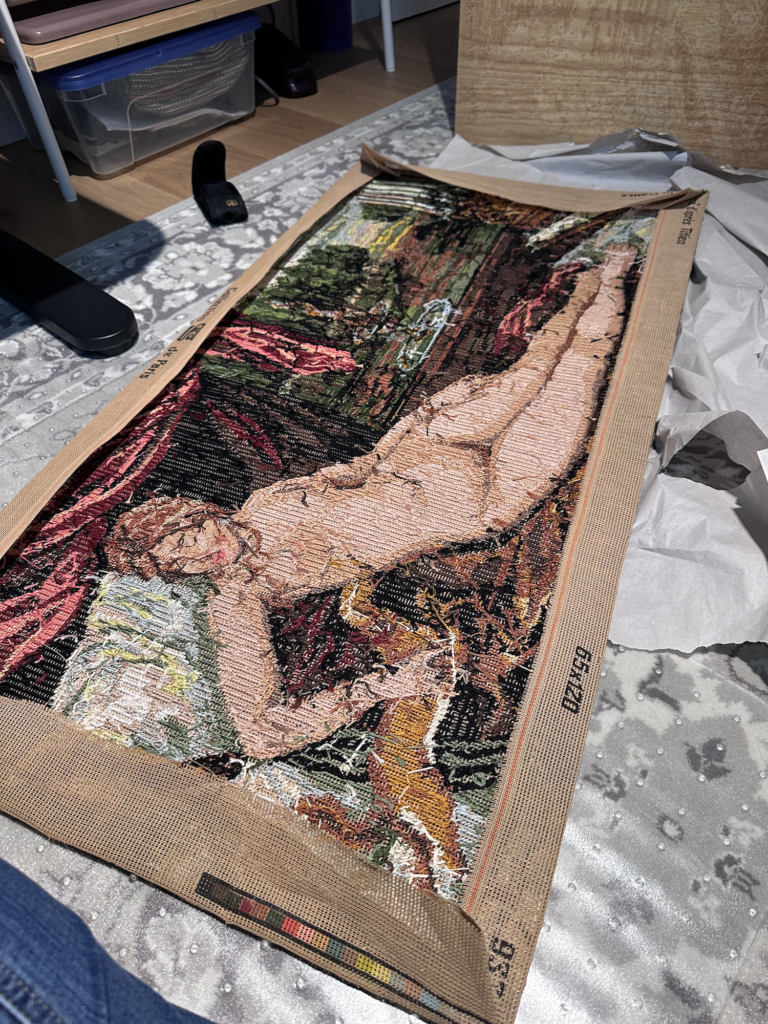
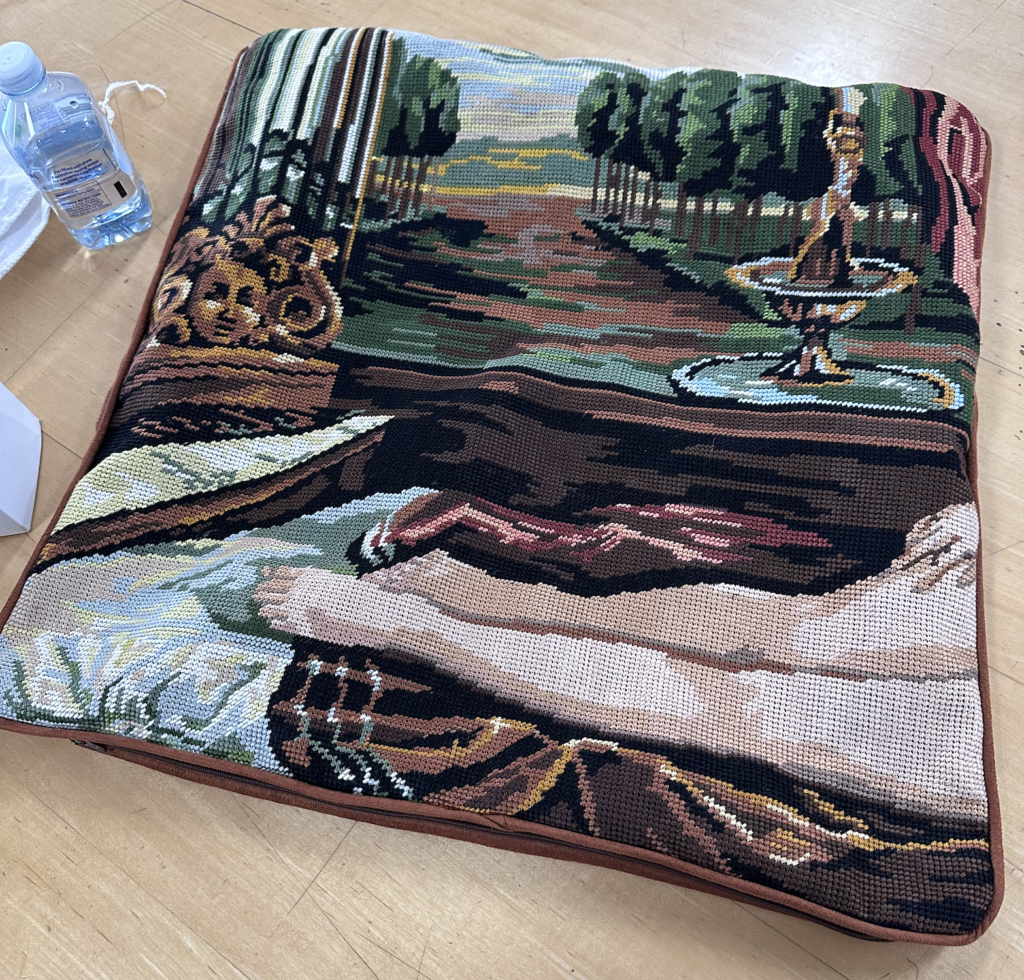
Eighteen years ago, Mr. Snook’s grandmother (“Kathy-Nanny”) moved into a retirement village, and I was gifted one of her many needlepoint tapestries: a tasteful nude reclining with a whippet. If you don’t know much about needlepoint, it generally involves a heavy canvas with a picture printed on it that you then embroider over with slanted stitches. Many of them are based on fine art, and Kathy-Nanny’s was titled “Venus d’aprés Titien.” (It’s clearly based on “Venus and Musician,” just with the leering musician removed.) It was in a heavy ornate frame, and while it was well-executed and beautiful work, it didn’t really… go with any of our other stuff. I put it in a closet for safekeeping and it basically sat in storage for the better part of two decades.
A couple months ago, we moved back into the house after our extensive renovation, and I decided it was time to bring Venus back to life. Rather than hang her on the wall, I thought that turning her into a pair of cushions might be the best way to go.
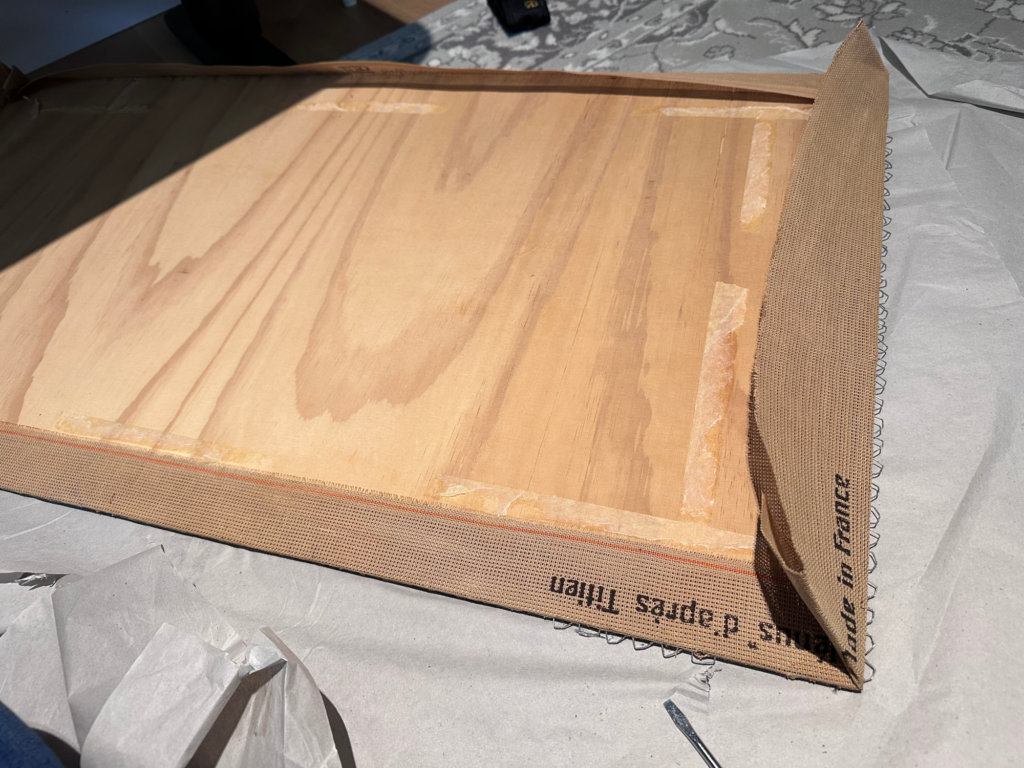
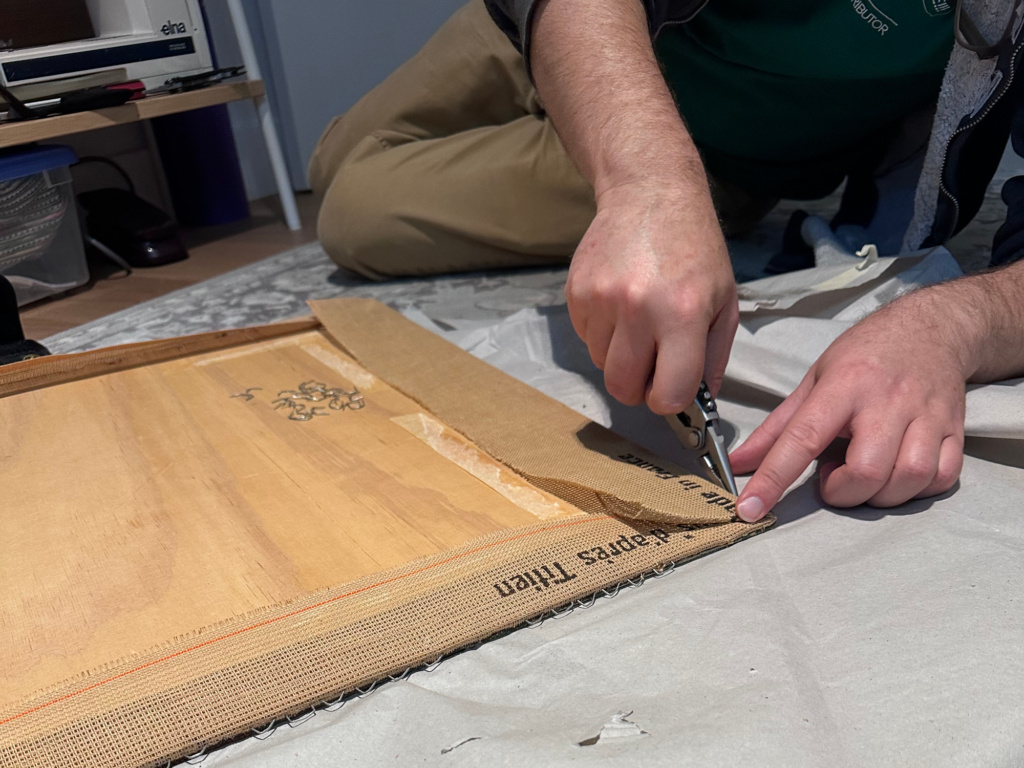
First, I had to get her out of the frame. Underneath I found the tapestry wrapped around a piece of plywood and stapled all the way around. There were hundreds of staples, each of which had to be pulled out by hand.
Thankfully Mr. Snook helped me. The staples were really dug into the edge, so I pried them loose enough for him to grab with a pair of pliers. It was back-breaking work.
At last we had the tapestry free of the plywood. This is what it looked like from the reverse. Even on that side, you can see what a good job she did with the stitching.
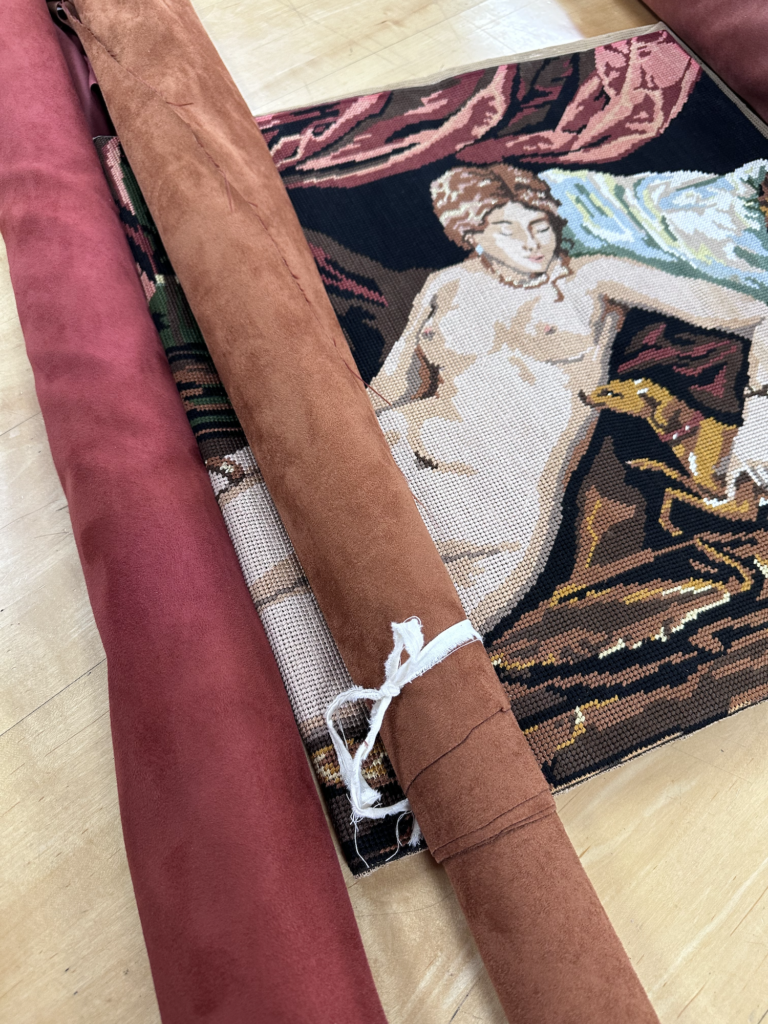
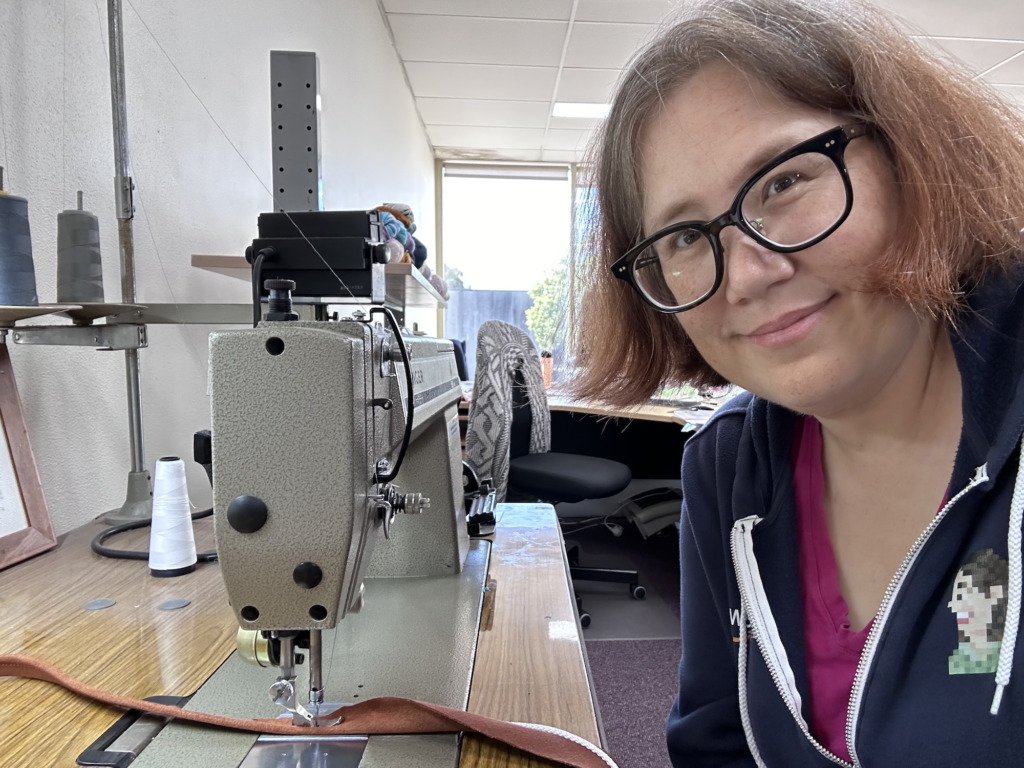
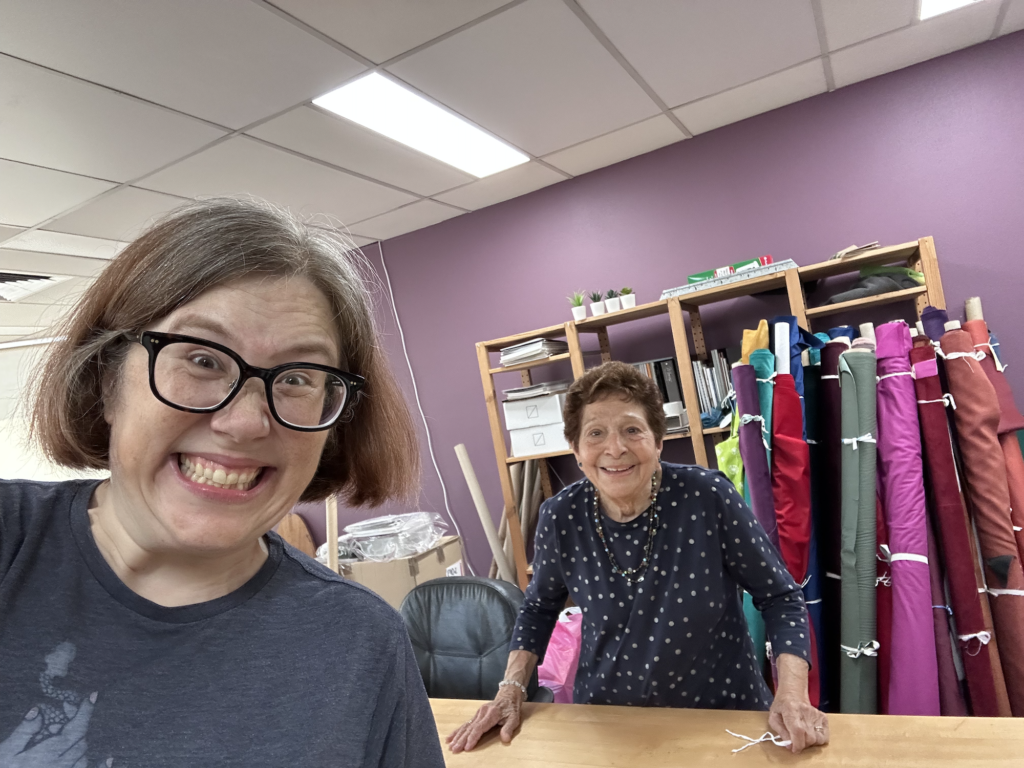
Once I had it free, I rang up my friends at Morris & Sons. Mrs. Morris has sewn more needlepoint cushions than probably anyone in all of Australia, and she kindly offered to teach me how to do it. I met Mrs. M at her workshop, where we started by deciding on the backing fabric. We narrowed it down to these two velvets, and I decided to go with the more orangey-brown one.
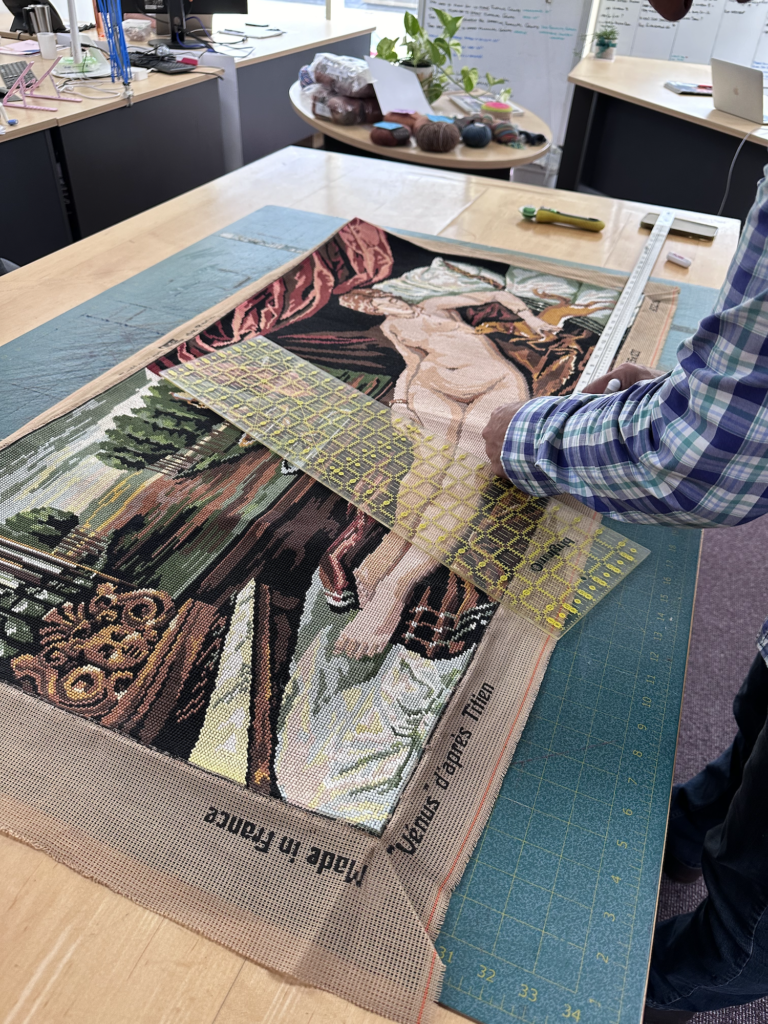
Then her son Joseph helped me work out what size to make the cushions. We measured up and realised that if we simply sliced her in half, we’d get two very nearly square cushions out of it. They were both incredulous that I wanted to cut it in half, and Mrs. M couldn’t quite get over the fact that I’d have a cushion with just LEGS on it. But they were game for the experiment, so Joseph cut it up the middle.
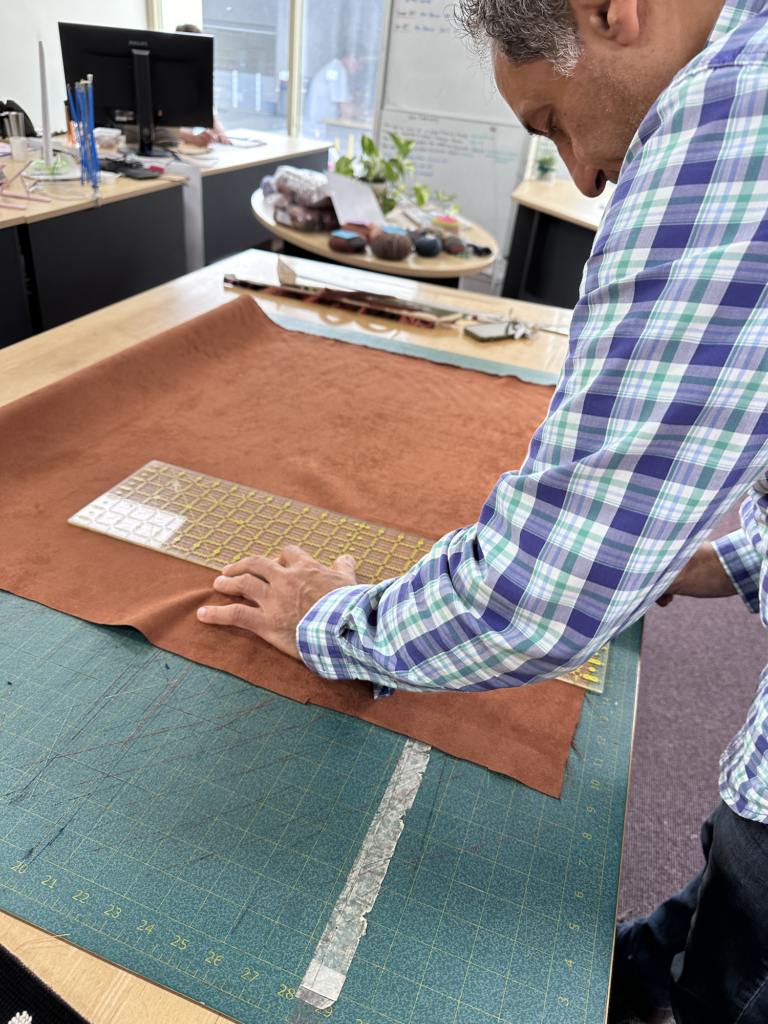
Joseph also helped me cut appropriately sized pieces of the backing fabric, as well as slicing up many pieces to be used to create piping.
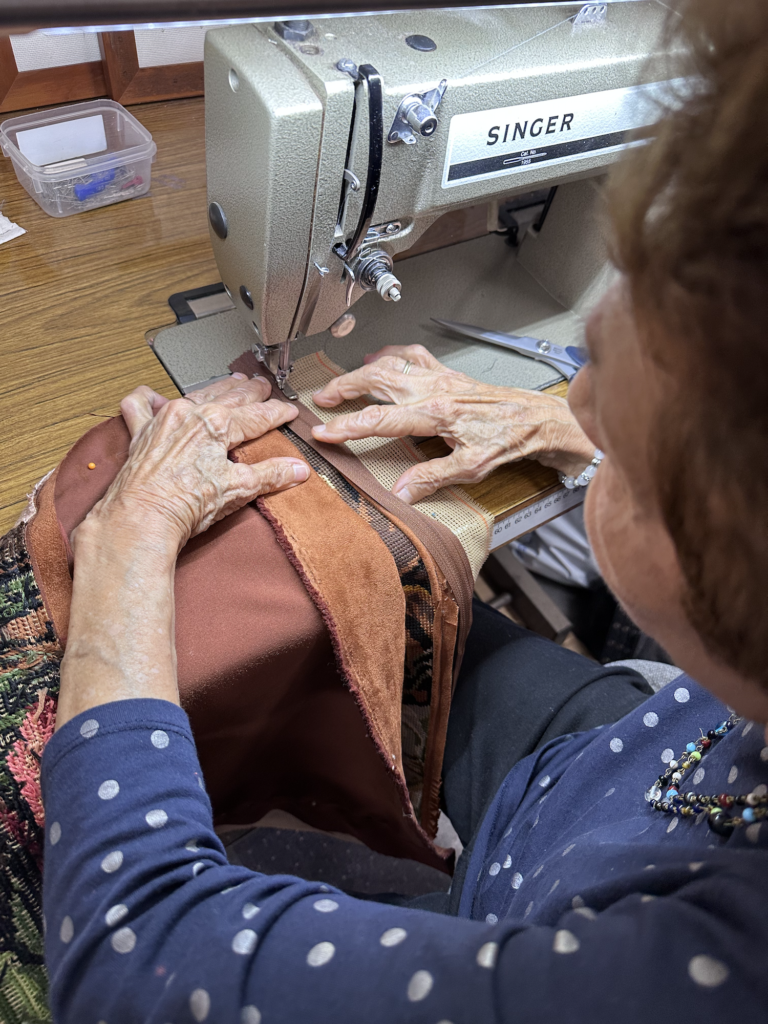
Then the real lessons began! I don’t want to give too many of her secrets away, but at a high level: Mrs. M first showed me how to piece the strips of velvet together into one very long strip, taking care to ensure the nap always went the right direction so it didn’t look or feel odd. Then I created meters and meters of piping, wrapping the strip around a long cord and sewing it down tightly. The Morrises let me use one of their industrial Singer machines, which took a bit of practice to get the hang of. It had a large foot pedal and a knee lever for controlling the presser foot.
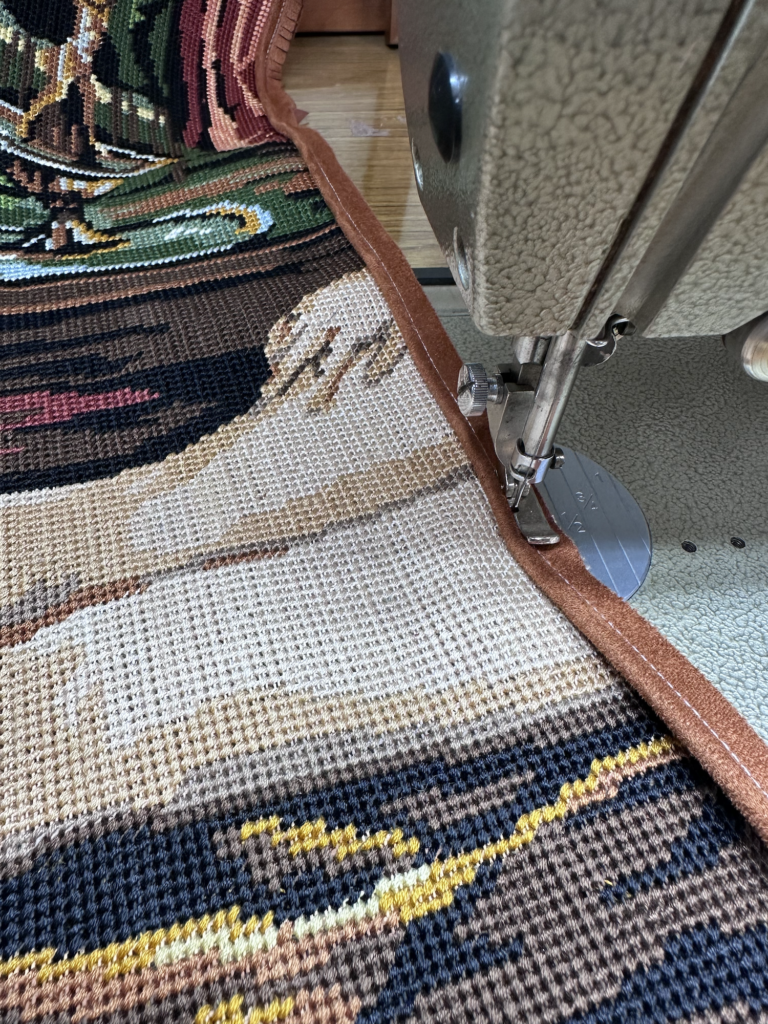
Next Mrs. M showed me how to sew the piping down around the border of each cushion top, with some special tricks for navigating the corners and for joining the ends up neatly at the bottom.
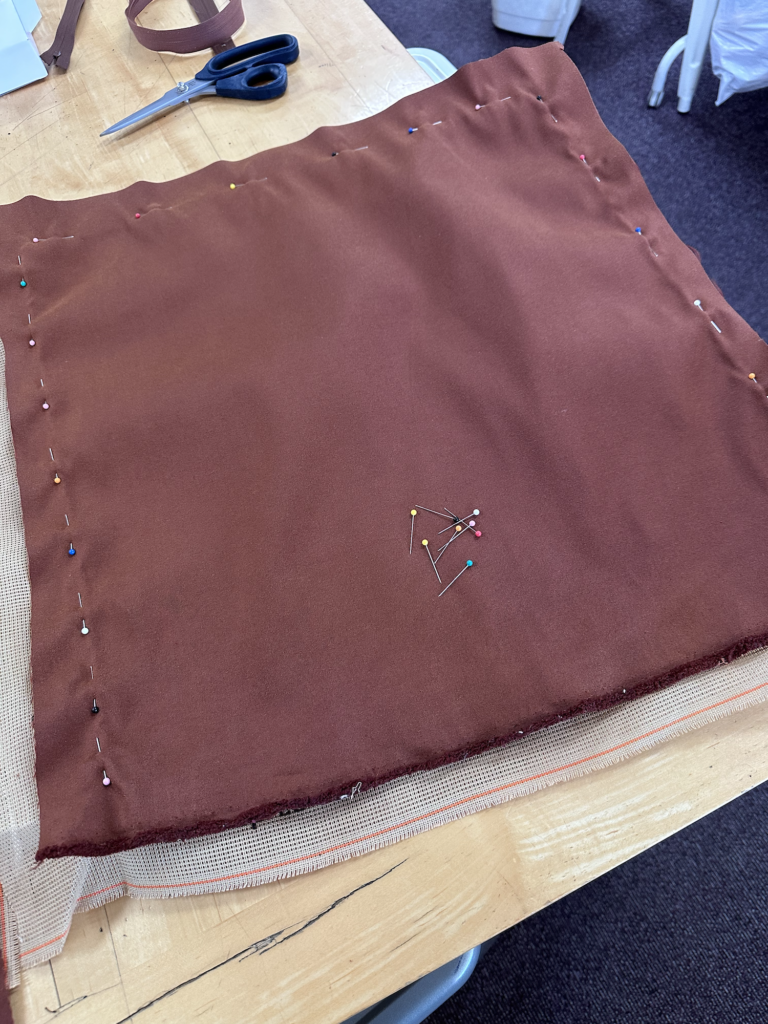
Next I put the backing fabric onto each cushion top, face-down, and pinned it around three sides tight against the piping (leaving the bottom open).
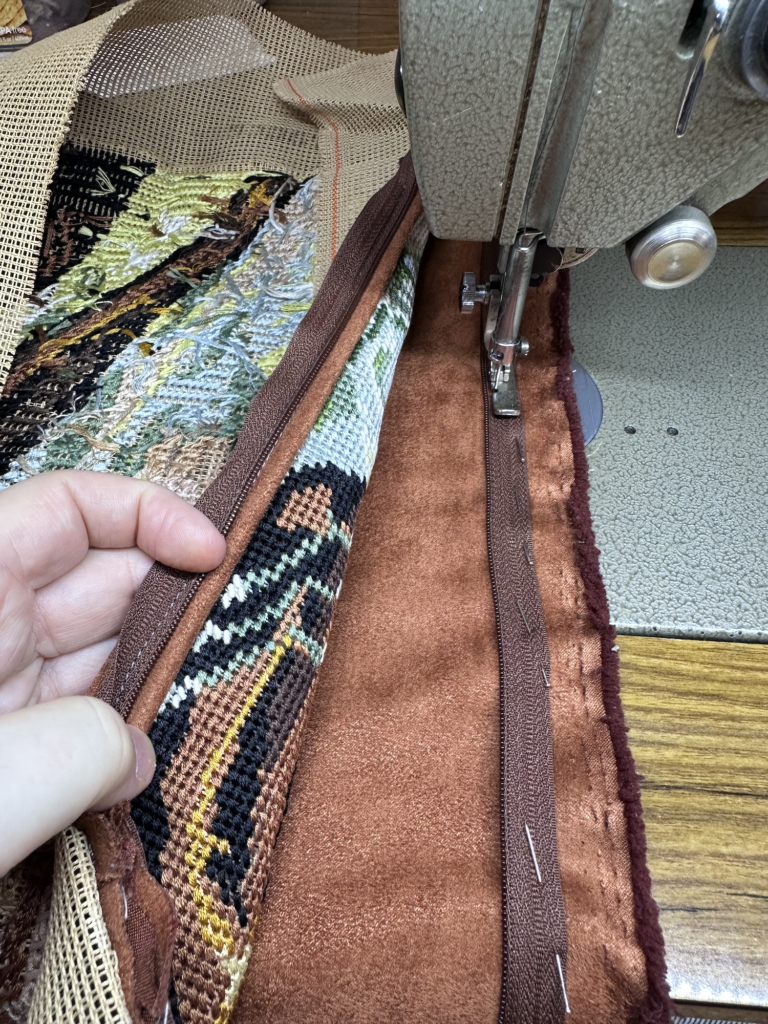
Oh no, it’s time to insert the zipper! Mrs. M is a true legend and assured me that it was going to be much easier than I feared.
I watched her closely as she showed me her method. I took lots of photos and notes to try to capture the trickier bits!
First we sewed one side, and then the other. Hey, I was getting the hang of this!
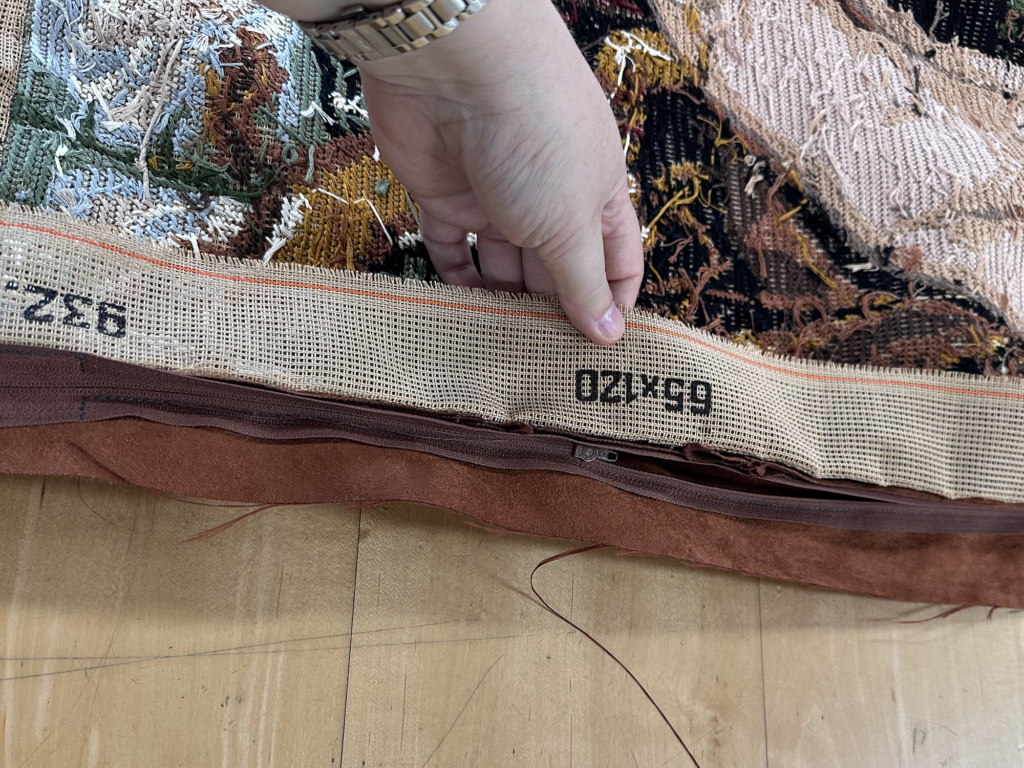
I managed to insert both zippers without too much trouble, only having to unpick one or two bits where I got a bit too close to the zipper teeth.
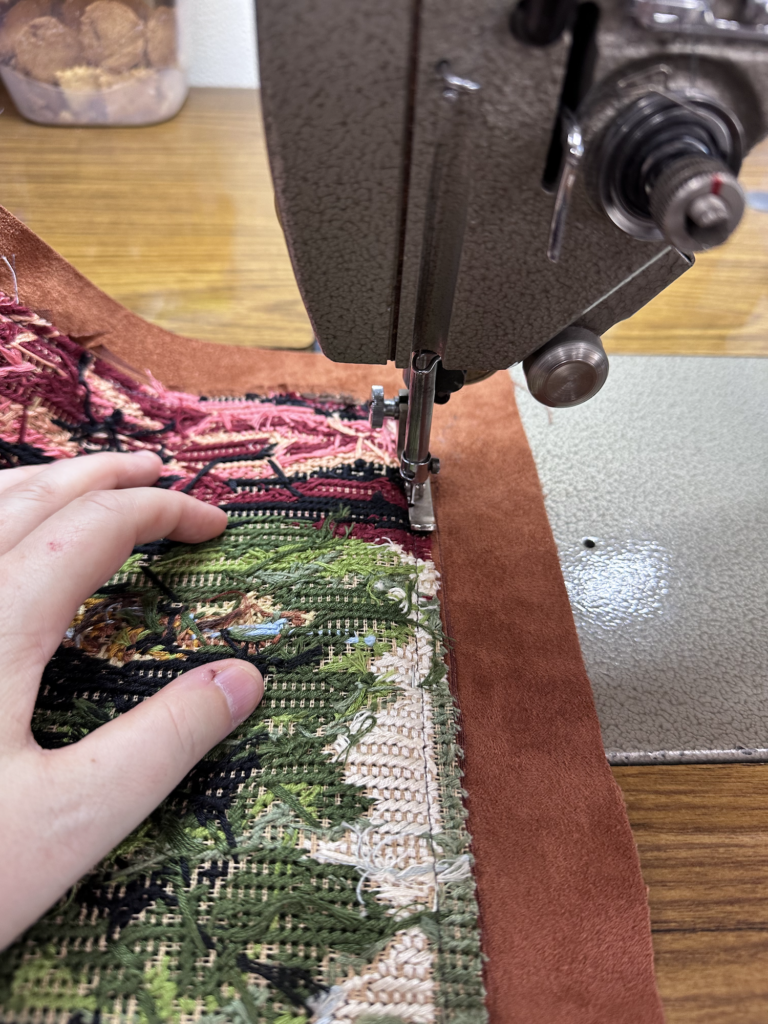
Then it was time to sew the other three sides of the cushion. The bits at each end of the zipper were the trickiest part, and I had to redo them a couple times. The rest was smooth sailing though.
After turning it rightside-out, I had a finished cushion cover! The legs made me smile immediately. I knew this was going to turn out even better than I’d hoped.
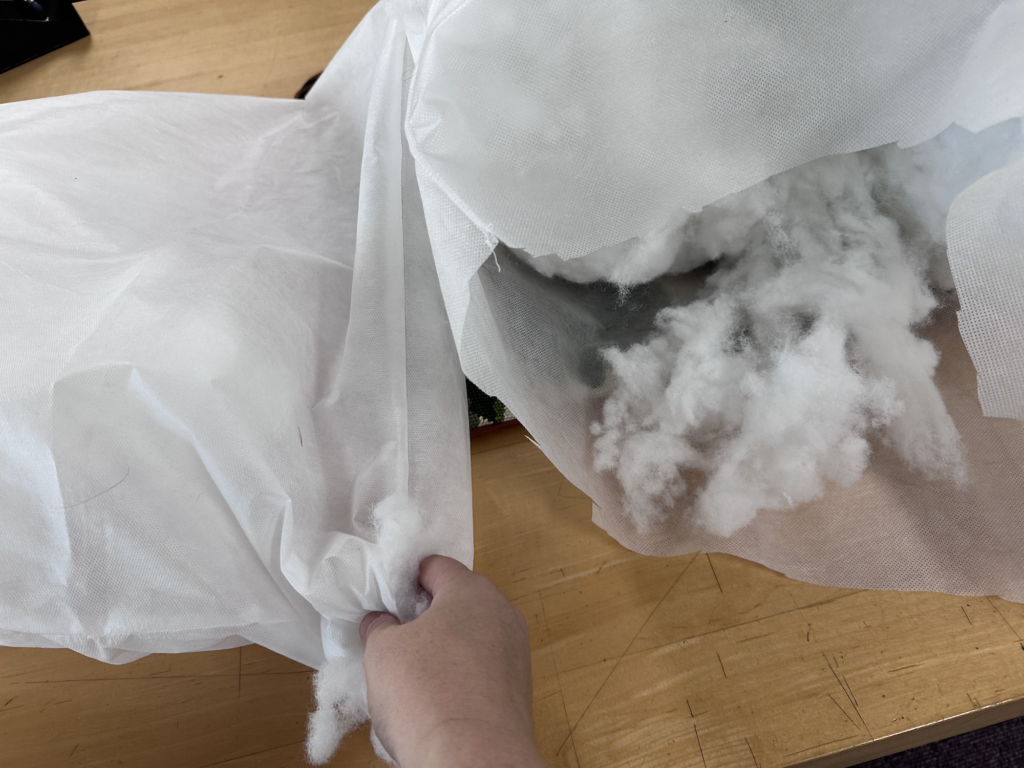
The final step was to sew custom-sized cushion inserts. Mrs. M showed me how to gauge the correct size and how to put them together. Each one took a fair bit of stuffing! The hardest part was then sewing the openings closed when they were so full and fluffy.
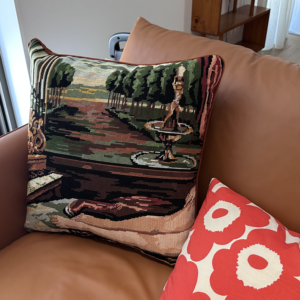
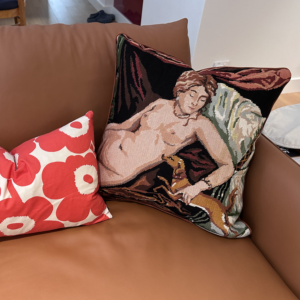
And here are the completed cushions! As you can tell, I was pretty stoked with how they turned out. It’s still obvious that they are part of the same picture, and I only lost a tiny bit due to cutting her in half.

While I’m sure there are other needlepoint nudie cushions in the world, these are pretty special. They look spectacular on the new couch too! They got a big thumbs up from both Rodd and his sister.
If you want to make needlepoint cushions of your own, Morris & Sons is definitely the place to start. They have everything you need including tapestry kits with canvas and threads. They also offer a professional service to make up the finished cushions for you once you’ve finished with the embroidery, which is handy if you don’t have an industrial-strength sewing machine at home.
Thank you to Mrs. M and Joseph for all their help with these! I’m so pleased we’ve been able to keep one of Kathy-Nanny’s pieces alive in our new home. 🩷