I’m finally finishing off the scarf I started during the first lockdown. It encodes a small part of the genetic sequence of one of the Covid-19 strains! 🦠
Tag: knitting
-
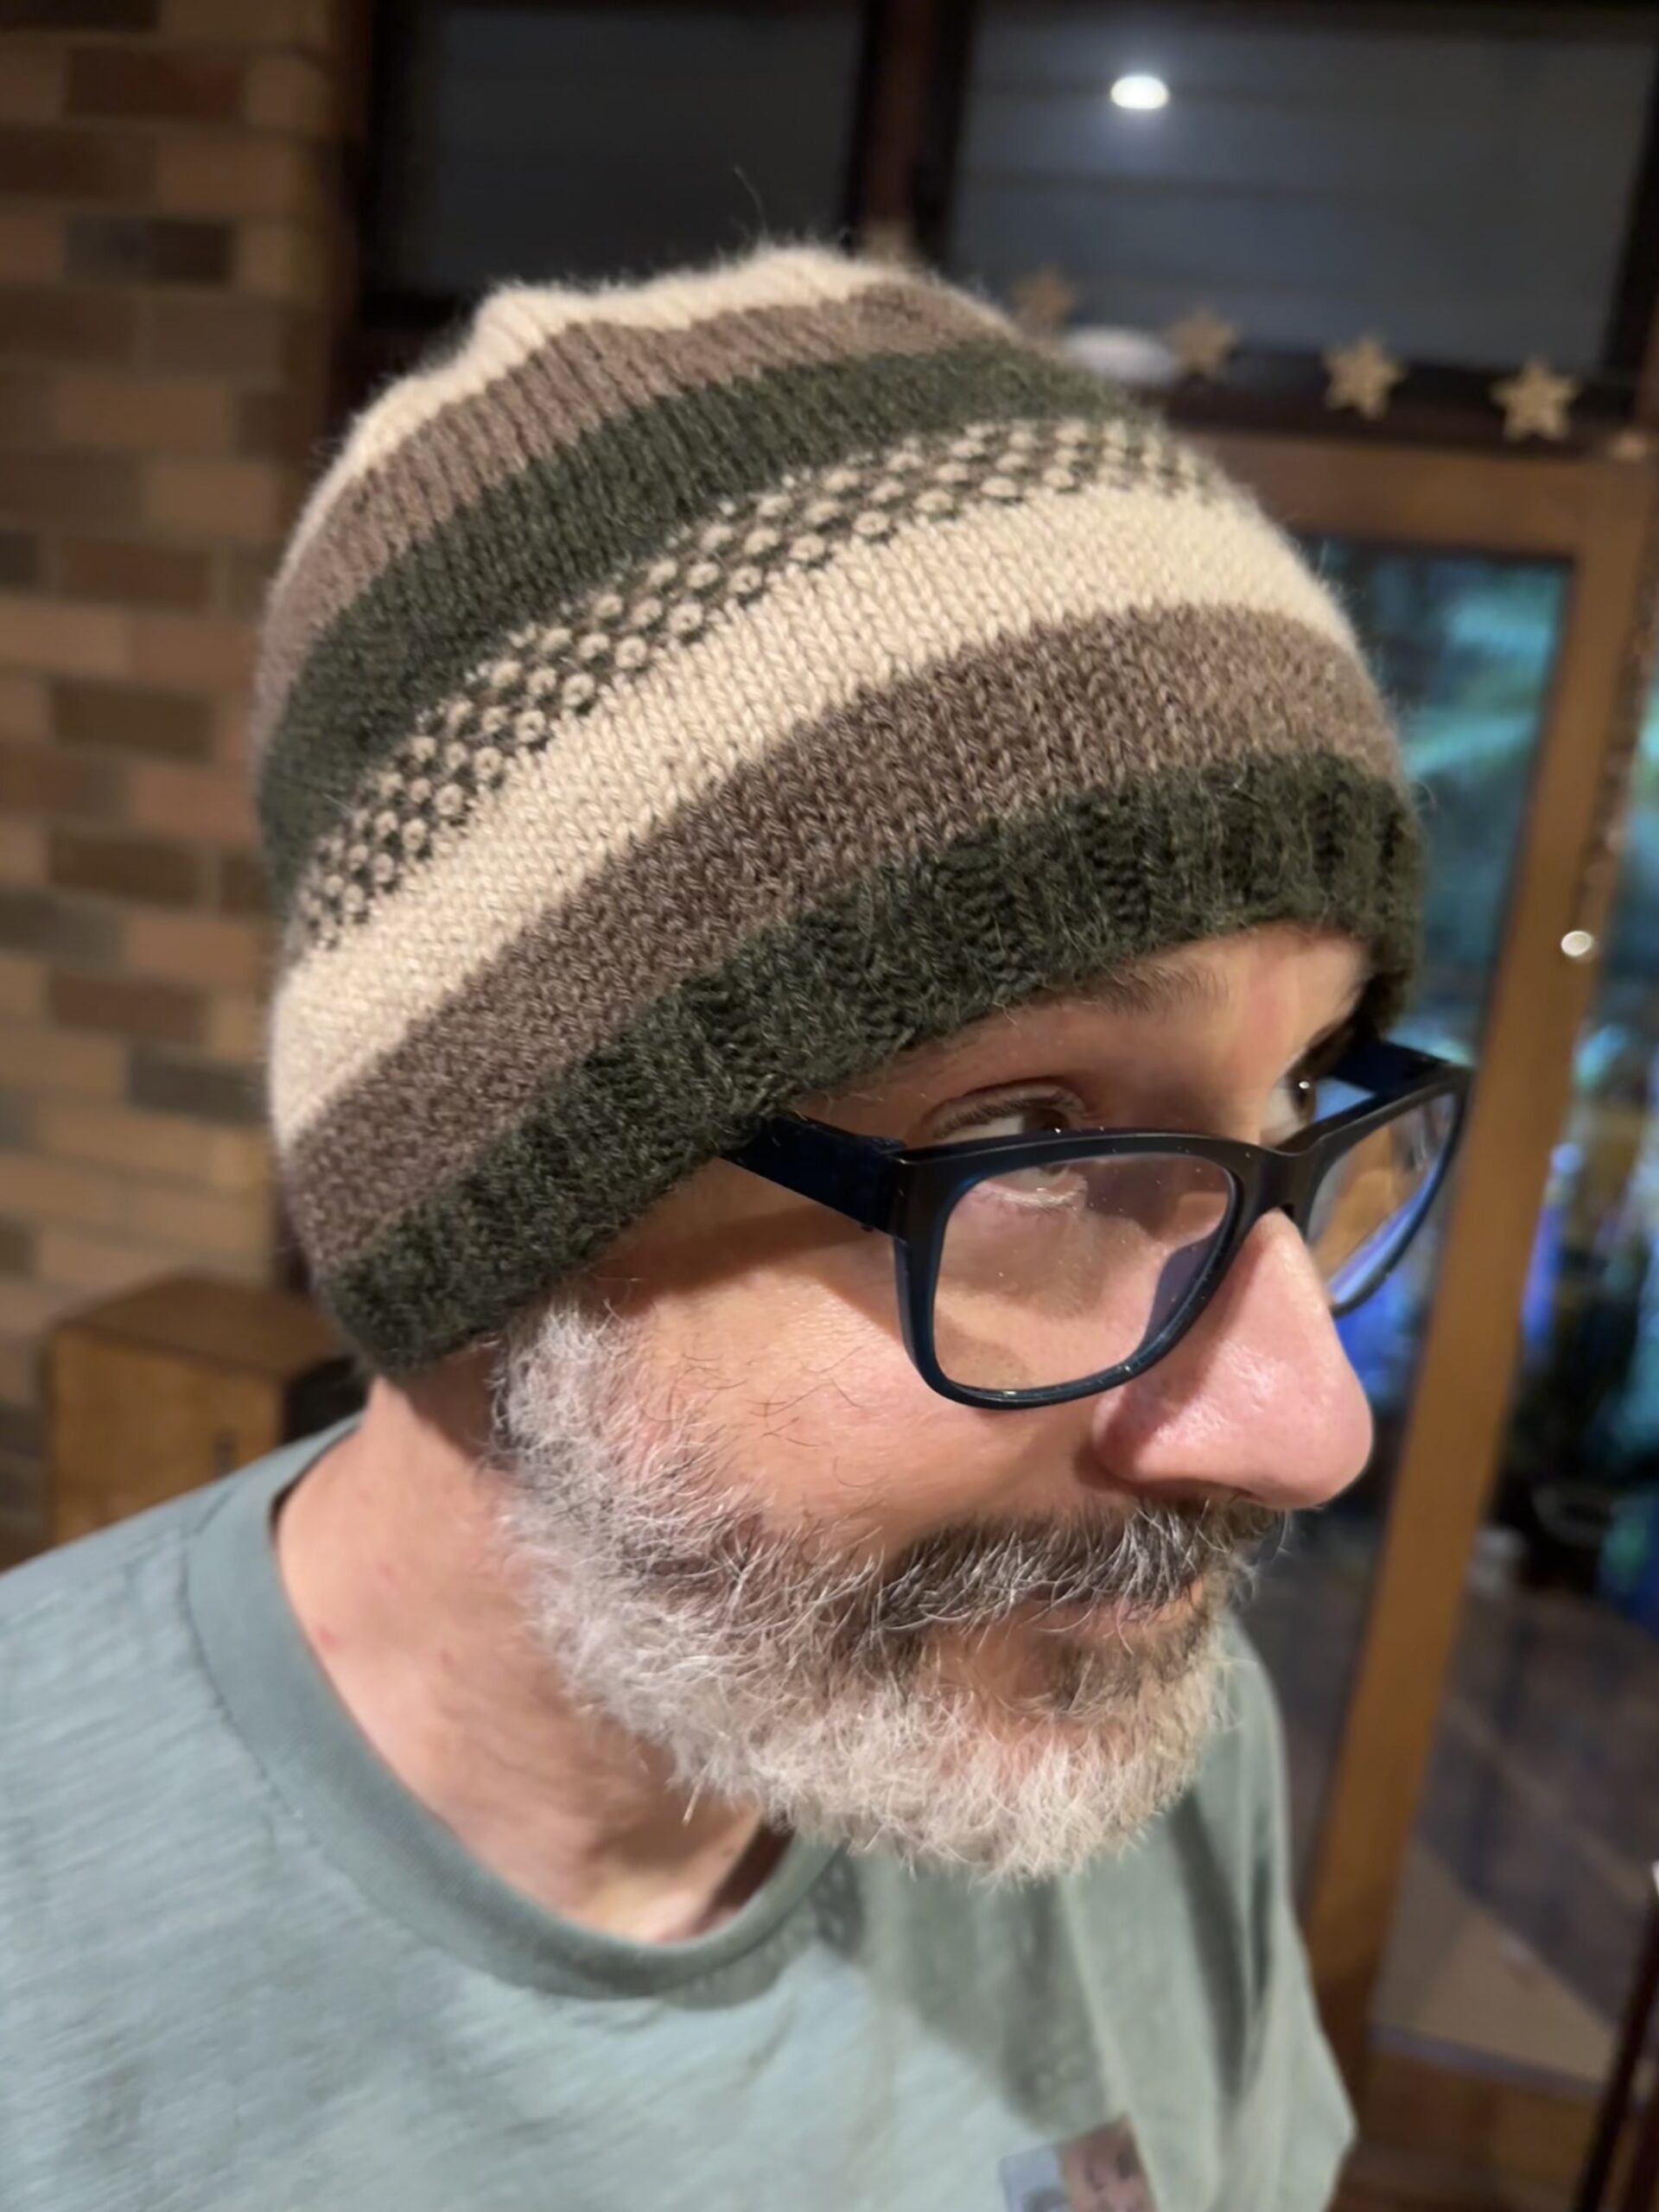
Alpaca Beanie
I finished the alpaca beanie for the Snook! This was purely to use up the extra bits I had left over from making his scarf. I casted on 132 stitches and then just made the pattern up as I went. His scalp is pretty sensitive and he doesn’t like hats that grip too tightly, so I only did a minimum amount of ribbing at the bottom. (The alpaca is nice and soft too.) I put in a band of the same slipstitch pattern I used on the scarf, and I did radial decreases at the crown. I just need to weave in the ends and give it a block!

-
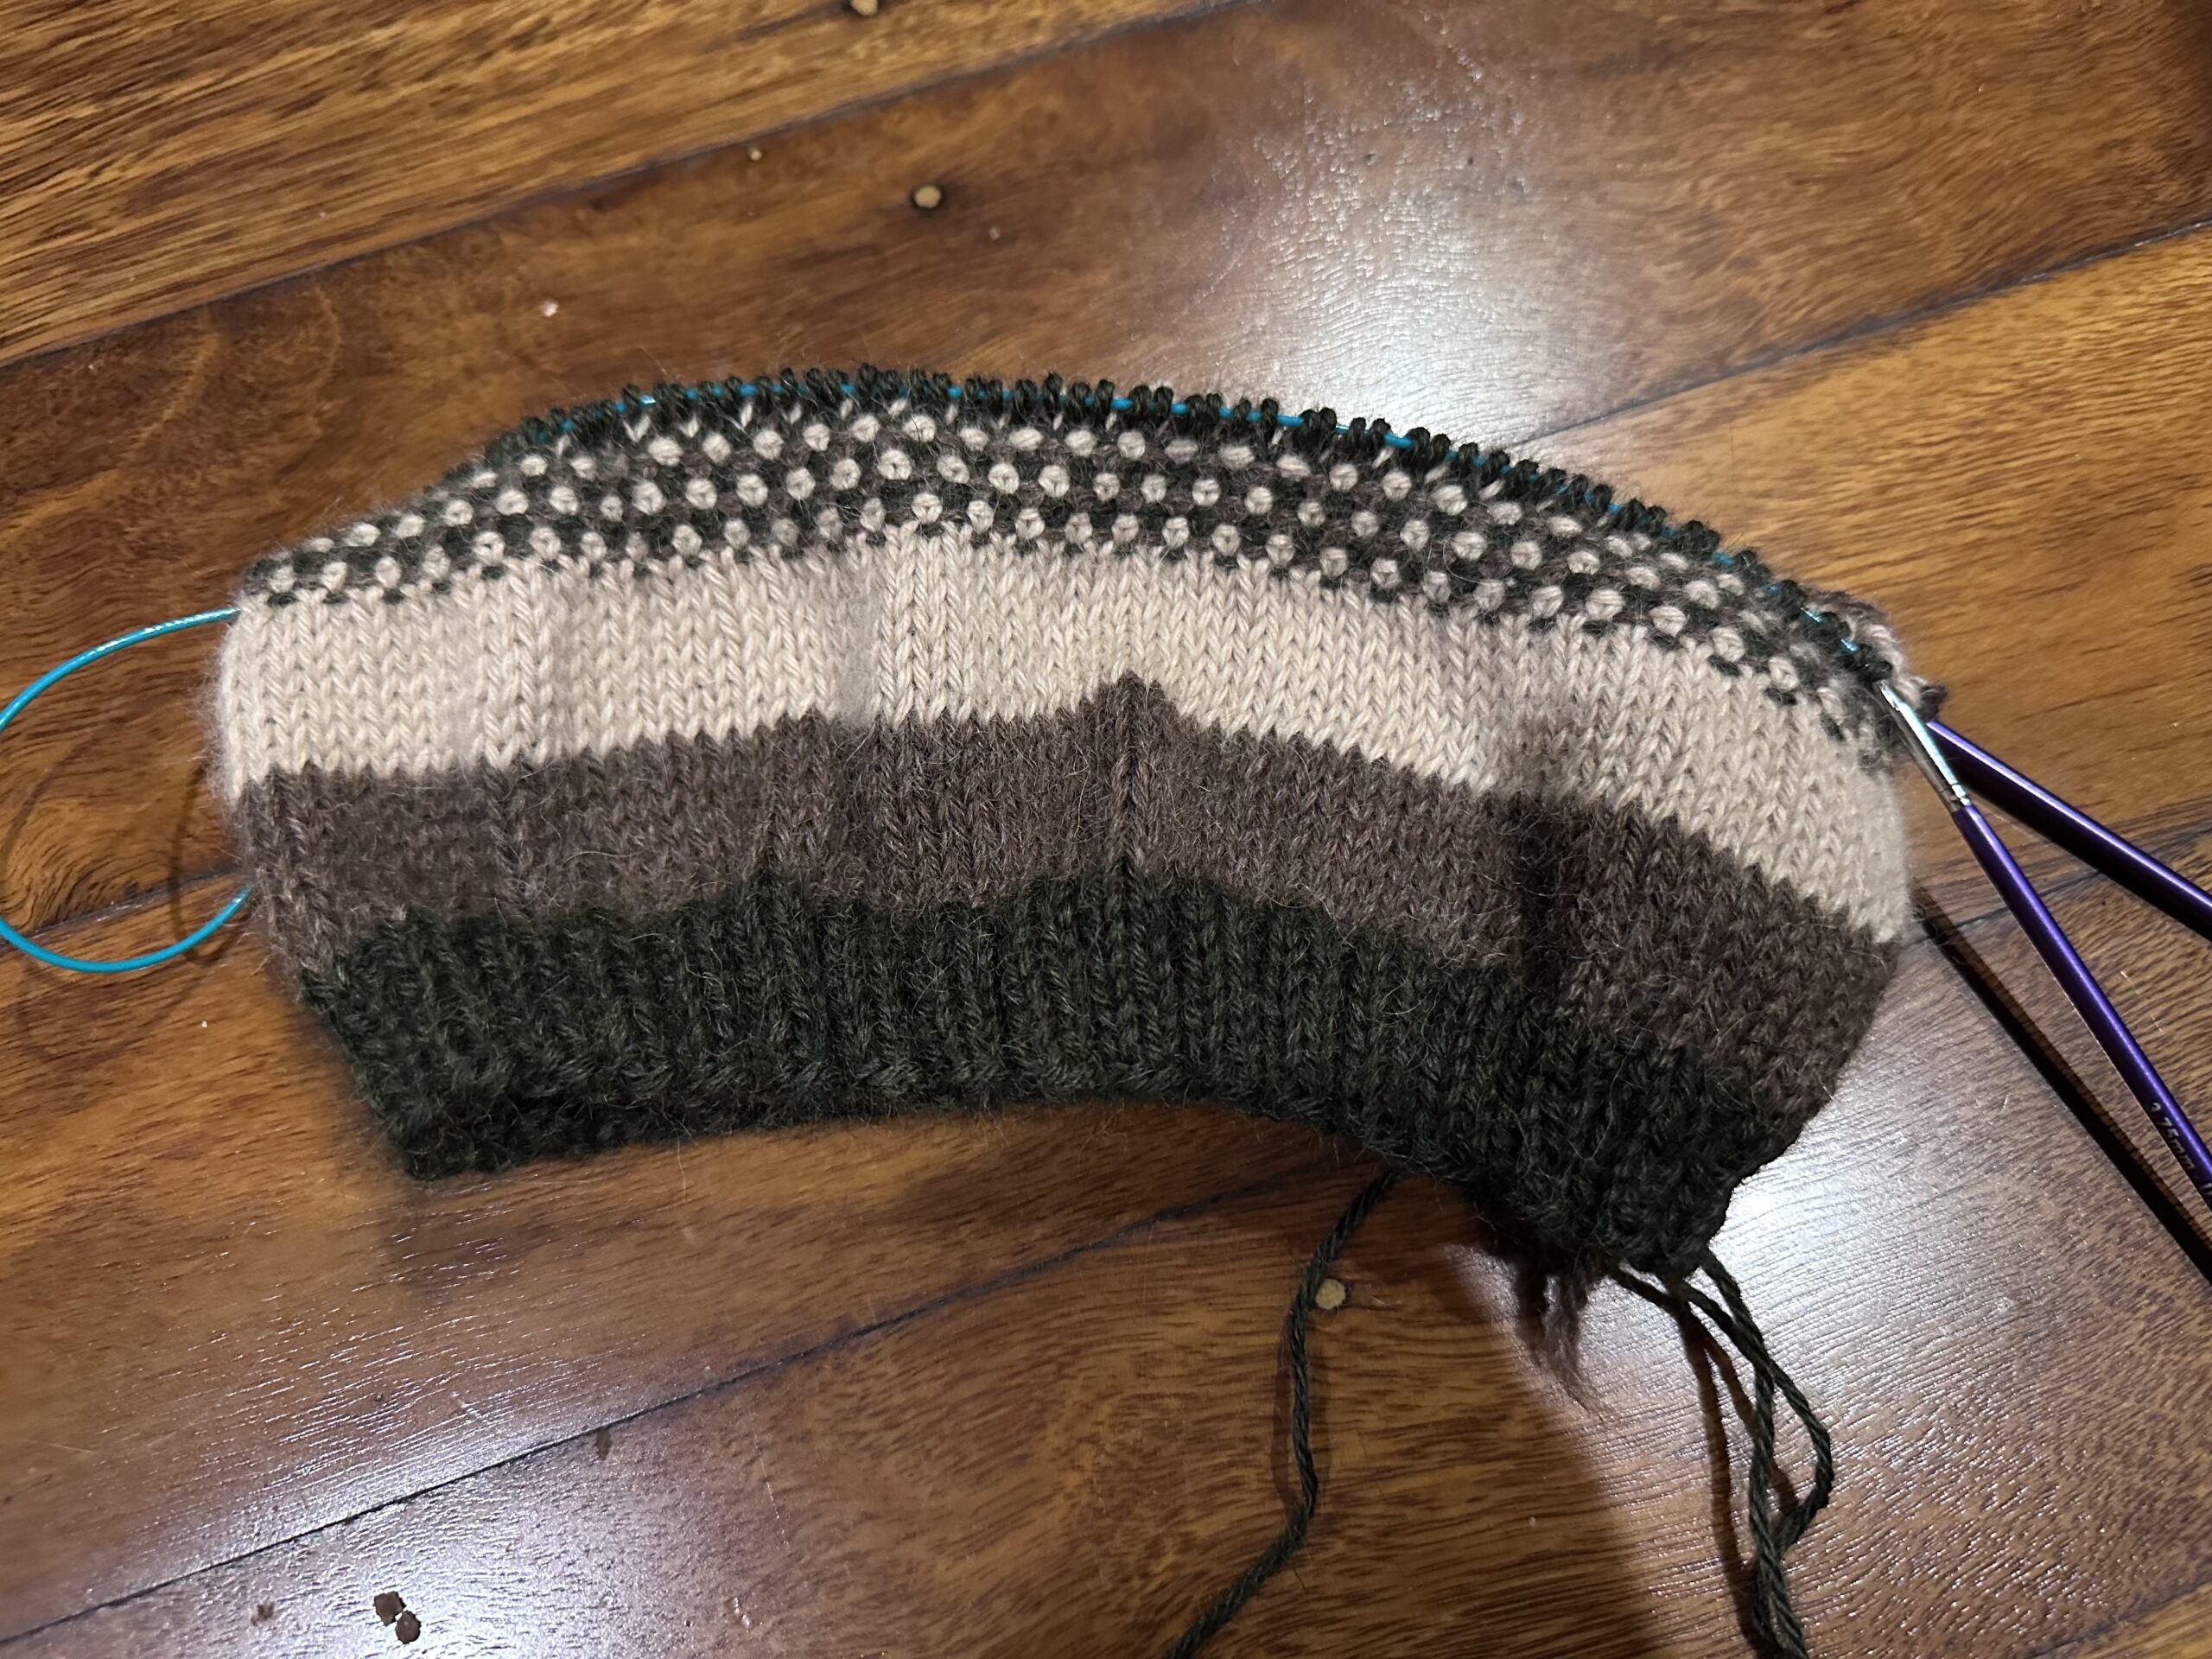
Beanie progress
I’m making good progress on the alpaca beanie I’m knitting for Rodd to match his scarf. No pattern; I’m just making it up as I go.
-
Textile exhibition
Queer quilts, rebellious knitting and political pants: the radical world of textiles – What a cool looking exhibition! I love those trade union flags… and the pink shorts. 😉 If you’re going to Adelaide in the next four months, I’d definitely check it out.
-
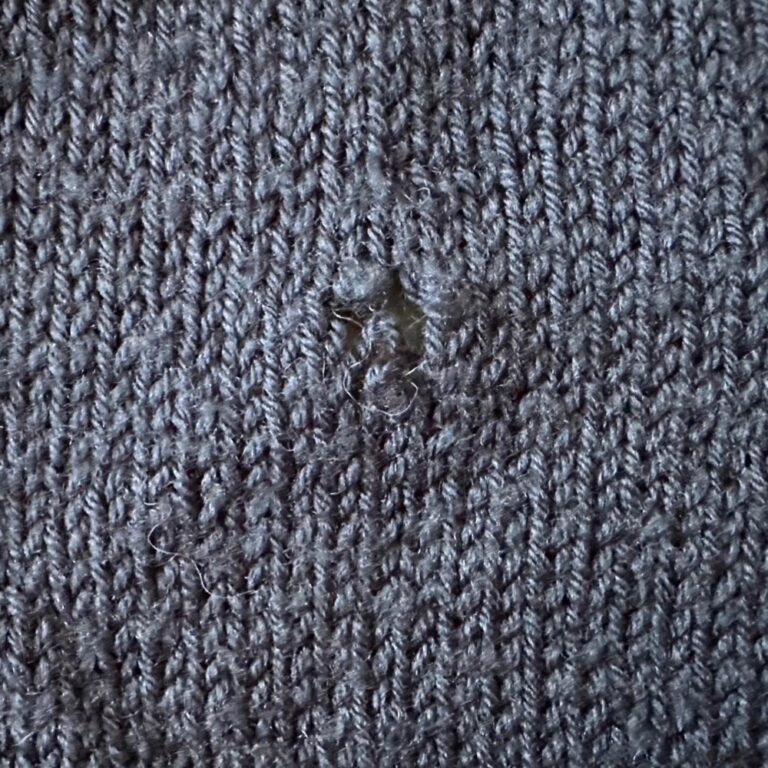
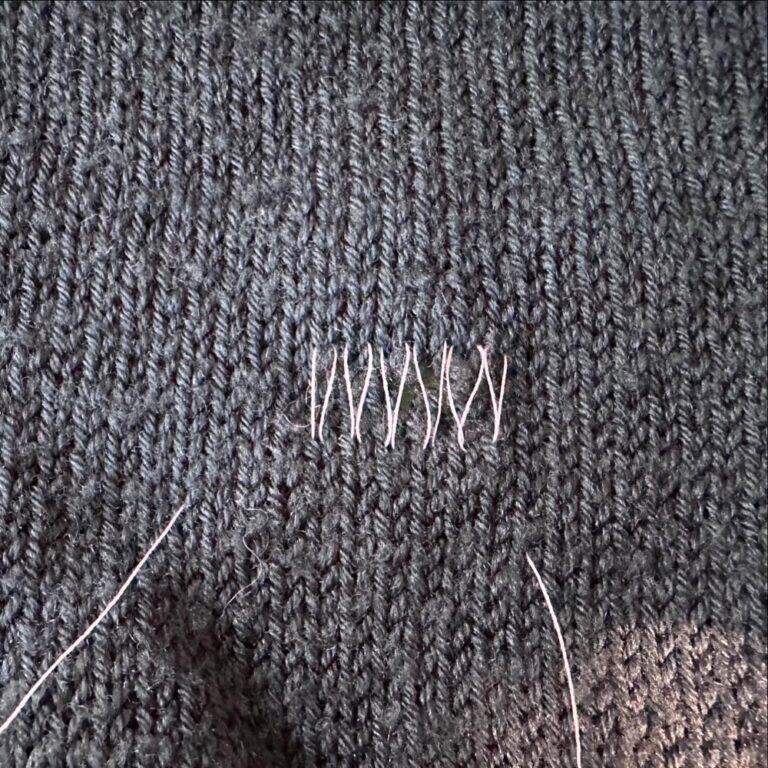
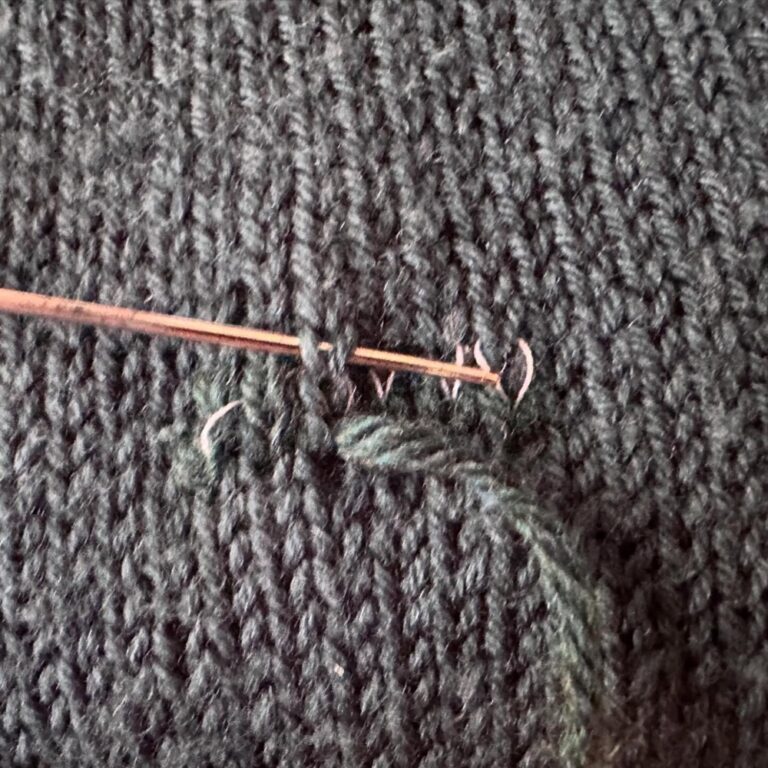
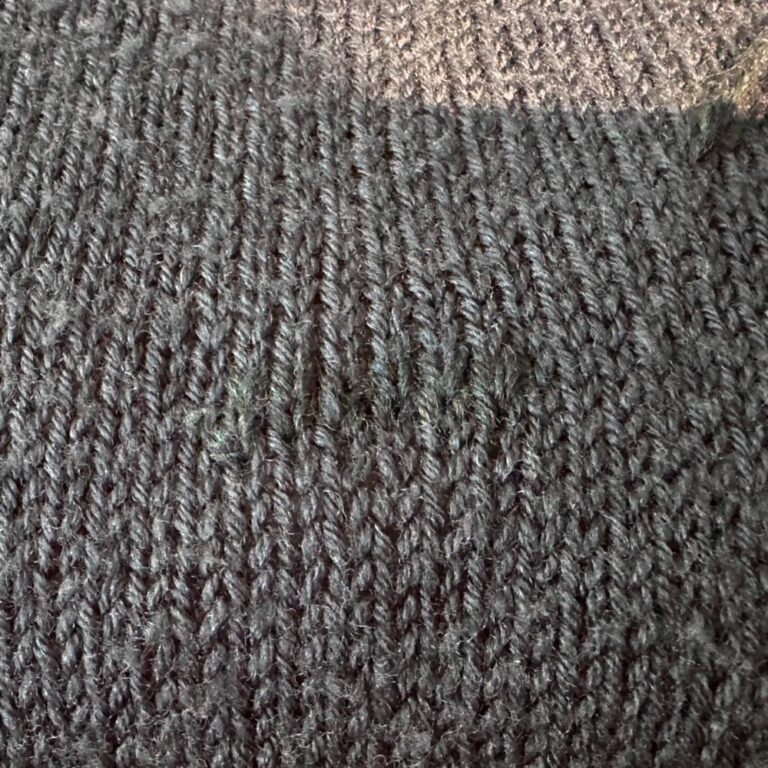
Photo Post
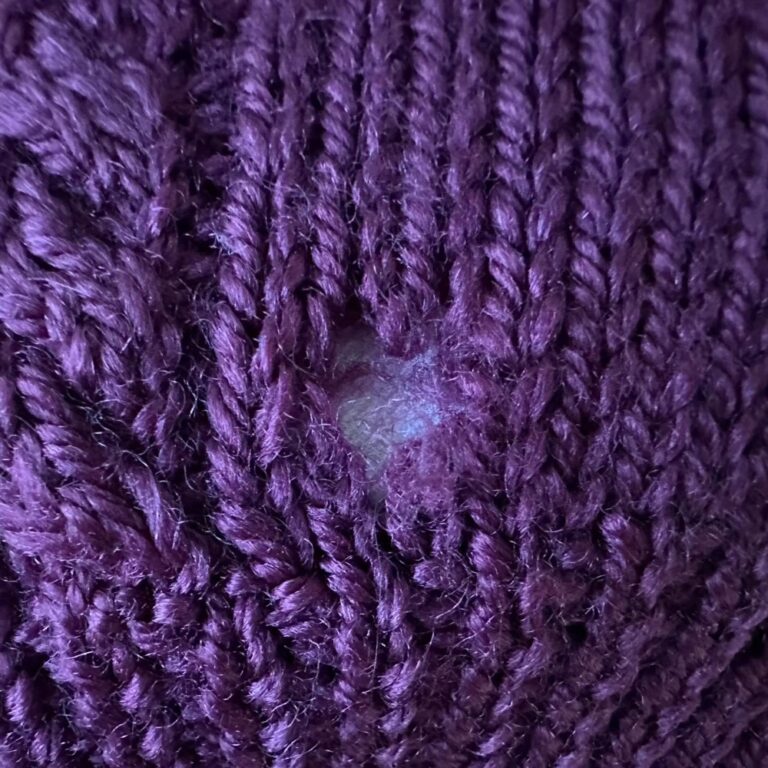
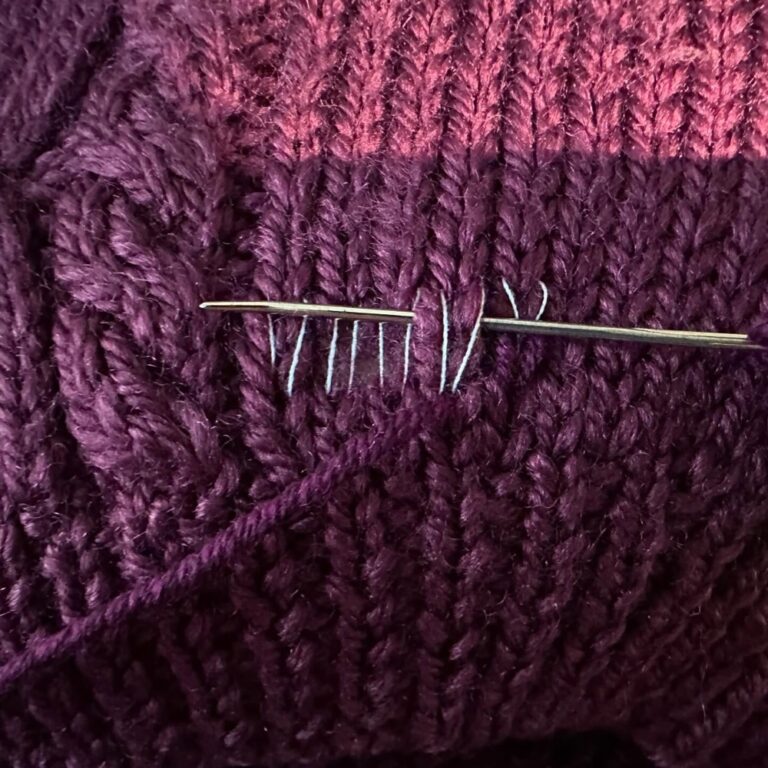
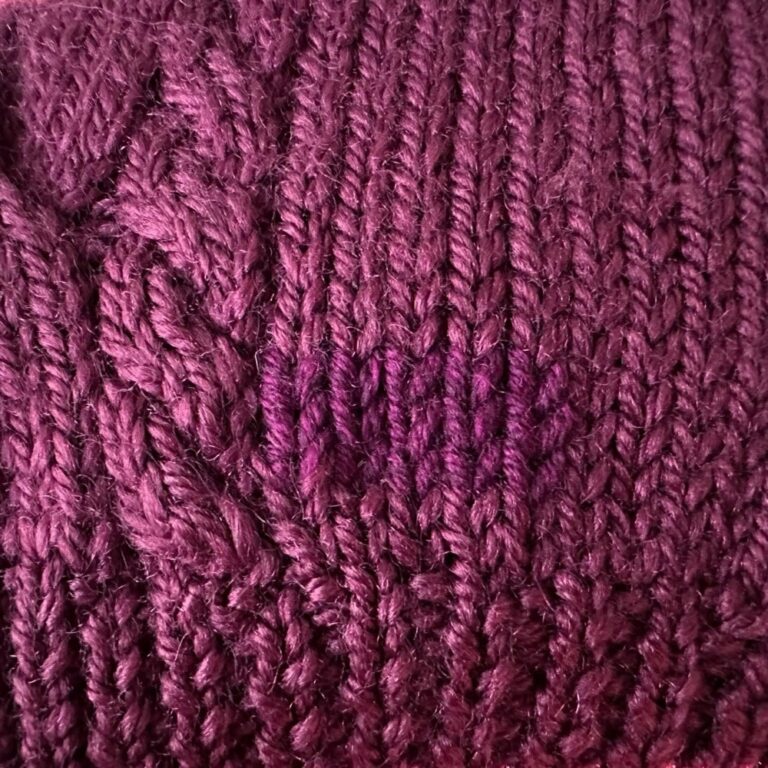
Mending day! A couple of our jumpers had worn holes and needed fixing. I’ve watched heaps of those videos of invisible darning, so I gave it a shot. I used sewing thread to provide a scaffolding and then Swiss darned over the top. Very pleased with the results! Hardly noticeable. 😍🧶
-
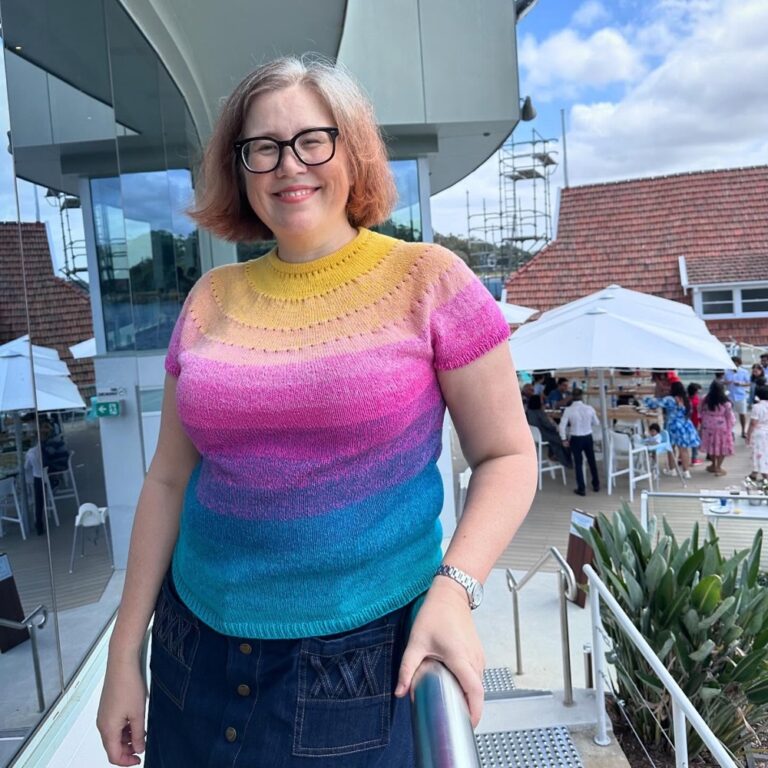
Photo Post
I finished it! This is the Easy Eyelet Yoke Lite in my reclaimed @hobbii_yarn Twister. Such a fun knit, and really suits this yarn. ❤️🧶
-
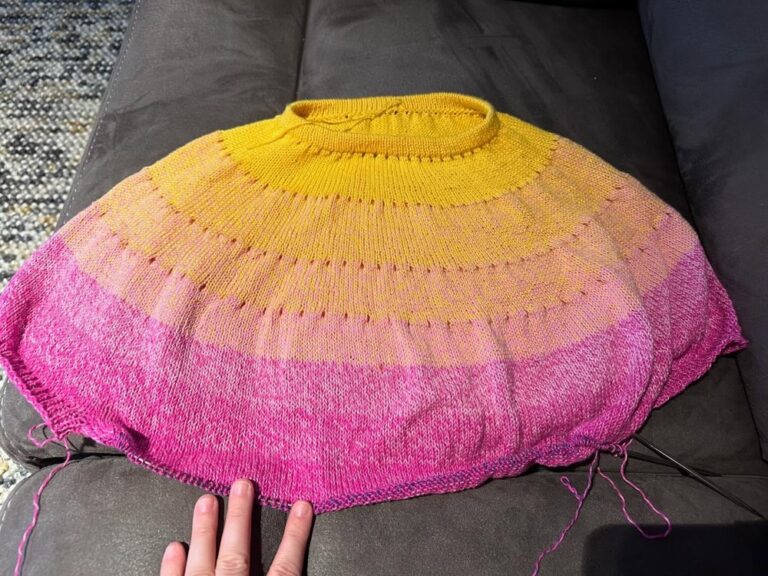
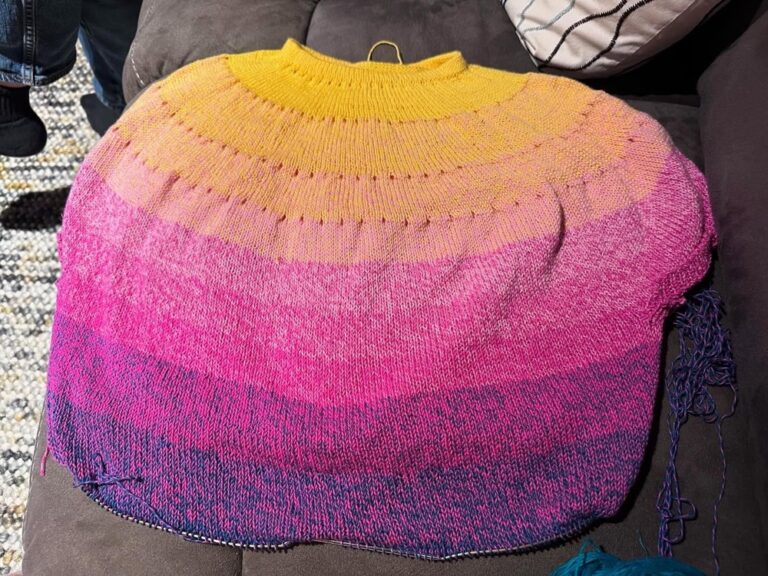
Photo Post
Made some good progress on the Easy Eyelet Yoke Light today! I’m well into the pink->blue transition… 🧶 #knitting
-
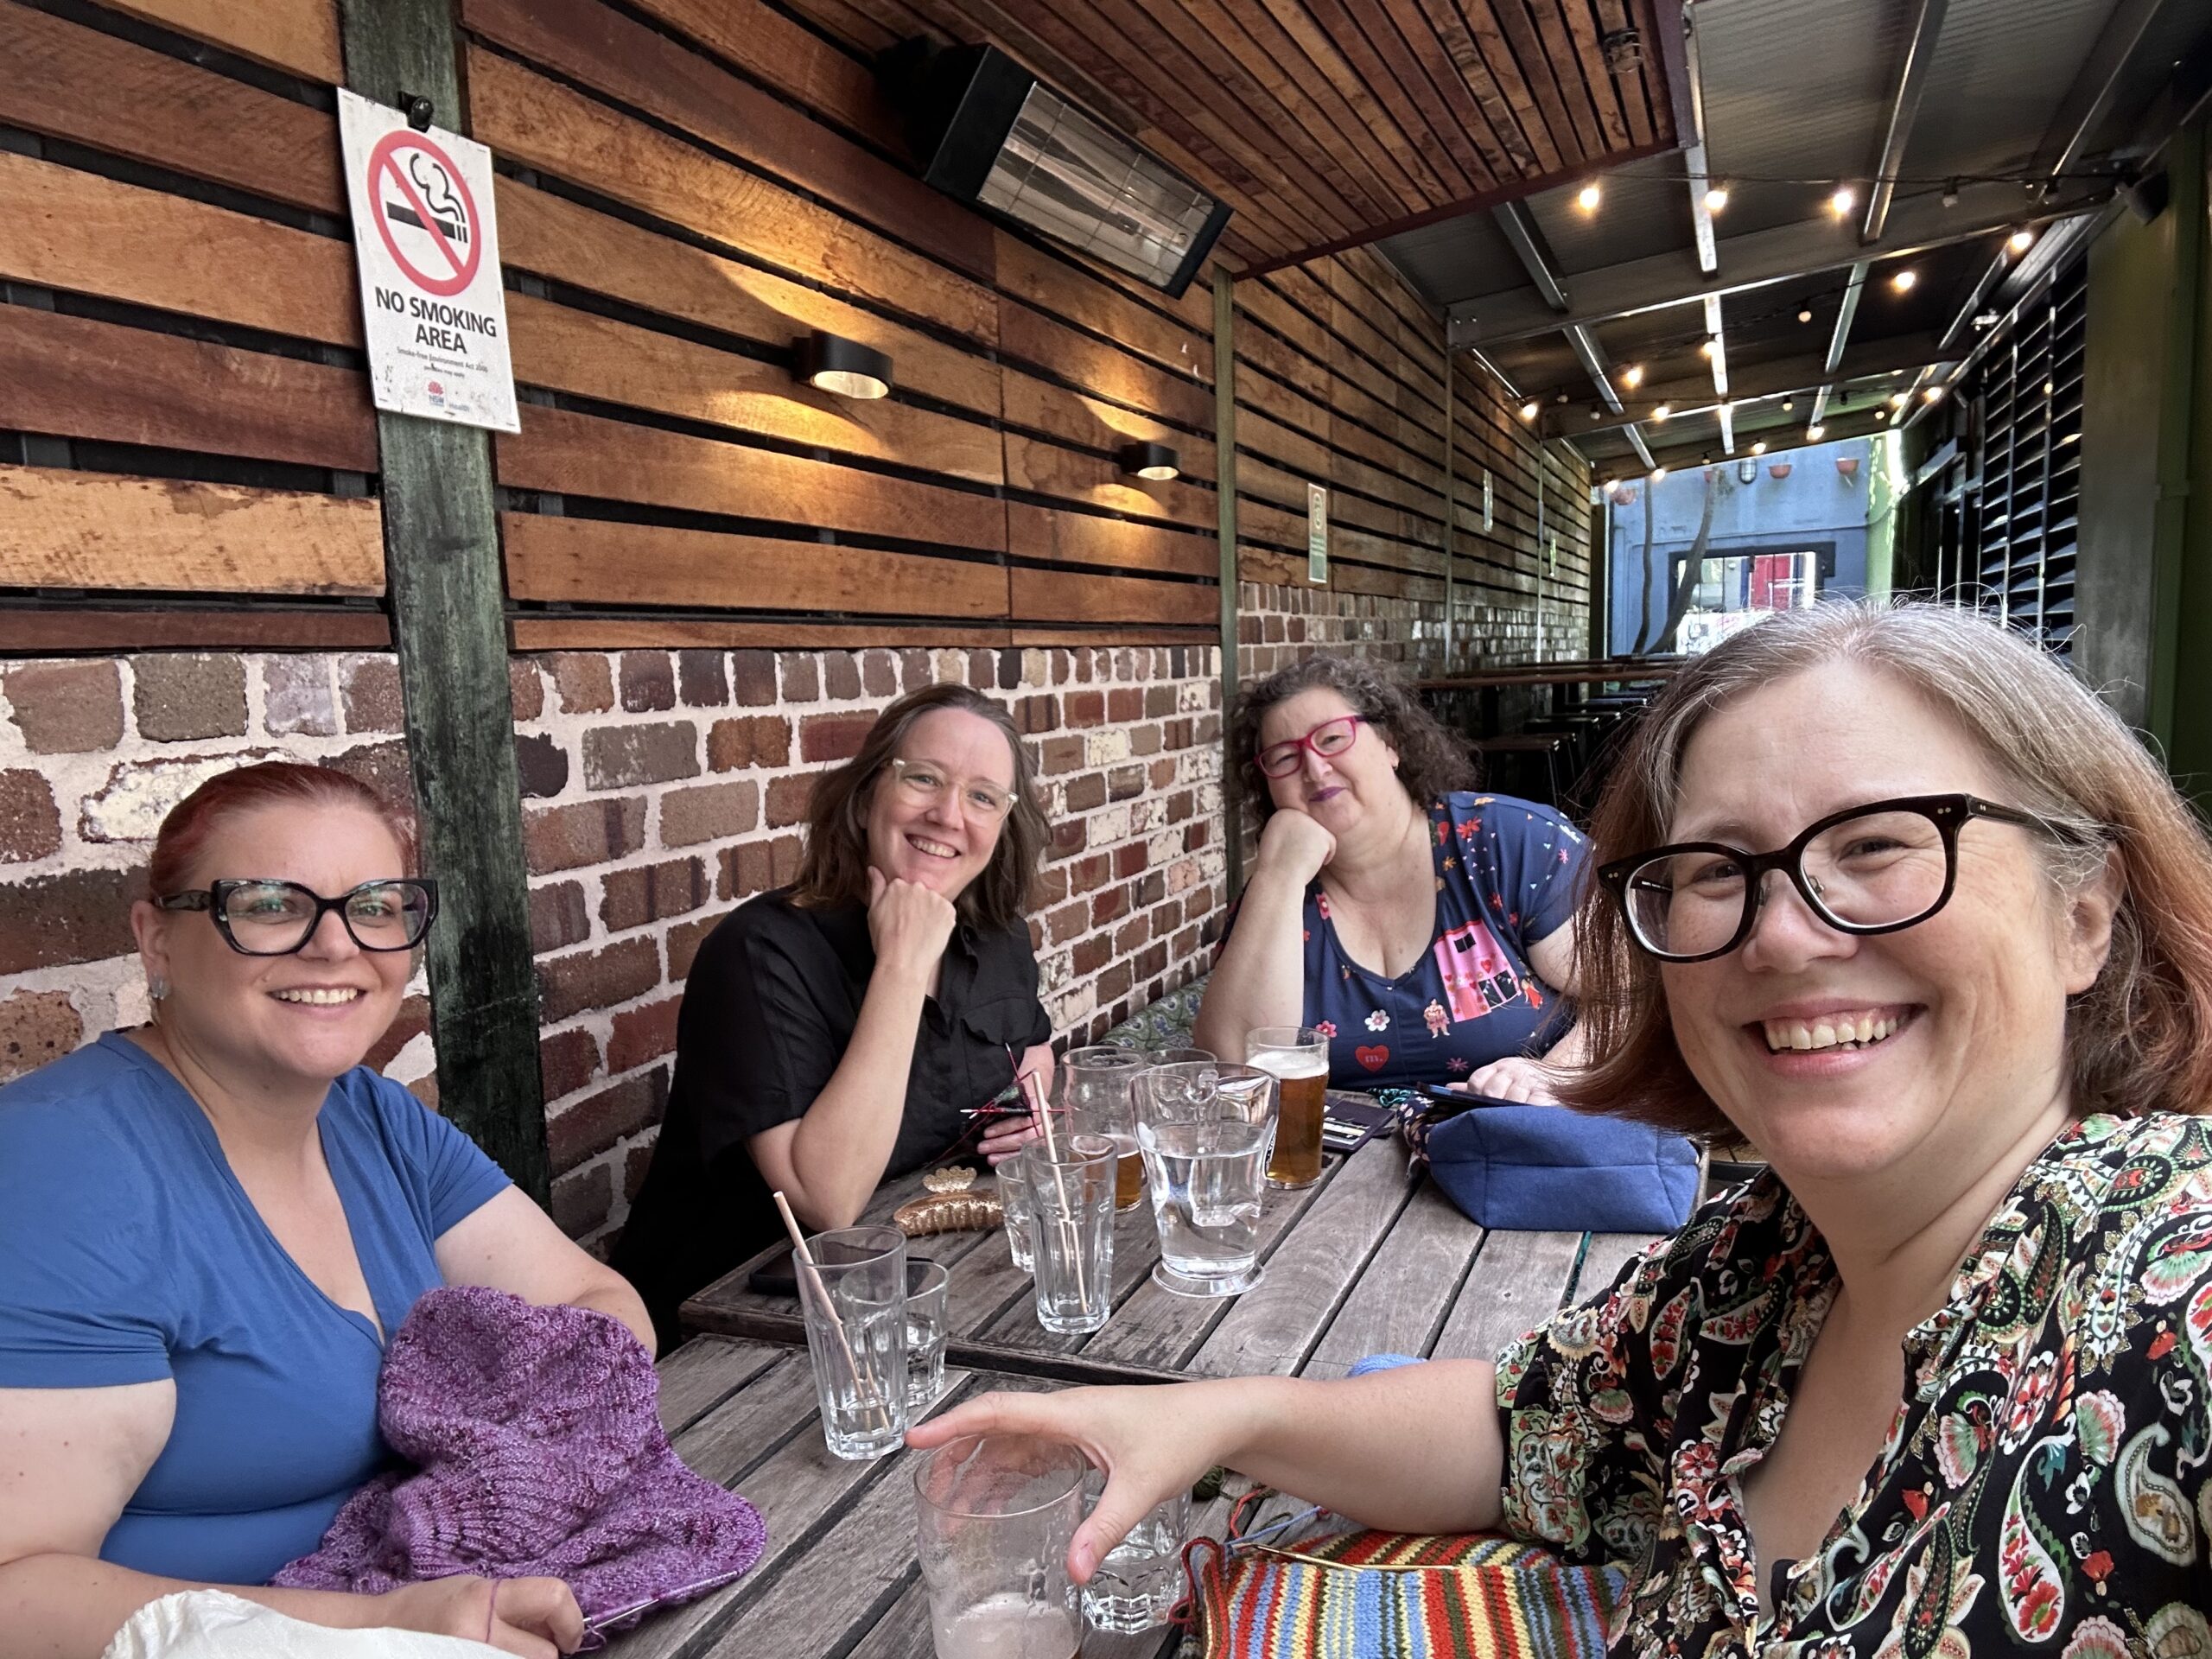
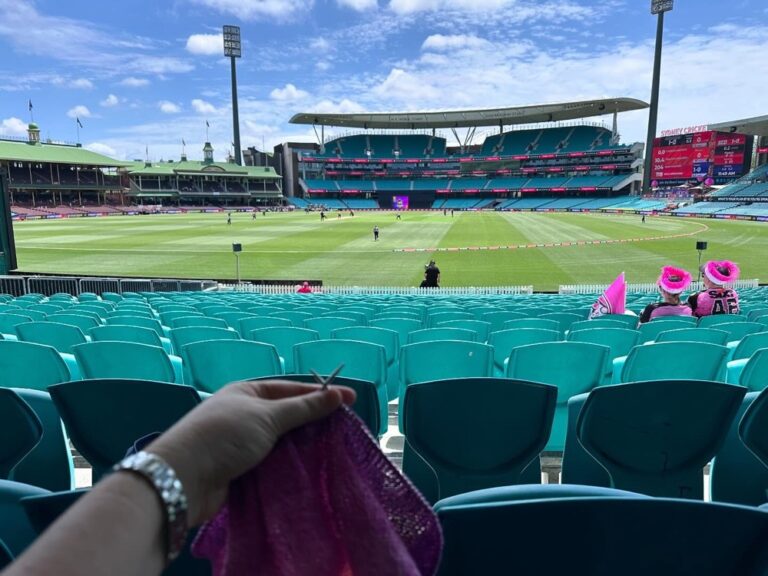
Photo Post
Knitting at the cricket. Given the colour of my project, I think I’ll cheer for the @sixersbbl today! 🧶🏏
-
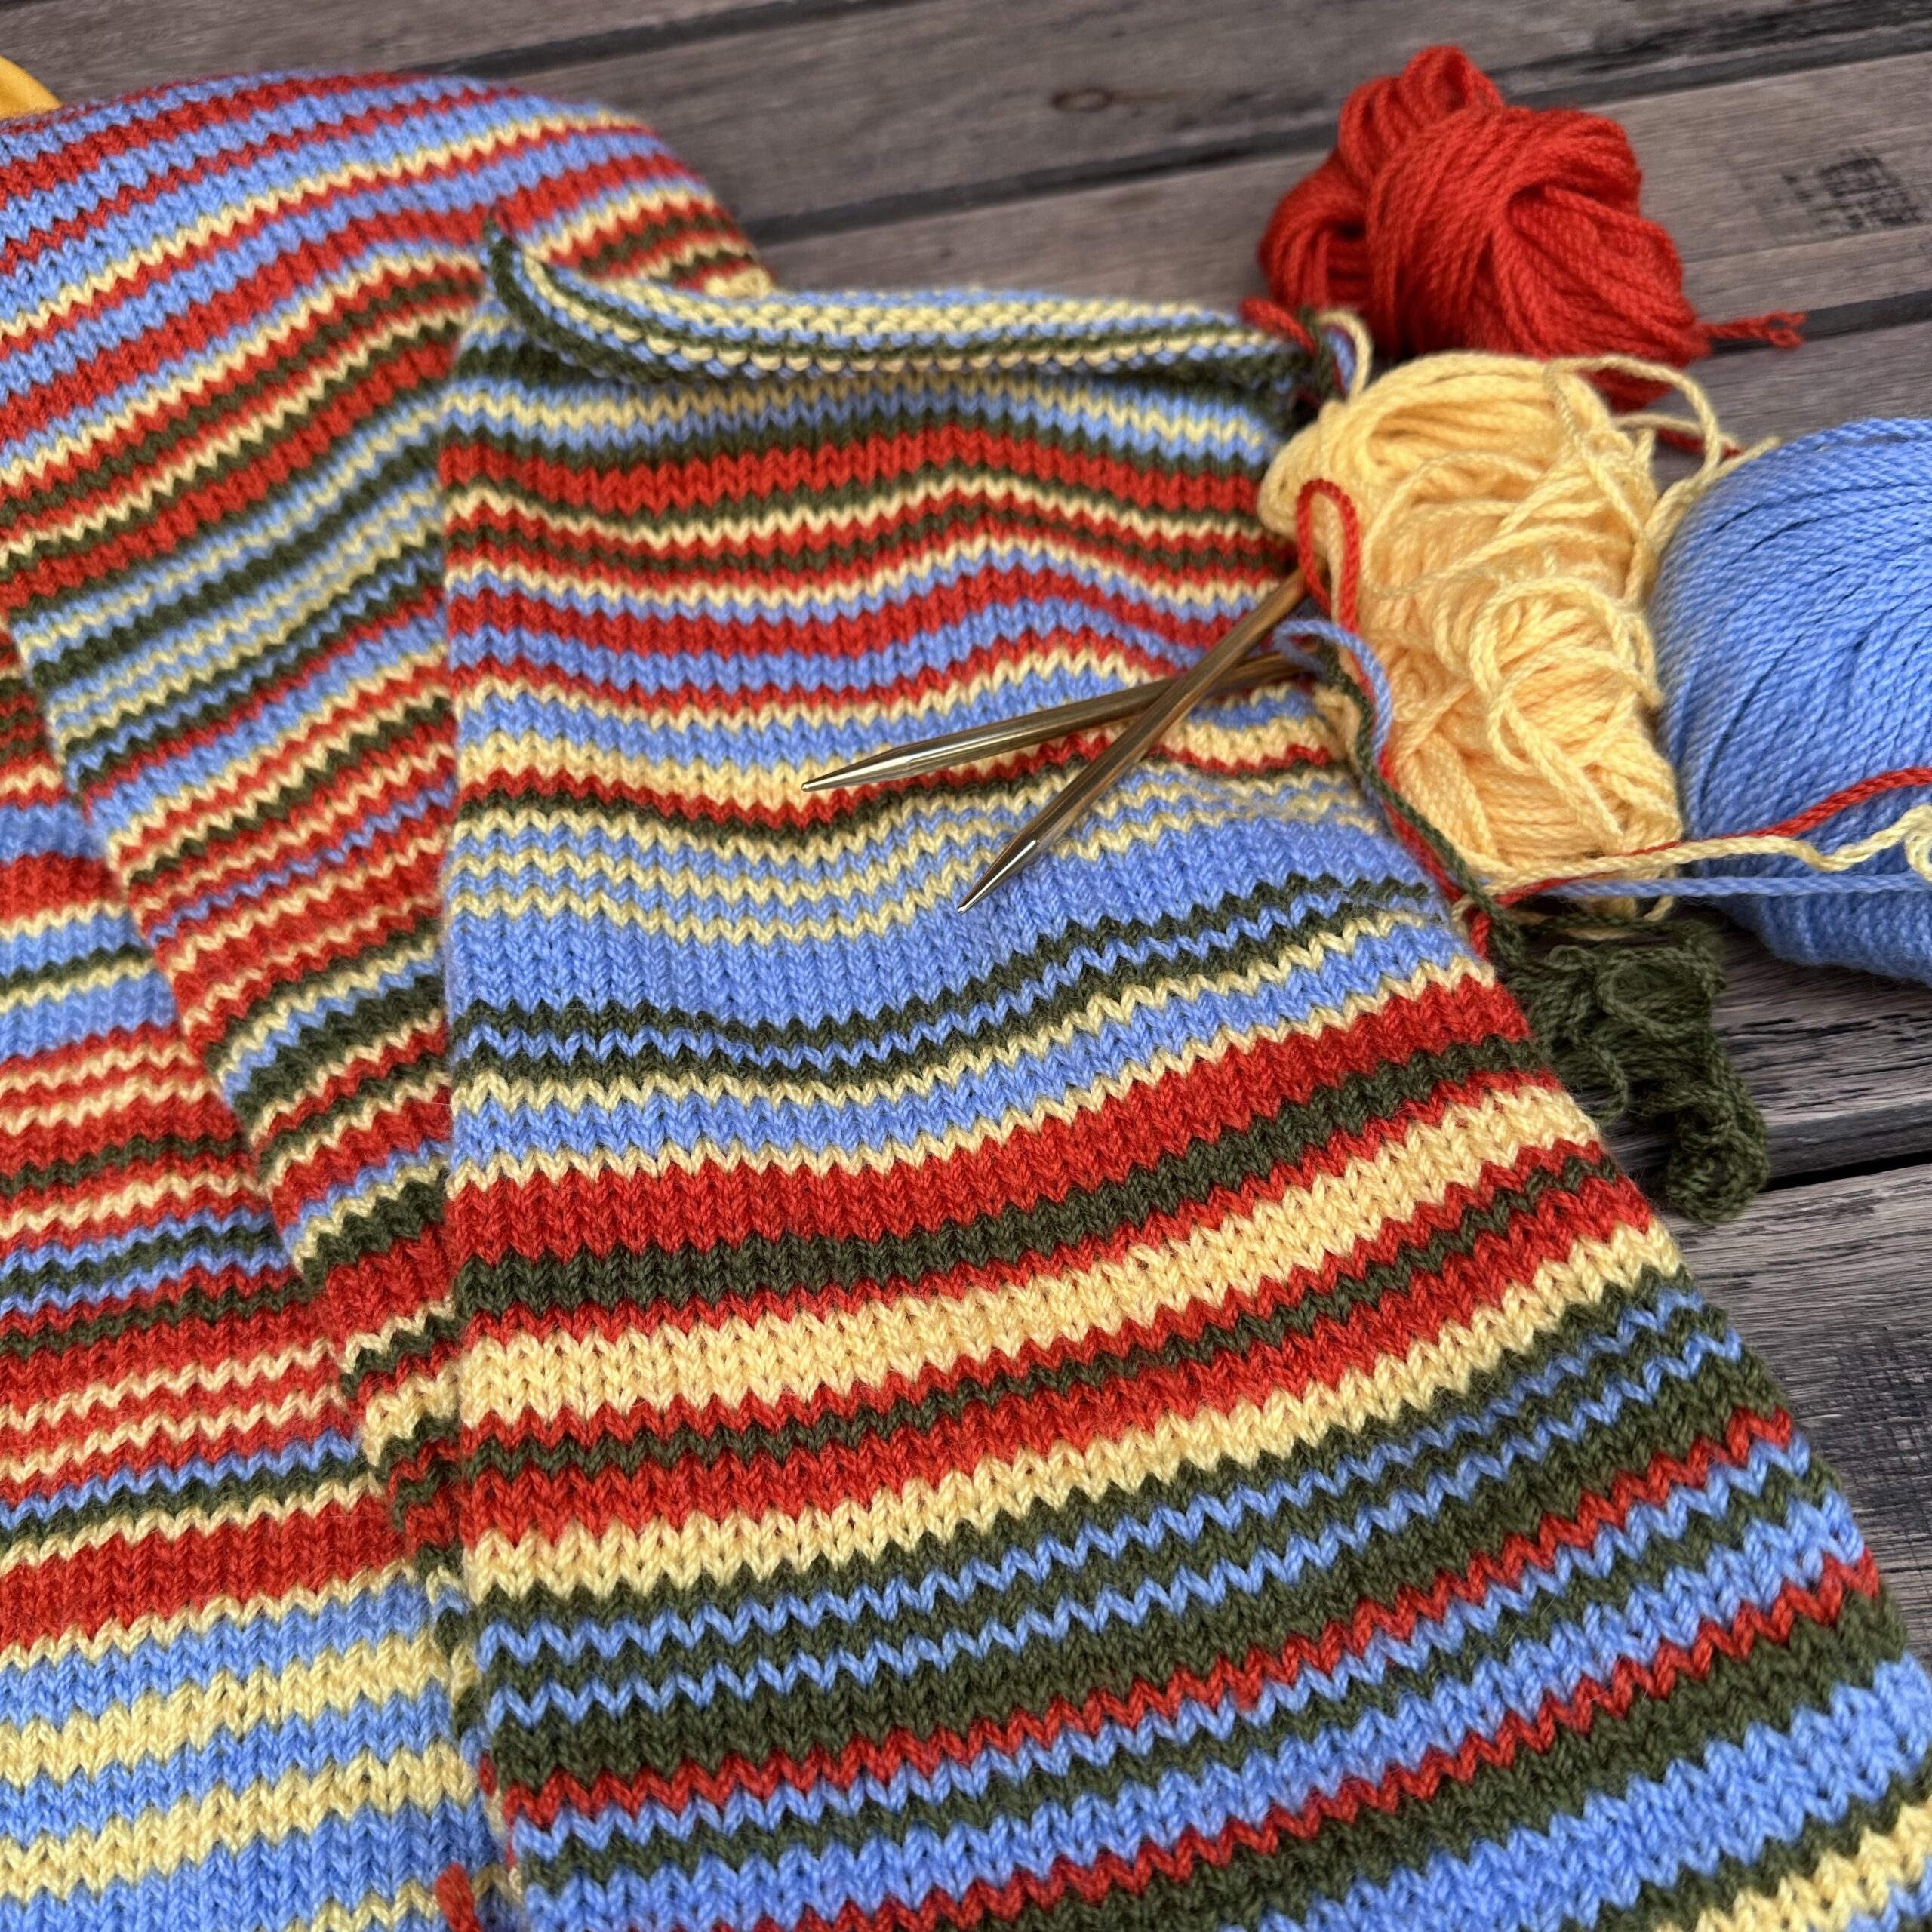
Photo Post
Easy Eyelet Yoke Sweater is past the sleeve division! I made the same modification as last time – immediately knitting the sleeve cuffs so I could keep the colours aligned with the body stripes. Now it’s just the long stockinette body slog… which I’ll be doing at the cricket tomorrow! 🧶 🏏