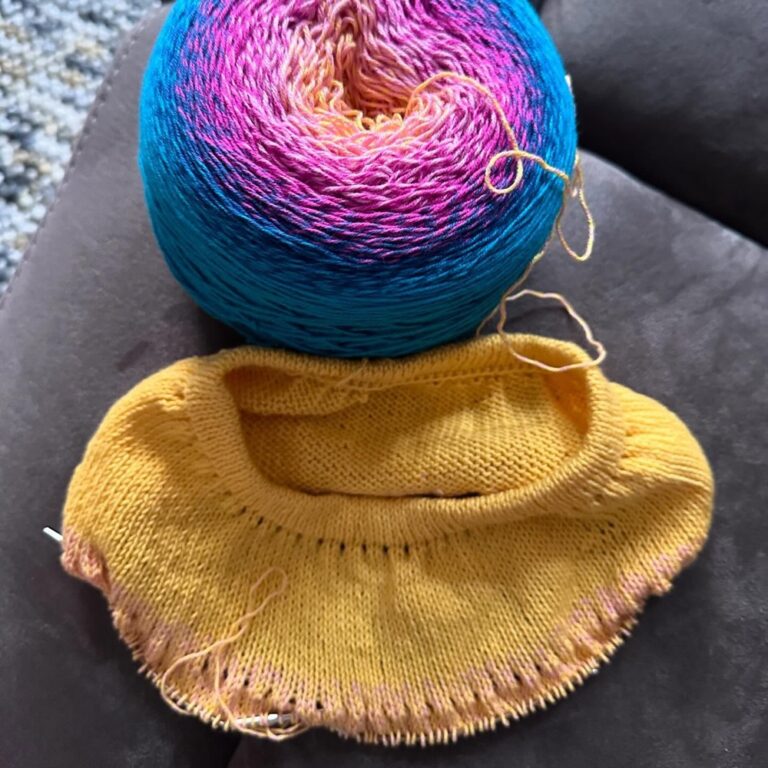
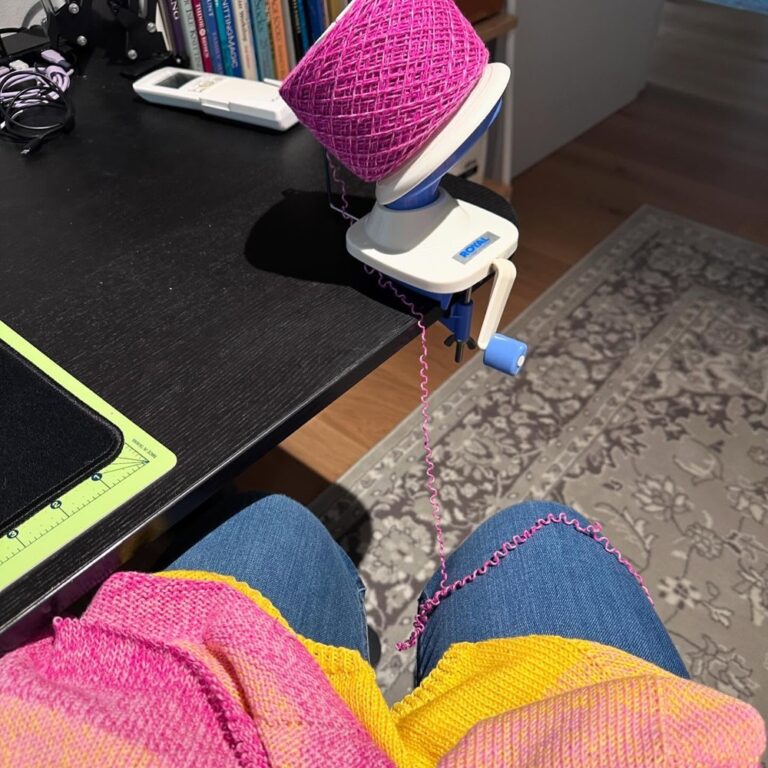
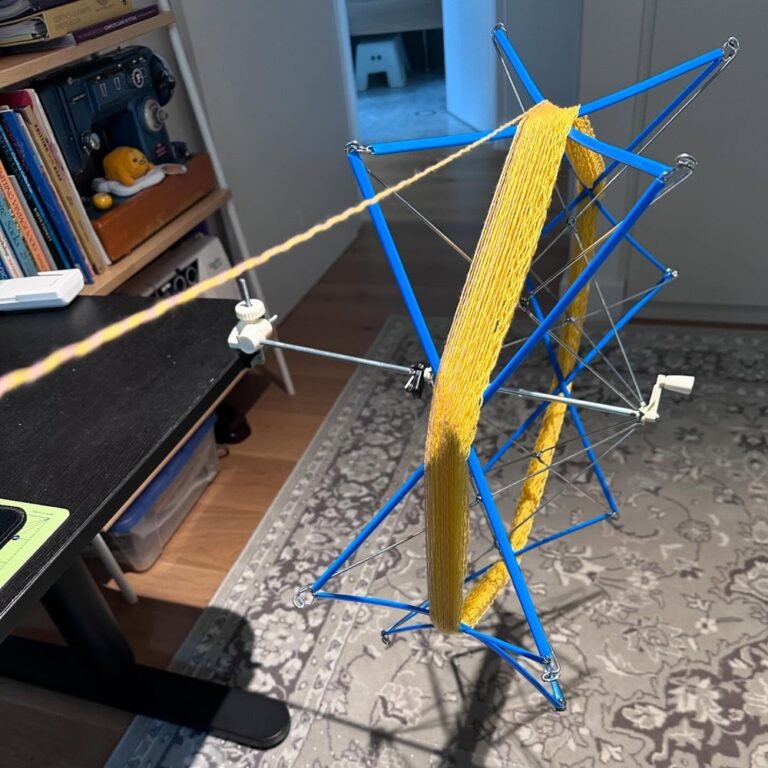
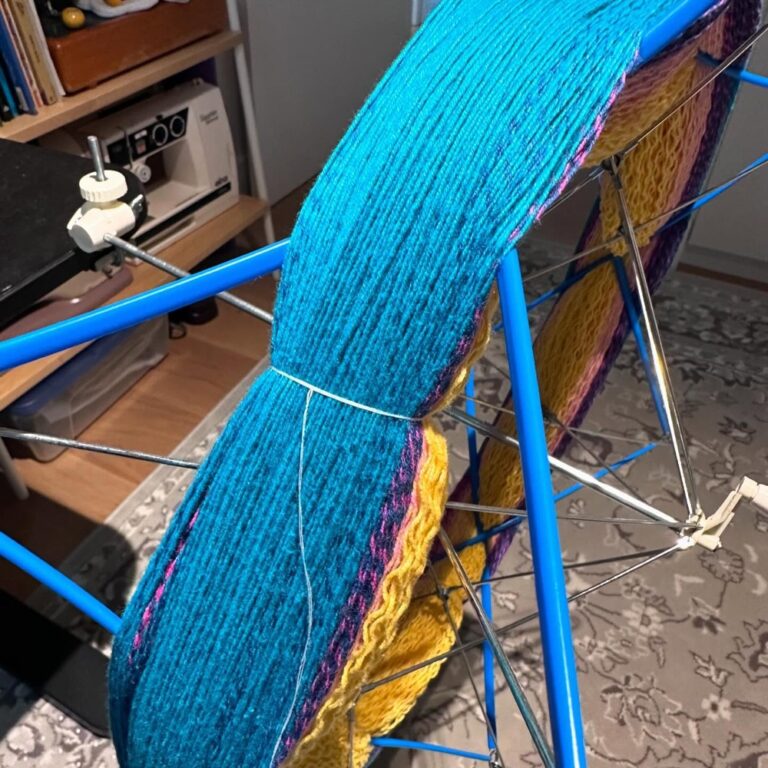
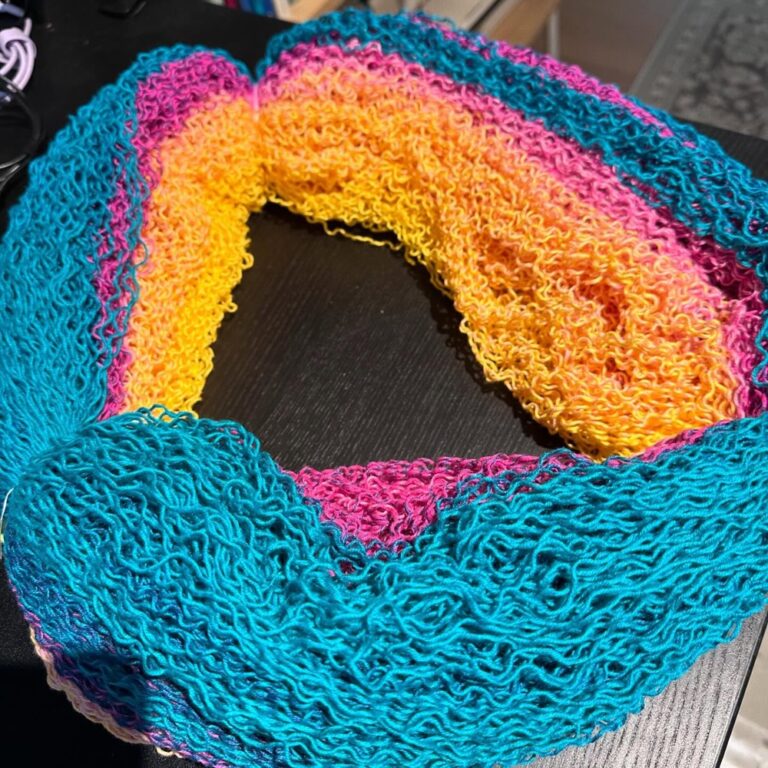
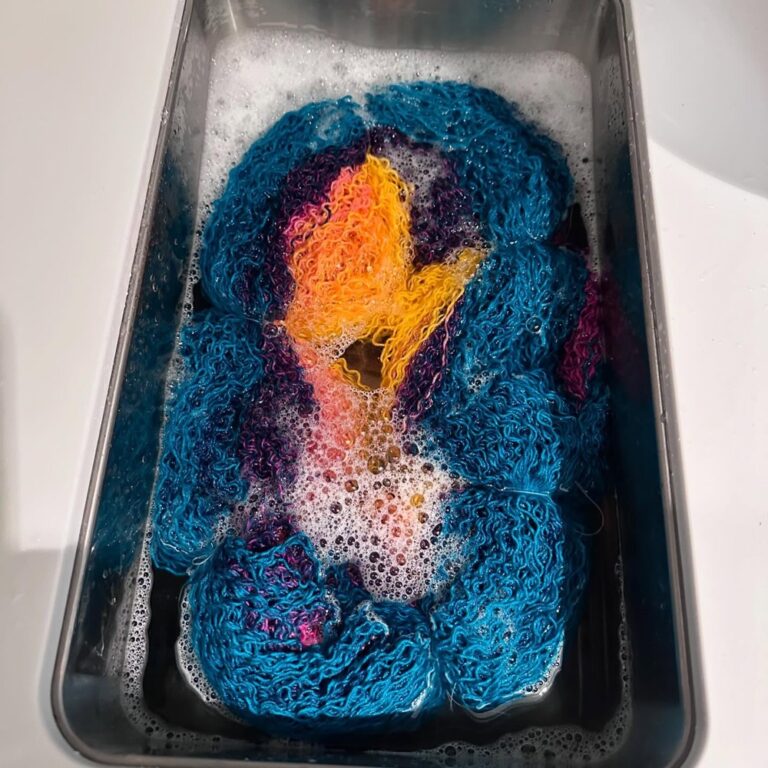
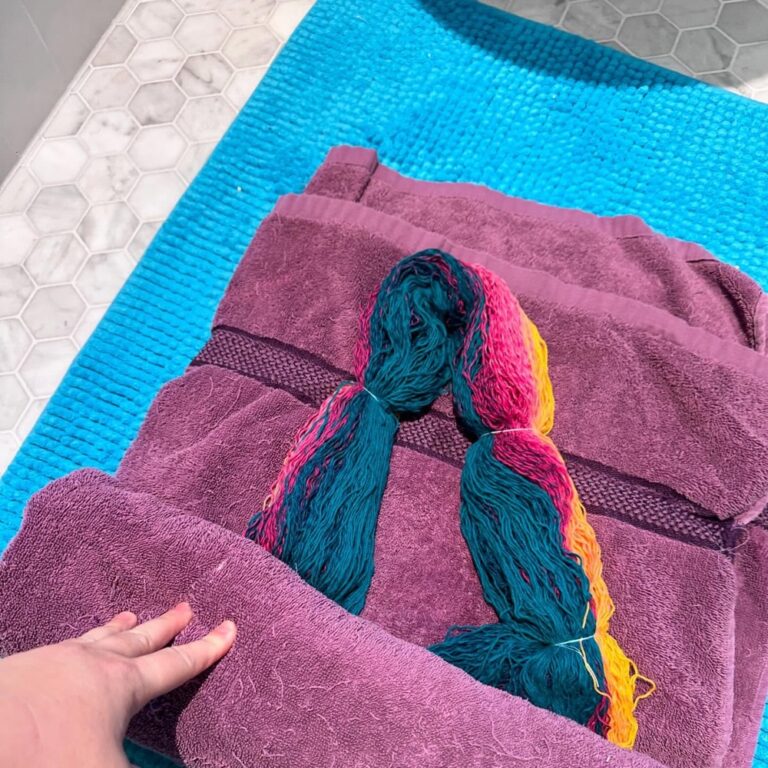
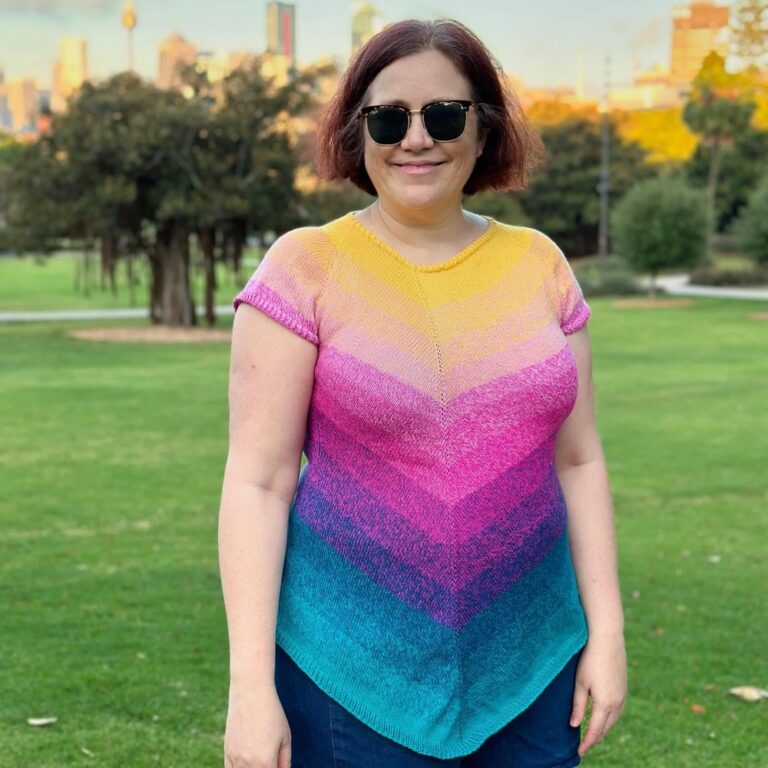
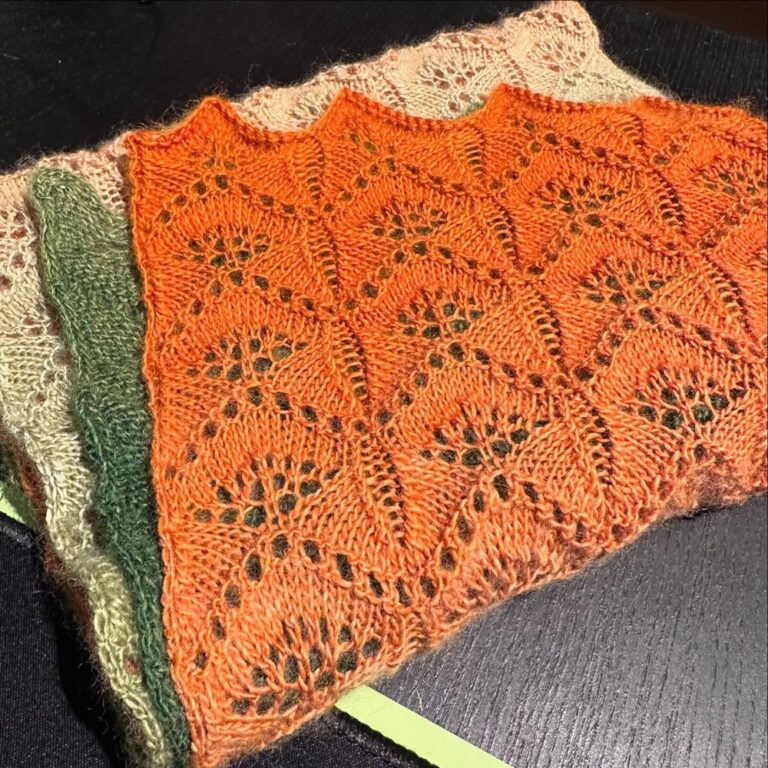
New (reclaimed) knitting project! I finished the Sugar Maple sweater (last photo) two years ago but rarely wore it. The style just didn’t suit me. So a couple weeks ago I unraveled the whole thing, winding it into a cake as I went. Then I used my swift to turn the ball into a hank that I then washed and dried to remove some of the kinks. I’ve now rewound into a cake and I’m knitting another Easy Eyelet Yoke Lite, a style that I know I will wear. The yarn is @hobbii_yarn Twister, a great choice for warm places like Sydney! 🧶 #knitting
One of the hardest skills for new knitters to master is recognising and fixing errors. If you catch something quickly, you may be able to just un-knit (or “tink“) the last few stitches and fix it. But if you spot it a few rows later and you can’t face the thought of tinking all those stitches, you’ve really only got a few options: you can pull the needle out and rip several rows, but then you’ve got to pick all the live stitches back up. This can take a while, and depending on how thick/thin and fuzzy/smooth your yarn is it can be a real chore. (If you’re knitting anything complicated like lace where you have a high change of screwing something up, it’s highly recommended to put in lifelines every so often.) The other commonly used option is the nuclear one – ripping out the whole project and starting over. If you’re near the beginning, this may well be the fastest method.
But there is another way. Let me illustrate.
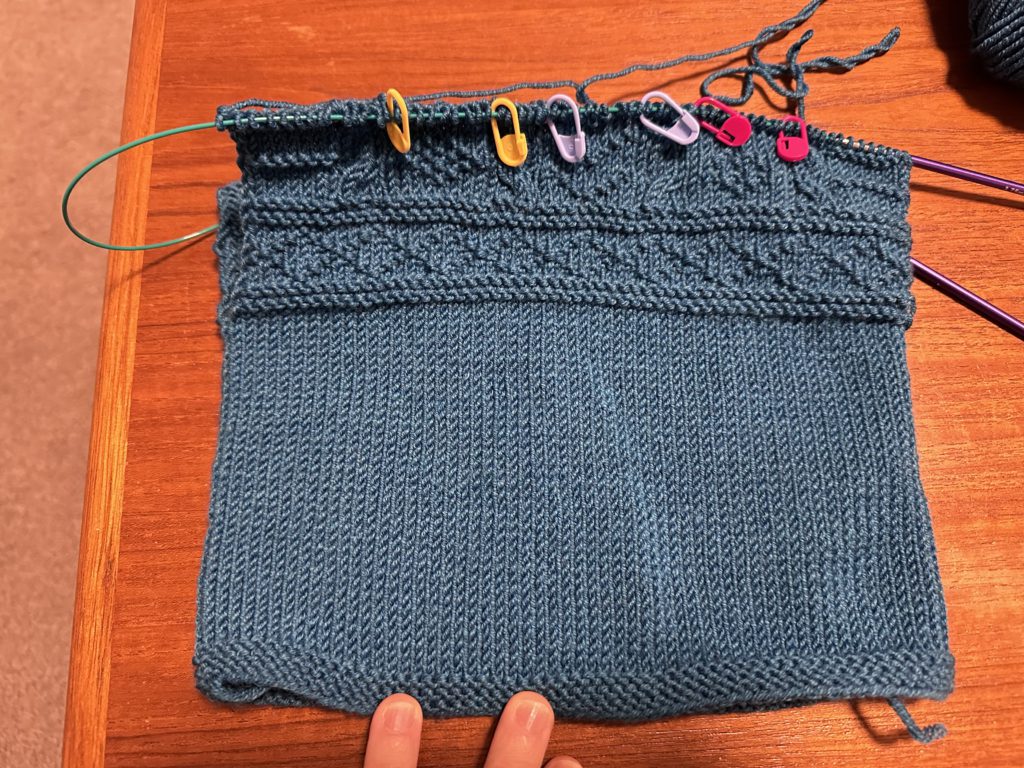
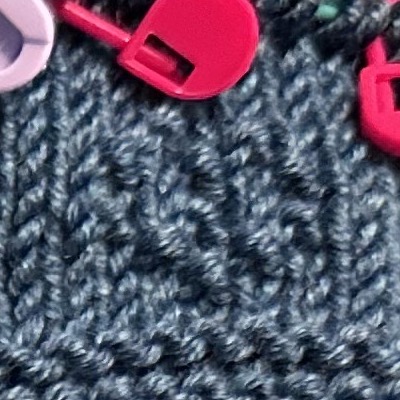
I spent a big chunk of hours yesterday working on a baby sweater. The body is stocking stitch, and then the top half has a pattern with columns of cables and garter stitch motifs. Here’s the photo I took at the end of the day:
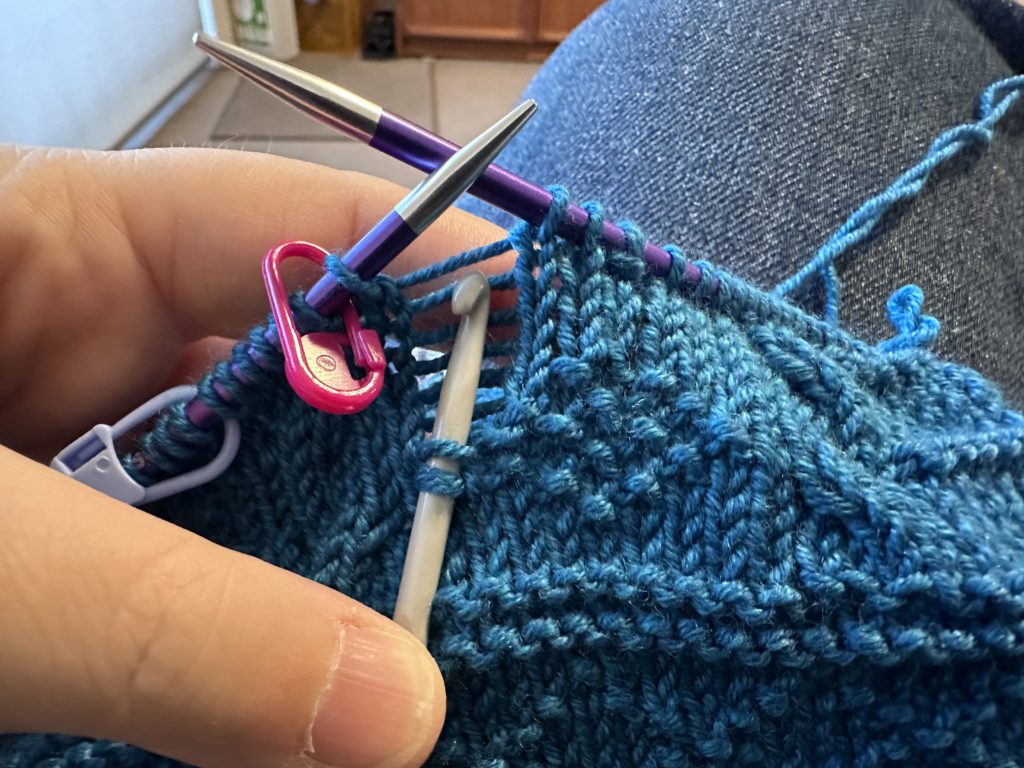
When I was looking at the photo, I suddenly realised I’d screwed up one row of the pattern. Can you spot the mistake? Here I’ve isolated the two diamond motifs, outlined by the yellow and red stitch markers:
Even if you’re not a knitter, you can probably spot that they don’t match. I’ve somehow missed 4 purl stitches right through the middle of the motif on the right, which include the points at either side of the diamond.
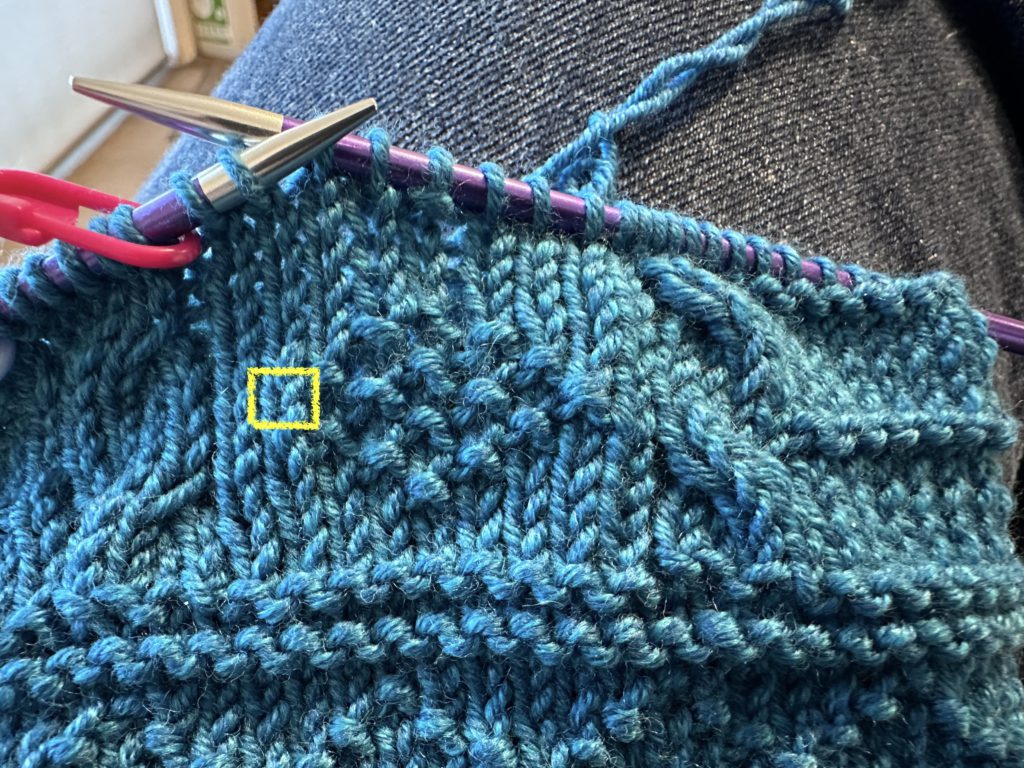
The error occurred like 8 rows back, and while this yarn (Morris & Sons Empire 8ply in Aquamarine) would be relatively easy to pick up if I frogged those rows, reknitting the motifs would be a pain… and I’d be just as likely* to make a mistake again. So I decided instead to use the surgical method of dropping just the columns of stitches with the missing purls to correct them.
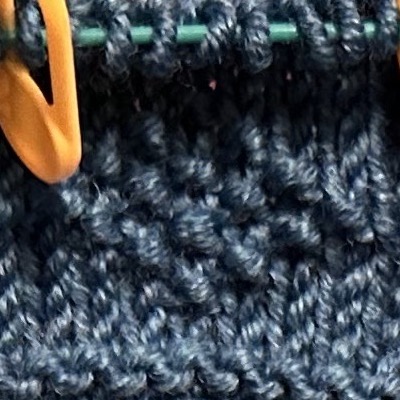
I don’t think this technique has a pithy name like tinking or frogging, but it’s often called “laddering down”. To illustrate, I’ve fixed 3 out of the 4 missing purls already and this photo shows me ready to correct the last one, the missing point of the diamond on the left. I’ve highlighted it in yellow. That knit stitch (looks like a V) should be a purl (looks like a horizontal bump). I’ve also shuffled my stitches around so that the column of stitches with the error is at the end of my left needle.
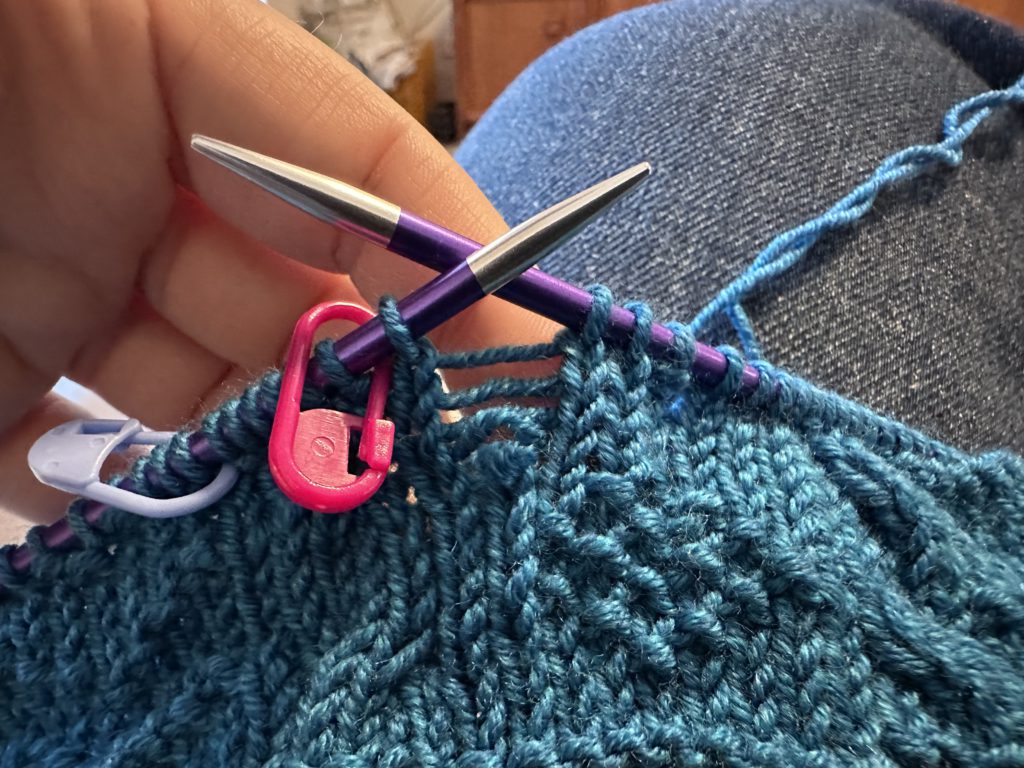
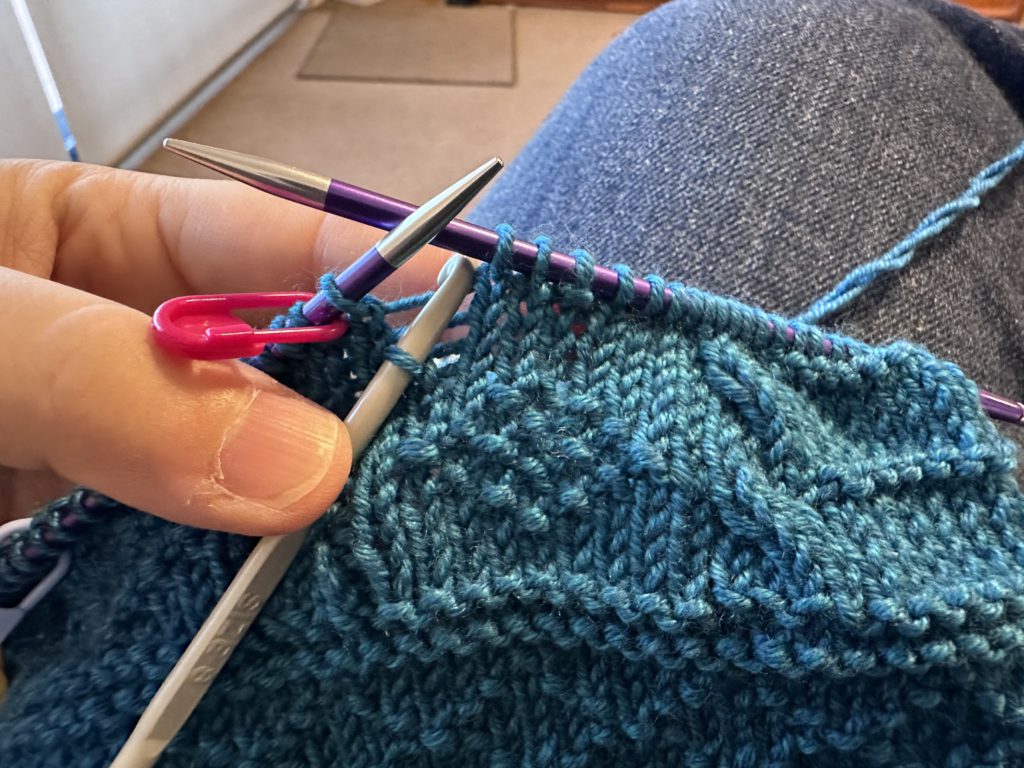
Now it’s time to drop that stitch and allow it to “ladder down” to the spot of the error. (It’s called laddering because each row you undo leaves a horizontal bar.) This wool likes to stick to itself, so I encouraged it where needed with the use of a spare needle.
And here it is, down to the spot of the error. I’ve caught the live stitch that needs to be fixed with a crochet hook.
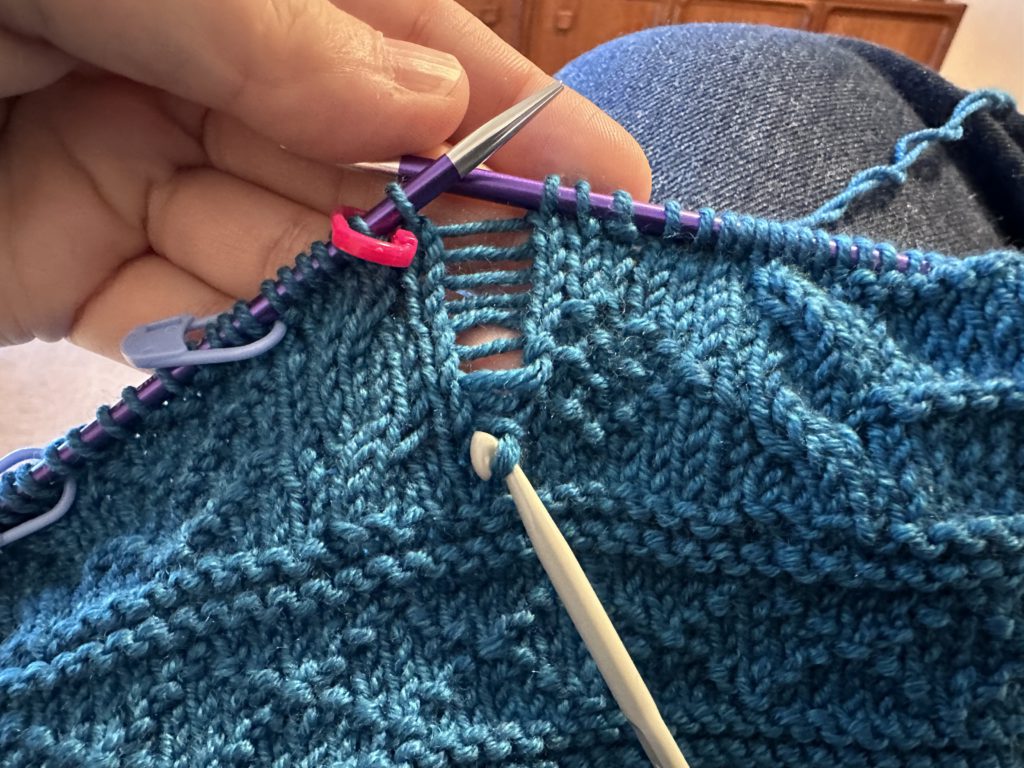
Now it’s just a matter of changing this knit to a purl, and then working my way back up the ladder again. For each stitch, you pull the lowest rung of the ladder through the current live stitch. For knits, you go in from the front and pull the ladder through from the back. For purls, you come in through the back and pull the ladder through from the front. You can use spare needles for this, but a crochet hook makes it really fast. (The photo below looks like I’m about to knit the stitch, but rest assured I moved the hook around to purl instead.)
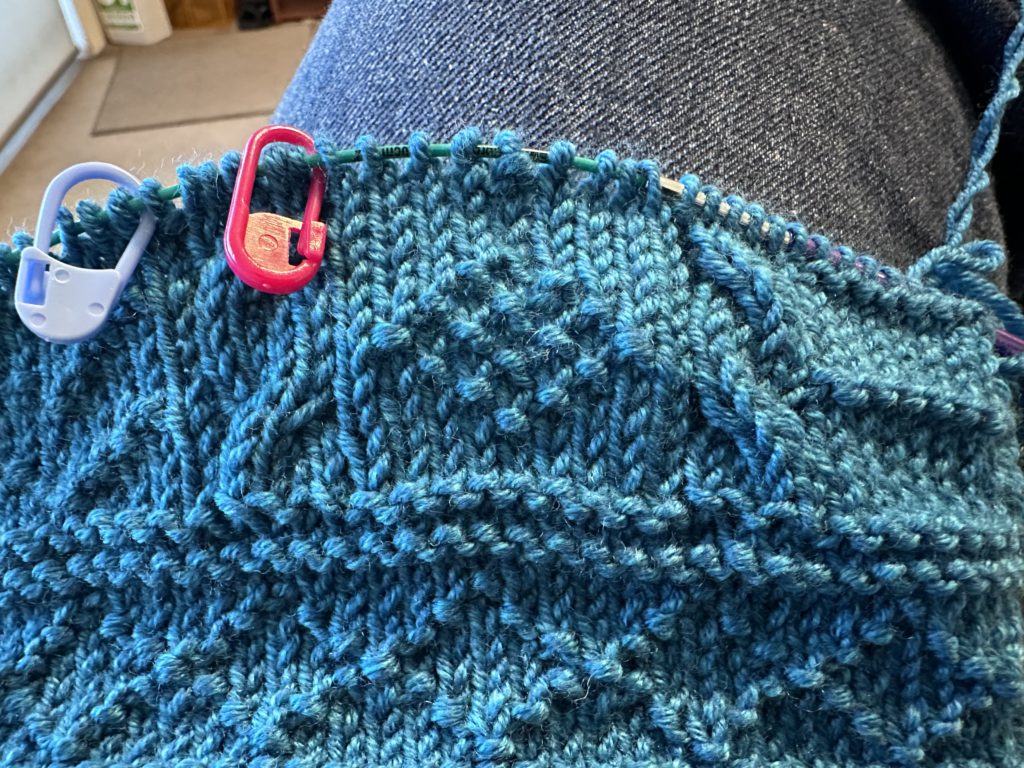
Here it is halfway along, showing the corrected purl and then the column of knit stitches above:
I made a short video showing the last couple stitches:
And here’s the completed motif after the repairs:
The only tricky bits are making sure you don’t drop down too many rows, and ensuring you don’t skip any rungs of the ladder on your way back up. I’ve even used this method to fix miscrossed cables! (Just drop down all the cable stitches, catch the live stitches on a spare needle, rearrange them correctly for the cross, and then ladder each one back up.) This technique can result in some wonky tension either side of the repaired column of stitches, but I find that a couple tugs on the work will fix it (and it’ll resolve itself during blocking anyway).
Much faster than tinking or frogging!
* The reason I made the mistake is that the damn pattern is an older one and it’s written out row-by-row without a chart. A chart would have taken up way less space and allow me to visually check for errors must easier. 😠 But this is something I’ve ranted about in the past…
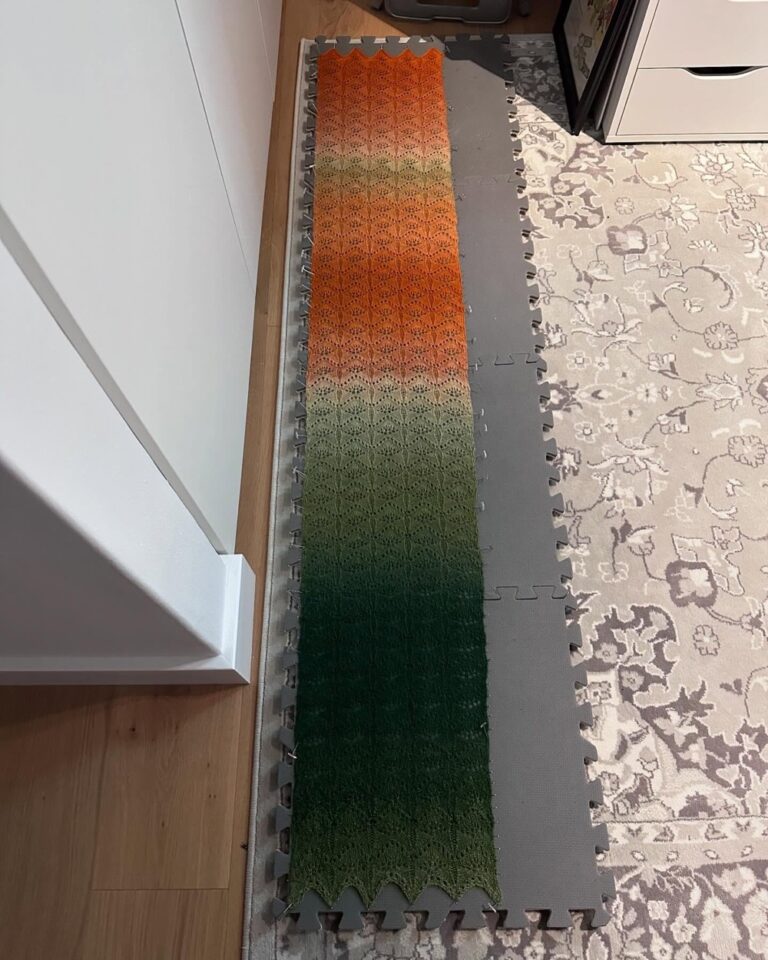
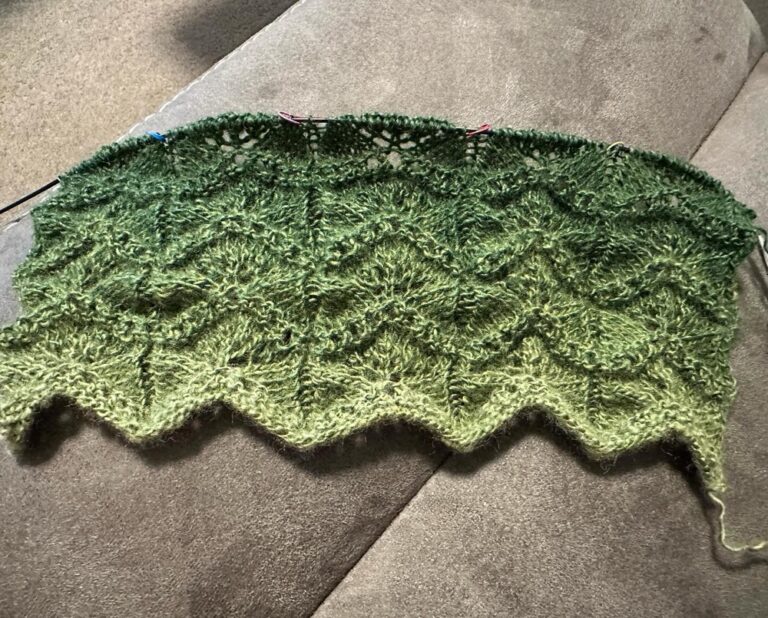
I frogged my gradient scarf for the 3rd time and started over. I’m still not sure what this yarn wants to be. This pattern is meant to look like gingko leaves, and I’m liking it so far! #knitting 🧶
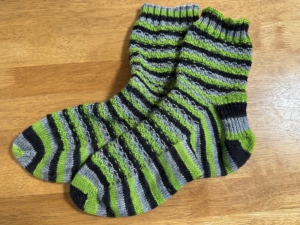
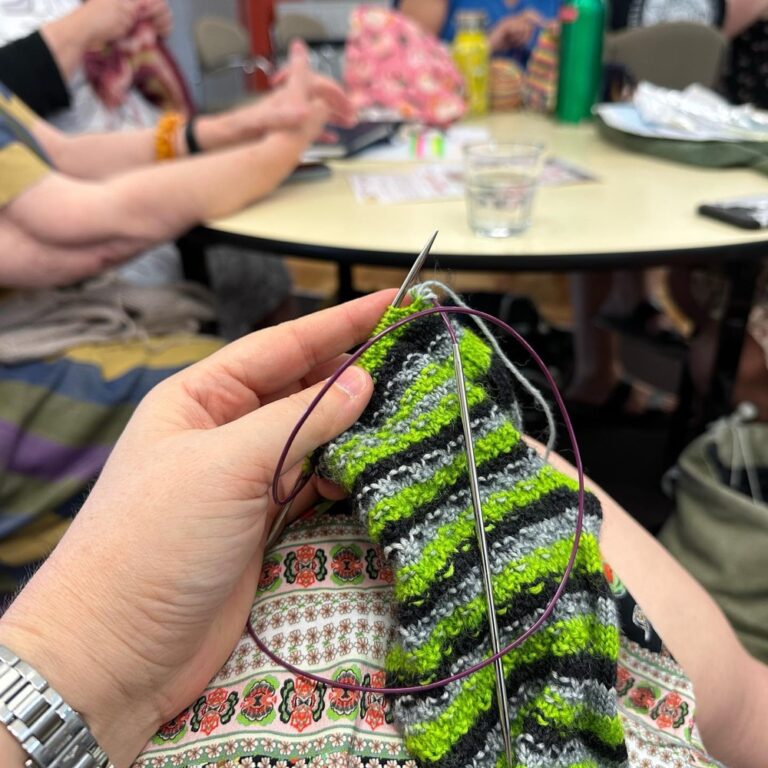
I think these socks win the prize for the longest time from start to finish, and they probably also set a record for the number of times I frogged and restarted! My initial cast-on was way back in April 2021 – back when I was still livestreaming my knitting – and I finally handed them over to the Snook yesterday.
The yarn is Drover Self-Striping from Colagirl Collective that I bought from Convent & Chapel many years ago. I can’t find any record of the colorway name or number, but the lime/grey/black reminded me of Minecraft. My original plan was to do the Undulating Rib socks, but I realised after casting on that it was fighting with the self-striping. So eventually I frogged them and started over. I settled on a simple broken-rib pattern, which gave a sort of pixelation effect and kept me from being too bored. :
Row 1: *K2, P2* repeat to end
Row 2 & 4: Knit
Row 3: *P2, K2* repeat to end
I knitted them toe-up with a circular needle (using the Magic Loop technique). Normally I prefer to knit both at the same time, but the wool was pre-balled and I had no way to access the other end. That meant I had to knit them one-at-a-time, and of course I lost my notes during the long gap after finishing the first one. It was only really an issue on the heel, which I decided to knit using a traditional gusset and heel flap (but in reverse). I suspect that my numbers are slightly different on the two of them, but I was already knitting these as fairly baggy house socks so I figure a few stitches either way doesn’t really matter.
The Snook was pretty happy to receive these, as the weather has turned decidedly Autumnal and the floors are feeling a bit cool in the mornings!
A hot, sunny summer’s day! I rode my bike over to the @knittersguildnsw meeting, then across Alexandria Park and stopped to watch a bit of the cricket. Then over to @bracketbrewing to meet the Snook for a cheeky beer, before finishing up at the @thealex_hotel for lunch. ☀️🚴♀️🍻 (2023 beer garden count: 1!)
Huh. I just learned a new knitting technique from Reddit, of all places! Rather than weaving in all the ends from your fairisle colour changes, you leave them long and then you essentially French braid them down the seam on the inside.
What the video doesn’t show is what happens at the end. Presumably you have some length of braid from your last few changes, and you… what? Put a rubber band on the end and have it hanging outside your sleeve? 😂 I’m guessing it’s something like: “fold it back on itself and weave the last few bits back into the braid,” but it’s annoying that they didn’t cover that bit.
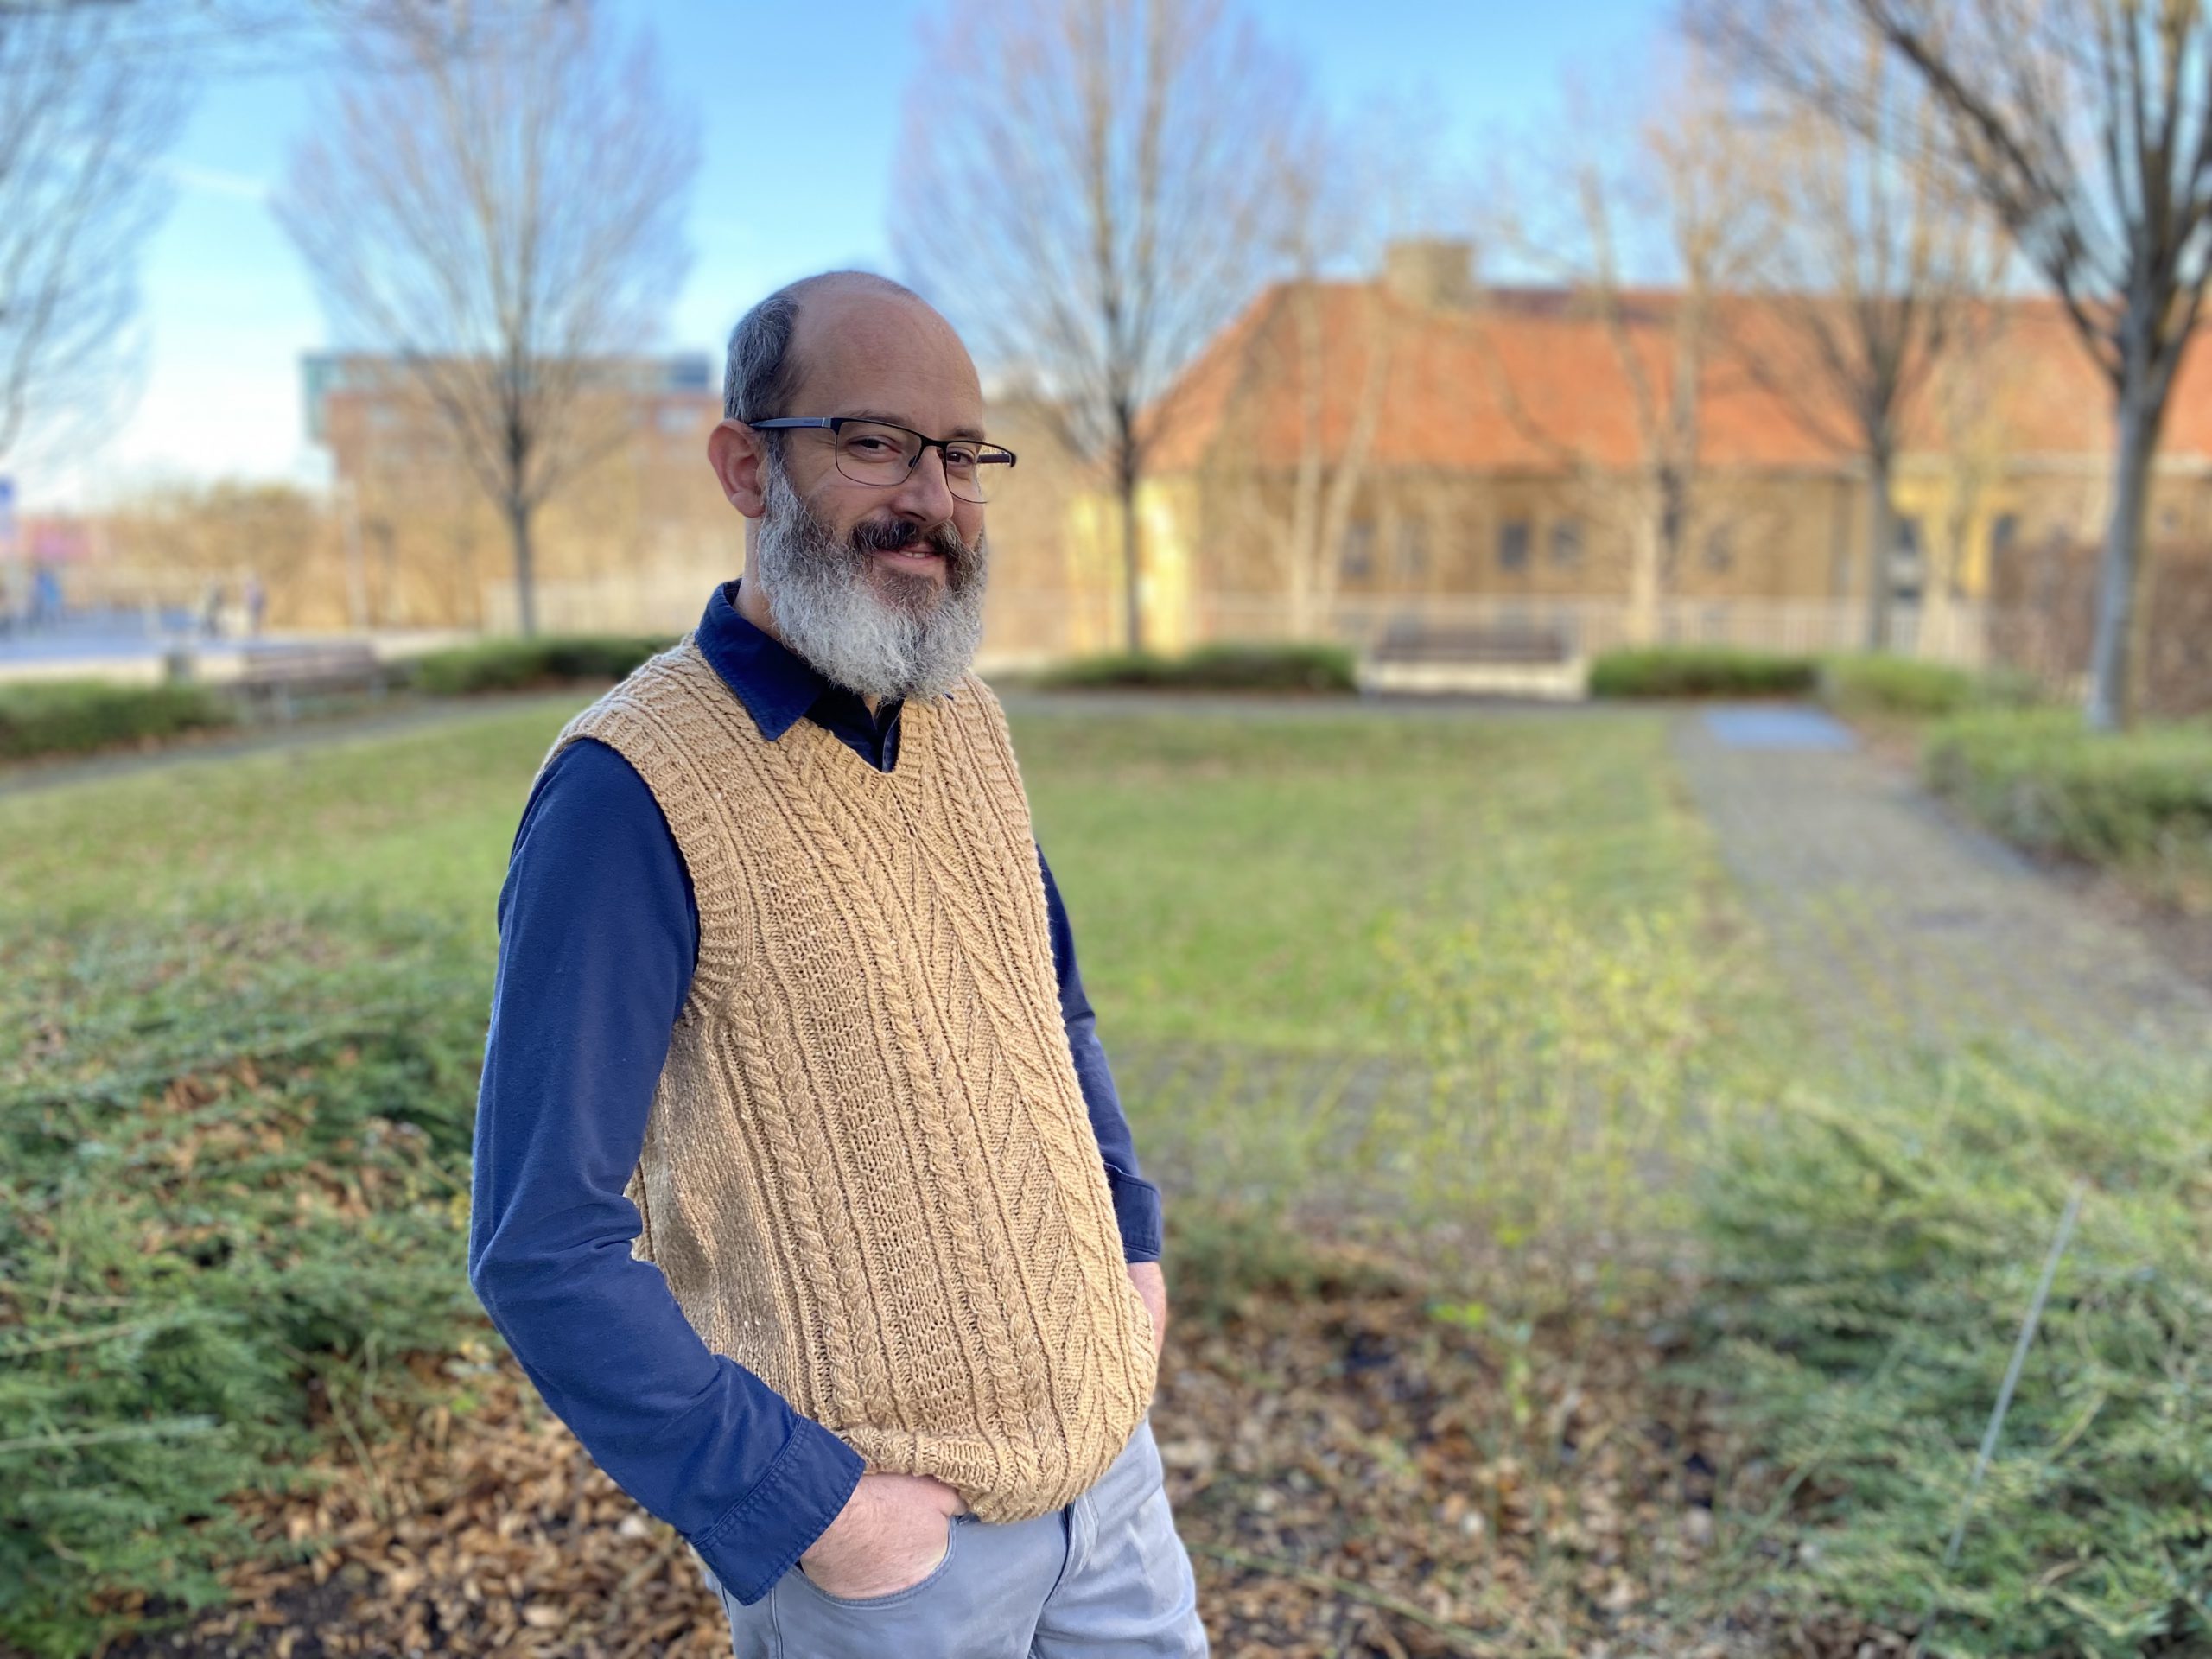
I actually did finish a couple long-gestating knitting projects in 2021! Above you can see the Snook modelling his new cabled v-neck vest. He’s decided in recent years that he likes knitted vests, as he can still wear a jacket over them and not be too warm. The wool is Jo Sharp Silkroad DK Tweed from a packet that I bought in a Knitters Guild destash many years ago. It’s wonderfully soft and squooshy, and I knew it wouldn’t make him itch. (The colour is 419 Butternut, but to me it looks more like a golden cookie or a teddy bear.) The pattern is called Dr. G’s Memory Vest, and it was designed as a tribute to someone who suffered from dementia. I modified the pattern to be knitted in the round from the bottom up, and I worked on it off-and-on throughout the year. I also tweaked the length slightly as the Snook has a long torso. Doesn’t it look good against a blue shirt? More details over on Ravelry.
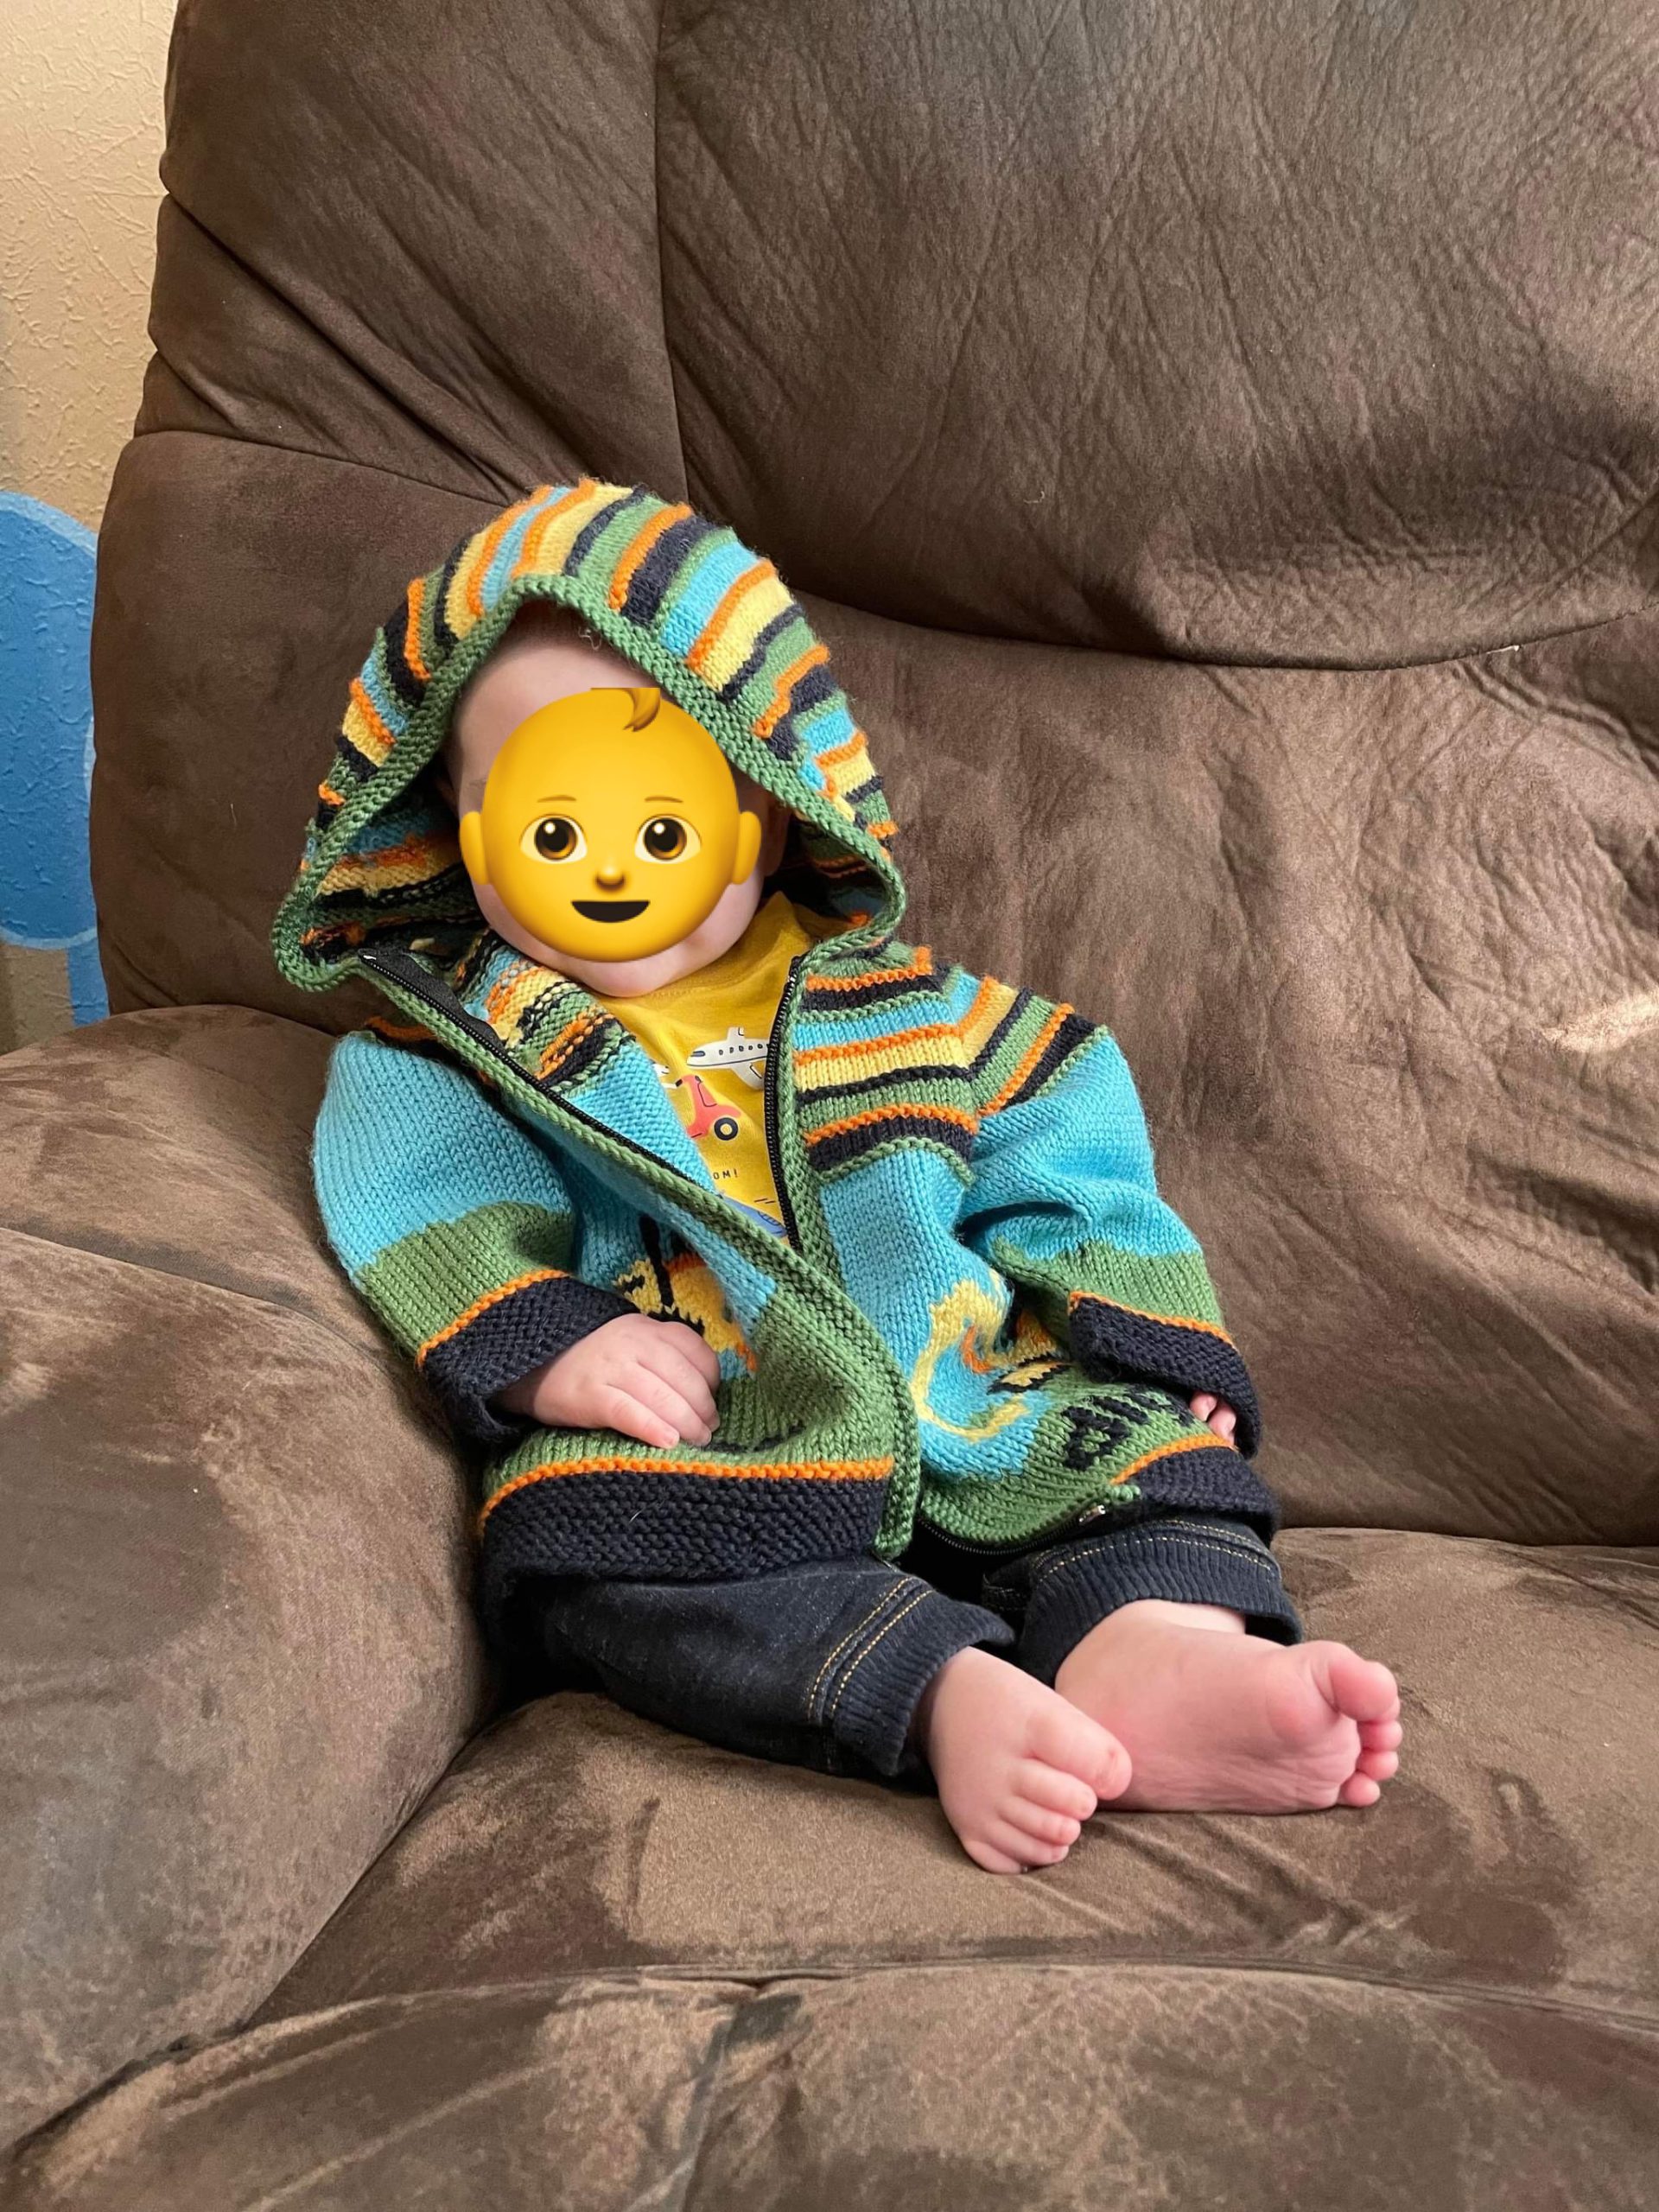
The other project I finished was the Digger Jacket. I actually started this project years ago when my cousin had her first child back in the US. I severely underestimated how quickly I can knit complicated intarsia though (or how frustrating dealing with hundreds of ends can be) so it took me a really long time to finish. By the time it was ready for the zipper, she was pregnant with her third son! I brought it to Germany with me so I could finally finish it off, and last month I was lucky enough to get to deliver it to her in the US. Obviously it’s a bit big for the little one right now, but he’ll grow into it. The wool is Morris Estate 8ply and I absolutely love the colours. As always, I tried to minimise sewing up by knitting the fronts and back together on a singular circular needle. The trade-off was that meant I had to knit all four machines at the same time, which got pretty complicated juggling all the different colours. I tried to simplify things a little by using duplicate stitch for the words and a few of the smaller details. I’m really charmed by how it turned out though, and the little one looks so adorable in it! More details on Rav…