Now that the 2025 Easter Show Craft Competition judging is finished, I can finally reveal the details of my three entries!
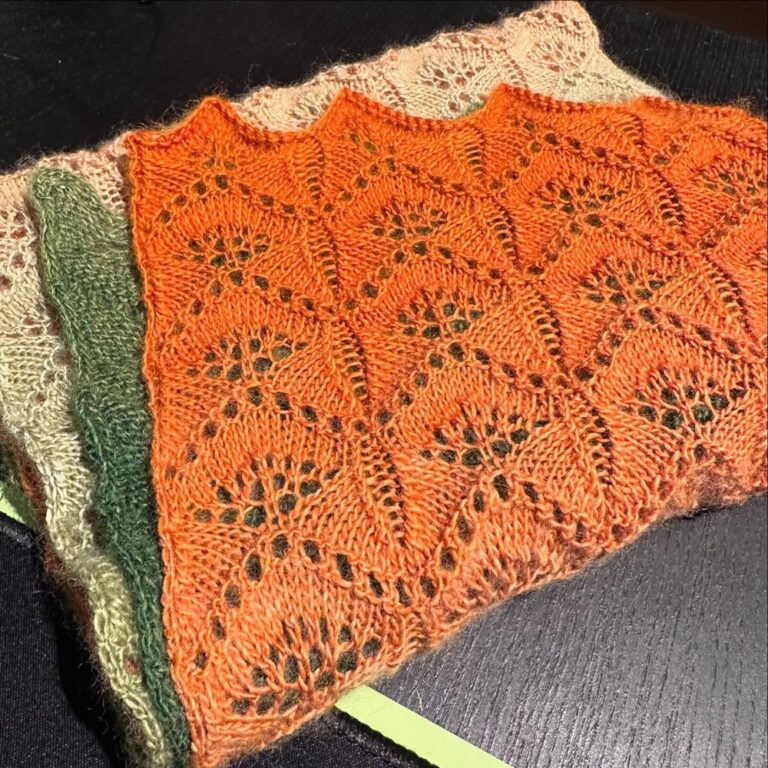
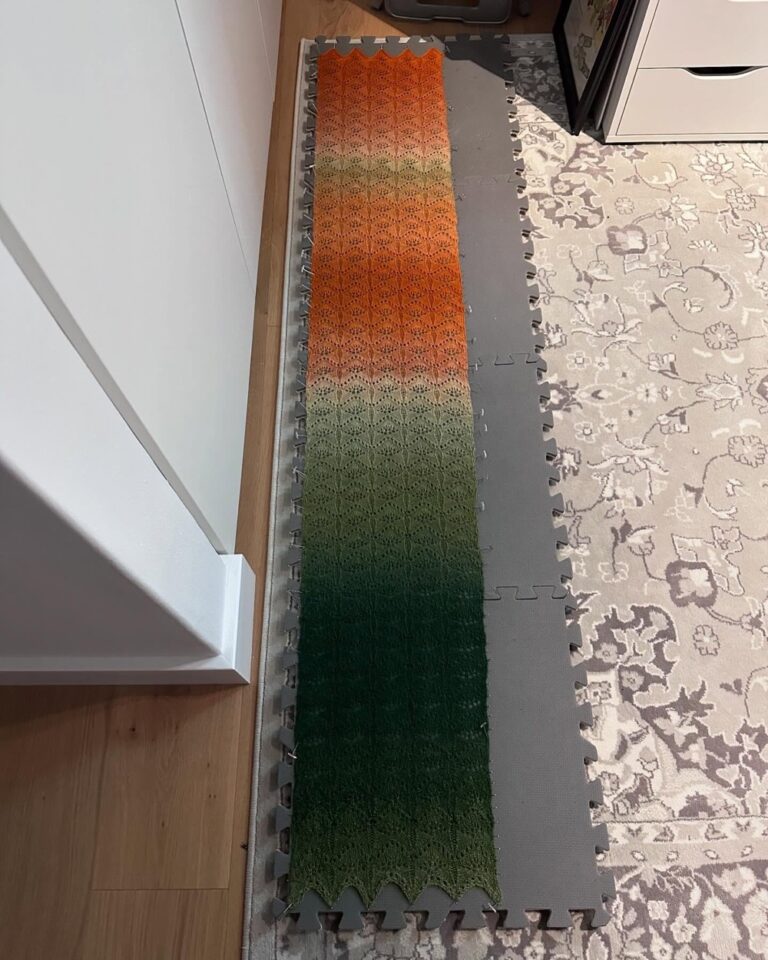
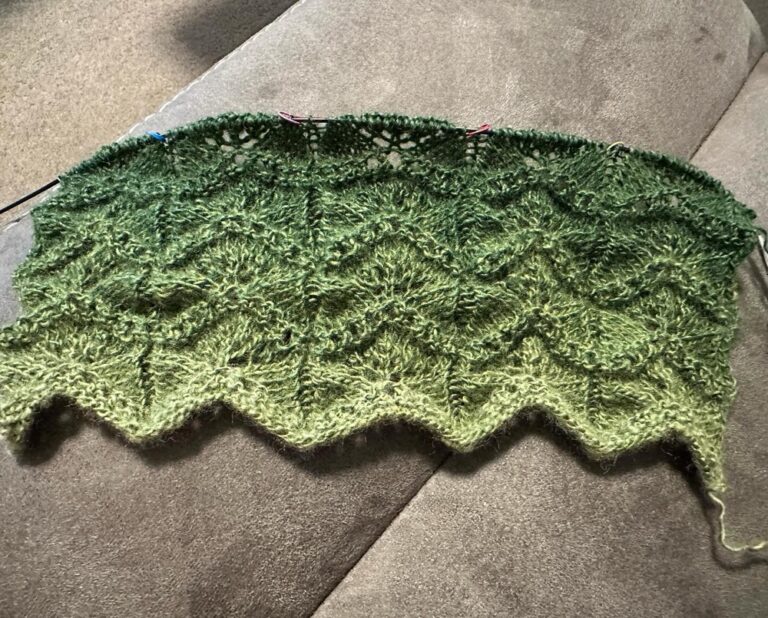
Ginkgo Leaves Gradient Lace Scarf
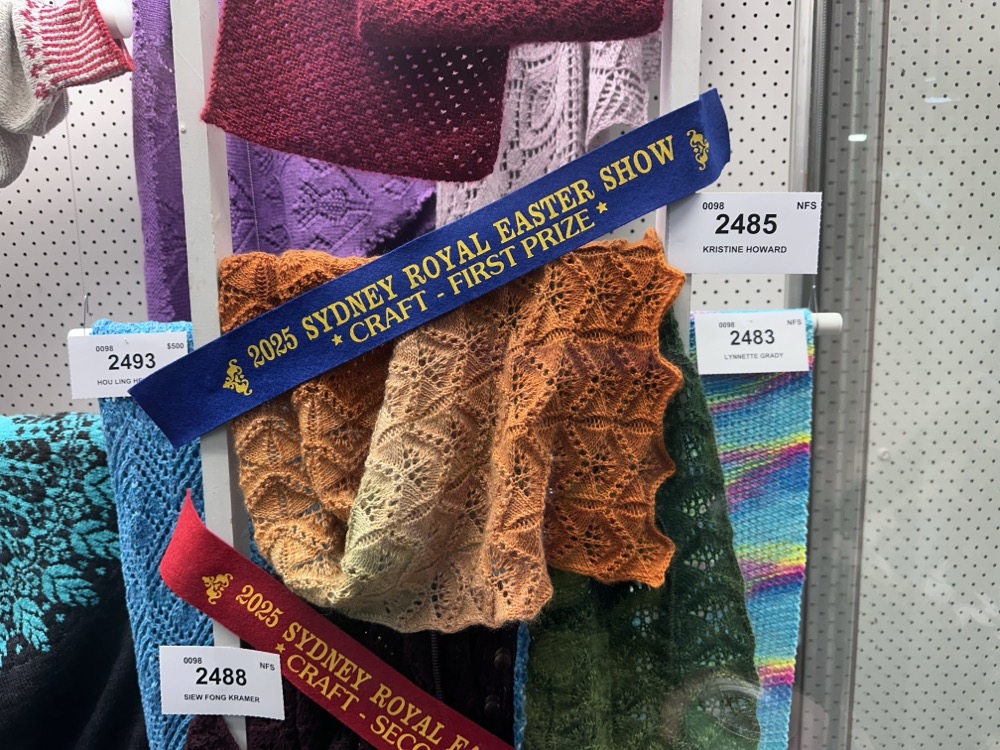
I bought this yarn – Schoppel Zauber Flower Pro – ages ago but really struggled to find an appropriate pattern for it. Last April I frogged it and started again with a simple lace pattern that looks like ginkgo leaves. I’m not normally a big fan of lace, but I could tell that it was going to look pretty special once I blocked it. I was so pleased with how it turned out, and I thought it had a real chance at the Show. And guess what? It did! My second ever blue ribbon!
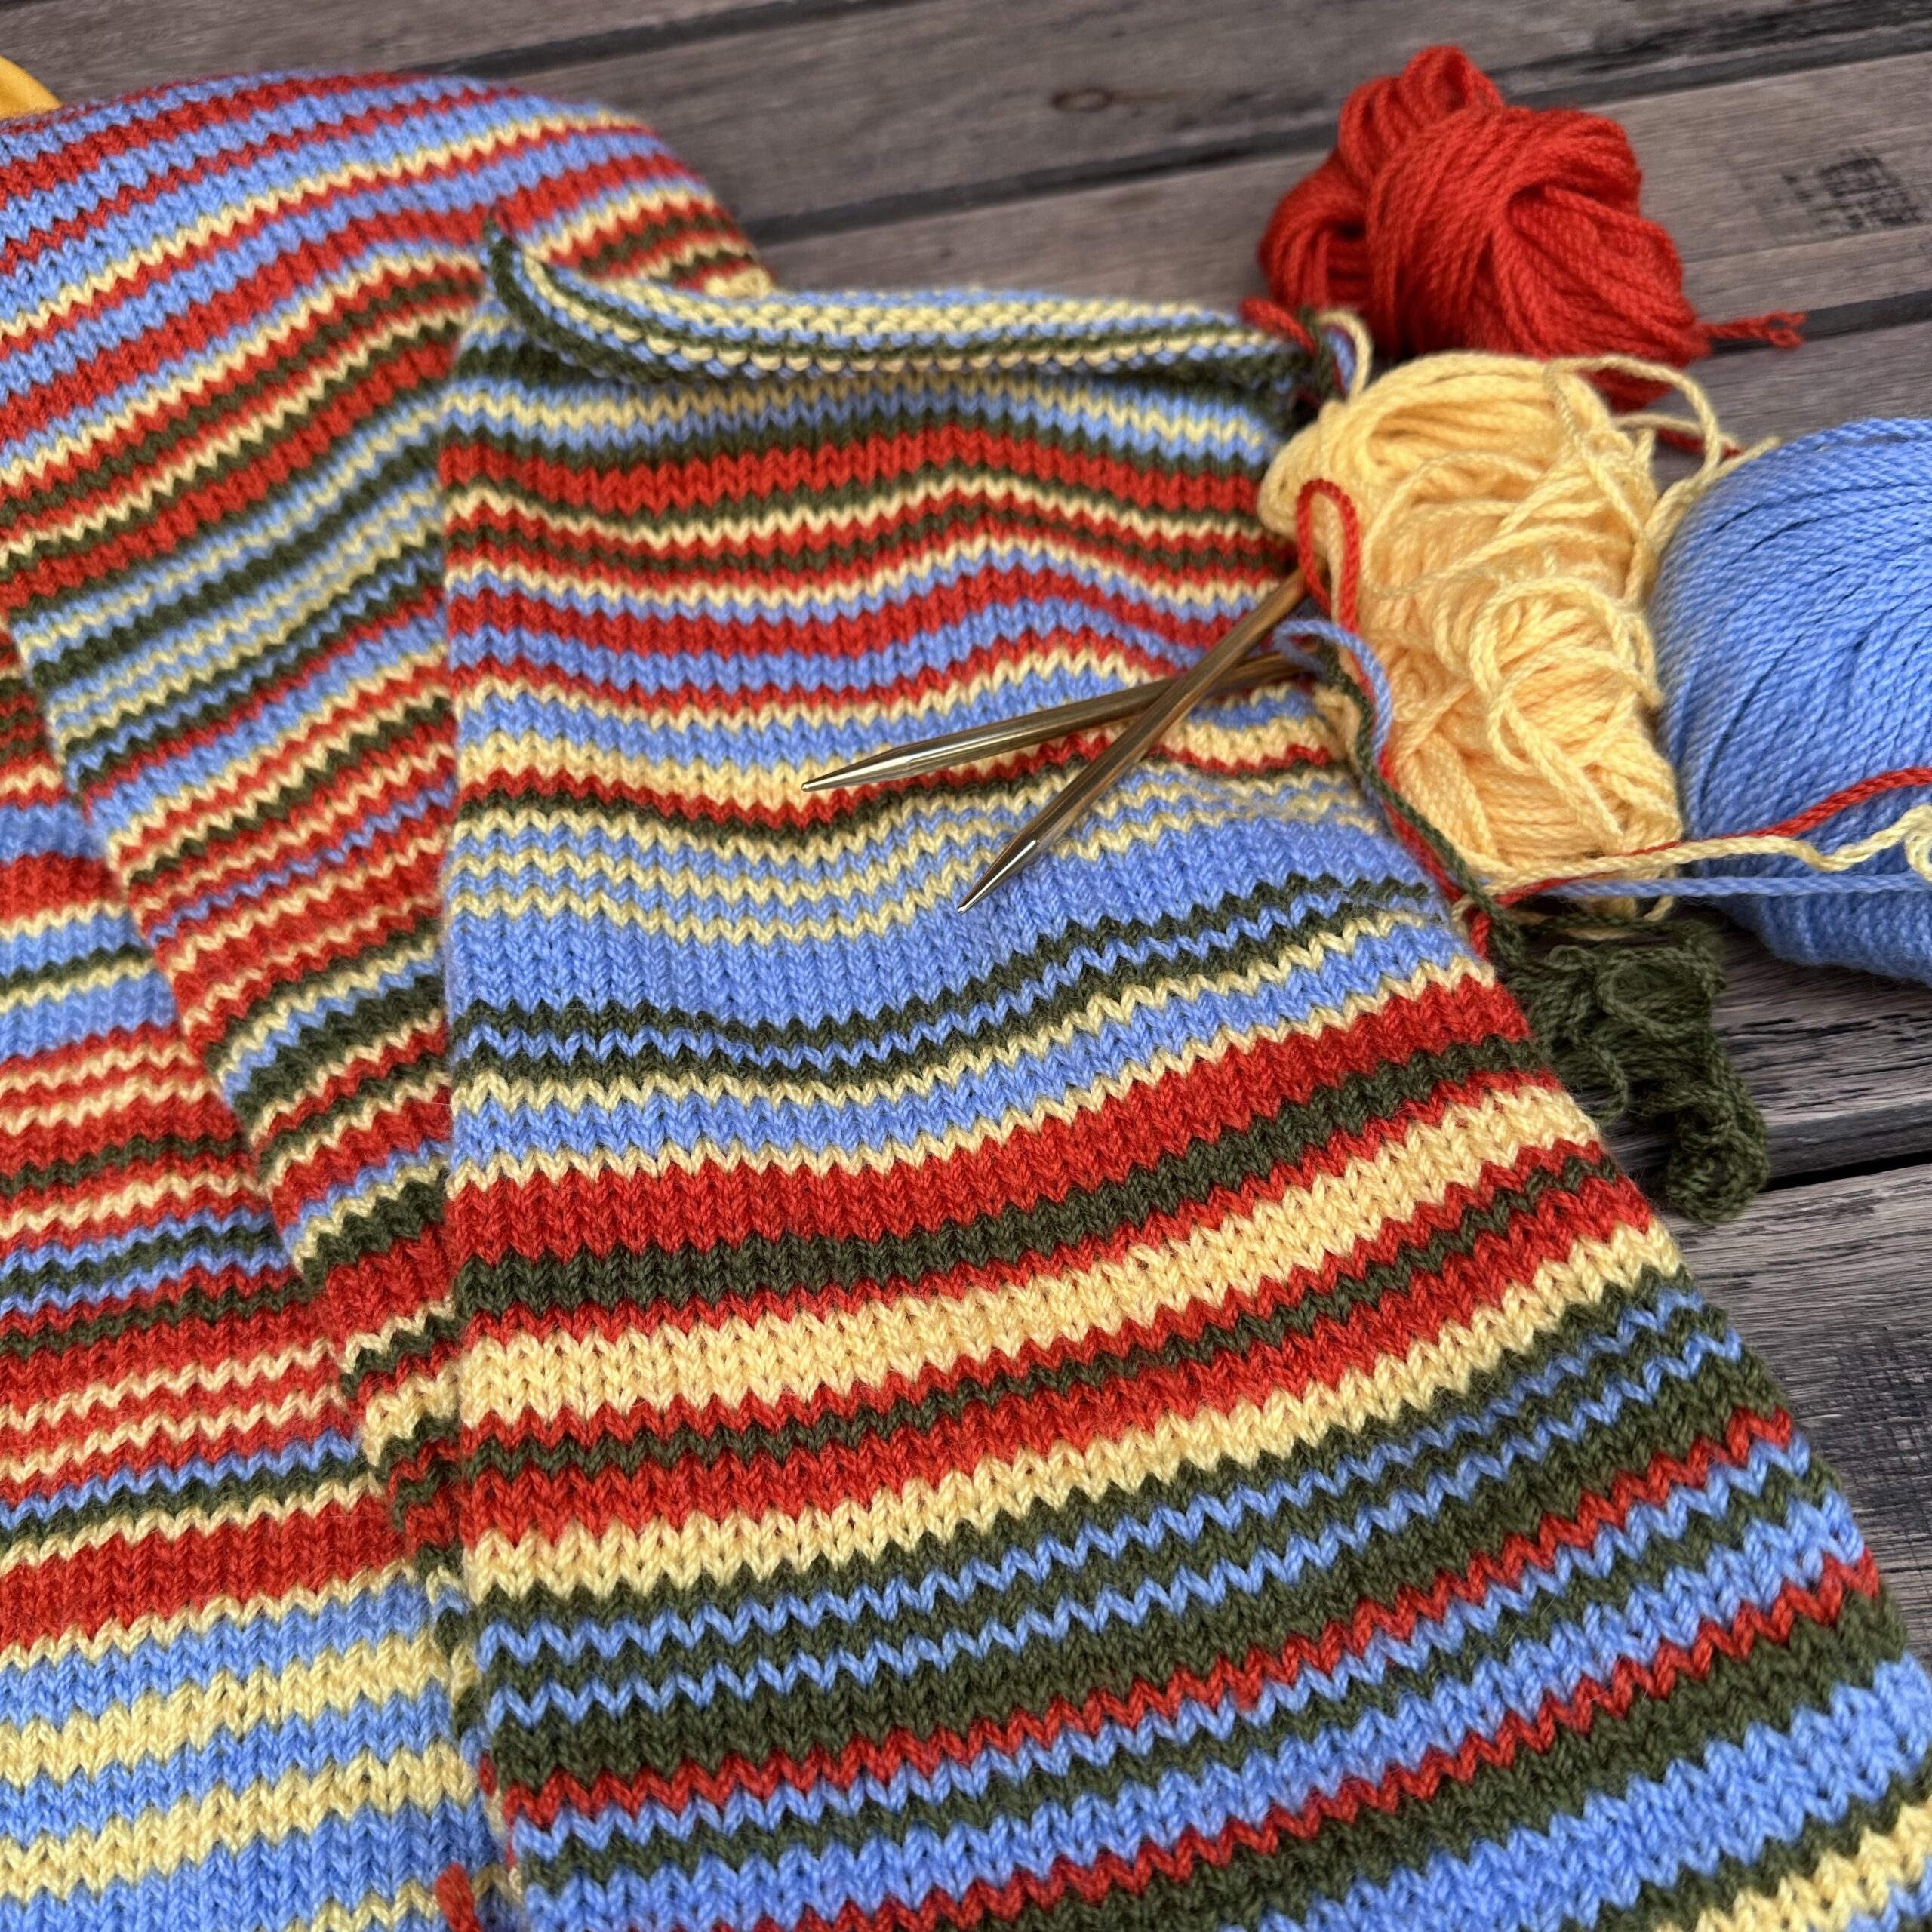
3-Colour Slip Stitch Alpaca Scarf
Ten years ago I knitted the Snook a grey alpaca scarf in linen stitch… and last year we lost it in Darling Harbour. It was mostly my fault, so I felt I needed to replace it with something comparable. I settled on a simple 3-colour slip stitch pattern done in Morris & Sons Maya 8ply. Because I used 3 colours, I could just always drop a colour and pick up the next one at each edge. It resulted in a perfectly flat fabric, with one side having a little tessellated seed pattern and the reverse having all of the horizontal floats. It was very satisfying to knit, even with having to constantly untangle the balls! When I was finished, I even knitted him a matching beanie. I doubted the project was flashy enough to win a ribbon, but I thought I’d enter it anyway just to have something different in the display case. As expected, it was shown but didn’t win anything. I’m okay with that. There’s really nothing else in the case like it.
Rainbow Pinwheel Baby Quilt
Earlier this year, a friend of mine let slip that he and his wife were expecting their second child, a daughter. I know how much they’ve gone through in their fertility journey and really wanted to gift them something special for her. I also was getting the itch to do some patchwork again after making Baby Taos’s quilt in 2023. I started looking for a design that would work with a charm pack, and soon I settled on this Pinwheel Baby Quilt from Moda. I loved the idea of doing something bright and cheerful, but in a more modern print than in the pattern. I started checking what fabrics were available in my local shops, and I eventually decided on Moda’s Rainbow Spice collection. I bought a charm pack along with yardage for the backing and the binding, and in January I kicked off the project.
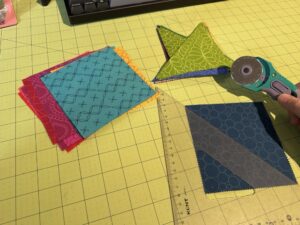
I figured out which fabrics I wanted for the pinwheels, and I cut those into triangles. Everything else got cut into squares for the prairie points.
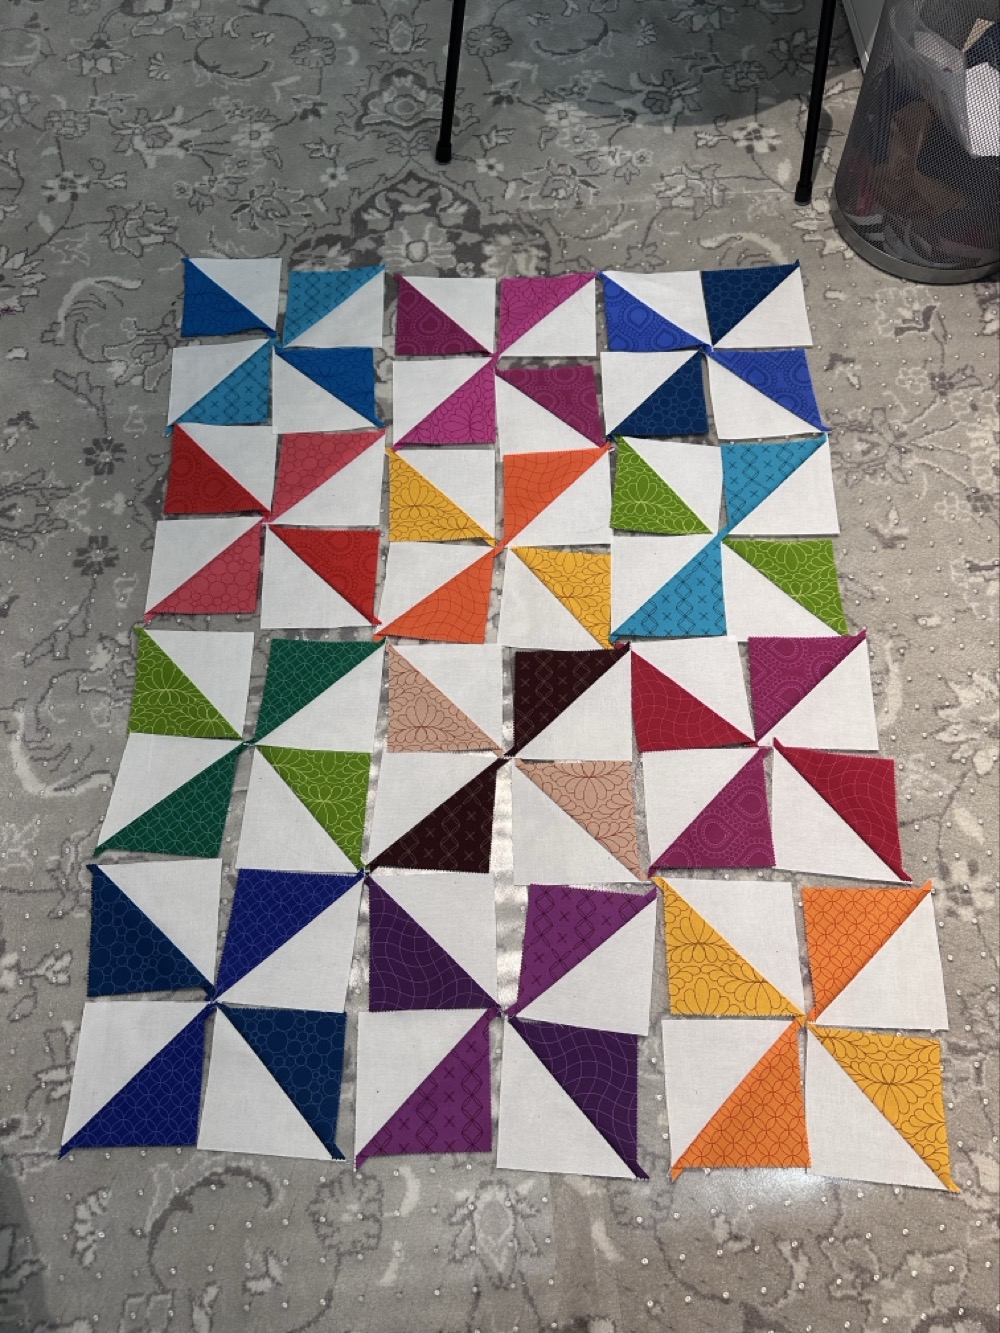
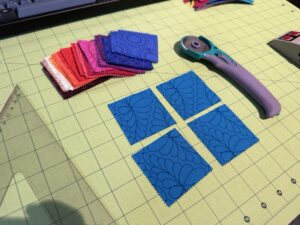
I started joining the coloured triangles to the white ones. Once I had them all joined, I could play with how I would lay out the finished pinwheels.
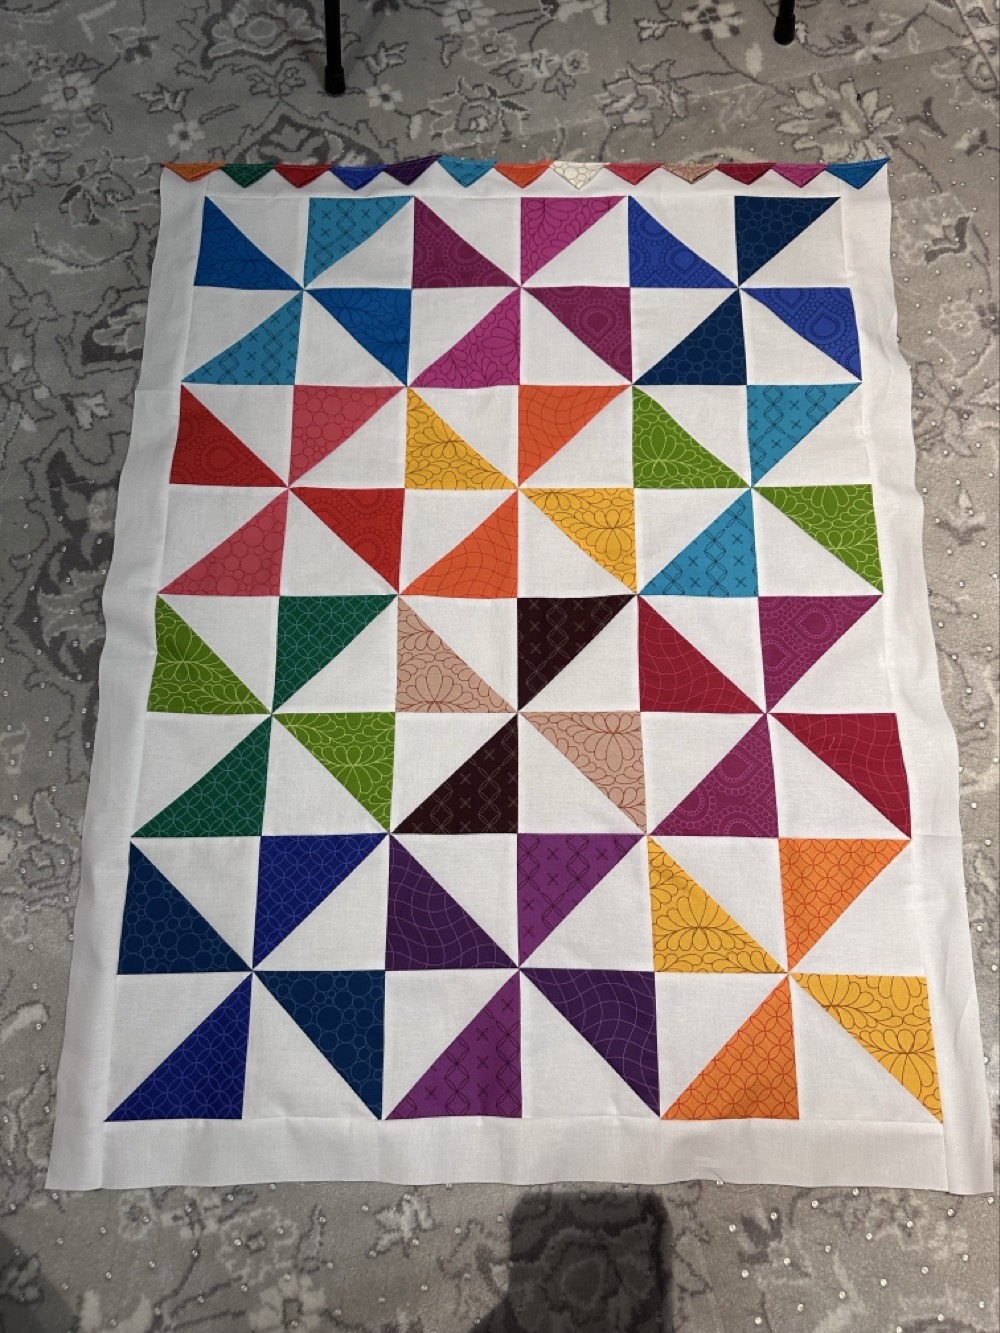
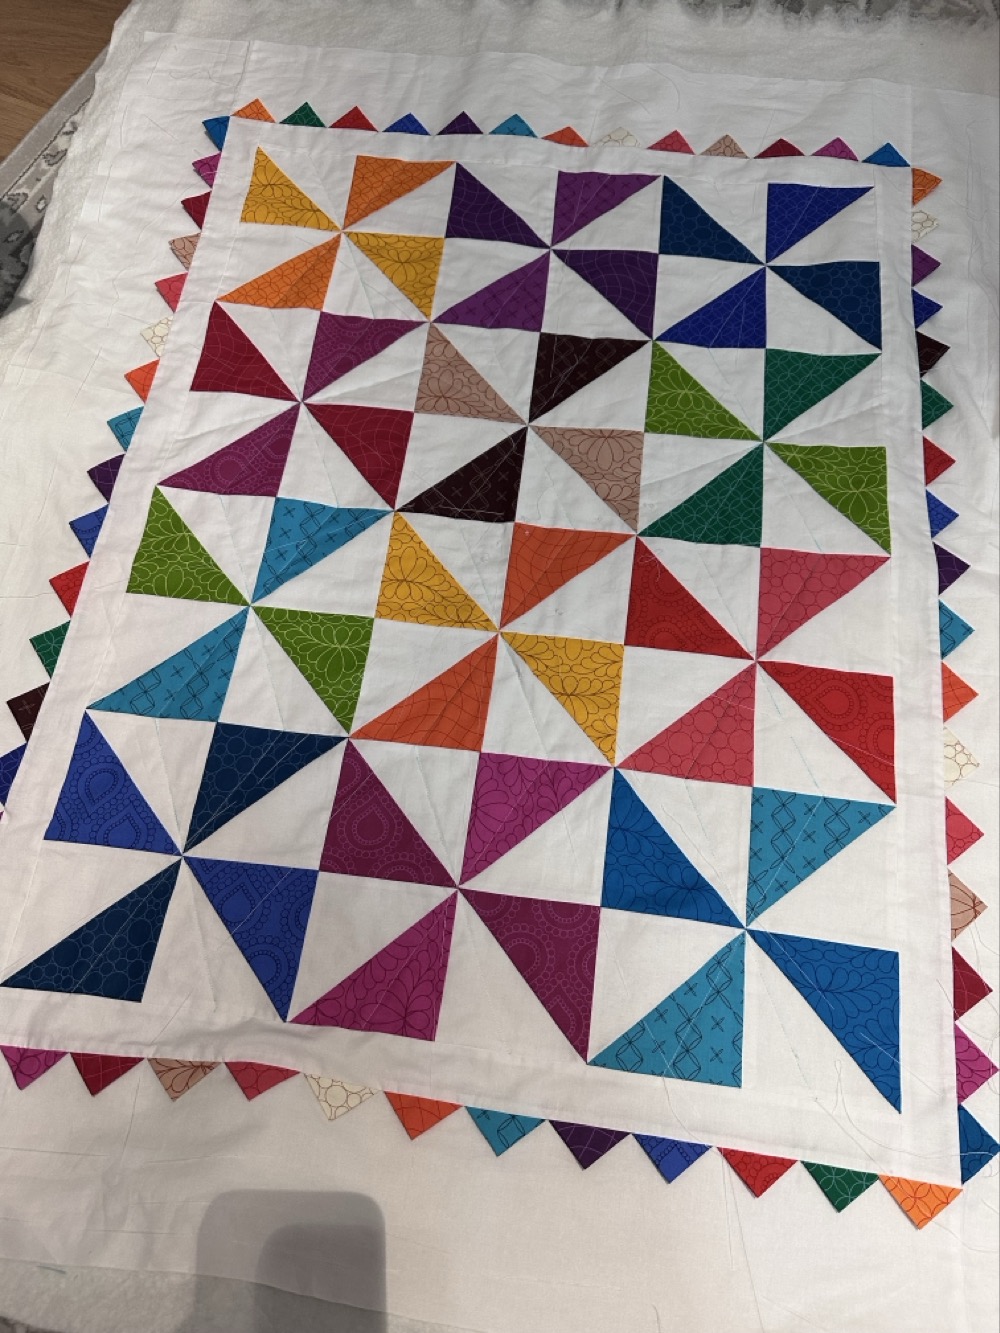
Here are the finished pinwheels, with the first narrow border attached. I’ve also started basting down my prairie points along the top edge. I had never done these before, so I wasn’t quite sure how much to overlap them or how to handle the corners. Needless to say, I buggered it up a few times and had to unpick. I was also texting my Mom a lot for advice. Finally I got the corners looking halfway decent.
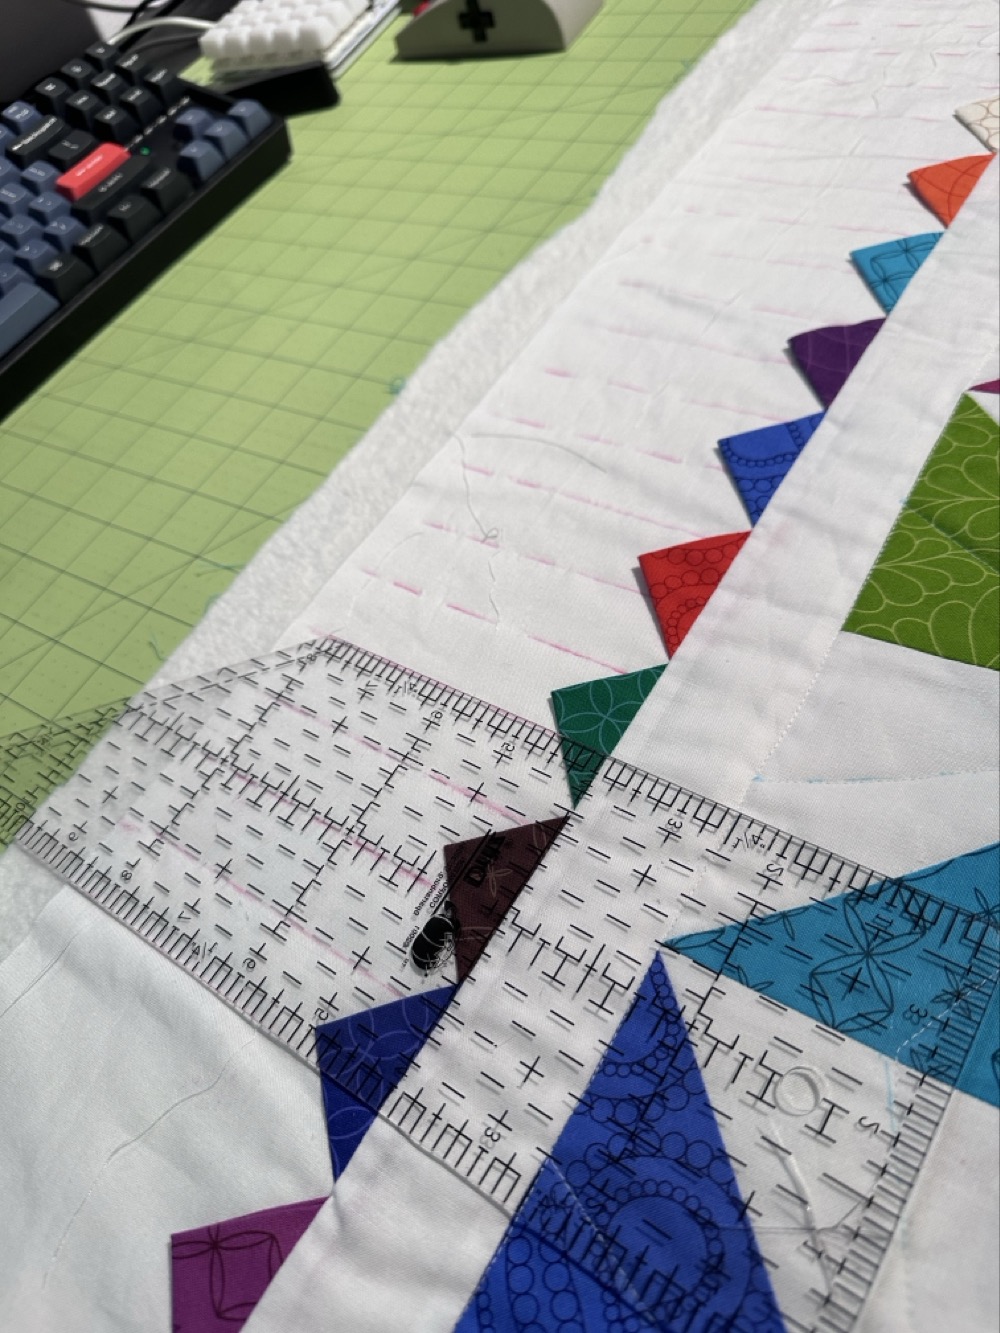
And here’s the completed top sandwiched with the backing fabric and thin cotton wadding. (Sydney doesn’t have super cold winters, so I didn’t need to make it a really warm quilt.) I hand-based it all together with big stitches all over the place, and then it was time to quilt. By this point I had decided to enter the quilt in the Show, and I went for the machine-quilted category. The restriction here is that the quilting has to be done by the entrant; you can’t contract it out to someone else. I decided to quilt diagonal lines through the middle of each pinwheel, and you can see some of the lines from my fabric marking pen. I quilted it myself using the walking foot on my machine.
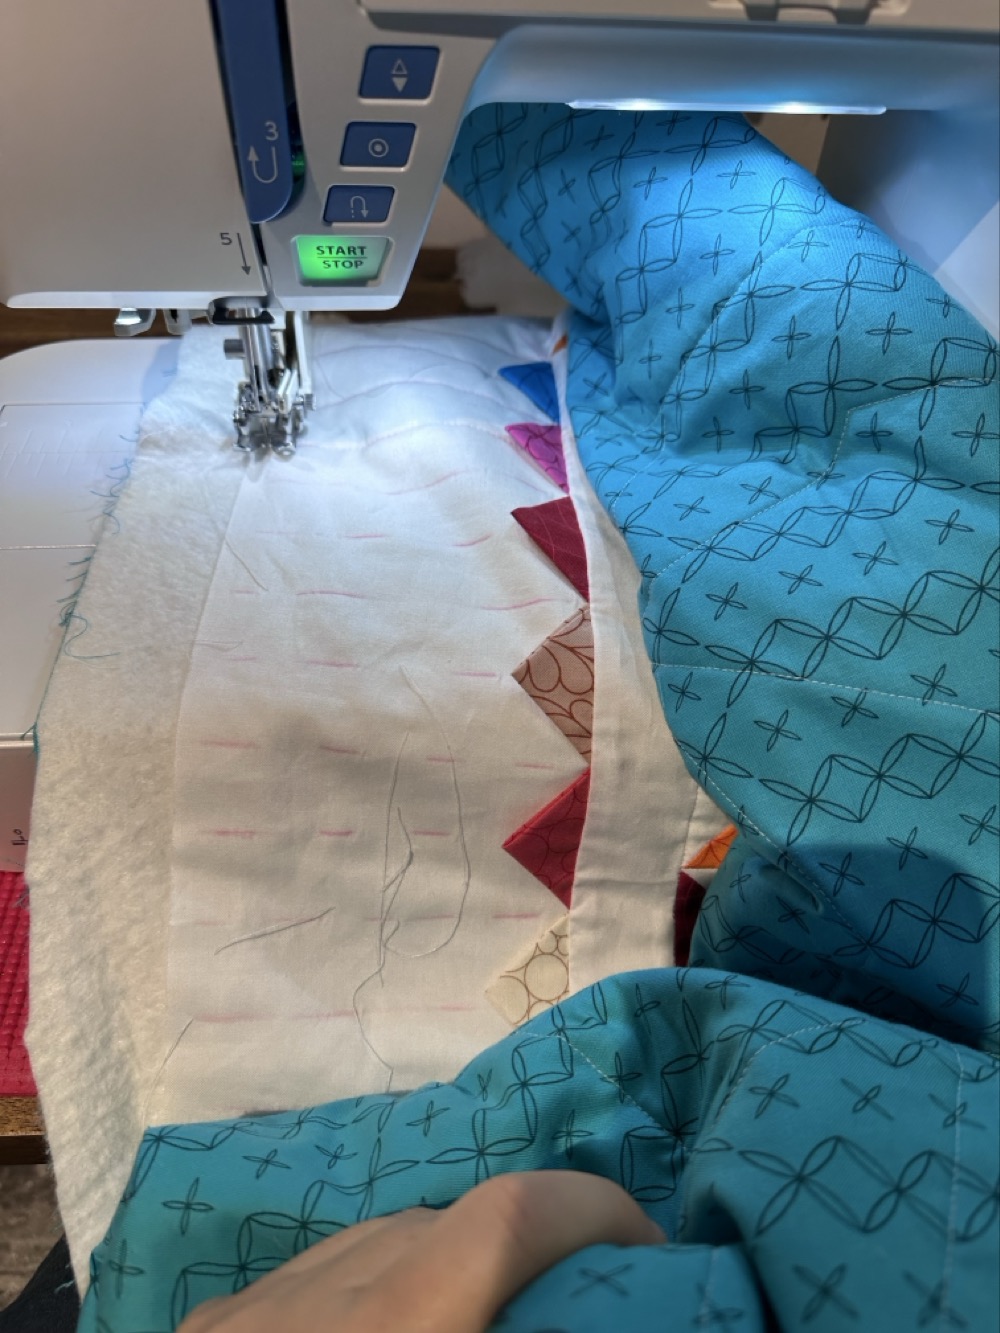
That handled the middle of the quilt, but I had no idea what to do in the wide border. Back to Mom, who answered instantly: “Piano keys!” This basically just means a series of parallel lines, equally spaced. I decided to sew them using the continuous method, where I was sewing a sort of rectangular zig-zag all around the edge. Here I am drawing in the lines for the piano keys.
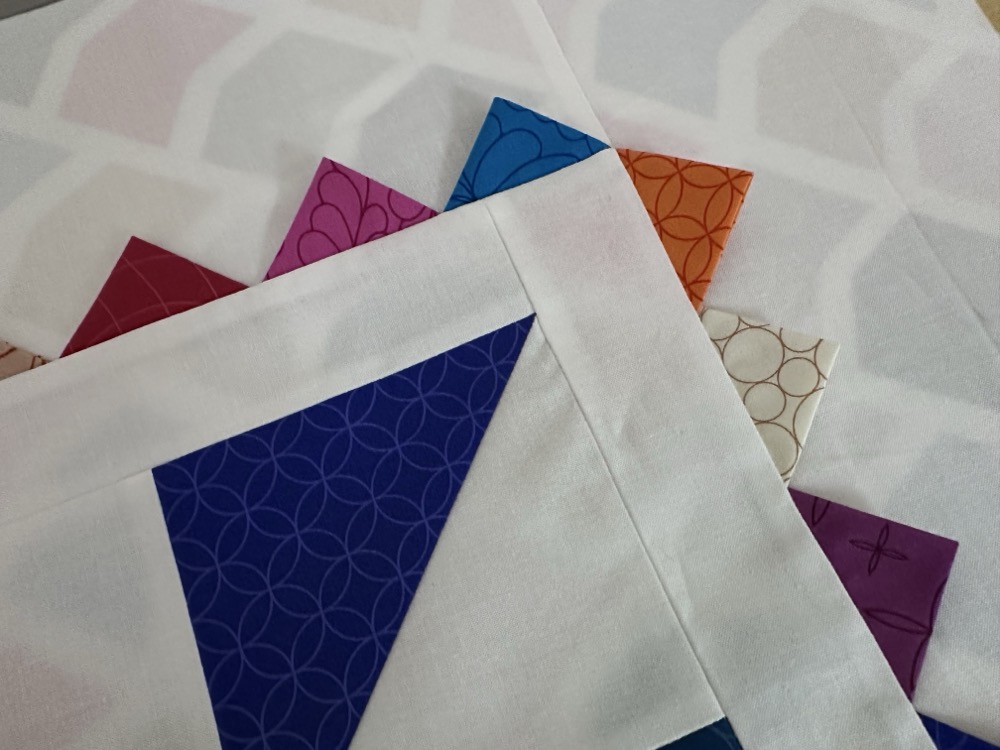
Sewing them was tricky, given that I had to manipulate the whole quilt under my sewing machine arm and I was frequently turning it at right angles to itself. The outer edge of stitching would be covered by the binding, but for the inner edge I simply folded back the prairie point and stitched underneath it.
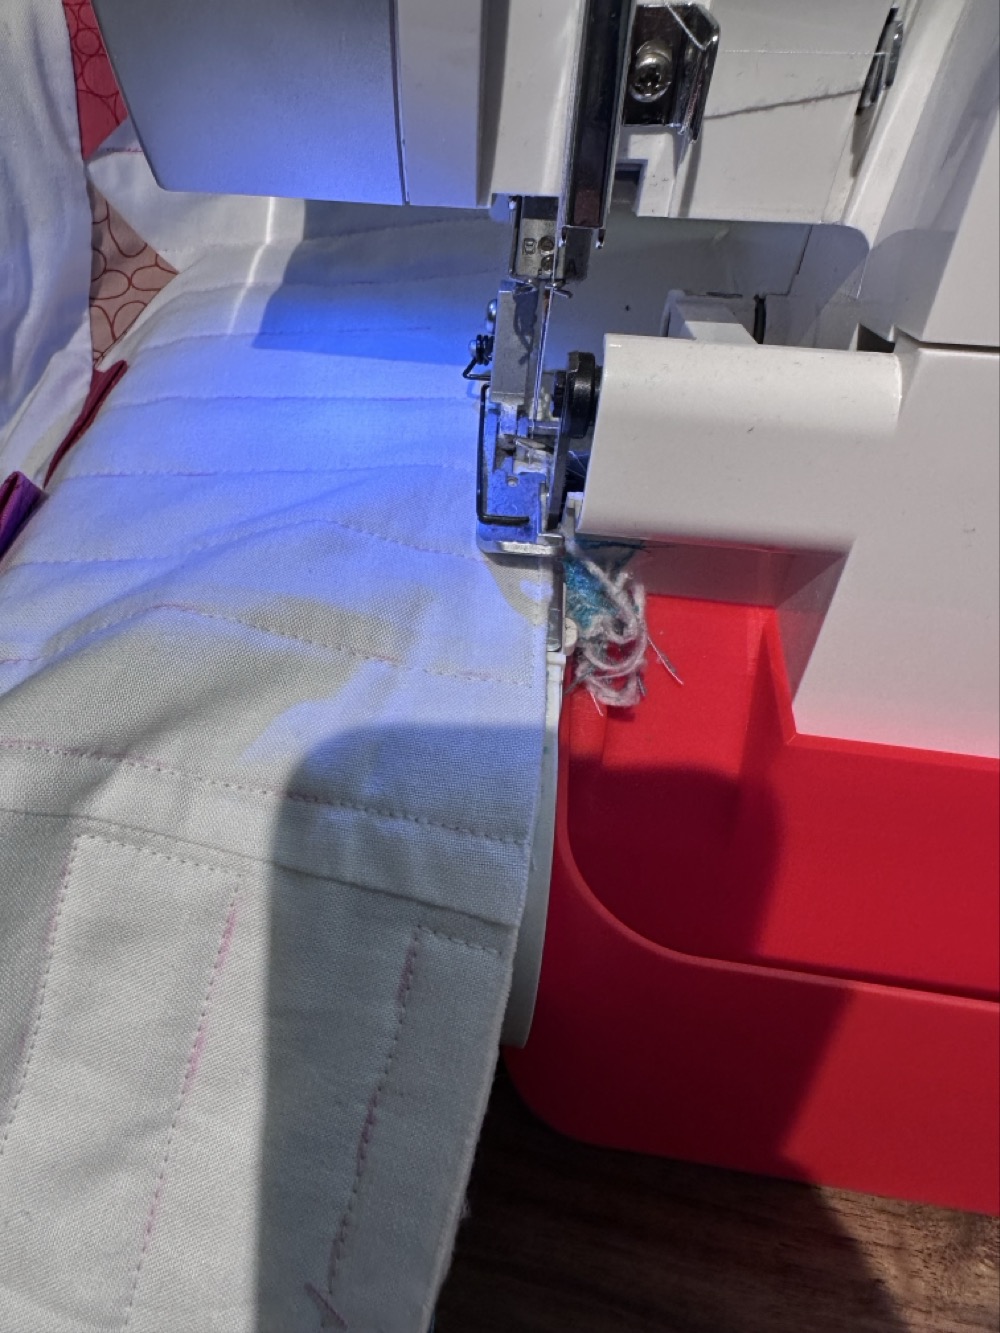
Once all the quilting was done, I ran my overlocker over each edge to trim up the excess and tidy things up for binding.
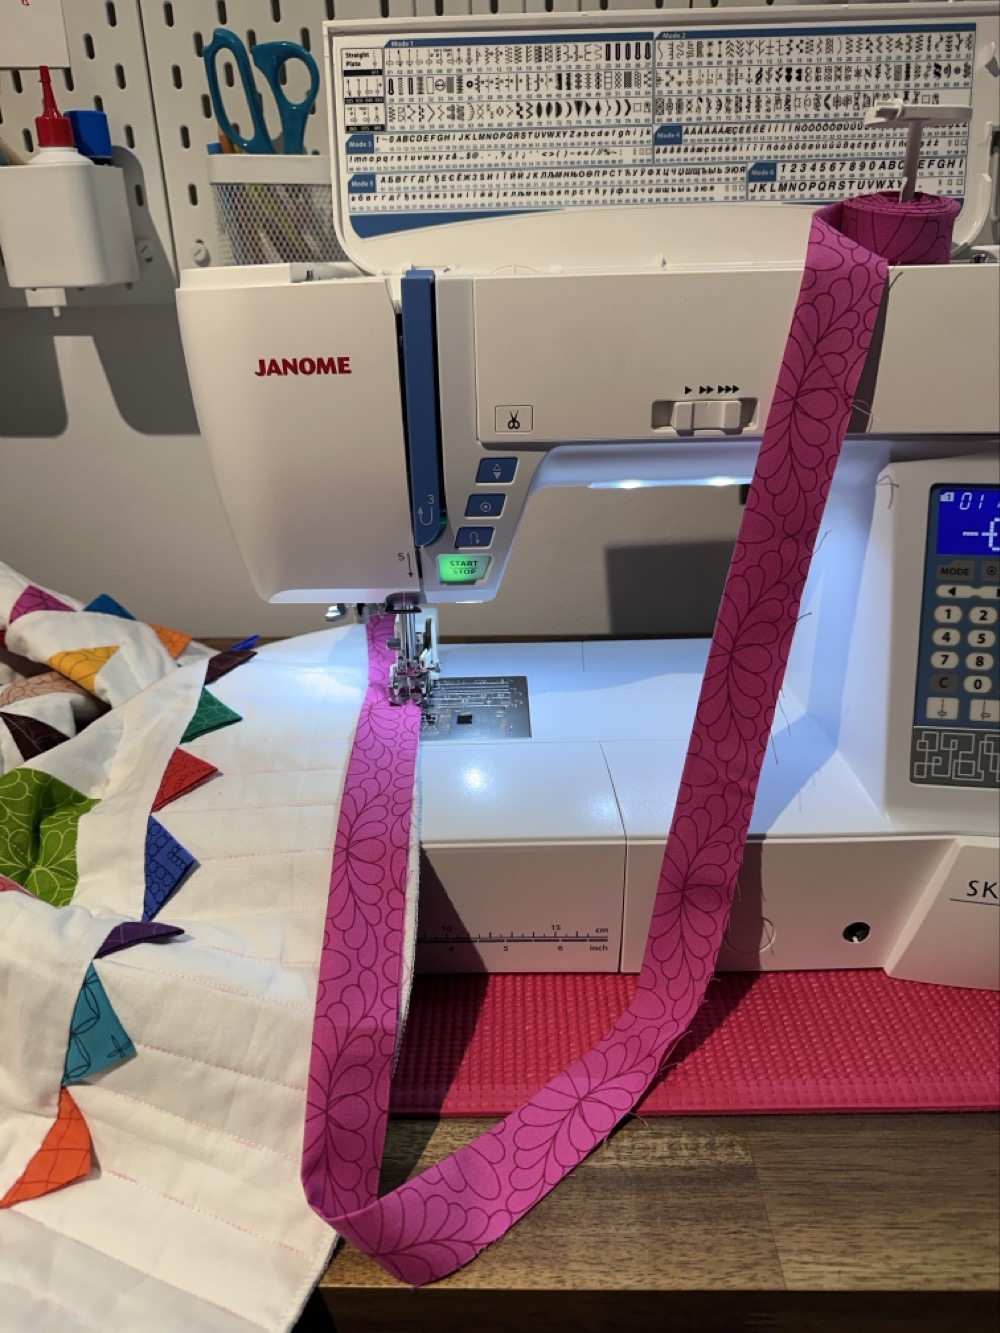
Then finally it was time for binding! I cut my strips and sewed them down on the top side of the quilt, taking care to miter the corners. I followed this blog tutorial, right down the trick of winding my binding and putting it on the extra spool on my machine.
I also used the new-to-me technique of gluing down the binding on the back side. Mom assured me that all the quilters are doing this now! It’s a much faster and more secure way of basting things down so that they don’t move, and so that you can get perfectly mitered corners. And you know what? IT WORKS.
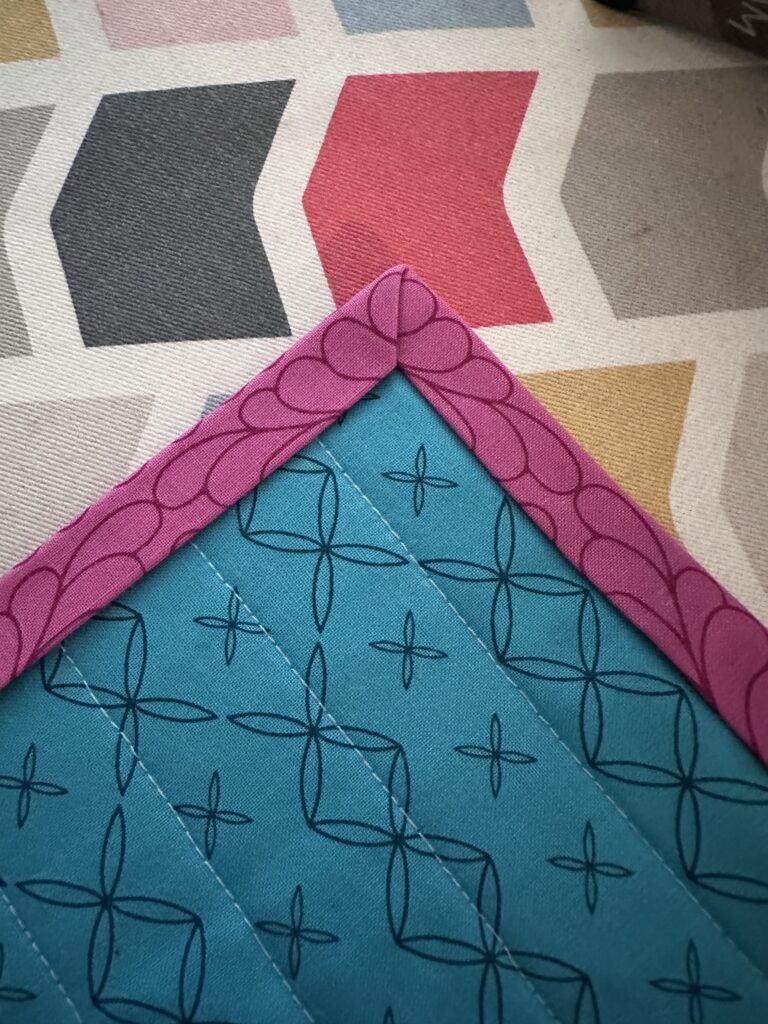
All that was left to do was to stitch down the binding. I sewed on the top of the quilt using white thread, very close to the edge of the binding so it blends in with the quilting. But for the bottom thread I used a hot pink that blended in perfectly with the binding.

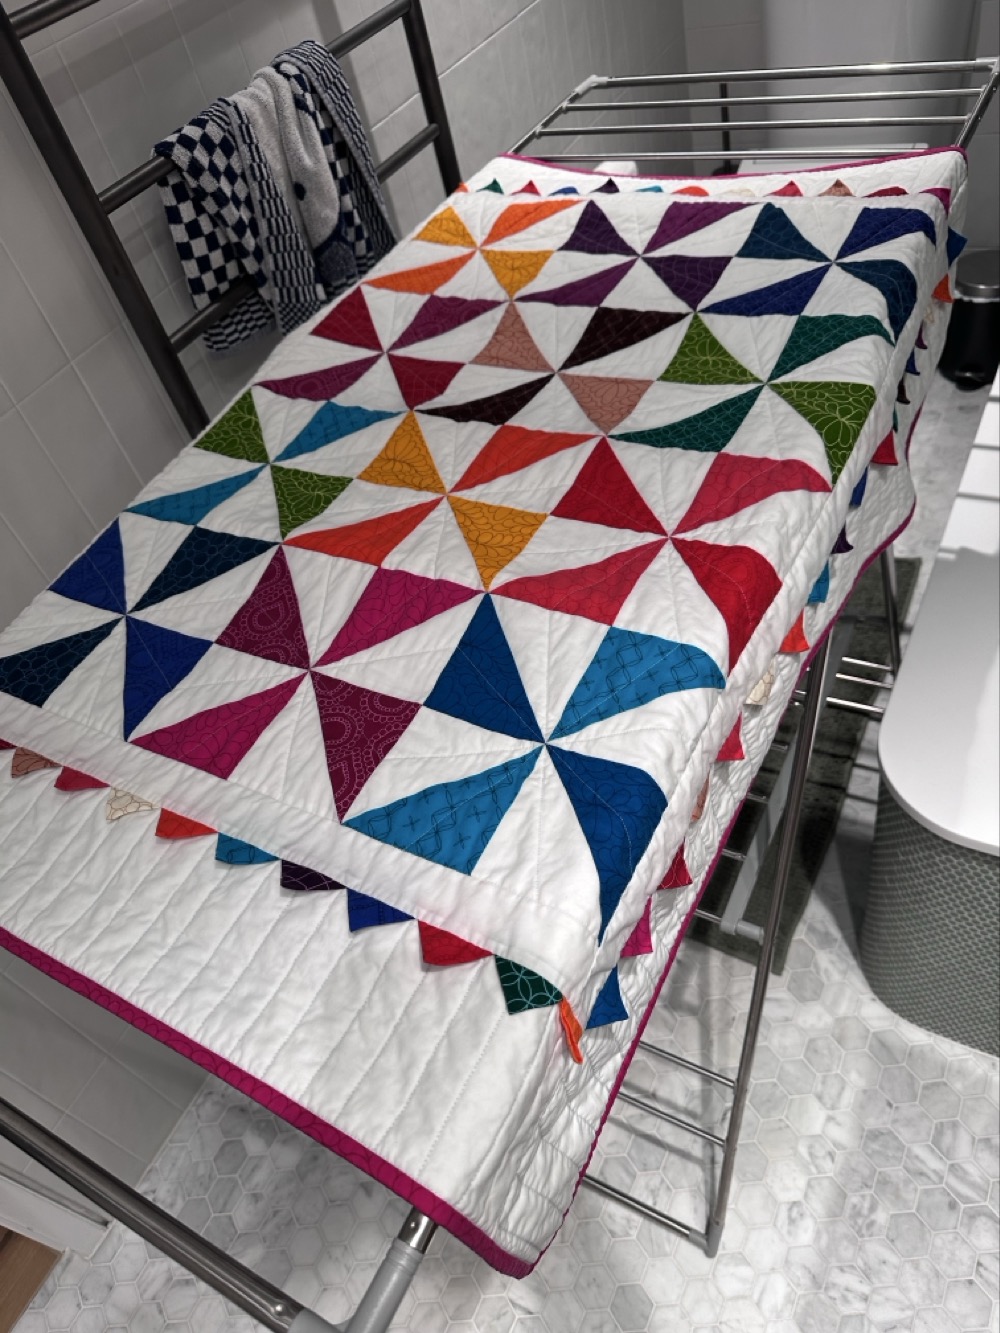
The final step was just to wash it several times so that all the fabric pen came out. I laid it flat to dry and then gave it a good press before I dropped it off for judging.
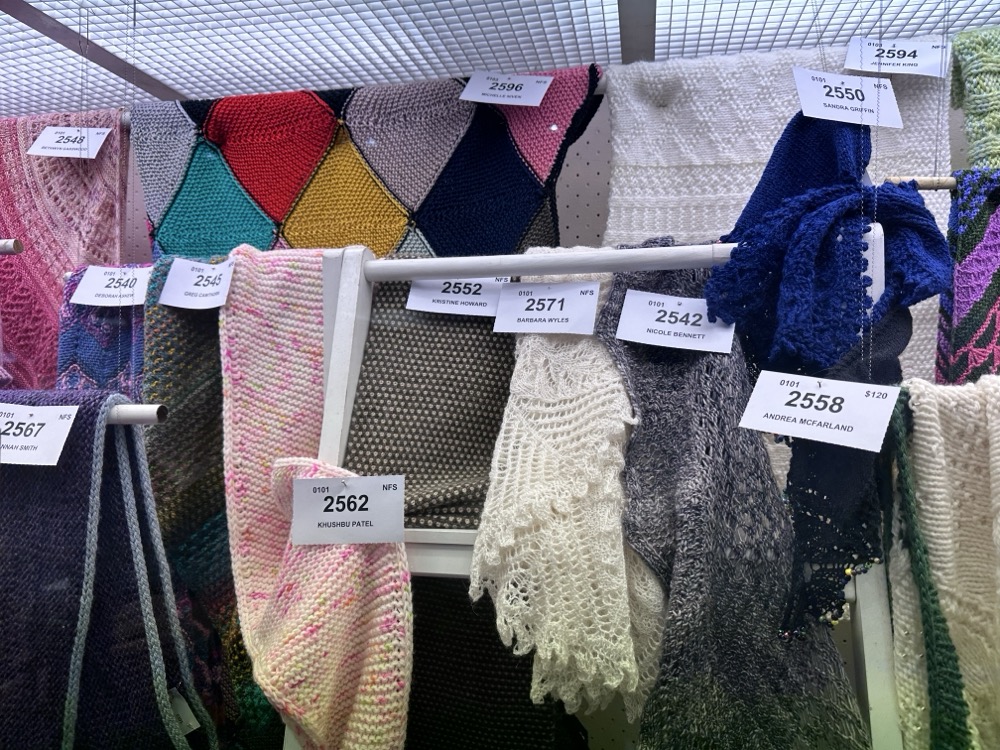
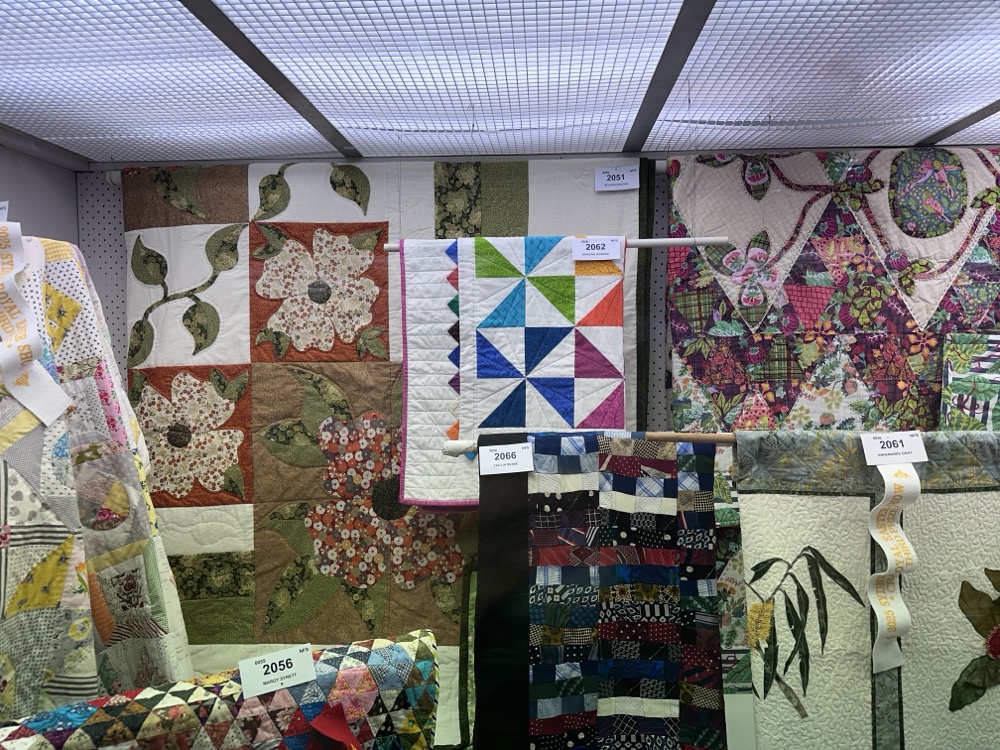
I had never entered a quilt in the Show before, and I really had no idea what the standard would be. I’d seen winning quilts in the display cases though, and I suspected that I didn’t really have any chance of a ribbon. I was right. As you can see here, mine is a lot smaller and simpler than most of the other quilts entered. I’m proud of it though, and I know my friend and his wife will love it.

 First up is the Zig Zag in
  Next is the Linen Stitch scarf in


