- State Library acquires Flinders’ original love letters – It’s more than just love letters, really. I’ve been to a couple events at the State Library of NSW in the past year and I’m always astounded by the depth of their collections. It’s as much a museum as it is a library!
- News Knitter – A data visualisation project where information gathered from daily political news was analysed, filtered, and converted into a pattern for a machine knitted sweater.
- The Commercial Pattern Archive – A wonderful resource that archives commercial sewing pattern data to preserve these ephemeral bits of our culture for the future. (Link via Metafilter.)
- The Easy Tiger Sessions by Charley Castle & The Boys in the Well – We heard this group playing a bit at Wayward last weekend and Rodd tracked them down. It’s “newgrass.” Very nice.
- Blogroll.org – I’m still on the hunt for more sites to add to my feed reader. Lots to explore here!
Tag: sewing
-
Links I’ve been enjoying lately
-
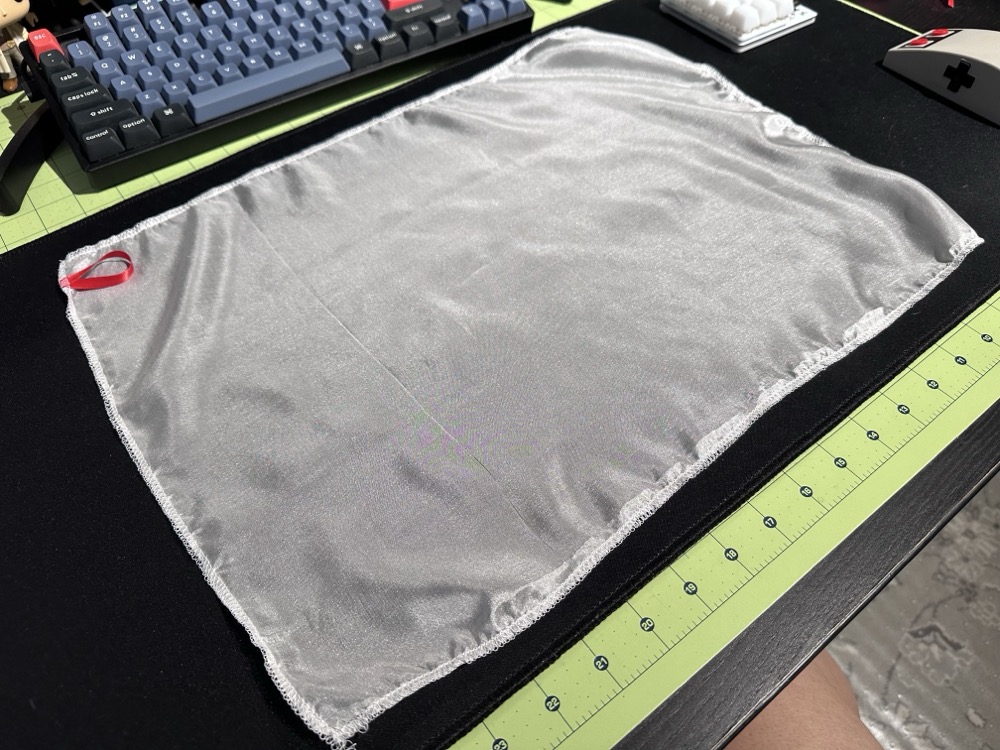
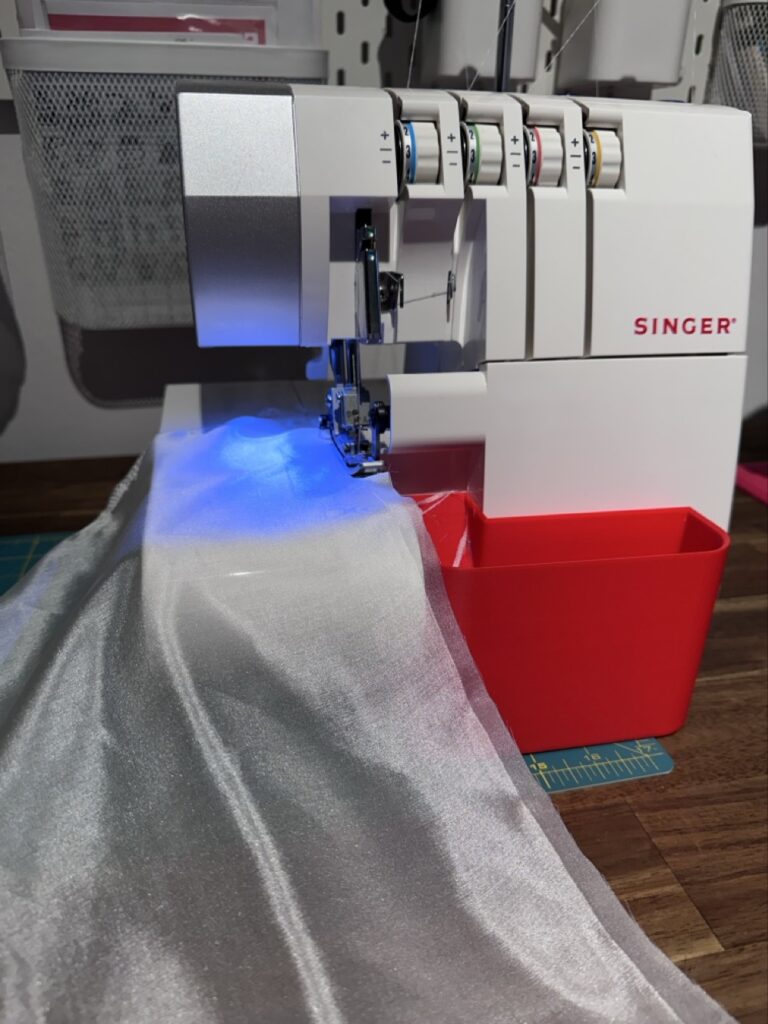
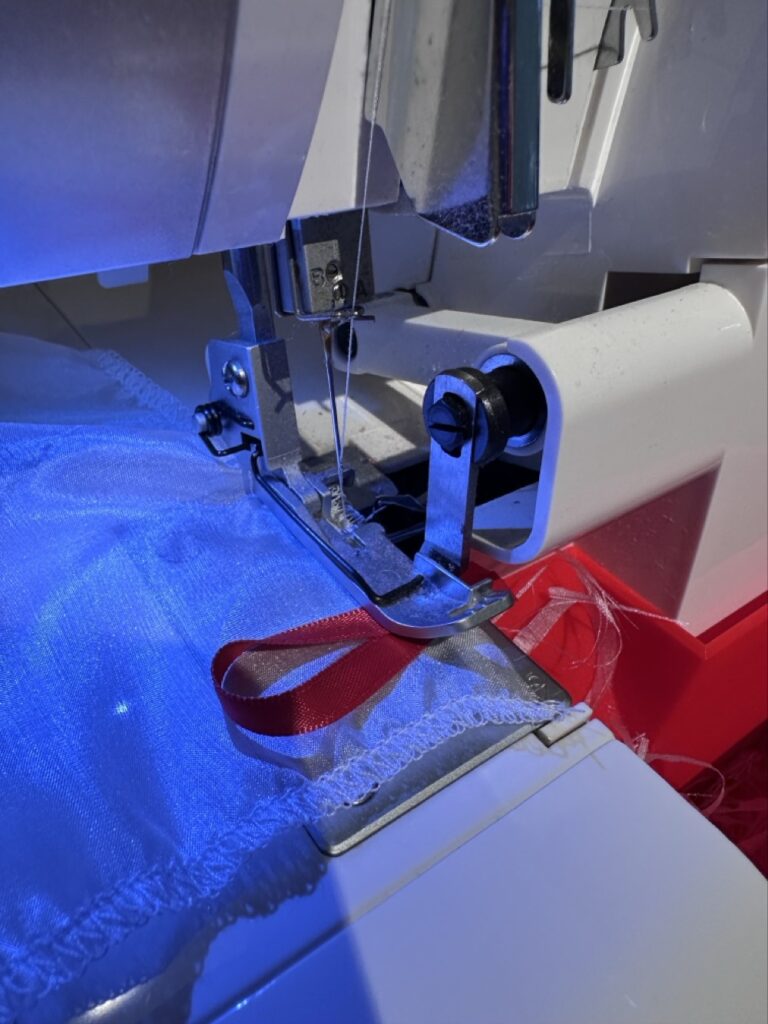
Silk organza press cloth
I was reminded while I was sewing the other day that I really do need a press cloth. This is a piece of fabric you put over your work when you are pressing seams, to keep the fabric from potentially getting scorched. We used them in my sewing class with Gertie a few years back, and I seem to recall they were silk organza. I’ve seen this recommended in a few places because silk has a high burn point and it’s transparent enough to see your work through it. I looked them up recently online but couldn’t really find any for under $20 AUD. Then today I found myself at Spotlight and realised I could make my own. They had one bolt of silk organza at $47/m, so I bought 30cm of it for $14.10. Then I cut it into three pieces of roughly 12″ x 18″ (31cm x 46cm) and overlocked the edges to keep them from fraying too much. I also cut a tiny bit of ribbon and put that in the corner so you can hang it up. That’s one for me, and two for friends for < $5 each!
-
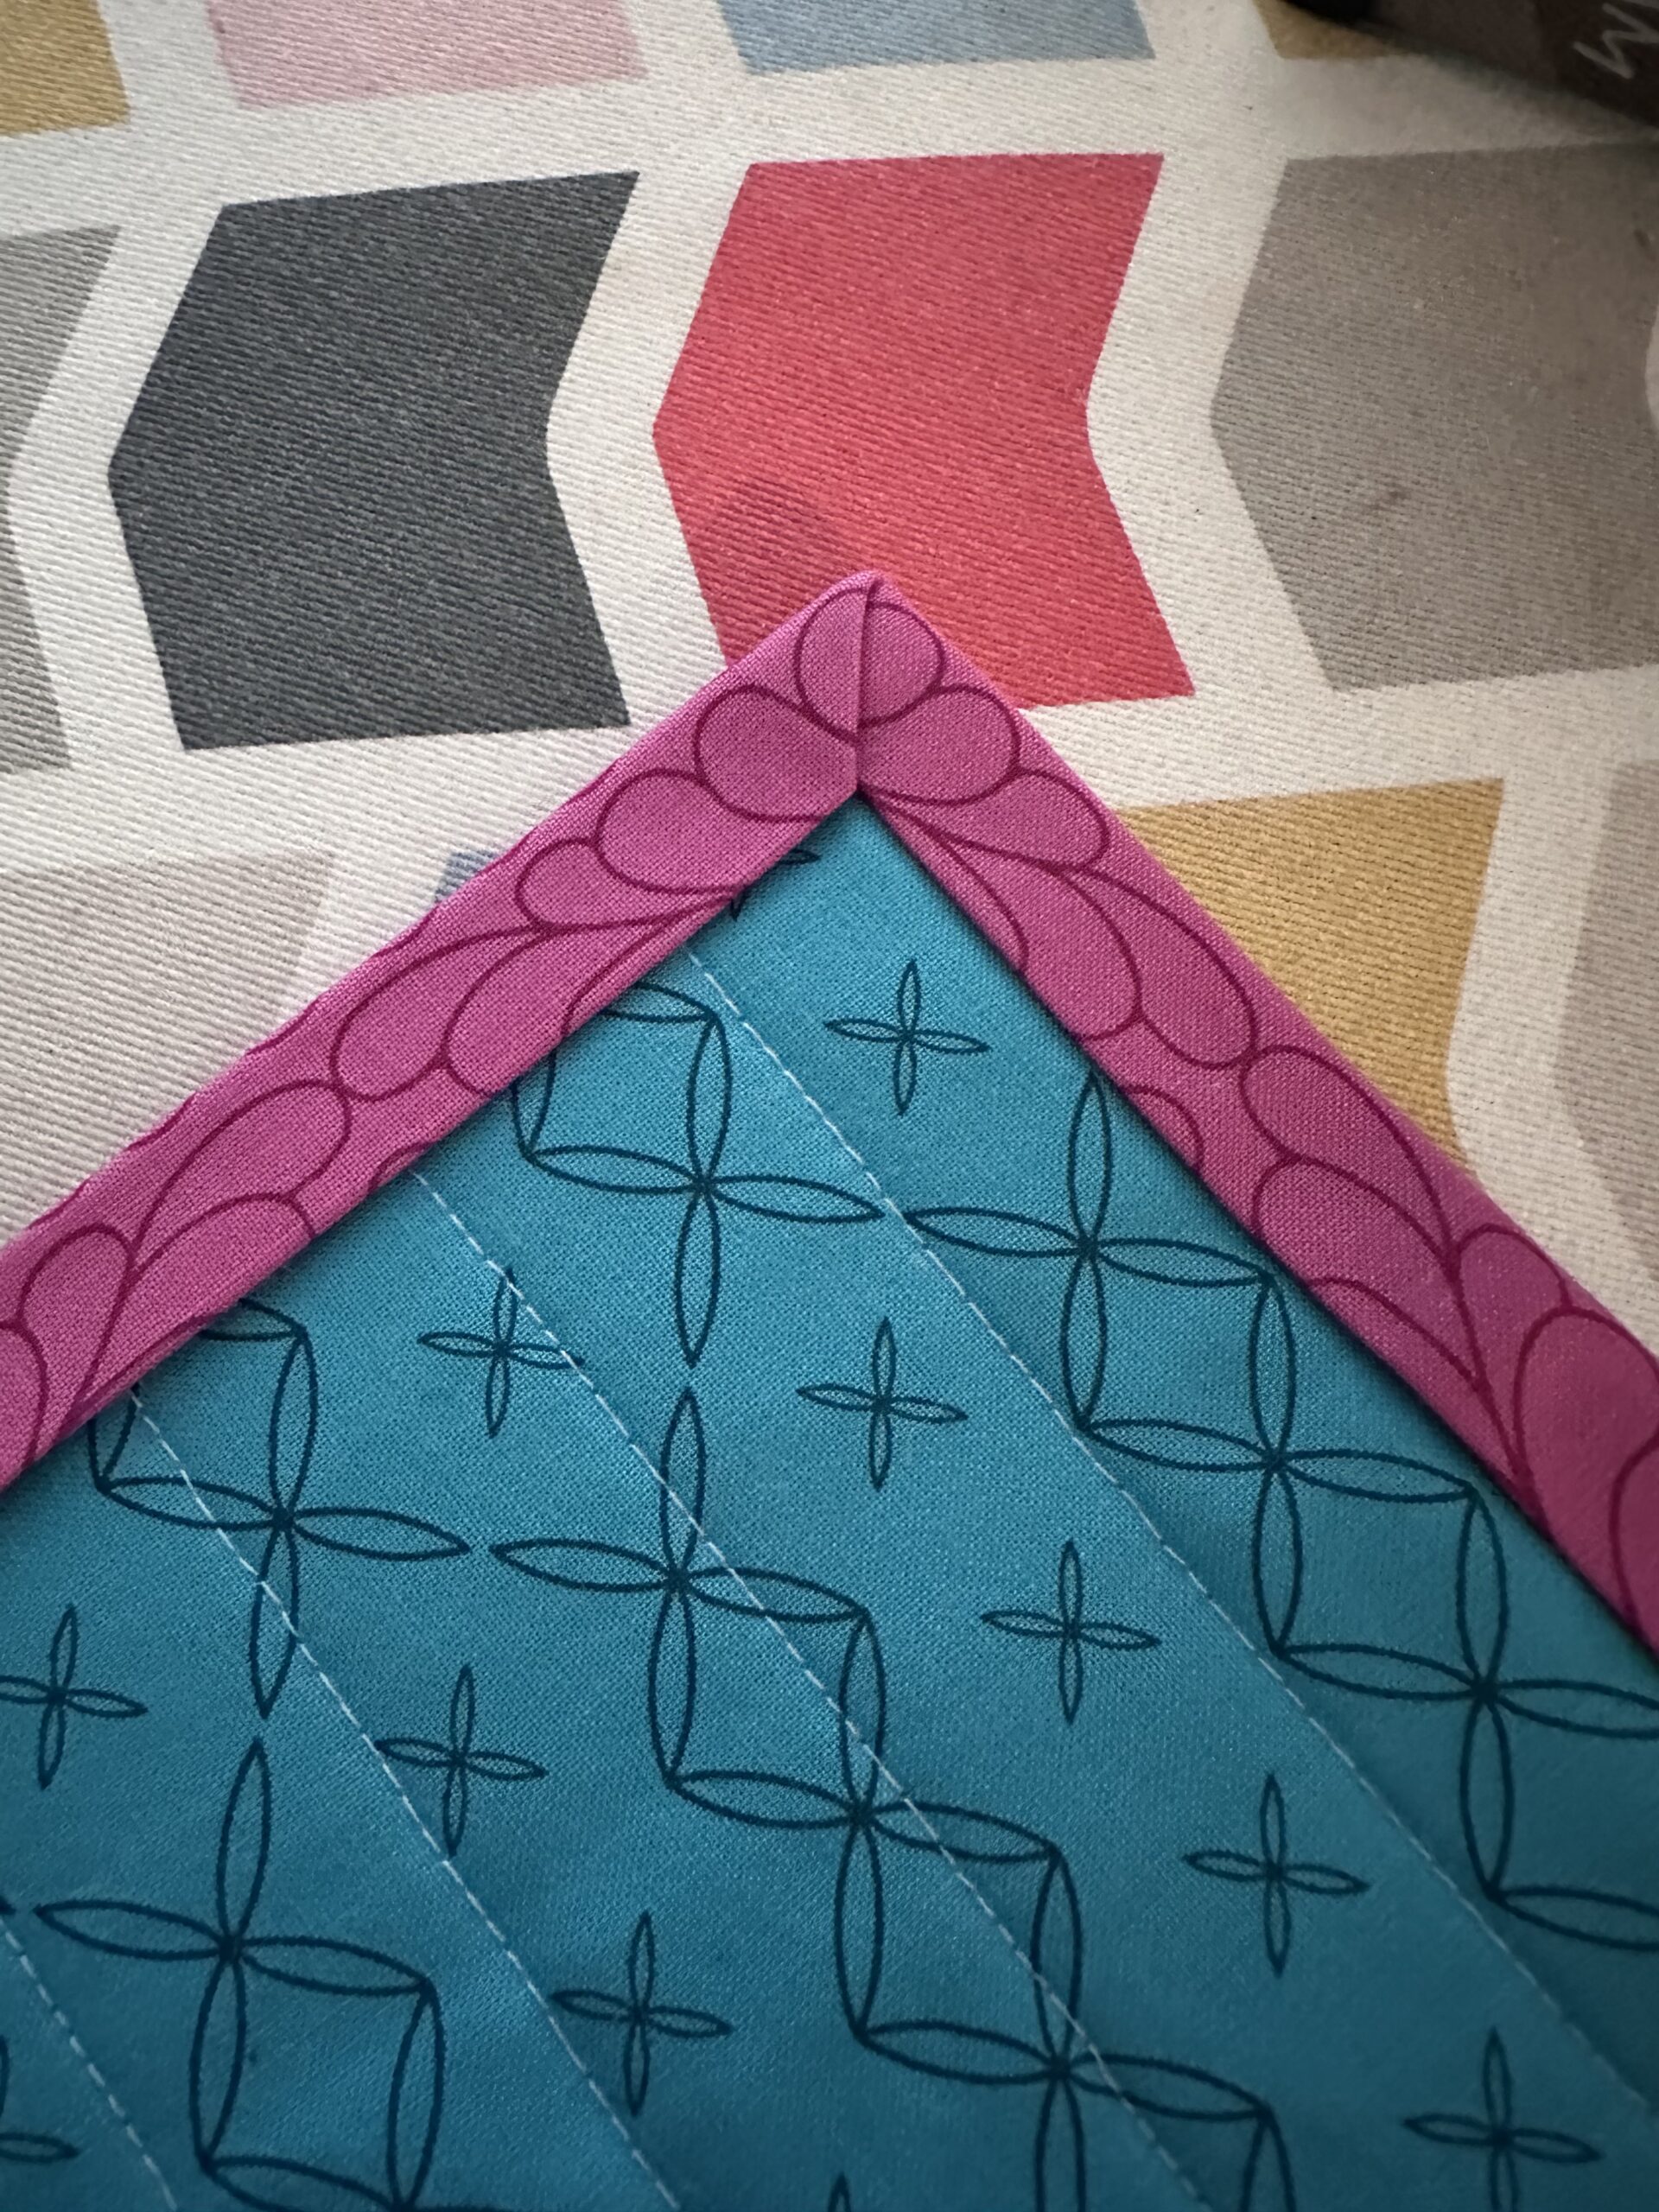
Quilt binding
It’s been a while since I experienced the Easter Show craft competition deadline finishing frenzy! Looks like I’ll be done with about 48 hrs to spare.

-
Random links I enjoyed recently
- Meet the adorable mascots of the 2026 Winter Olympics – STOATS!
- “The closer [to] the railway station the less tasty the Kebab is” – A Study – SCIENCE! (tl;dr – hypothesis is disproven.)
- Chris Kluwe ‘figured’ he would get arrested for protesting MAGA — and he’d do it again (exclusive) – HELL YEAH. (Not gonna lie; I immediately looked up whether this guy is single. He’s not.)
- Knorts – LOL, Kat knitted shorts! Having flashbacks to that time I knitted a bikini. (It was Not Good, and I never did wear it.)
- Darlington Stitch Club – Ooh, a monthly sewing/knitting/crafting club within walking distance of my house! Considering it…
-
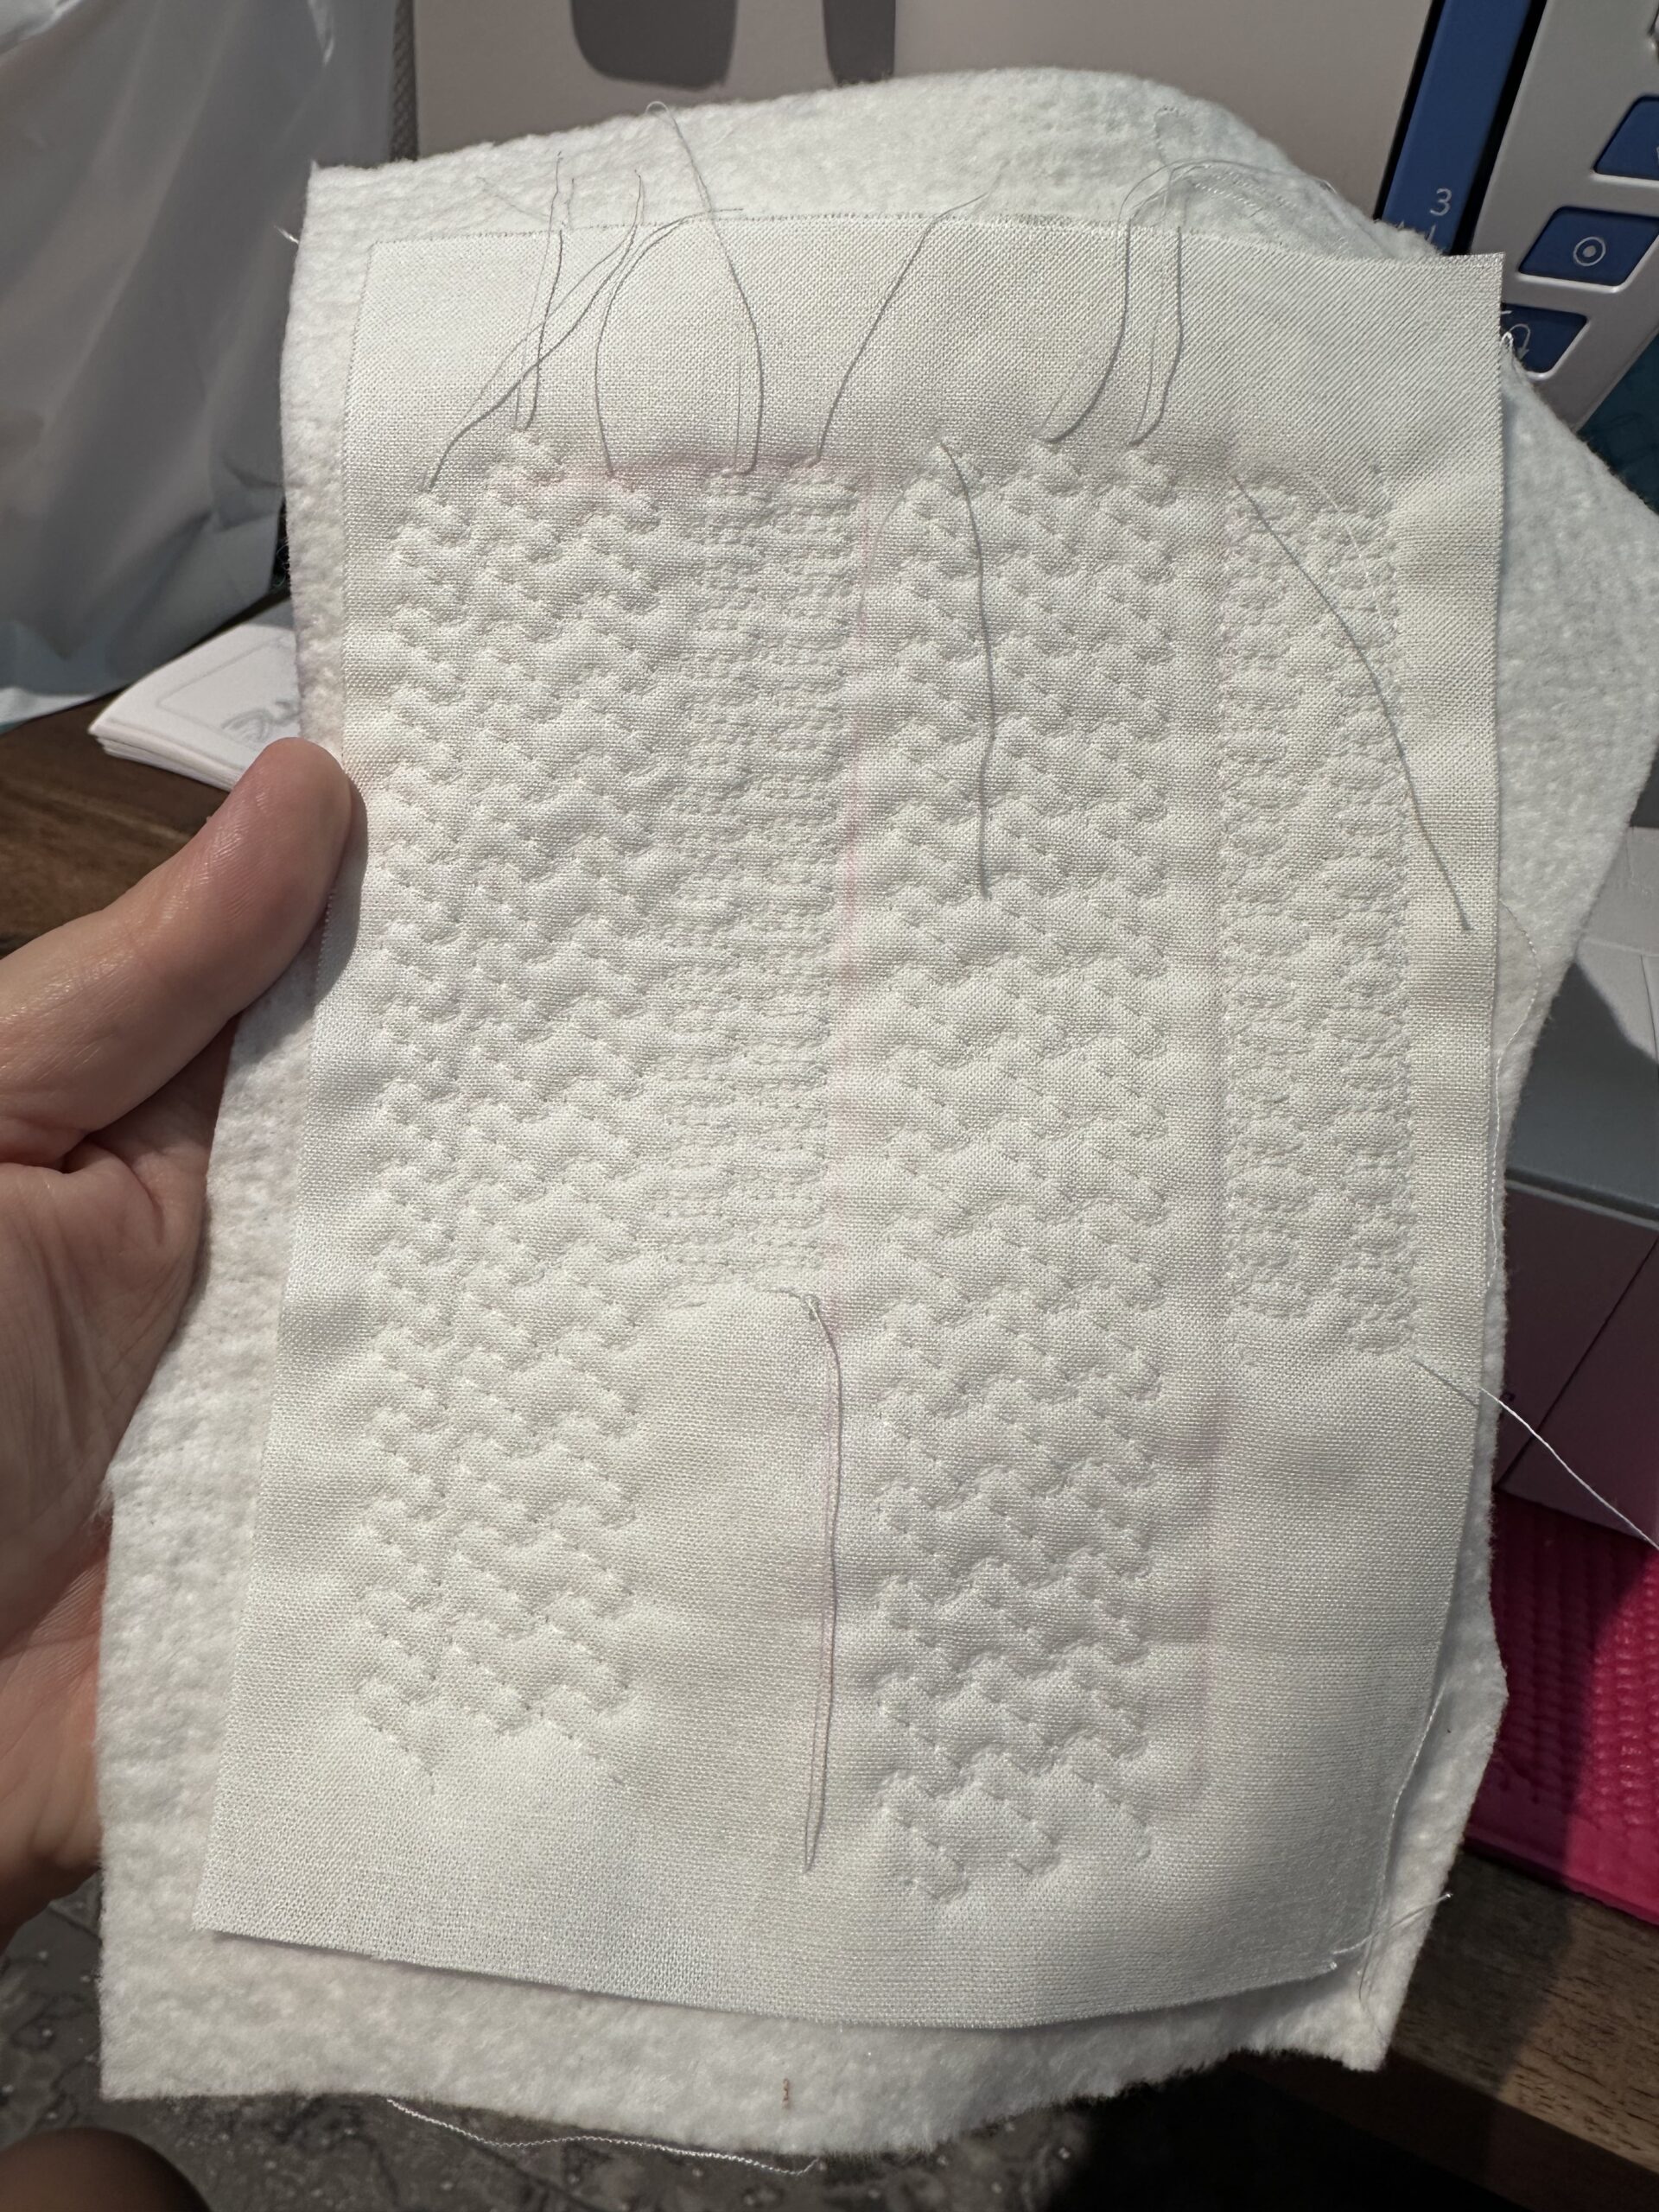
Machine quilting prototypes
Experimenting with some of the stitch patterns on my sewing machine. I think the larger stipple is the way to go.
-
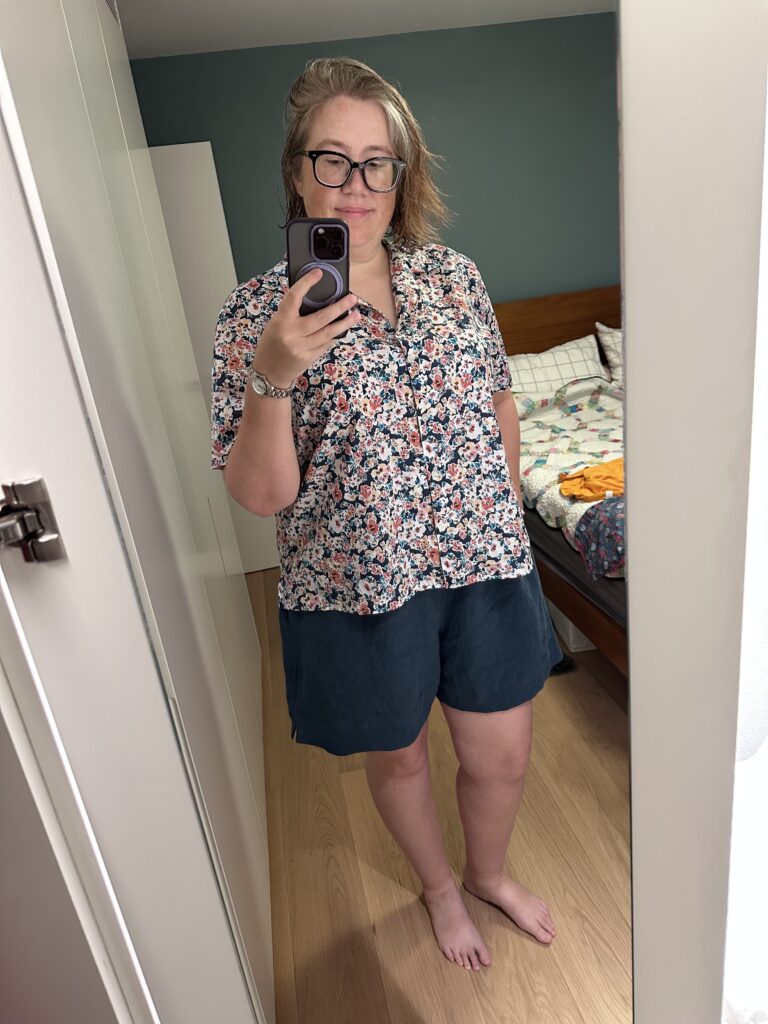
Bailee Shorts in Linen
This weekend I made myself another pair of Bailee Shorts, this time in a beautiful stone washed linen I picked up at Tessuti a few weeks ago. I haven’t sewn with something with this much drape in a long time! I was nervous doing the cutting, because it felt like the fabric could easily move around beneath the pattern. The actual construction went smoothly though, and I love how they turned out. The style definitely looks better in this sort of fabric than in a stiffer cotton. Here I’ve paired it with the Arkie shirt in Liberty Tana Lawn I made a few months back.

-

Bailee shorts
I need more shorts, I realised recently. Maybe I didn’t notice because I was working last summer? Anyway, it’s time to make some shorts. These are the Bailee shorts from Tessuti, and I made them in leftover fabric from the tiki wiggle dress I made 8 years ago. I had just enough material, though I did have to rotate the pockets and waistband off-grain. As usual with Tessuti patterns, they were mostly great but with a couple perplexing instructions. For example, the waistband piece is a long rectangle with a fold indicator on one short side, but the cutting diagrams show the long side placed across a fold. Well, which is it? If I do that, it’ll only be half as long as it’s meant to be! I followed my gut and did it the way that makes sense, but it was annoying. Anyway, they turned out wearable, which was all I wanted. The fabric is quite a thick cotton – almost a stretch sateen – so they don’t really drape, and they’re really more like Hawaiian shorts. I’ll do my next pair in a drapey linen to see how they compare…
-
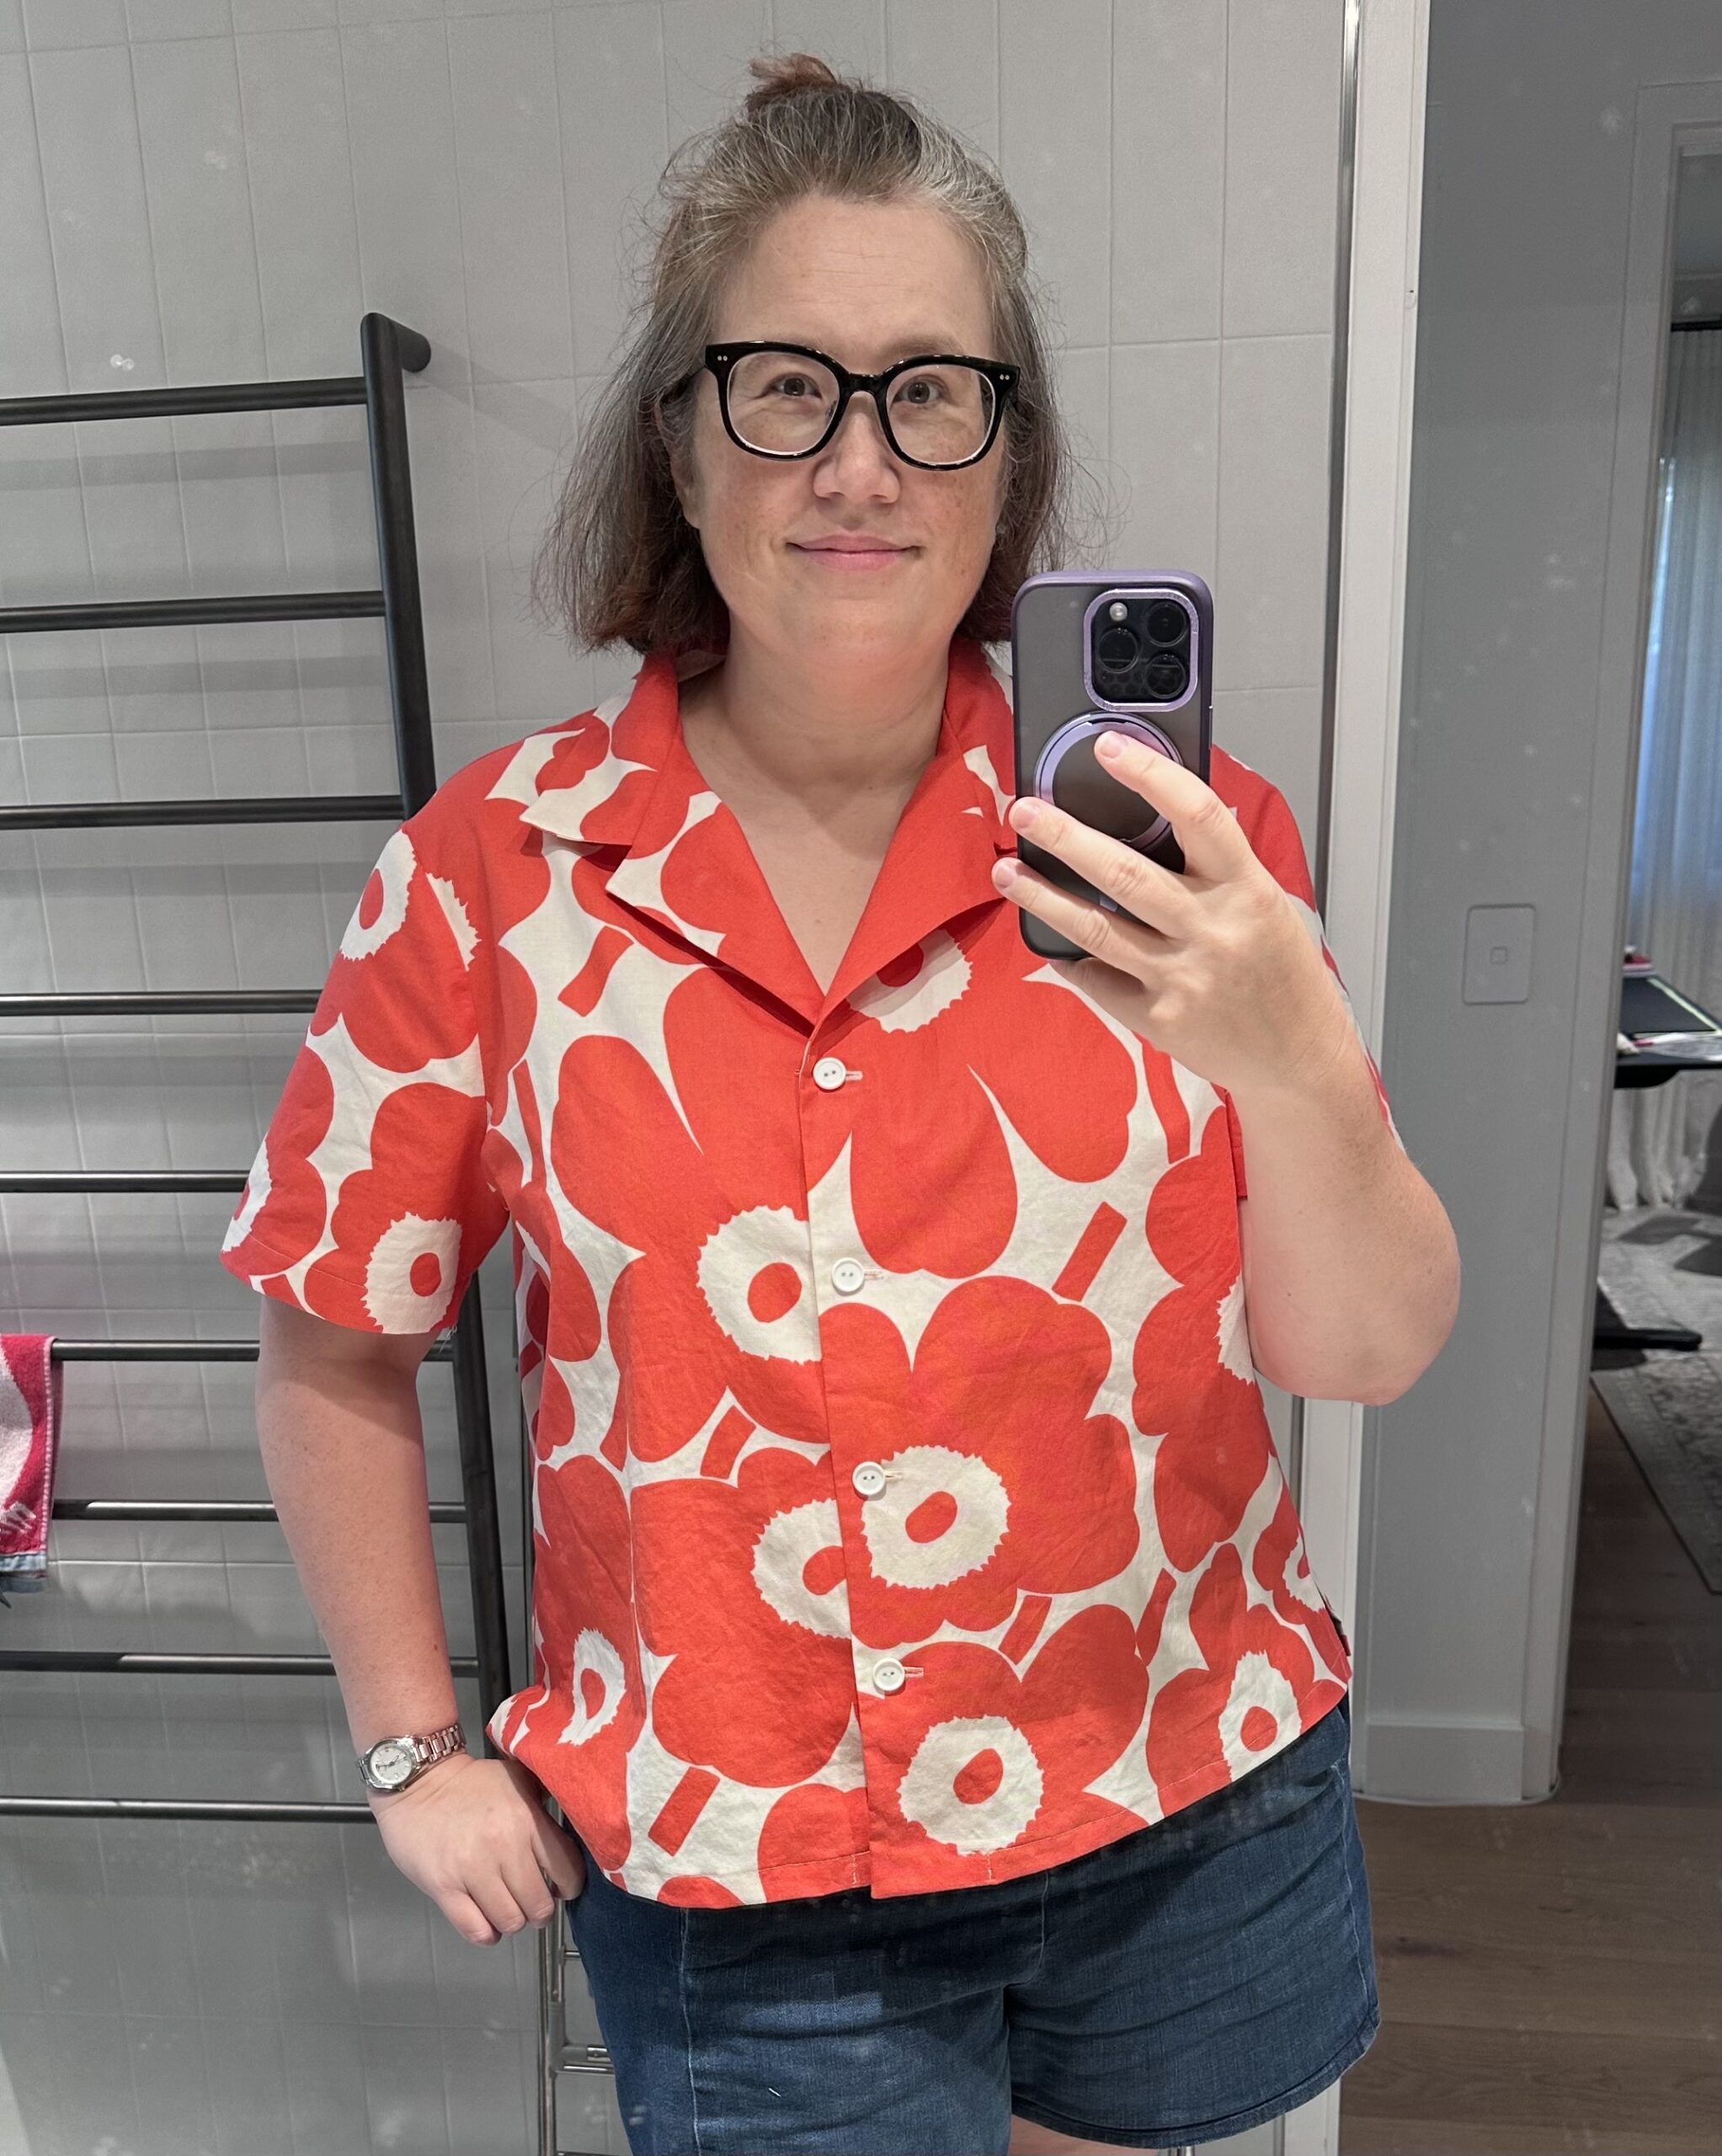
Marimekko Arkie shirt
Starting the year with another finished project! I used the bulk of the remainder of my Marimekko Unikko fabric to make myself a Tessuti Arkie shirt. This is actually the third time I’ve used this pattern, and the last one was so roomy that I decided to go down a size in the body. I left off the pockets, and I moved the break point and top button up about an inch. Looks good, right? I was worried it would be a little too clown-like with the bright colour and large print, but I think it’s fun and suits me.
-
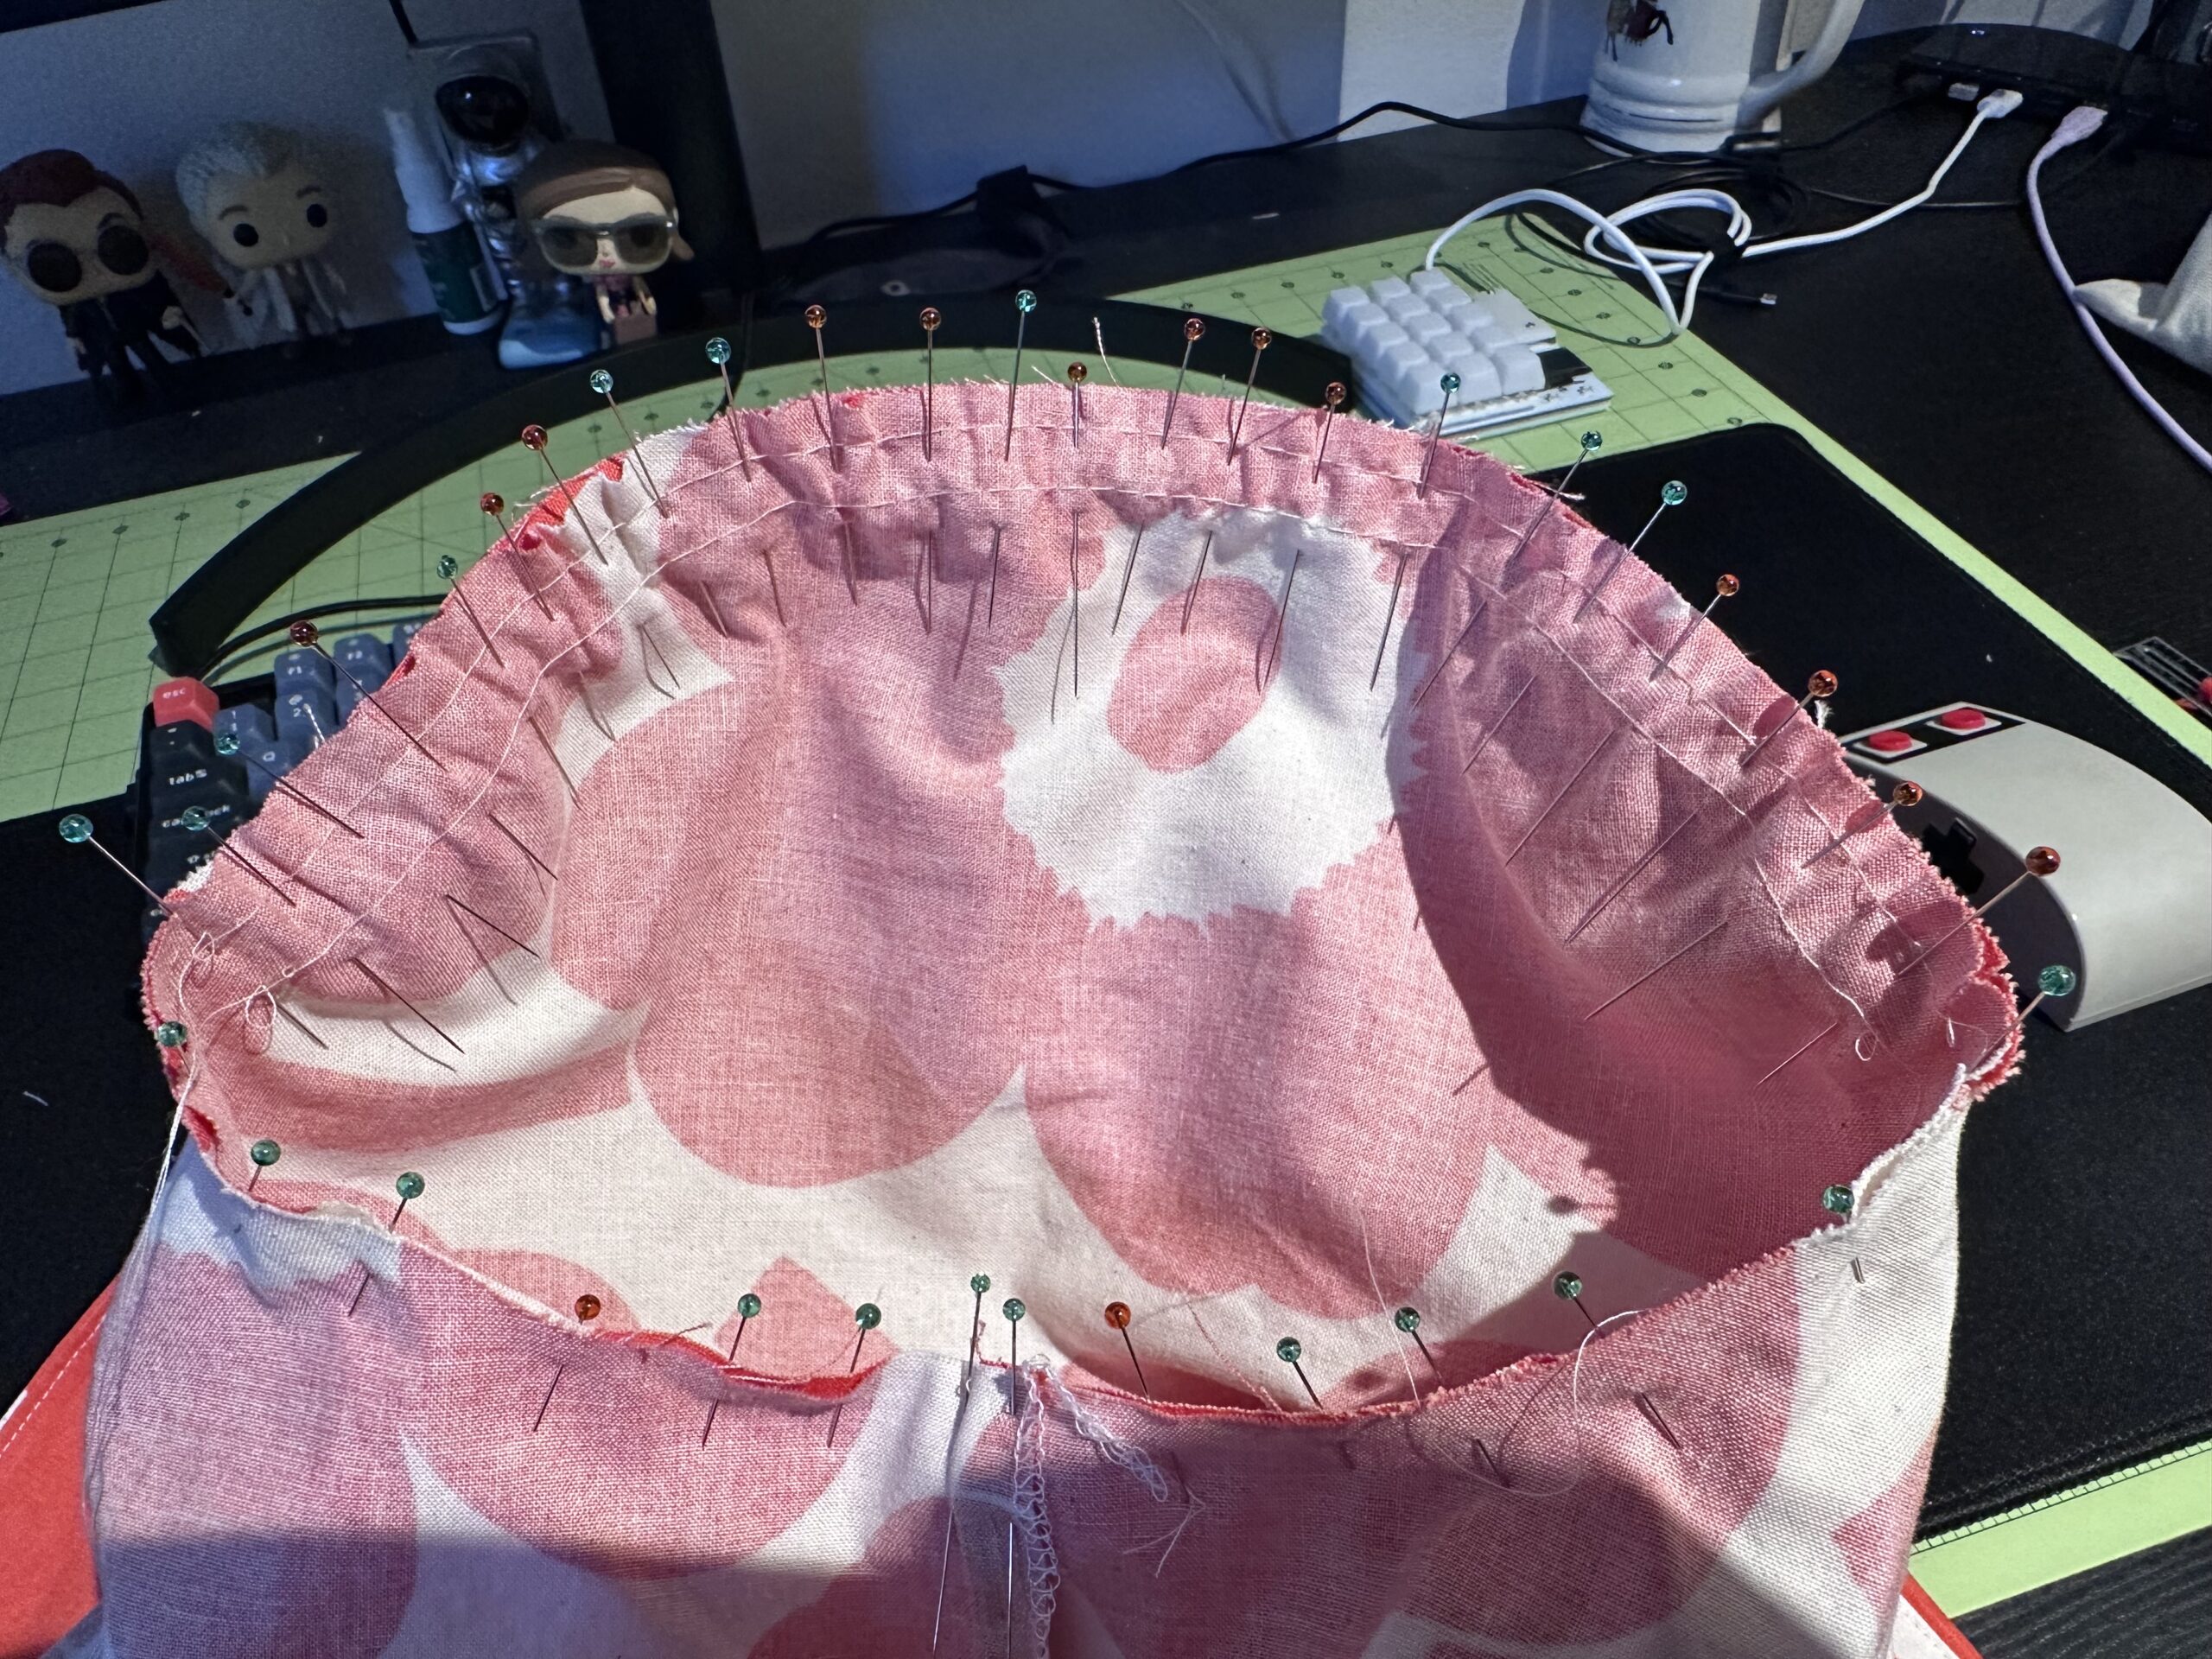
Sleeve pinning
Peggy Olson knows that the best way to set in a sleeve is to use a LOT of pins. (I know some of you can do it with zero. I’m not there yet.)
-
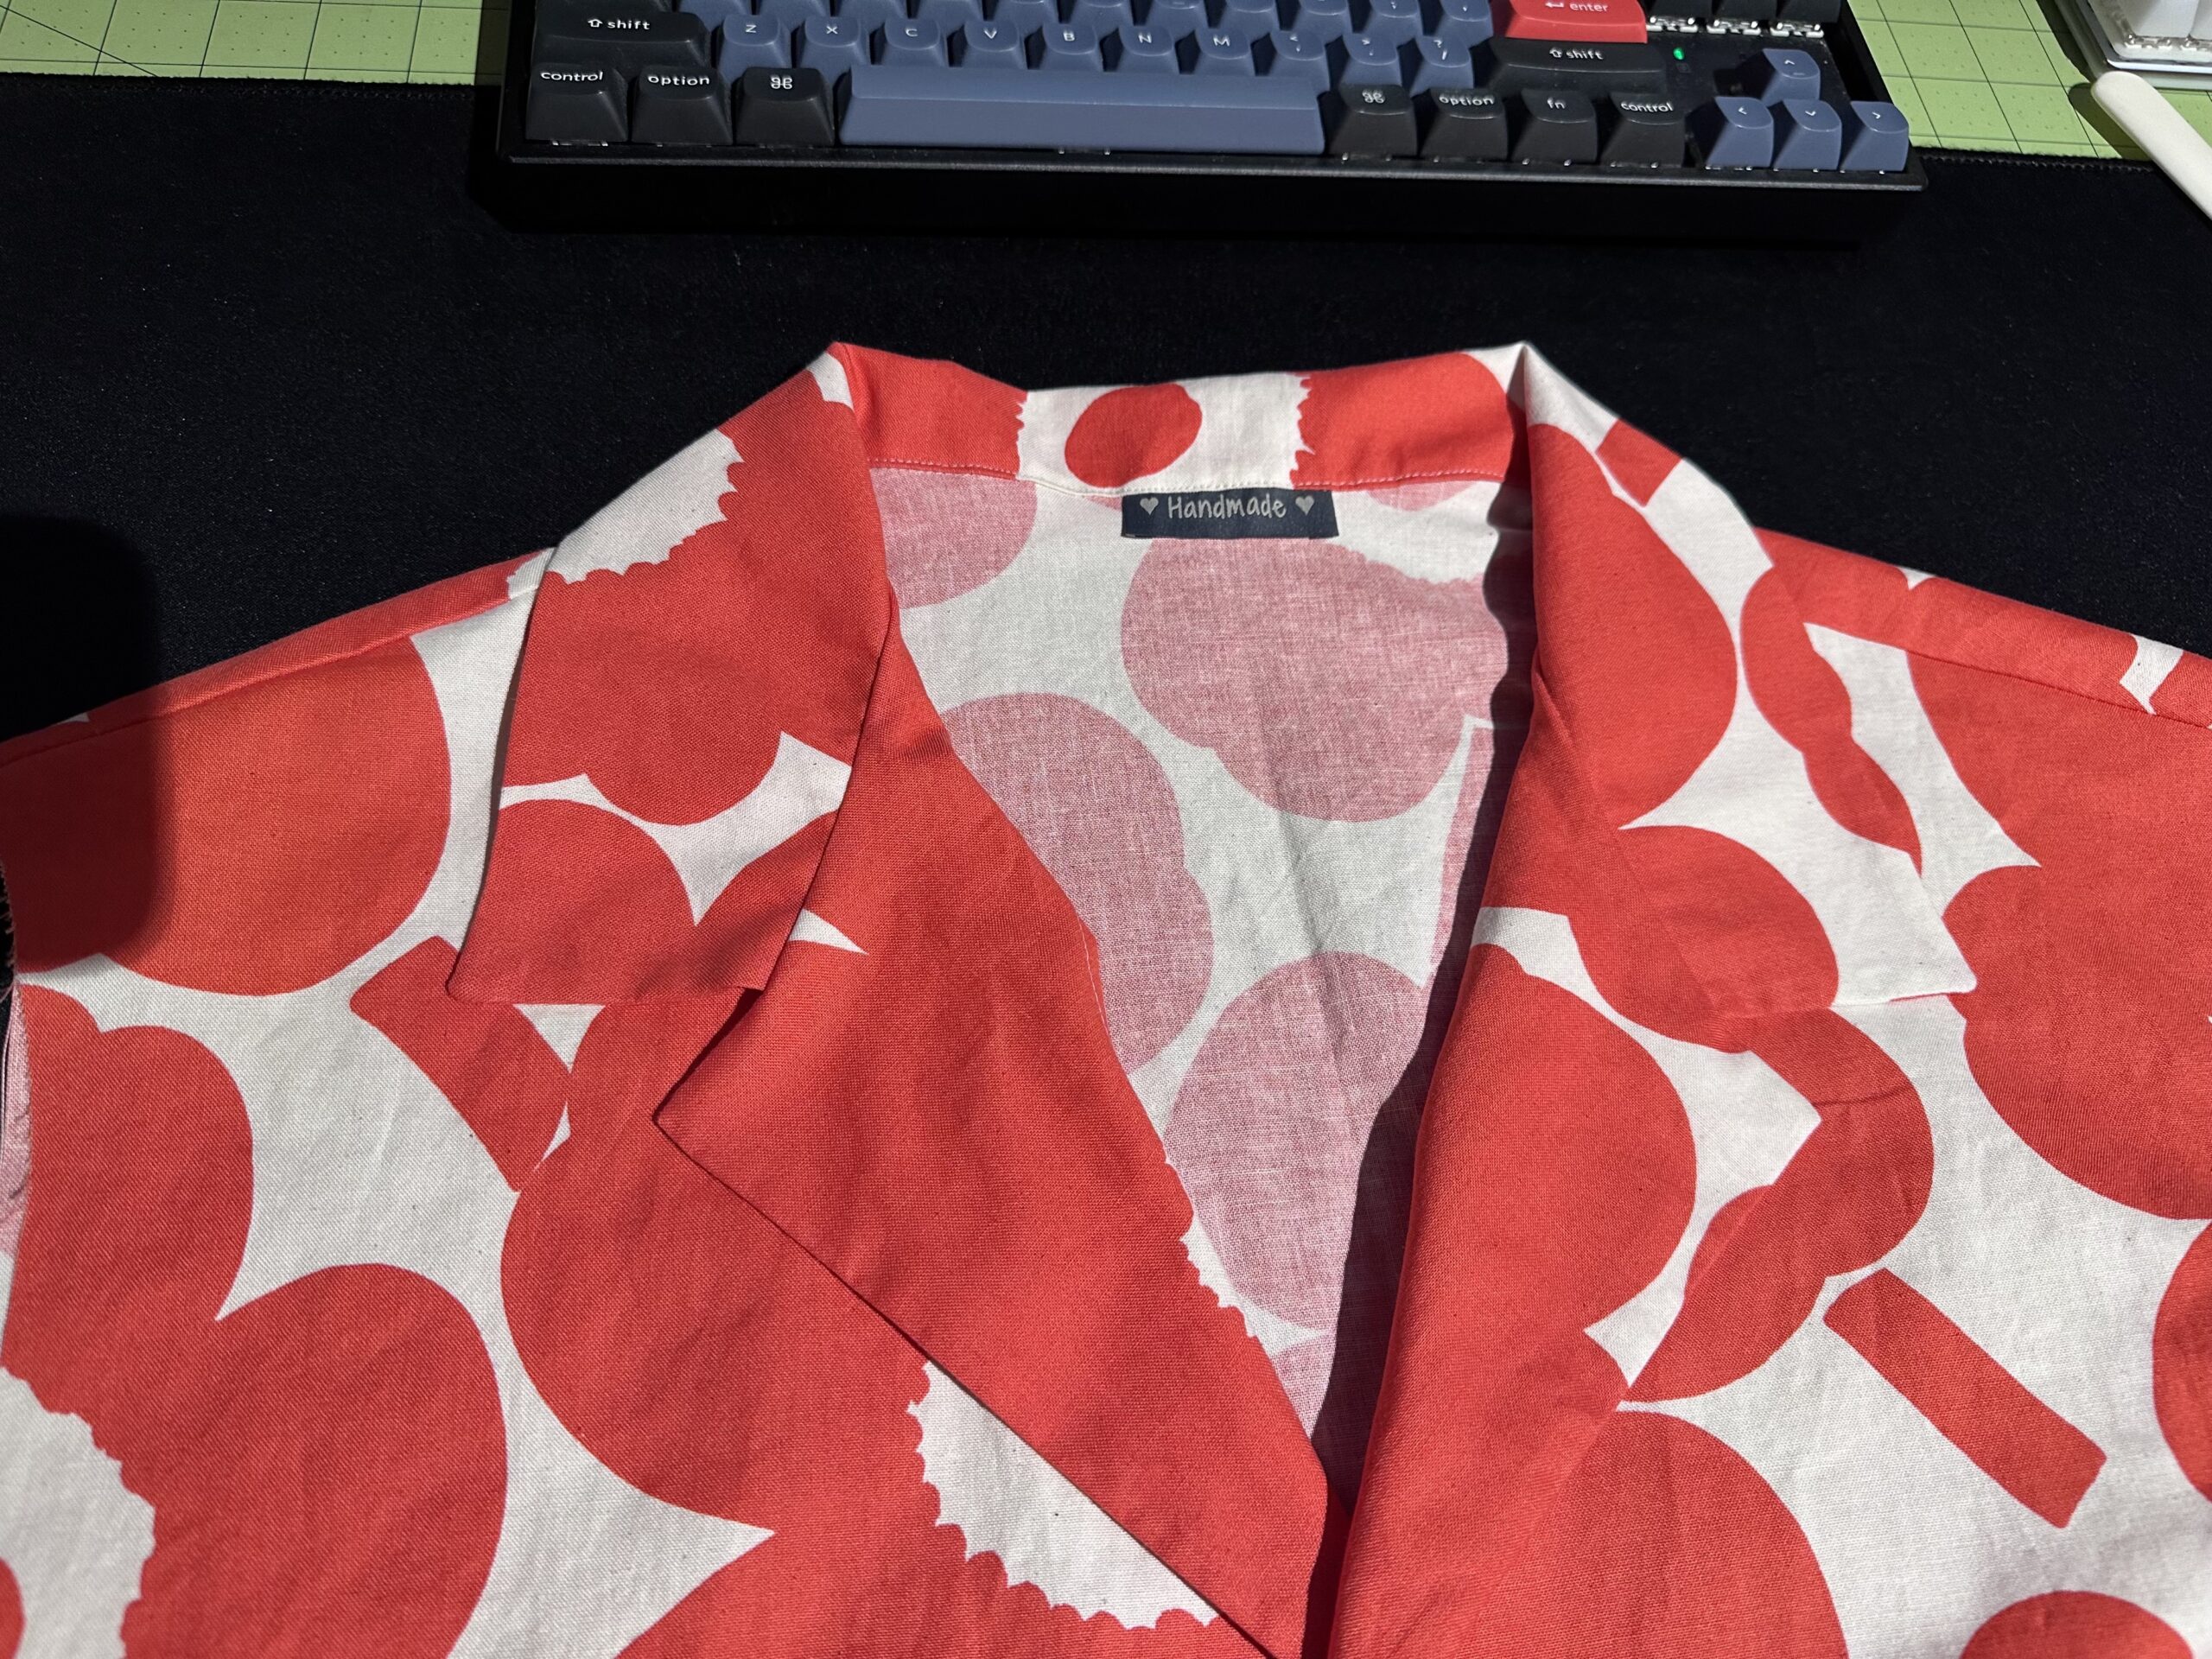
Marimekko Shirt
I’m certainly getting my money’s worth out of this fabric, aren’t I? I had just enough left to cut out another Arkie Shirt. I’ve gone down a body size on this one, and I’ve raised the break point an inch. I’m really pleased with how it’s turning out! This is the third one of these I’ve sewn, and each one has gotten better.
I also experimented with the tweezer method of turning out the collar on this one. It’s definitely sharper than the ones I’ve done in the past. Next time I’ll try the thread method…