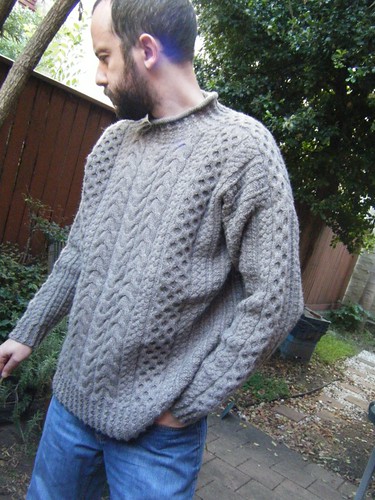
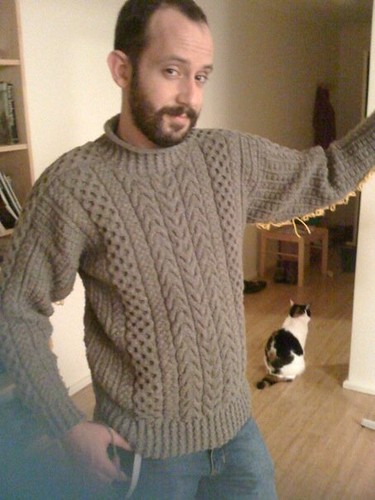
 From the front, it’s just a normal grey jumper with a patch of stripes. But from the side… suddenly you’re an autonomous robot life form from Cybertron! (More photos available on Flickr and Ravelry.)
I’m proud to report that this is the first jumper that Snookums actually requested and helped design. Somehow he saw some shadow knitting and asked whether it would be possible to knit the Autobots logo onto the front of a jumper. I pondered this. Most examples of shadow knitting are scarves where you’re looking at the design from the bottom up (like in the Dark Mark Illusion Scarf). The Snook didn’t like the idea of having to do a back-bend for people to see the image, though. So then I toyed with the idea of knitting his jumper sideways from cuff-to-cuff… but that tends to make for a rather shapeless garment, and not something that looks very good on a guy. That left knitting the logo sideways and then rotating it ninety-degrees before incorporating it into the jumper. So that’s what I did. (Read past the jump for a link to download my chart.)
The pattern I settled on was Elizabeth Zimmerman’s “Seamless Hybrid” from Knitting Without Tears, mostly because I’d never done saddle shoulders before. I was also greatly inspired by Brooklyn Tweed‘s gorgeous version. (I nicked his idea for doing contrasting hems.) The yarn is Filatura di Crosa Zara in #1469 (Dark Grey) and #1494 (Light Grey). I used about 12 of the main colour and 2 of the contrast. I experimented with different ways of “mounting” the shadow knitting, and ultimately what worked best was just sewing it in as I went along. (Which meant that I was knitting back and forth and leaving a “window” for the patch, so there was definitely purling involved.)
Okay, so the final verdict. I guess I’d give this about a 9 out of 10 rating. The shadow knitting worked great, and the Zara is a dream to knit with. (It also feels incredibly soft to wear, which is very important for the Snook, who finds most wool prickly.) I’m just not 100% happy with the fit of the shoulders, though. My gauge was off from Elizabeth’s sample so I had to scale it up a little bit, and I’m just not sure her percentages for the saddles work as well this way. I think once it has a wash and a press it’ll look better though. (That’ll also help with the way the patch slightly pulls in a bit.) The Snook is happy and he has a new jumper to wear with a few weeks of winter left, so that’s all that matters!
Download my chart: Here’s a PDF file of the chart Snookums made for me. Start in the lower right and follow as you would any other knitting chart. If you’ve never done shadow or illusion knitting before, basically you’re just knitting 2-row stocking stitch stripes. Nothing difficult there, right? Well, occasionally – wherever there’s a dash on that chart – you knit instead of purl on the second rows. (So you’ll have garter stitch in that spot instead of stockinette.) And that’s it!
