Back in October 2007, the Snook and I bought a house. It’s a pretty nice house, and we didn’t really have to do anything before moving in. Over the years we’ve hung up some curtains, replaced the washer and dryer, and made some attempts at tidying up the garden. The only real negative has been the kitchen. We like to cook, and this – while serviceable – wasn’t very nice to work in. In 2010 we replaced the cooktop and oven, which made a big difference. I would’ve liked to replace the fridge as well, but we were hampered by a lack of space. I literally could not find a decent-sized fridge/freezer that would fit in the space we had available. After YEARs of hemming and hawing and talking about renovating, this year we finally did it.
In January of 2012 we kicked off the process by making contact with some kitchen renovation companies. We got quotes from a few of them and eventually decided to go with Harvey Norman Renovations. They were the most expensive, but they also seemed to offer the most service. (Also, we are SO not D.I.Y. people.) The designer was also brilliant. After talking to him about what we wanted, this was the plan he drew up.

The other brilliant thing about going with Harvey Norman was getting them to price-match on all the appliances. We saved a bundle. We got a new fridge, dishwaster, microwave, and range hood. Knowing that it would be six weeks before the cabinets were ready, we got the fridge delivered ahead of time and set it up in the dining room so we could start using it.

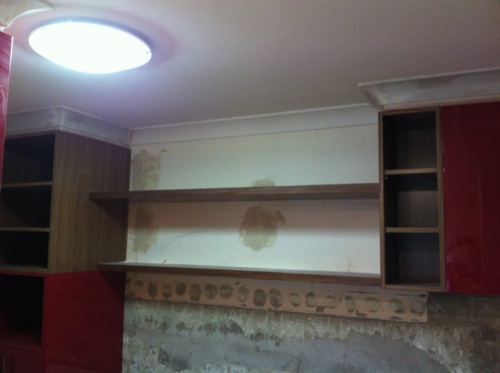
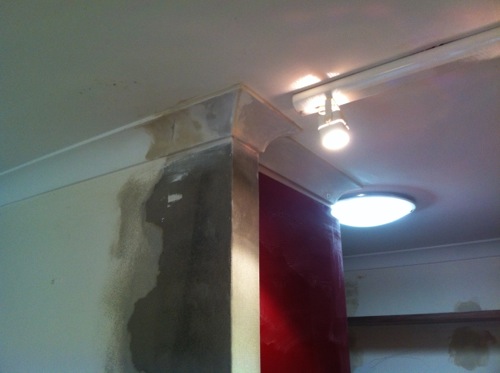
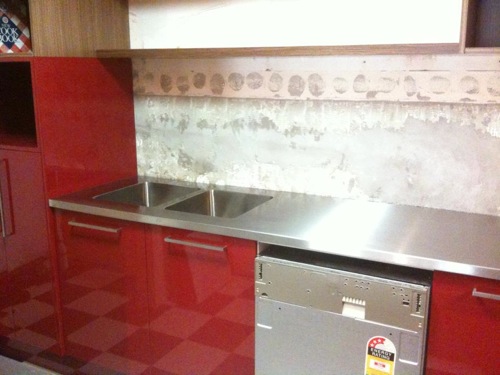
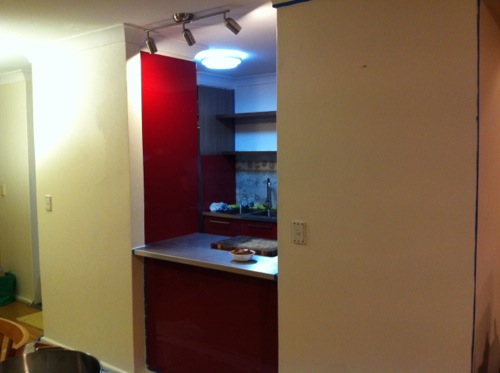
Six weeks of waiting turned into nine weeks. I should have realised at this time that these projects never run according to schedule. At any rate, I took a few “Before” photos just to commemorate the old kitchen. Like I said, it’s not bad. It worked. But that laminate countertop was chipped and burnt in several places; the dishwasher had big rust patches on the front; and the range hood didn’t work at all.

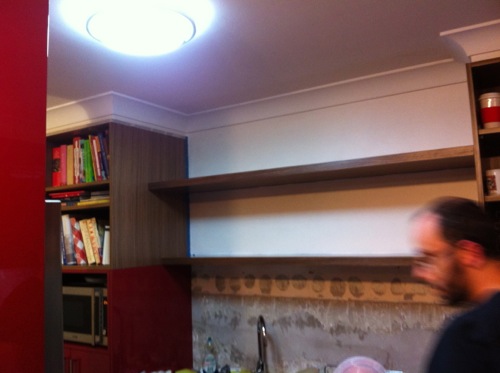
Here’s the old sink and pantry. Overhead you can see some IKEA shelves that we put in a few years before.

And here’s the view from the dining room through the cut-out. In order to make room for the new fridge, that left wall was going to have to be extended about four inches.

We had been told to expect “three weeks” without a kitchen. So we set up a temporary kitchen on the dining room table. Rodd’s Mom lent us a hot-plate, and we had our new microwave as well. Most of the kitchen stuff was packed up in boxes and stuffed everywhere else in the house.

And then FINALLY on April 10, everything started! The removalists turned up to demolish the old stuff and take everything away.


More demolition! I don’t think the tradesmen were used to having someone photographing while they work.


To get the tile off the wall, they had to jackhammer. That sucked. The cats and I were both on edge from the noise, and it left dust EVERYWHERE.

The end result was an empty concrete box. Everything was gone in just one day.

The next day the builder arrived to start putting up the wall extension.


Later that day, the electrician came to start running power for our new range hood, outlets, and under-cabinet lighting. He had to do some more jackhammering to carve channels into the concrete walls.


A few days later, the plasterer came to start patching up all the holes in the walls.


He also plastered over the new bricks of the wall extension.

He also plastered over the new electrical cable channels.


Six days after starting, it was time to fix up the floor. The builders came to put down cement.


Of course, the problem was how to keep two cats off the curing concrete. I ended up taping up drop sheets and tablecloths to keep them from accessing the room. I also rigged up a fan to (I hoped) speed up the process.


The next day – one week after starting – they were able to lay the tile floor. We actually had a heck of a time finding full-bodied porcelain tiles (which the Snook insisted on) in black and white. We ended up finding them on sale at Amber Tiles. (They’re really more charcoal and cream, but they read as black and white.)


Two days later was delivery date for all the cabinets!


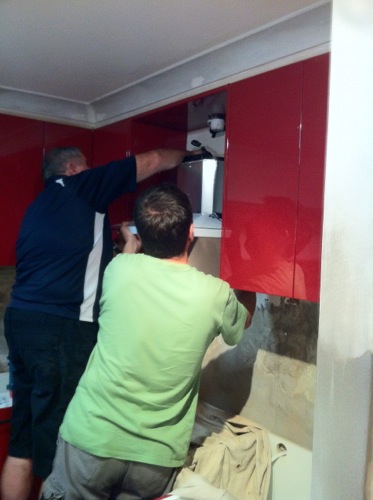
Later that day, the builder arrived (early!) to start putting things together.

This is Marco. He liked to swear a lot at his apprentices. He was good though!


Marco installed bulkheads above the new cabinets. (The old cabinets didn’t have any, so that wasted space just collected dirt.)

Since our kitchen is U-shaped, we have corner cabinets on either side of the oven. Scott from Harvey Norman suggested putting a “LeMans shelf” in one of them. This thing is MAGICAL. It pulls out completely so you can reach things in the back corner easily.

We also got some really neat pull-out baskets in the pantry cupboards.

We also got a really swanky cutlery drawer you can see there.
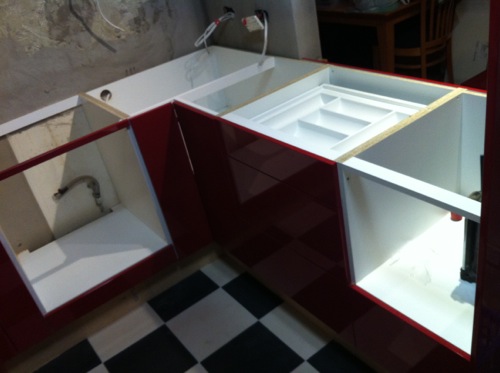
The next day Marco had the cabinets all put together and the appliances installed. At this point the whole project had only taken ten days!

The next day the plasterer was back to install the cornice on the bulkheads.
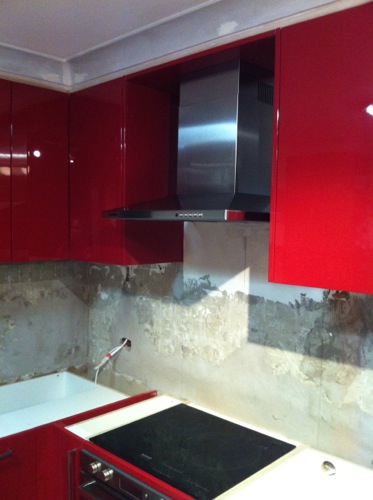
A few days later it was time to put in the range hood.

…And that’s when everything ground to a halt. After two weeks of incredible progress, it all just stopped. We couldn’t get the stainless steel benchtop manufactured until the cabinets were in so they could measure it exactly. When the fella came to measure, I asked him if it would be done on time. He pretty much laughed at me. FOUR WEEKS LATER the benchtop was finally finished.
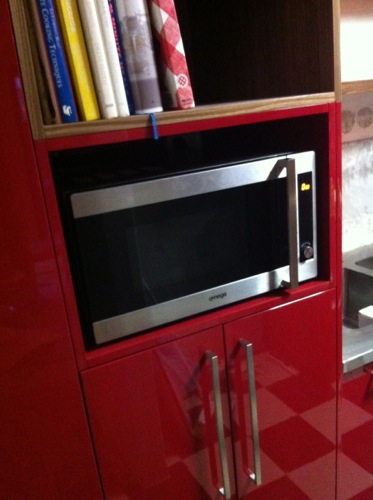
We put the microwave into place.
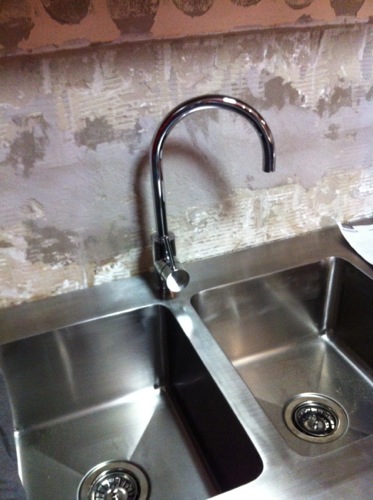
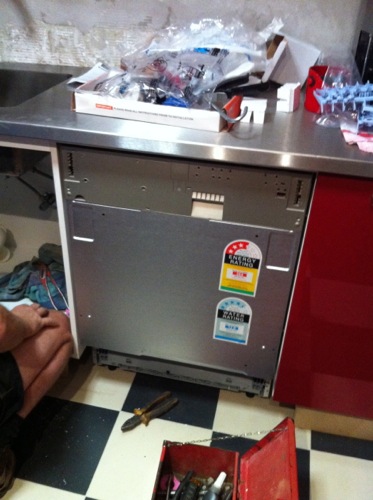
Then the plumber came to hook up the sink and the dishwasher. Yay for running water!
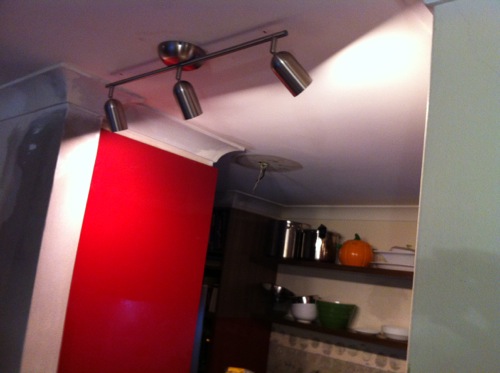
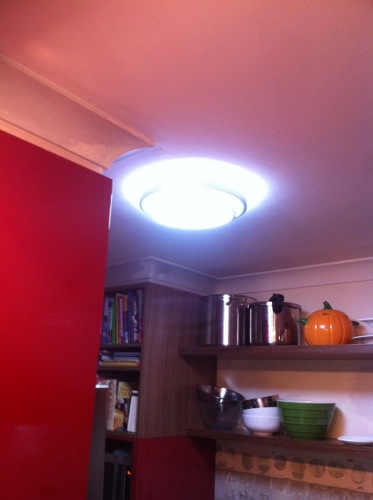
A week later we got the electrician in to put up some new lights.
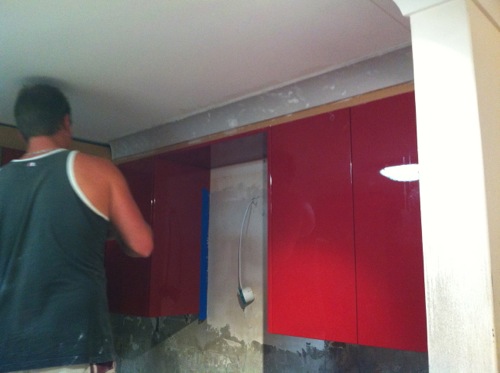
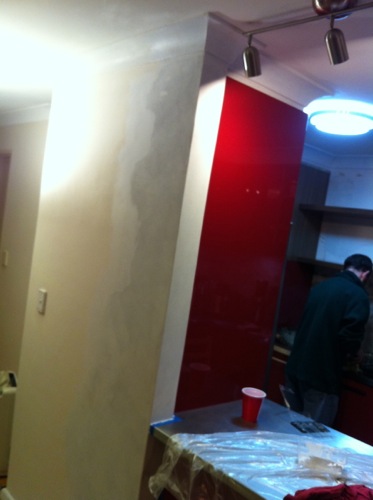
Now it was time for painting. This part we did ourselves. We primed the new render and then got to work.
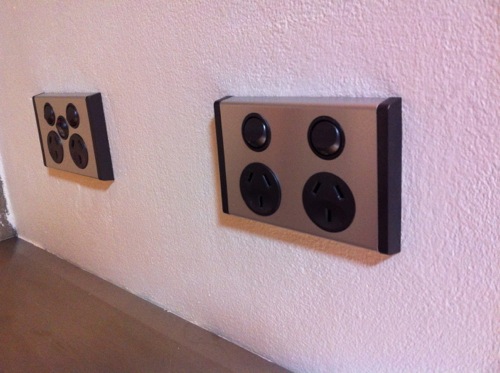
The Snook specially chose the fancy stainless steel outlet covers.
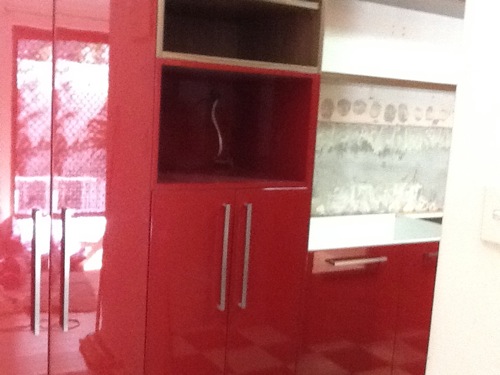
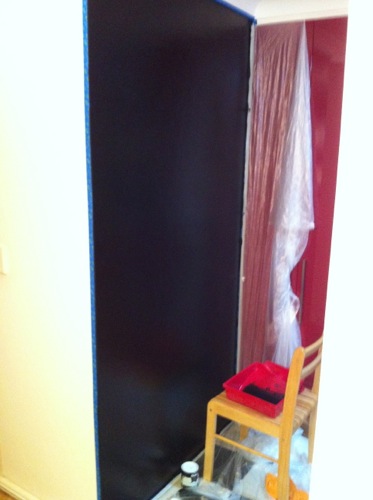
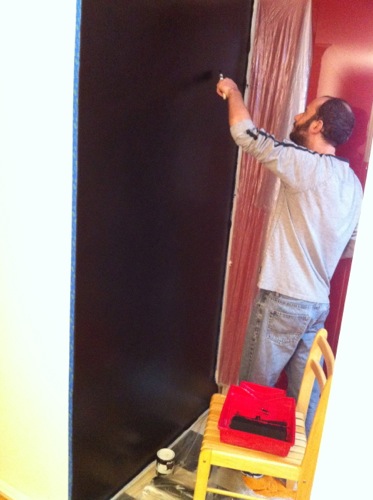
I let him talk me into painting the end wall with chalkboard paint. This is one giant, matte black wall…
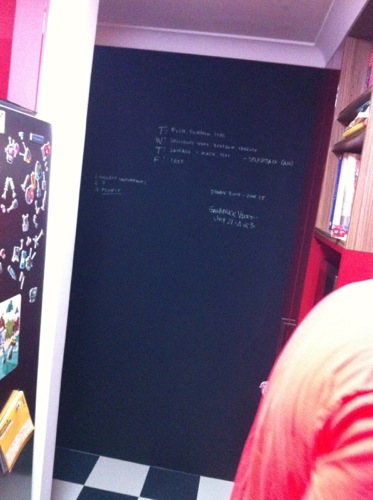
It looked pretty cool when it was finished though!
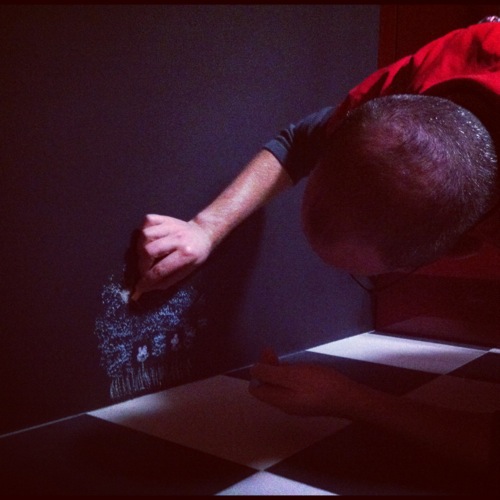
Mr. Snook drew a picture on it.
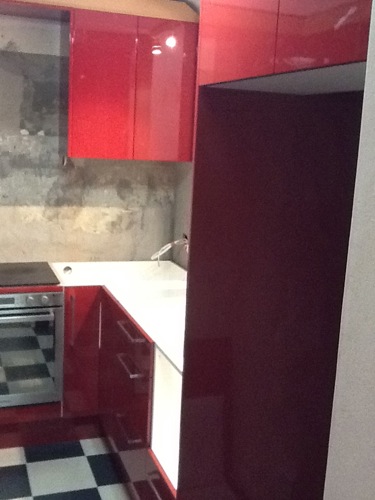
The last major piece to go in was the backsplash, which was specially made “smoky mirror”.
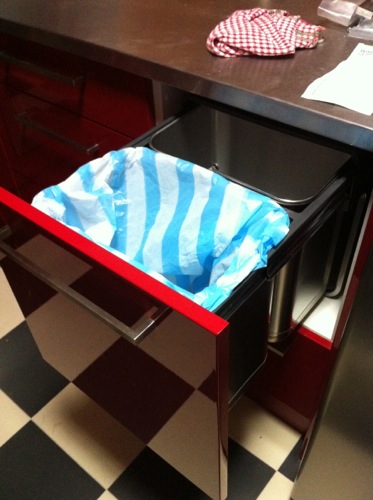
Finally the thing I was waiting for all along: my fancy-pants pull-out trash bin. I LOVE IT.
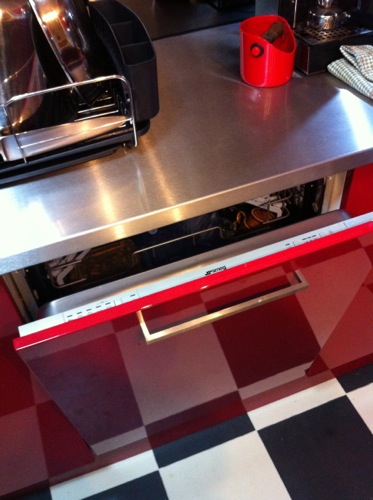
The door also went onto the dishwasher to full conceal it.

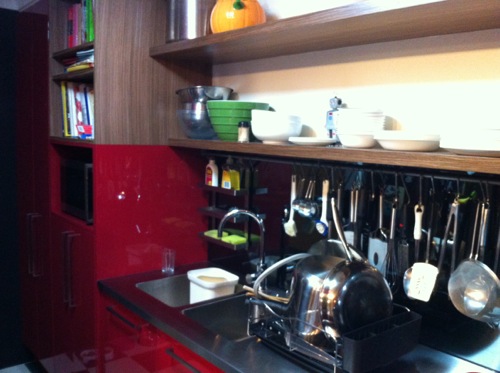
We hung our IKEA rail for our bits and pieces.
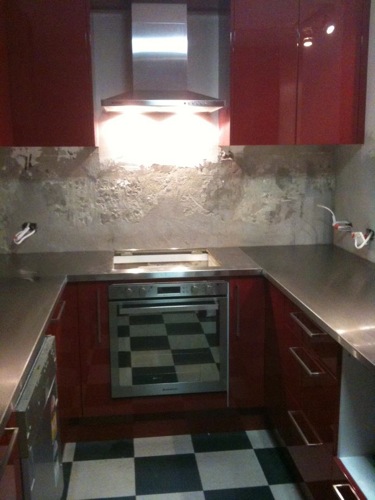
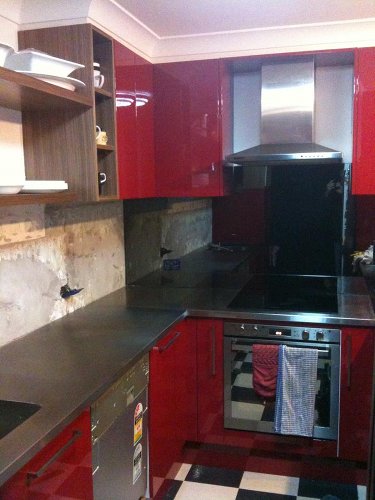
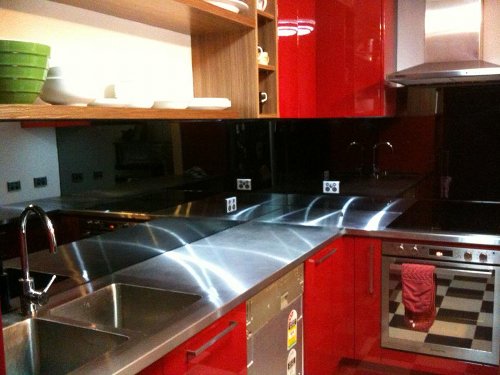
And that was it! Now for the official “after” photos.
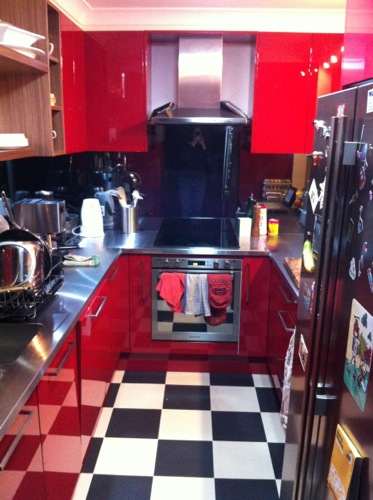
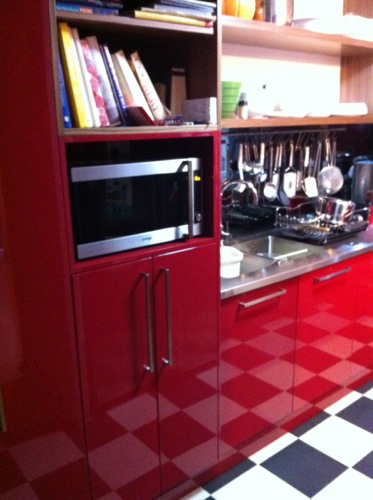
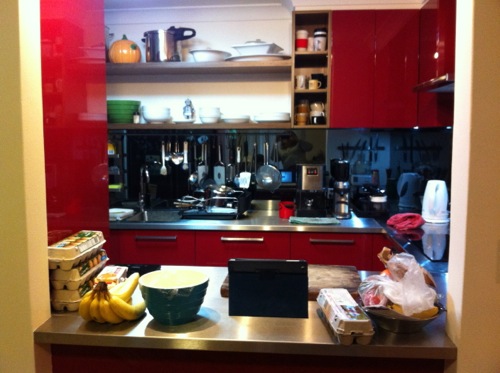
And now we’re all done! Oh, we’ve had a few bits of paint to touch up, and we decided to put another coat on the chalkboard wall. The faucet we chose isn’t great, so we’re thinking about replacing that. And one of the welds on the benchtop needs a bit of extra hammering. But other than those little niggles, it’s pretty much exactly as we envisioned. It took nearly three months from start to finish, and I’m very happy with the outcome. Would I ever do it again? Not in a house I’m living in!