I decided a few days ago that we needed new placemats to help protect our lovely new dining room table. I considered buying some, but I couldn’t find any that I liked that weren’t hideously expensive. (The cheapest Marimekko one is $36!) However, I do still have plenty of fabric left over from making the sofa cushions. Why not make my own?
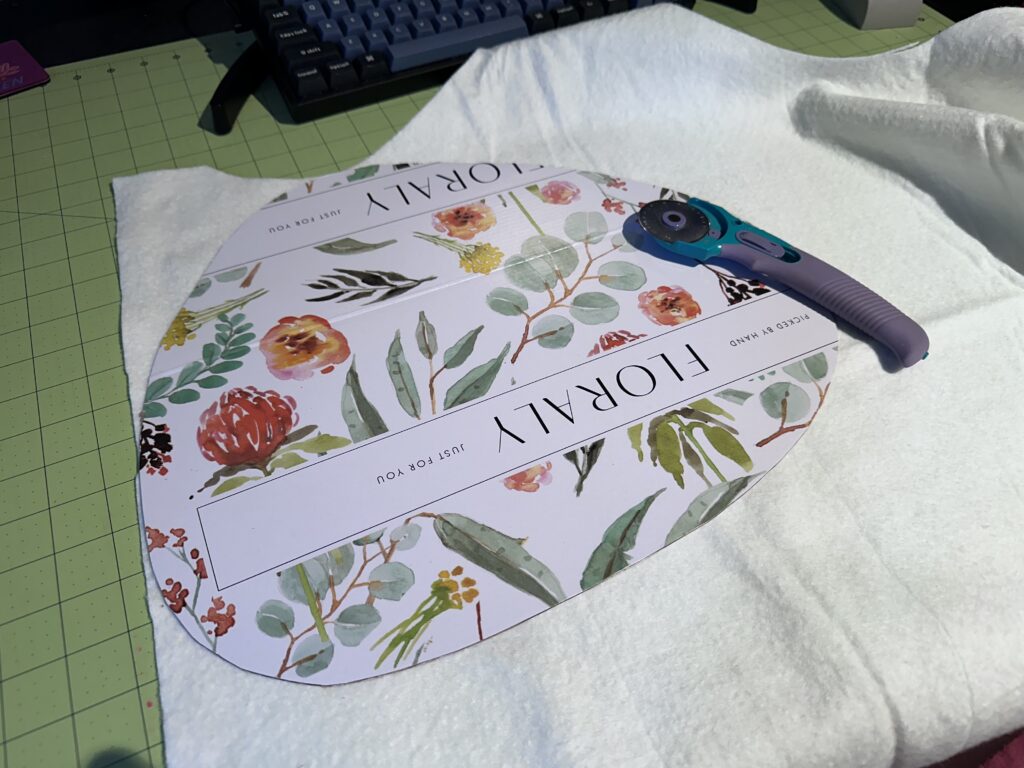
I started by prototyping different shapes. I wanted something organic and asymmetrical, so I used some cardboard to try out a few different options. (I put a plate on top for sizing.)

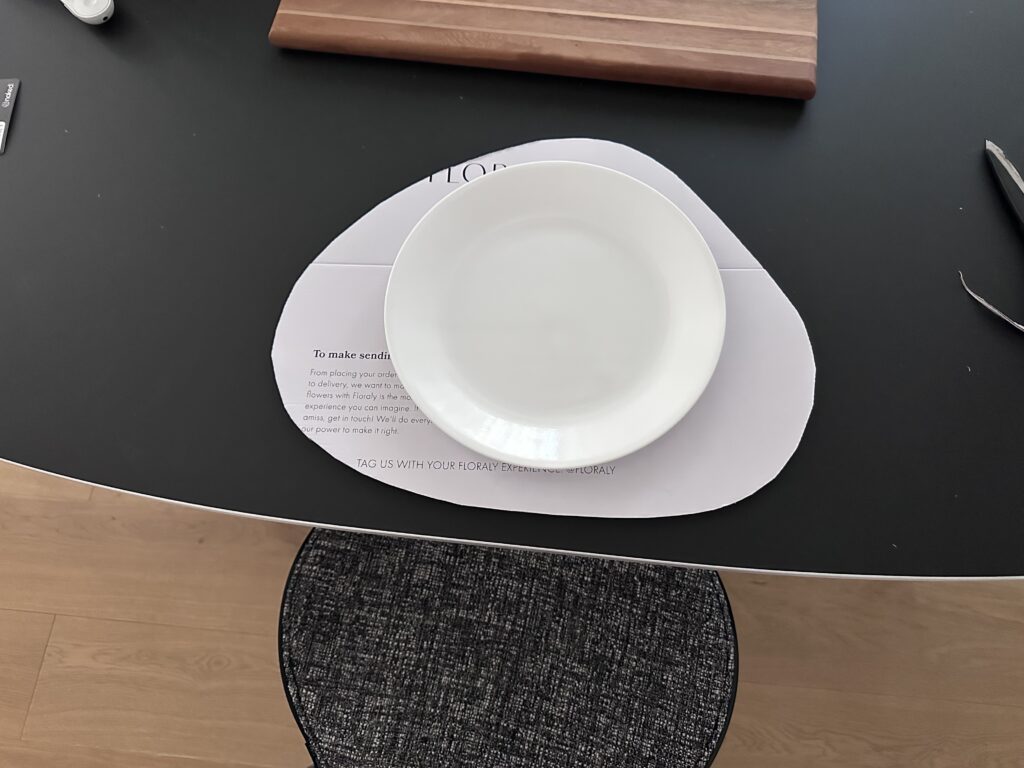
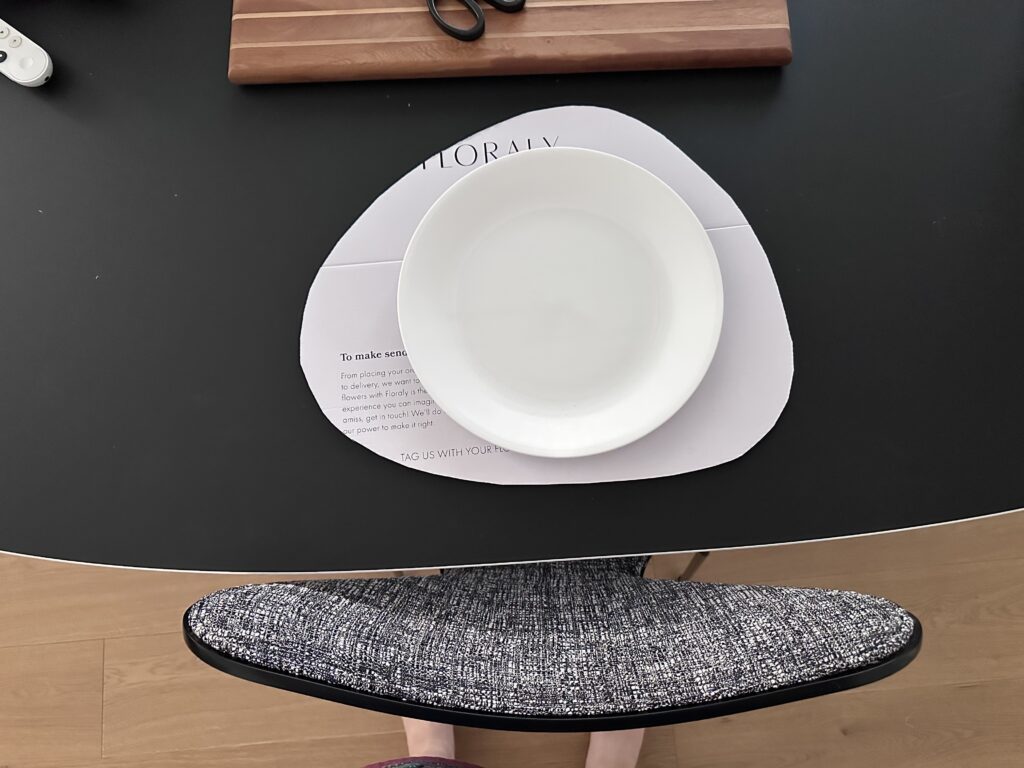
The first was deemed by the Snook “too egg-like.” (I agreed.) So I tried a few rounded triangles and ended up with option #3.
I decided I wanted the placemats to be reversible, so I found a suitable backing fabric from my stash. I used my template to cut out 6 red front pieces, 6 black back pieces (with the template reversed!), and 6 pieces of thin cotton quilt batting (left over from making Baby Taos’s quilt).
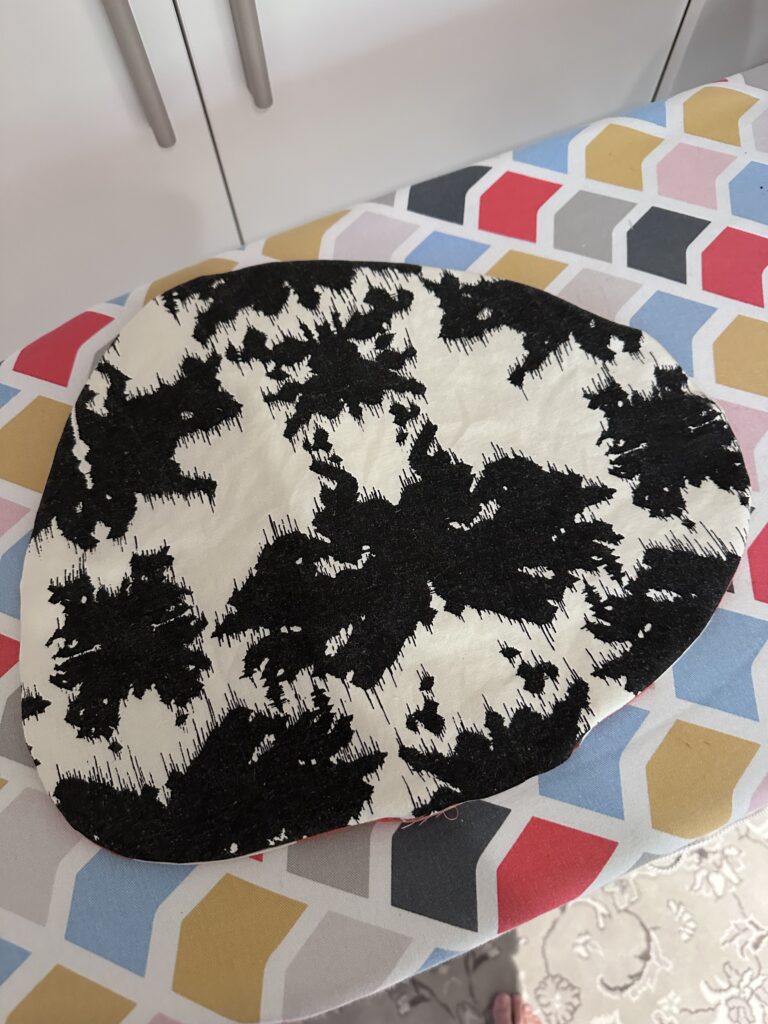
Here are the pieces all set for sewing. The backing fabric is called “Psycat” by Rhynie Cawood, handprinted by Sydney’s Publisher Textiles. I picked up a remnant many years ago and I love how it looks like a Rorschach test.
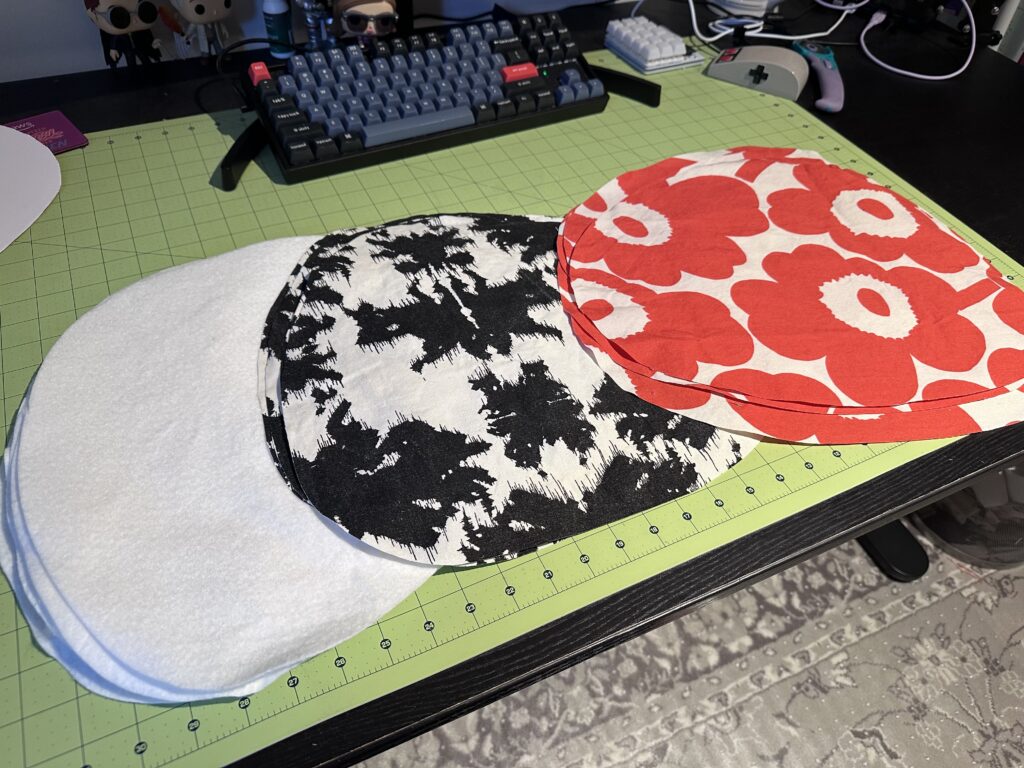
To assemble, I laid down a red piece face up, then a black piece face down, and then the batting. I pinned them all together.
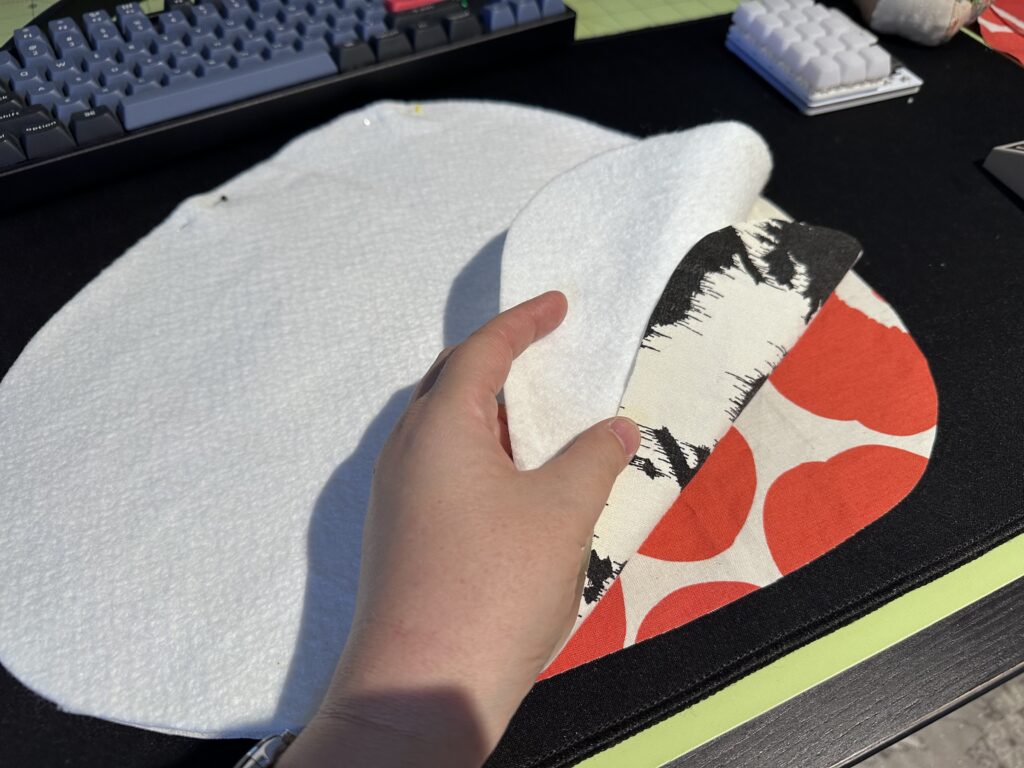
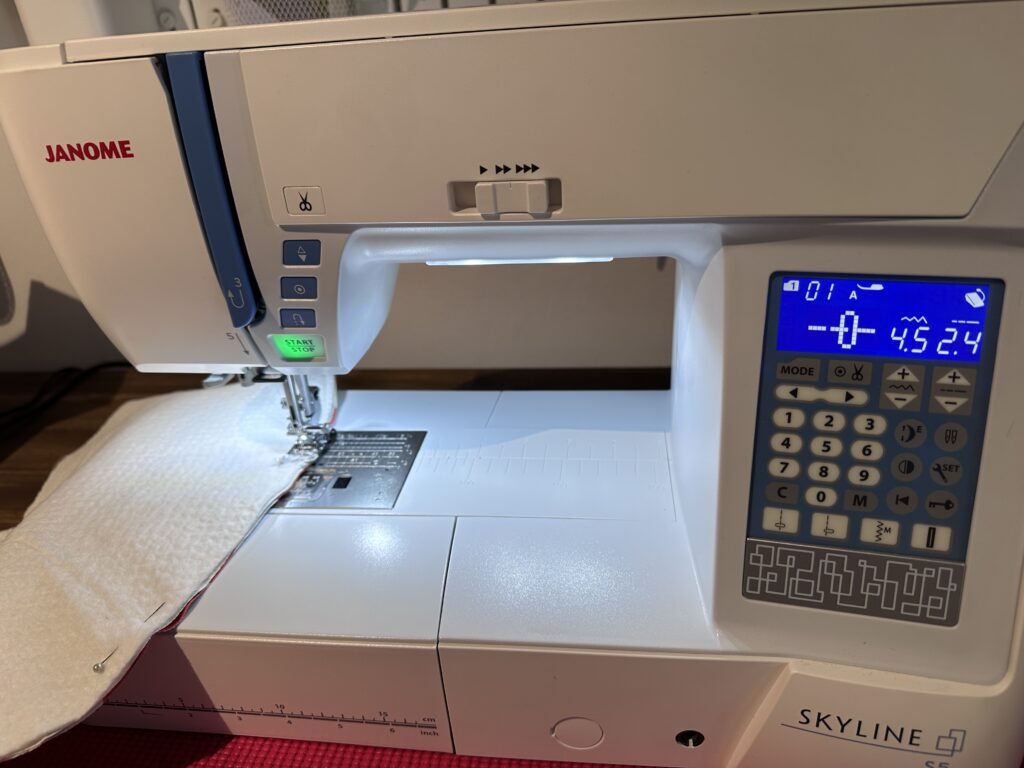
I sewed them together with a 1/4″ seam allowance, leaving a couple inches at the bottom open so I could turn them out.
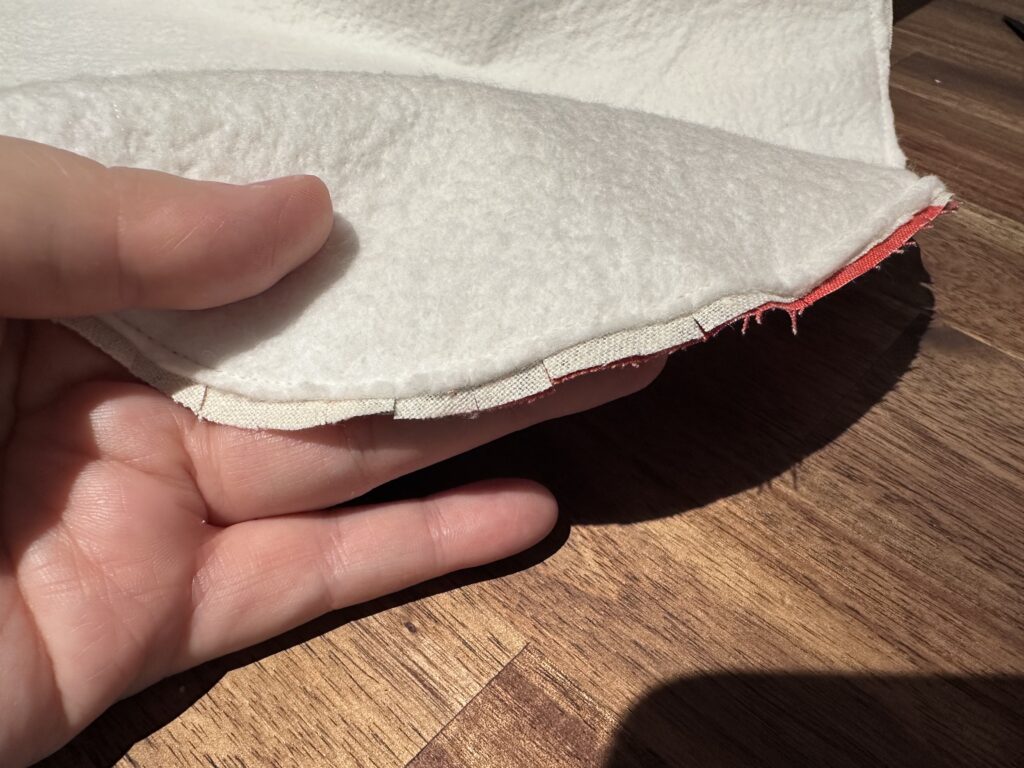
Then I trimmed down the quilt batting to avoid the edges being too thick. I also clipped the curves, which basically meant going around the whole thing since it was all curves.
Then I used the opening to turn each placemat right-side out.
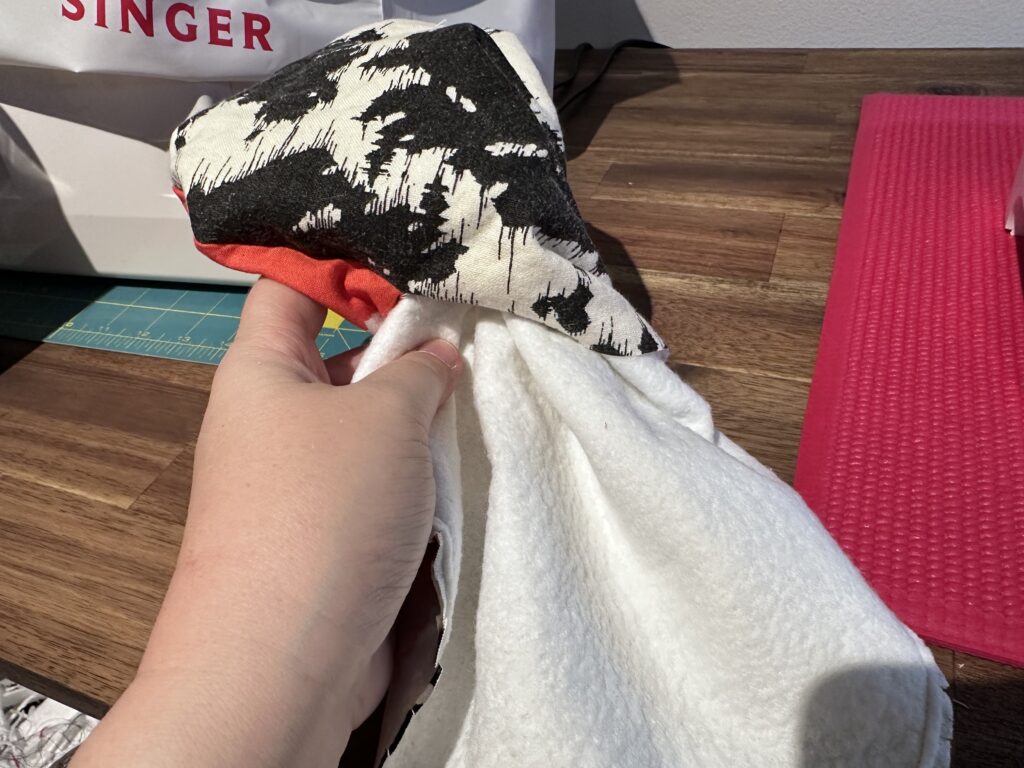
I spent some time making sure all the seams were fully pushed out, and I gave each placemat a good ironing. You can see there the opening at the bottom where I turned it out.
I folded in the seam allowances at the opening and hit that with the steam iron. Then I top-stitched all the way around each placemat at 1/8″, both for decoration and to close off the opening.
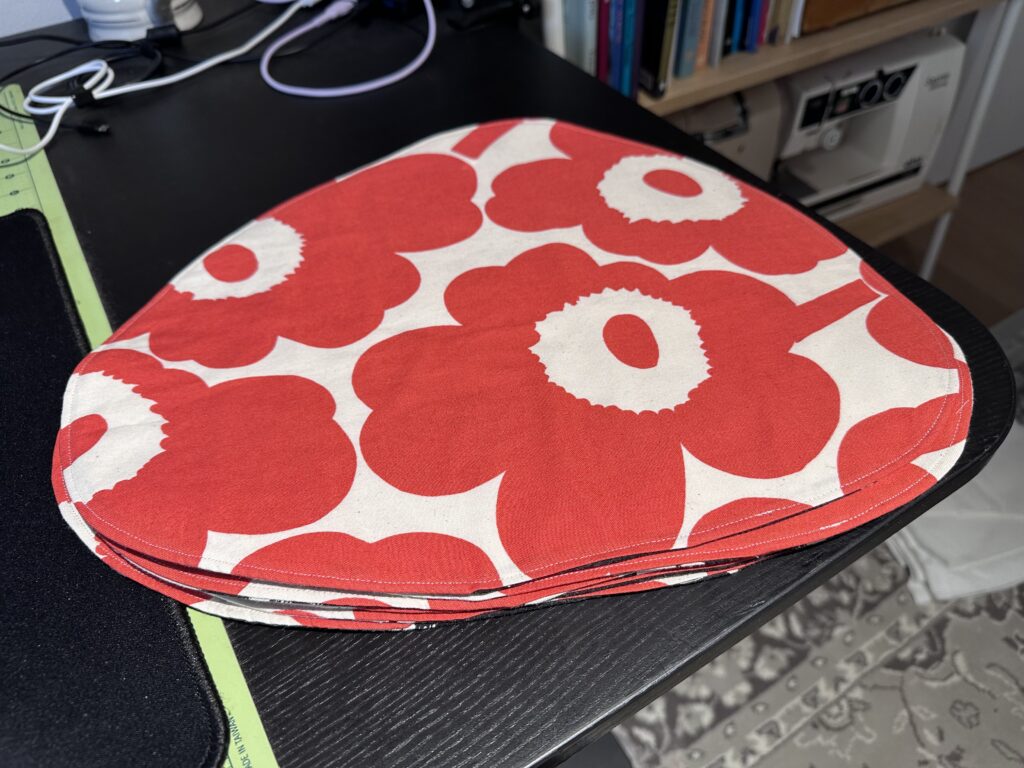
Pretty quickly I had a completed stack of six placemats!
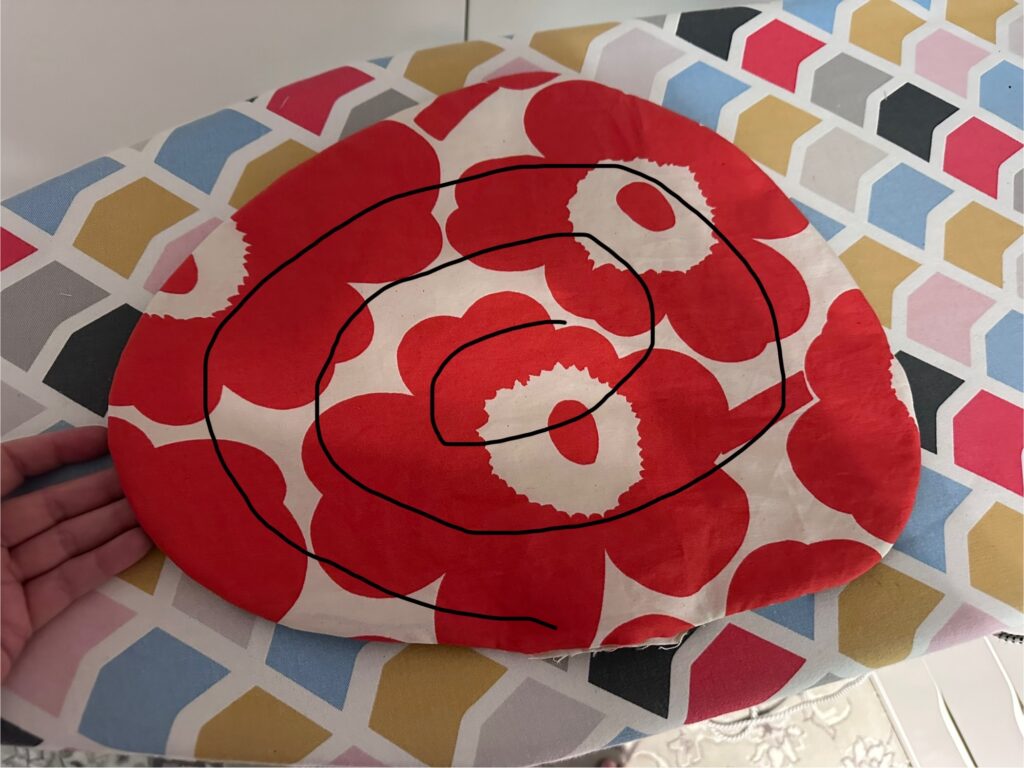
Now it was time to decide on the quilting. I decided that the best options were either a spiral or a grid, so I mocked up a rough idea and sent it to a few friends for thoughts. Everyone voted for spiral.

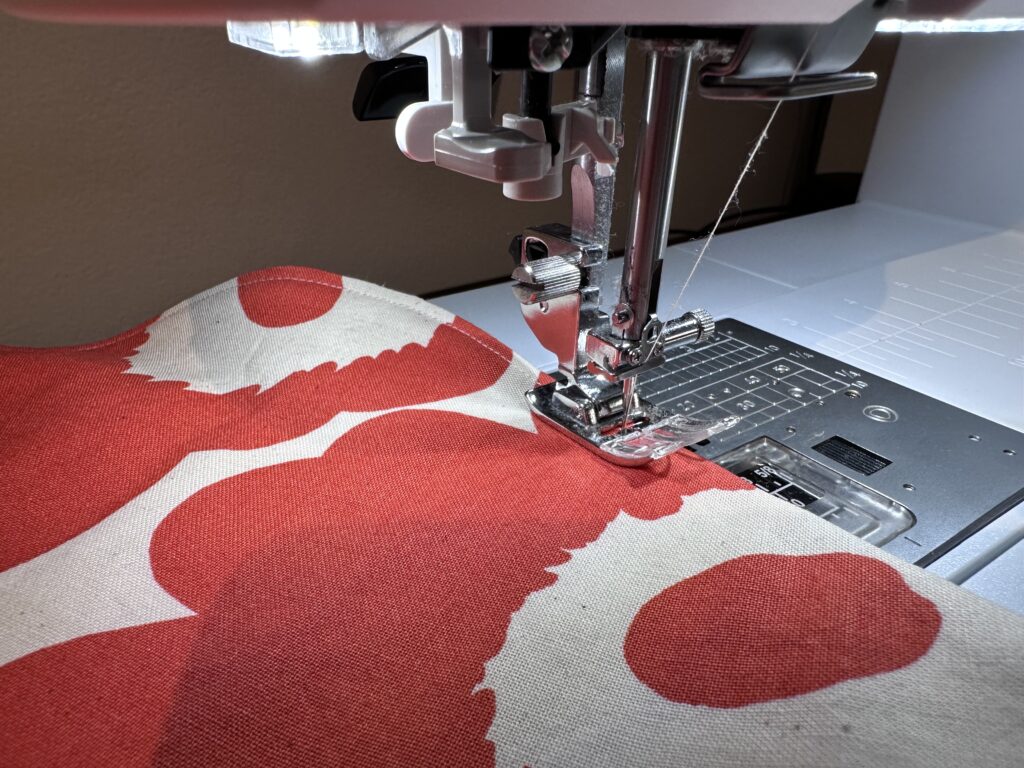
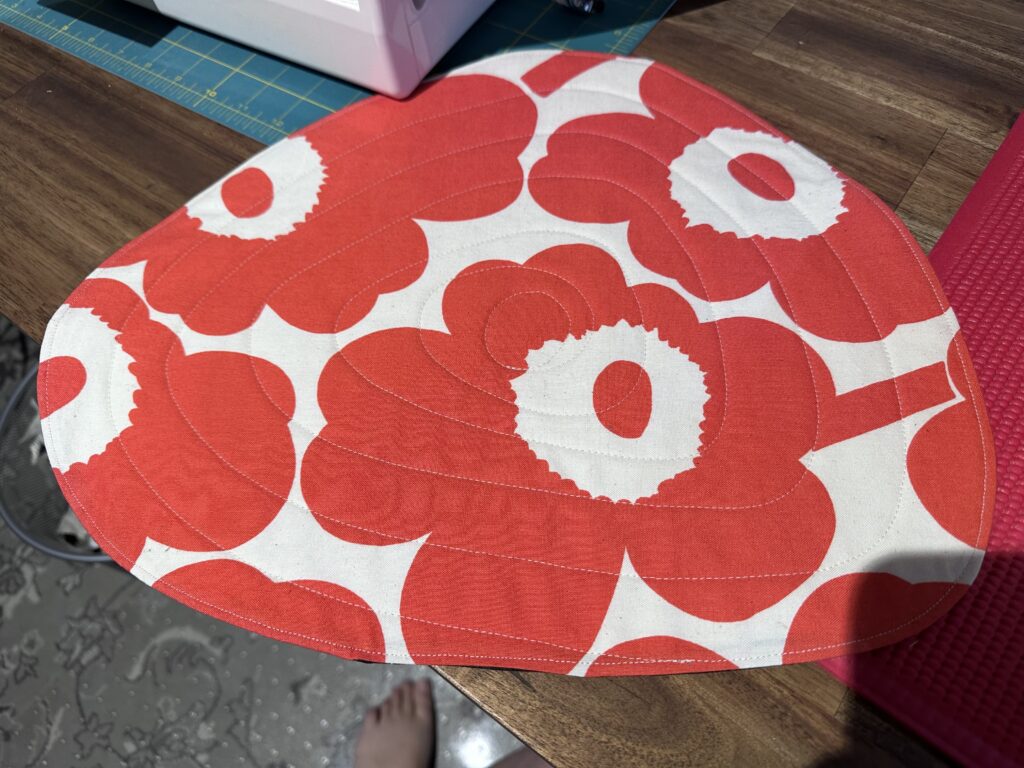
I set up the walking foot for my sewing machine, as well as the “quilting attachment” – an adjustable metal bar that sticks out that you can use to sew parallel lines. I used it to ensure the first few spirals were roughly 1″ apart.

Once I got to the middle, I was basically free-handing it and just turning the placemat around and around. I LOVE how it turned out! It was really fun too. I blasted through the remaining placemats to finish the project off.
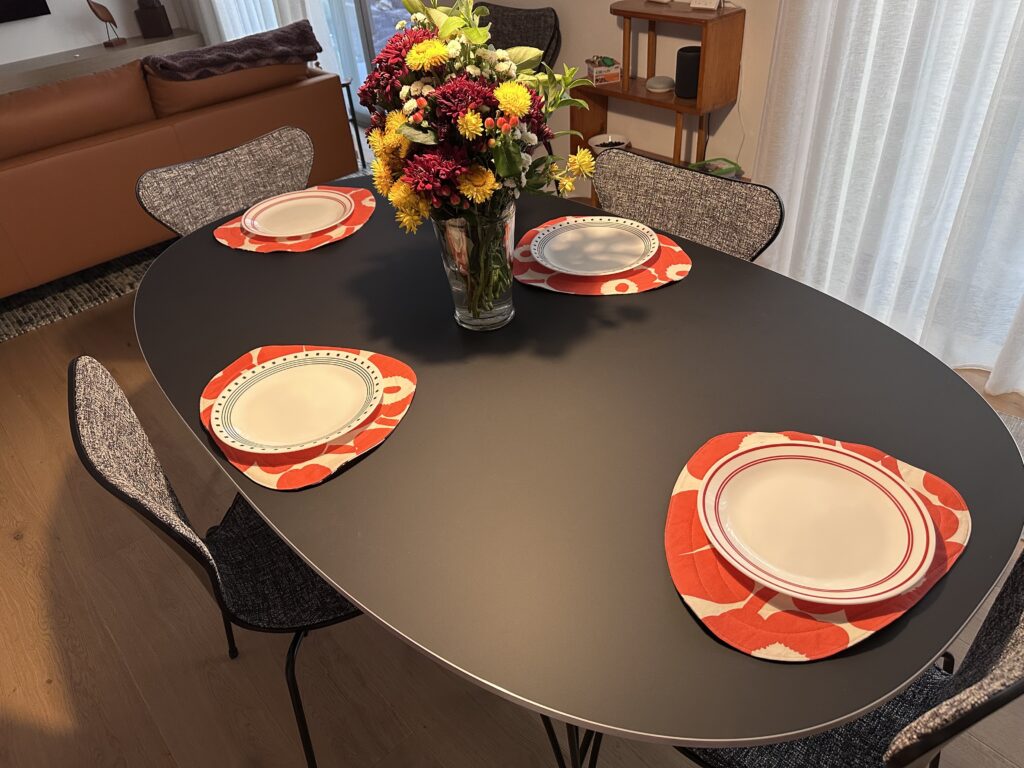
I’ve got a can of Scotchguard around here somewhere so I’ll probably hit them with that to make them a bit more stain-resistant. Don’t they look great on the table?