It’s really hard to make a recipe when you have no idea what the finished product is meant to look like. I think it’s safe to call my latest vintage cooking experiment a FAIL.
*record scratch* So how did I get here?
I started by picking the recipe for March 2: Sunset Pudding. Doesn’t that sound evocative? Here’s the recipe:
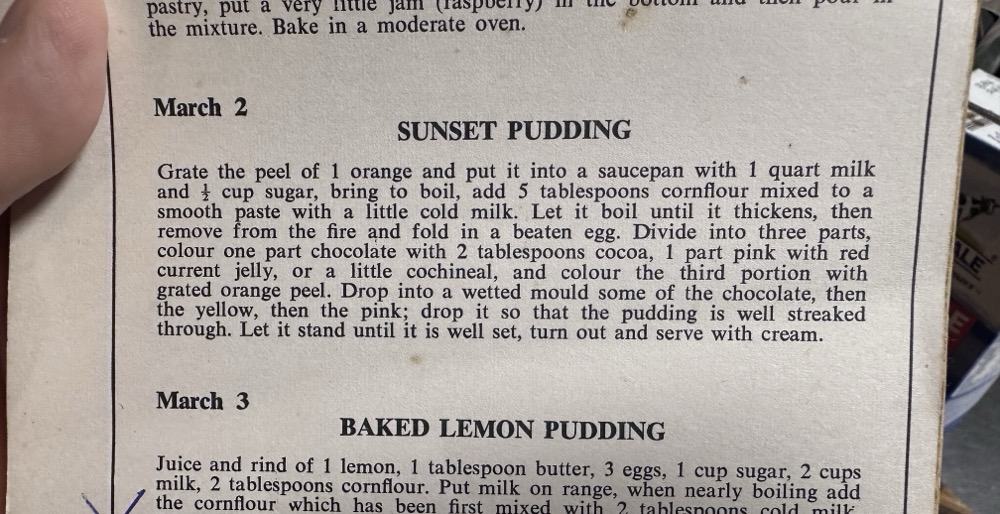
This is actually quite a long recipe for this book! It reads:
Grate the peel of 1 orange and put it into a saucepan with 1 quart milk and 1/2 cup sugar, bring to boil, add 5 tablespoons cornflour mixed to a smooth paste with a little cold milk. Let it boil until it thickens, then remove from the fire and fold in a beaten egg. Divide into three parts, colour one part chocolate with 2 tablespoons cocoa, 1 part pink with red current jelly, or a little cochineal, and colour the third portion with grated orange peel. Drop into a wetted mould some of the chocolate, then the yellow, then the pink; drop it so that the pudding is well streaked through. Let it stand until it is well set, turn out and serve with cream.
Okay, so basically it’s a traditional cornstarch pudding in three different colours. I figured I could do that. (Also – remove “from the fire”? How old is this recipe?!)
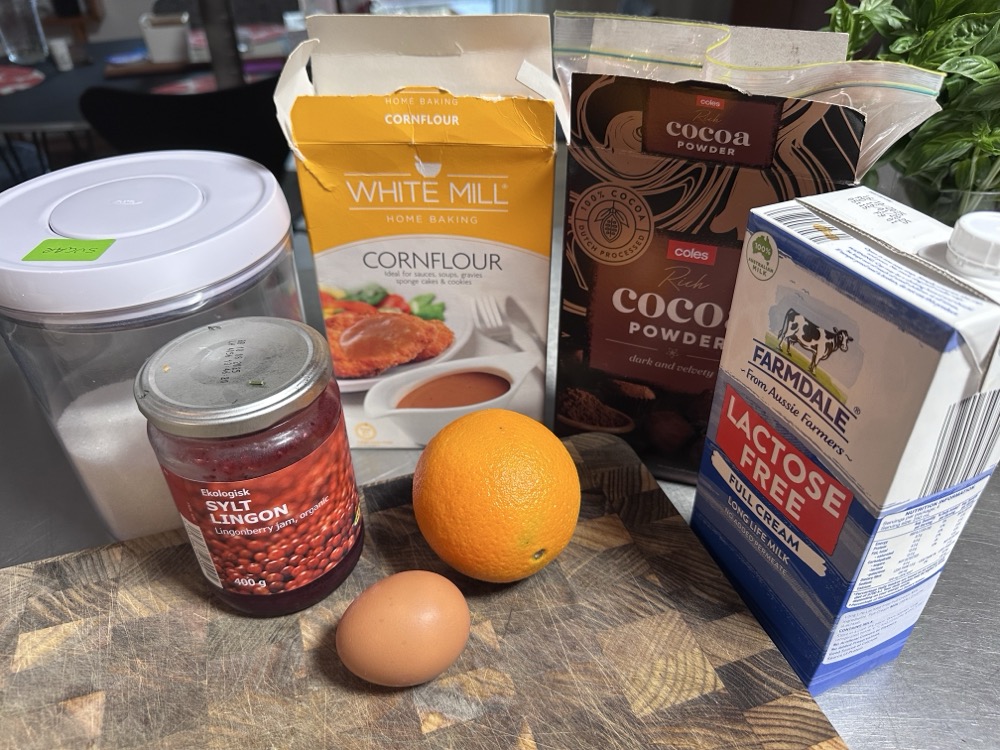
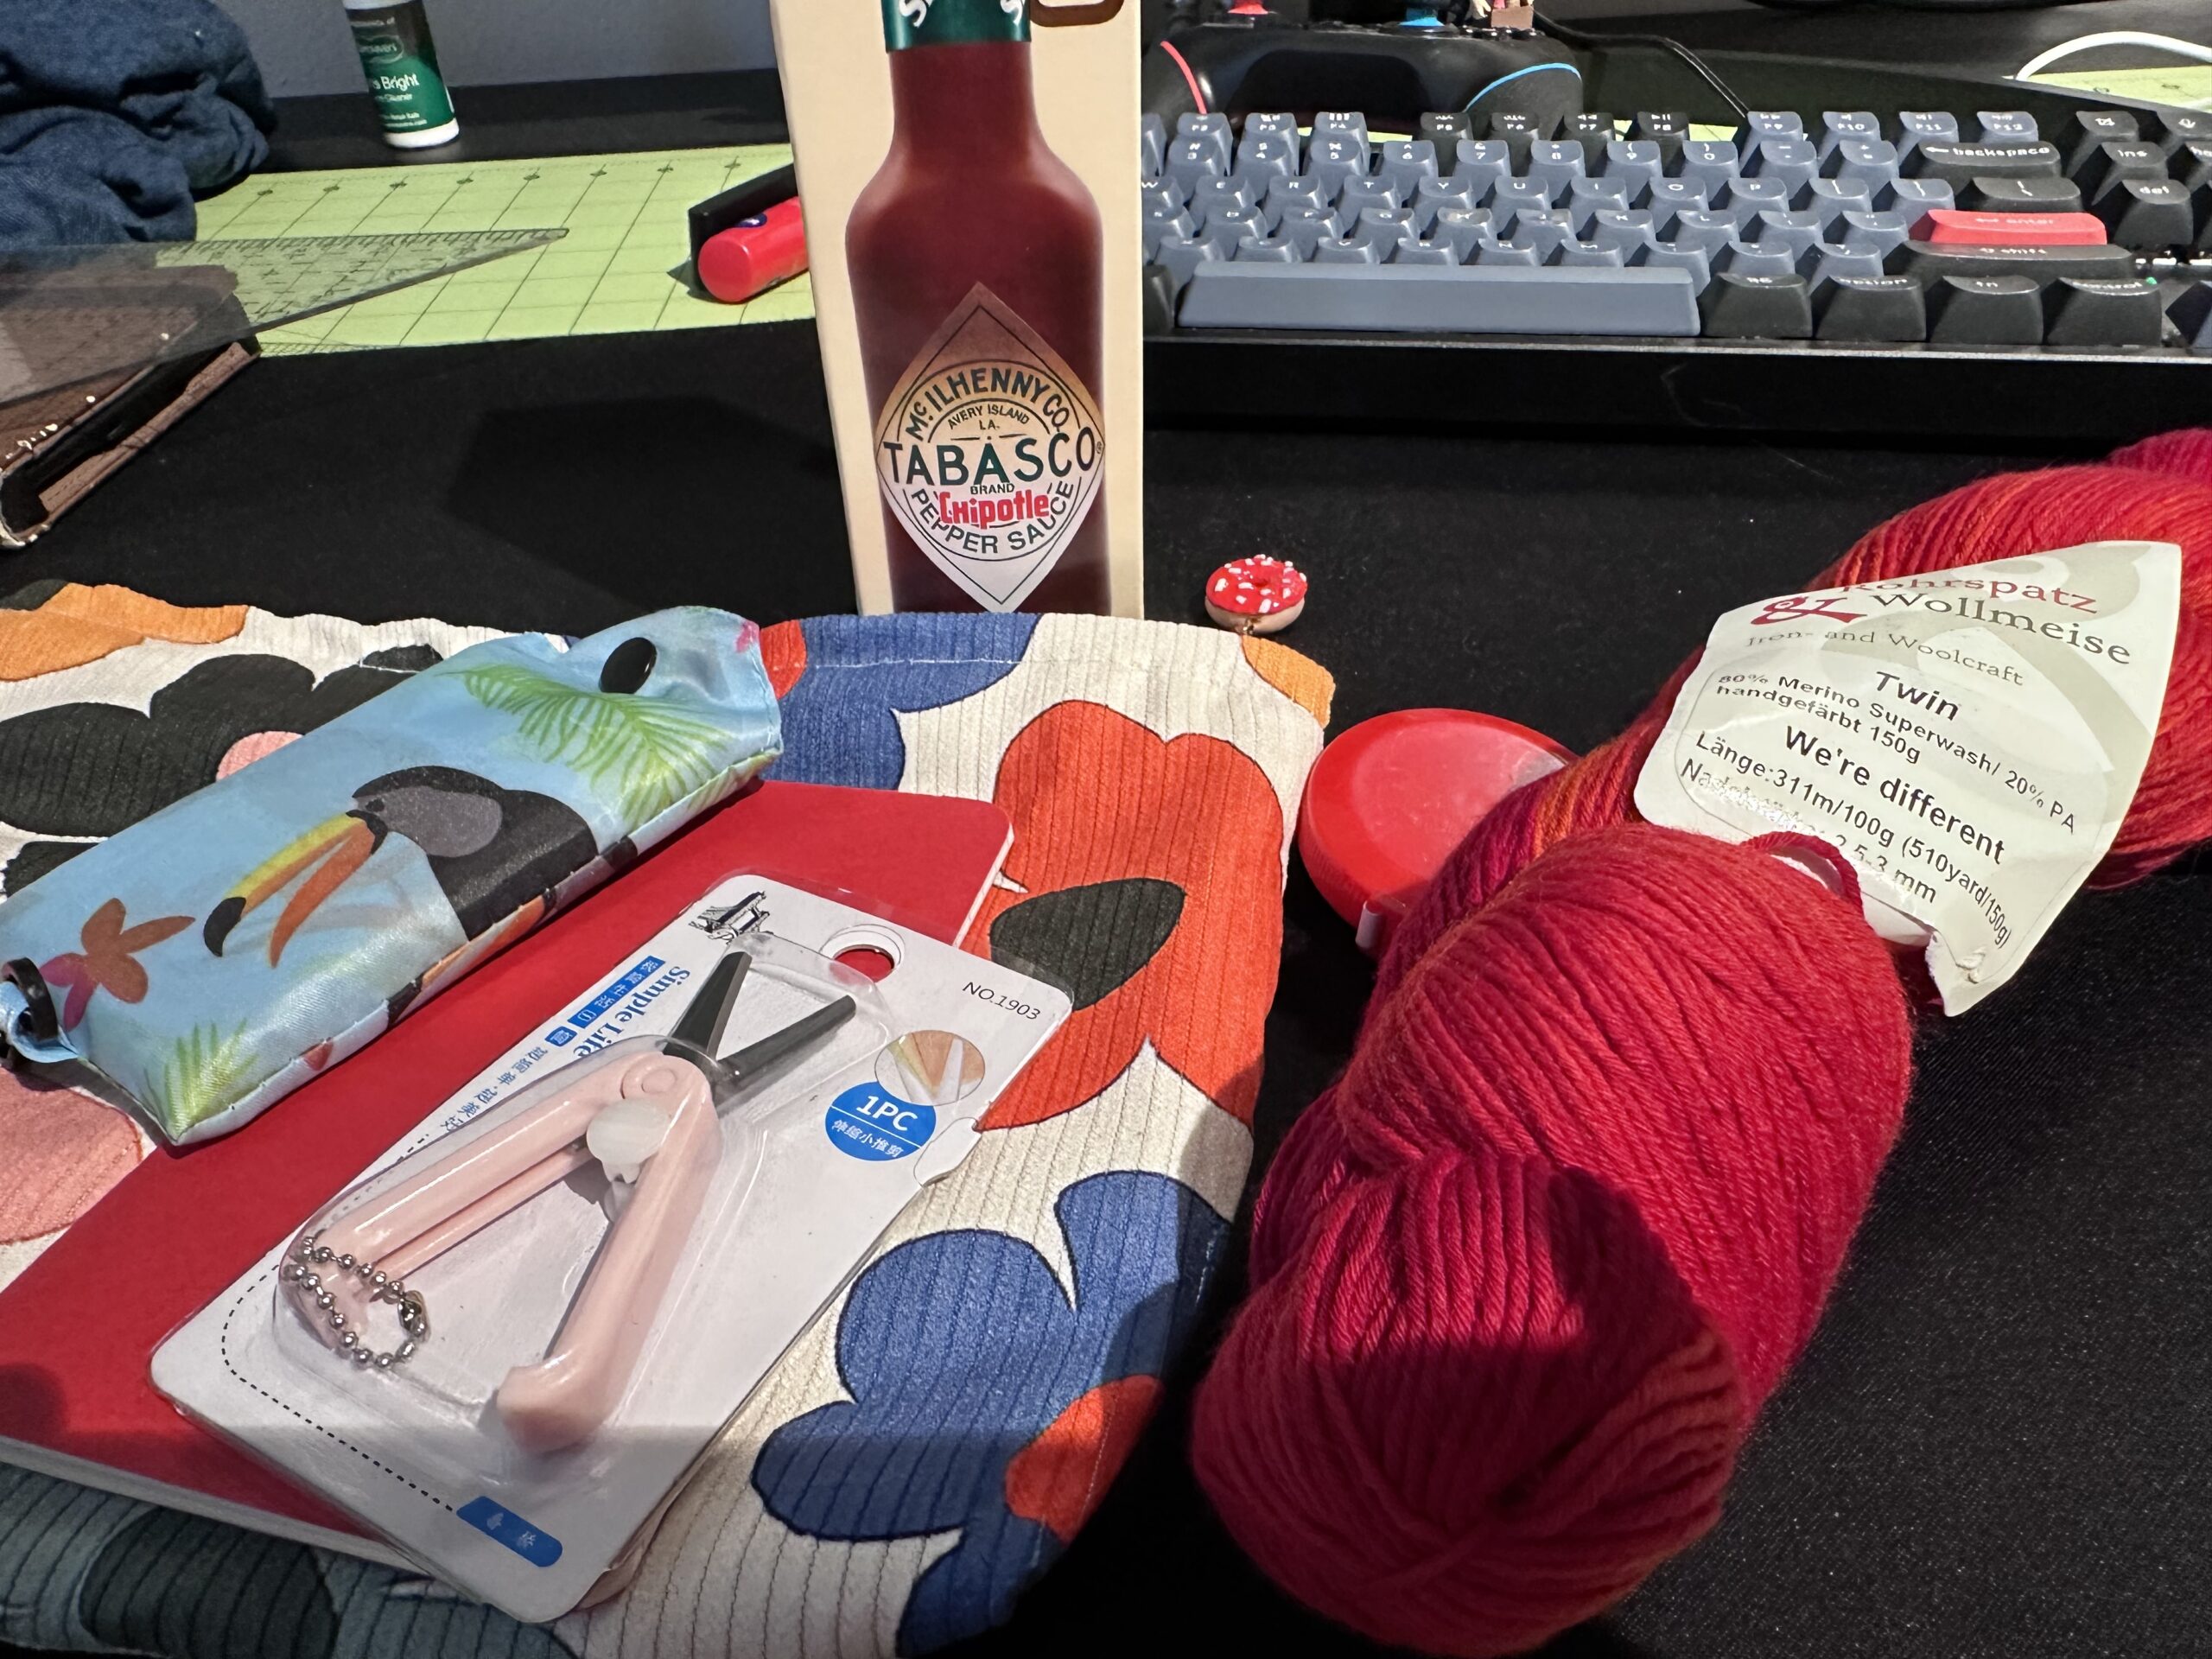
I didn’t have redcurrant jelly, but I figured lingonberry jam must be pretty close? Otherwise I had everything required.
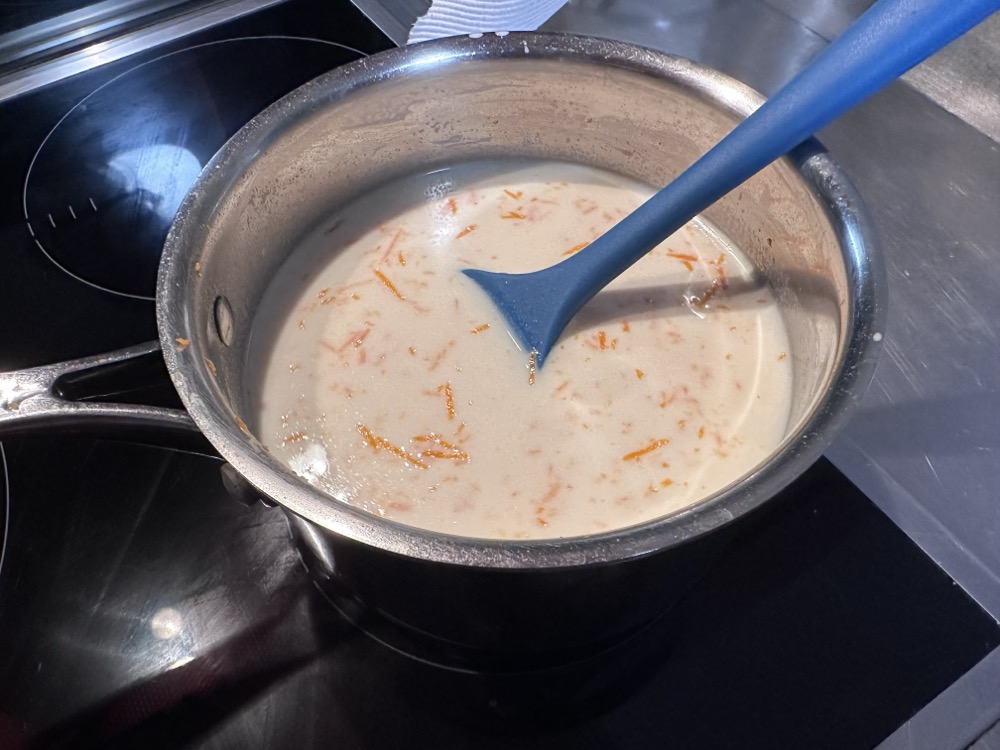
Here’s the milk, sugar, and orange peel heating up on the stove.
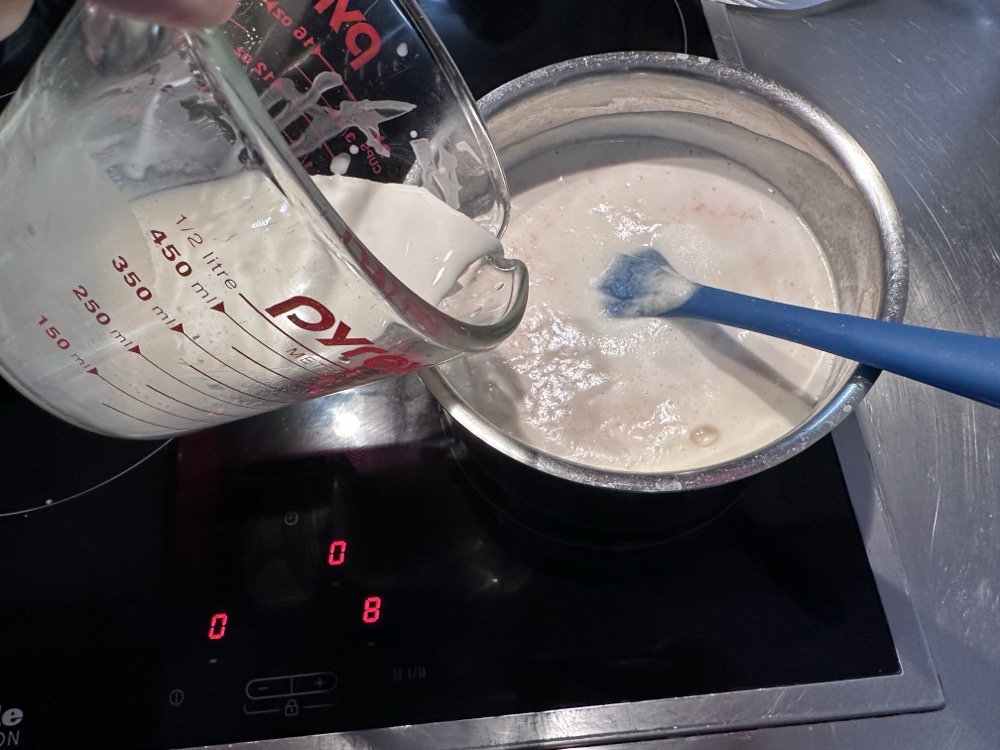
Once it hit boiling, I added in my 5 tablespoons of cornstarch, which I’d thinned by whisking in some milk.
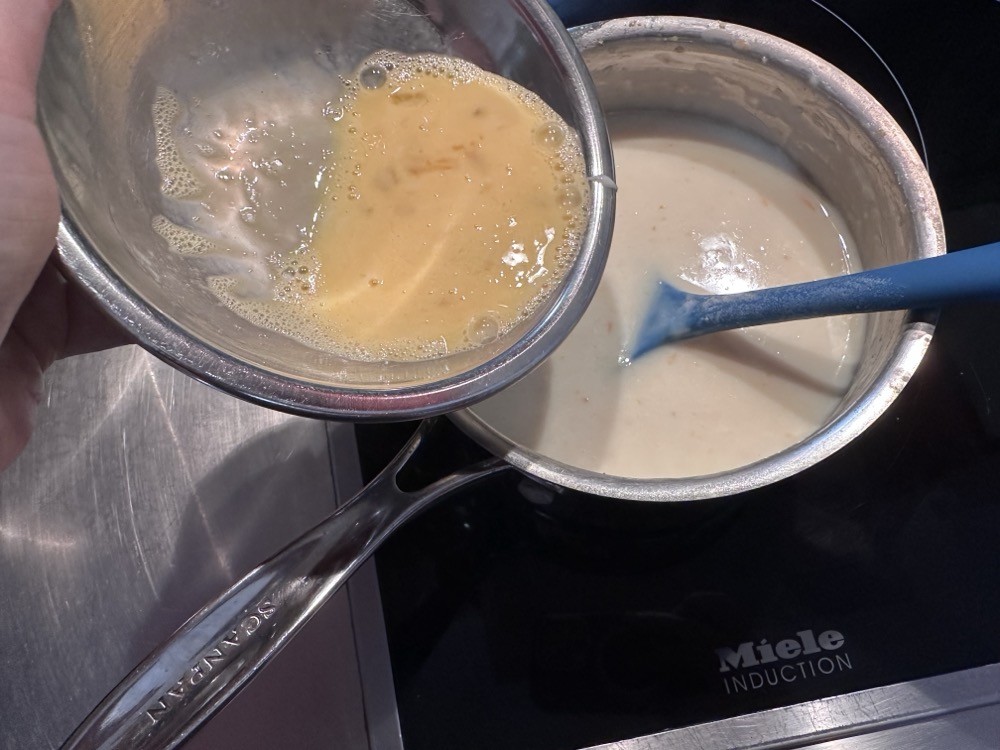
Once it had thickened, I took it off the heat. I used a bit of the hot milk to temper my beaten egg, before pouring the mixture in and whisking.
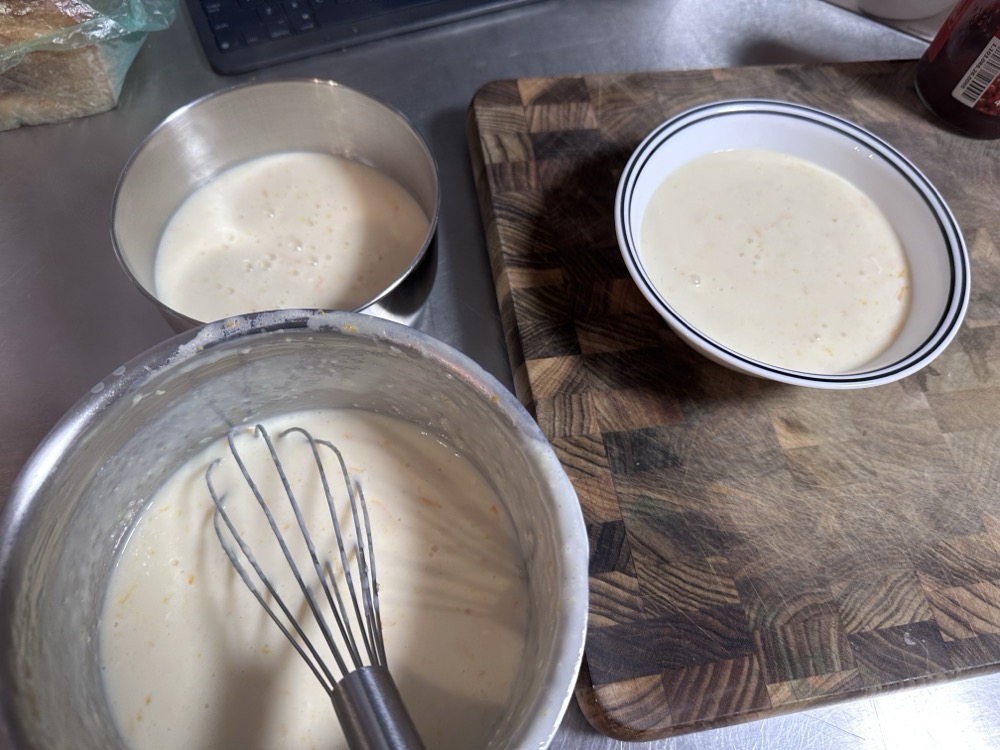
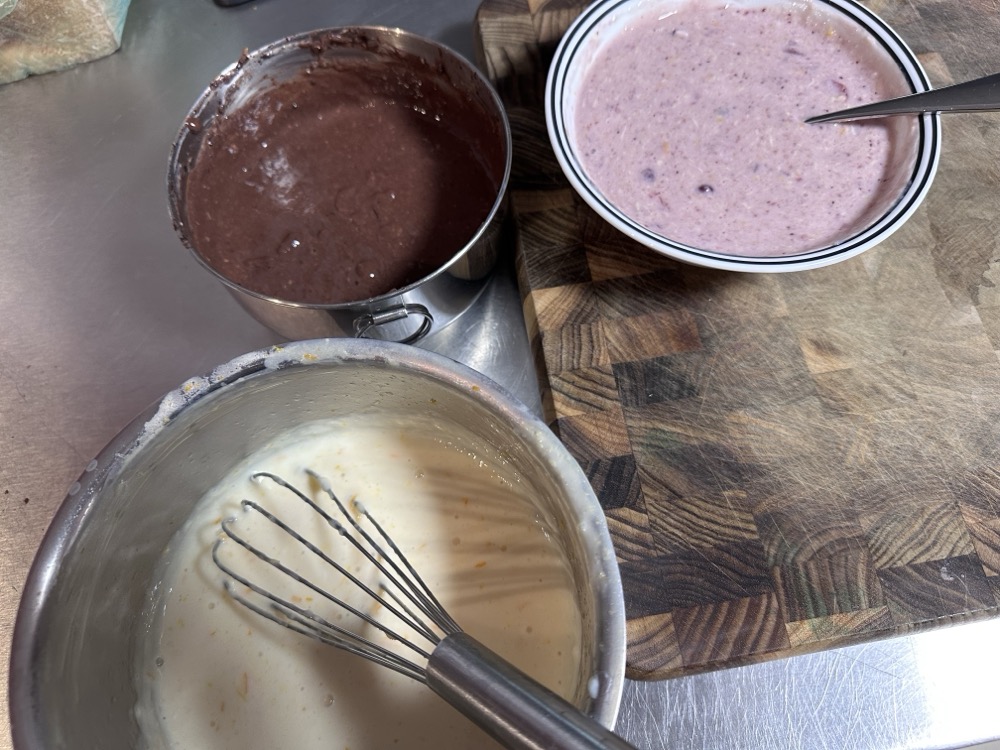
Then I separated the pudding mixture into three parts….
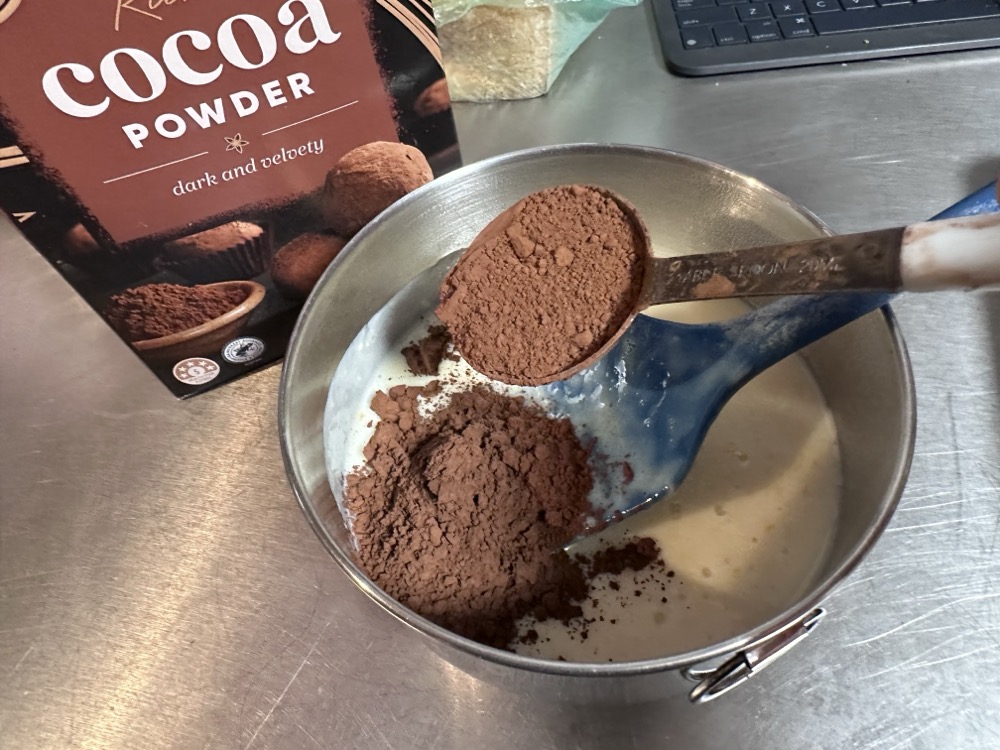
…and turned one into chocolate pudding by mixing in a couple tablespoons of cocoa powder.
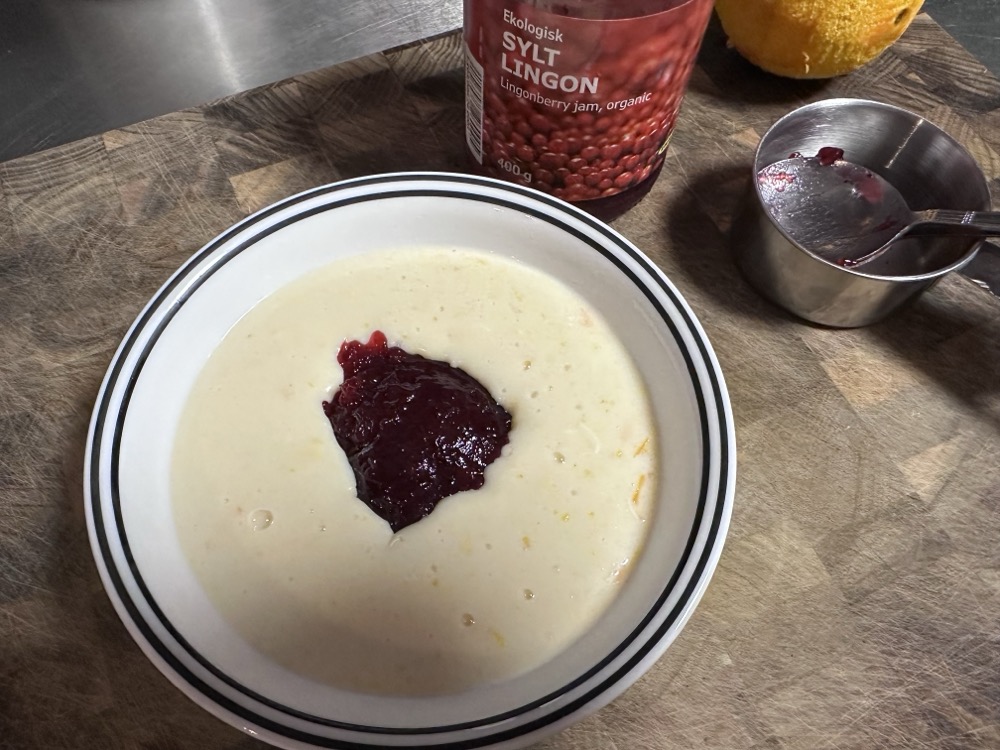
With the second, I added jam and mixed until it turned a pinkish colour.
And here’s where I started to get stumped. The recipe said, “colour the third portion with grated orange peel.” But I already put the grated orange peel in at the start. Did they mean with more orange peel? I don’t really see how that would affect the colour at this point, and besides, I didn’t have another orange anyway. Plus I tasted it and it was plenty orange-flavoured; it definitely didn’t need to be more orange. And I somehow didn’t have any food colouring in the house either. But it was fairly yellowish anyway, so I decided to just leave it.
So I prepped my mould, which was just a large round bowl. Having flashbacks to the “Mysterious Pudding,” I was worried that I wouldn’t be able to “turn out” the pudding once it was set, so I decided to line it with clingfilm. I knew that might wrinkle, but I was willing to deal with that. So I wetted the bowl a bit, spread out my clingfilm, and sprinkled in a few more drops of water as well. And then… well… “Drop into a wetted mould some of the chocolate, then the yellow, then the pink; drop it so that the pudding is well streaked through.” What in the world does that mean? When I originally read it I thought of it as LAYERS, but now it occurred to me that it was saying something else. I reached out to my friends Amy and Jody, as well as my sister:

Everyone voted for blobs. Blobs it is!
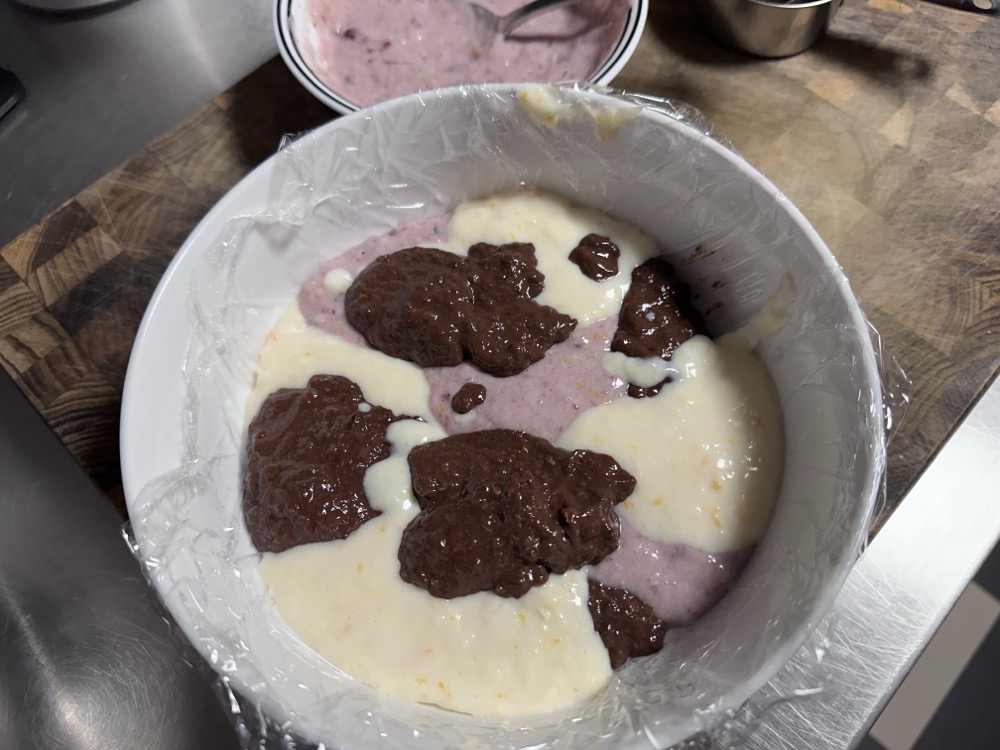
So I started dutifully dropping in blobs of pudding, trying to get a good mix of the three colours.
I think we can all agree this looks NOTHING like a sunset at this point. But remember the recipe: “so that the pudding is well streaked through.” WTF DOES THAT EVEN MEAN.
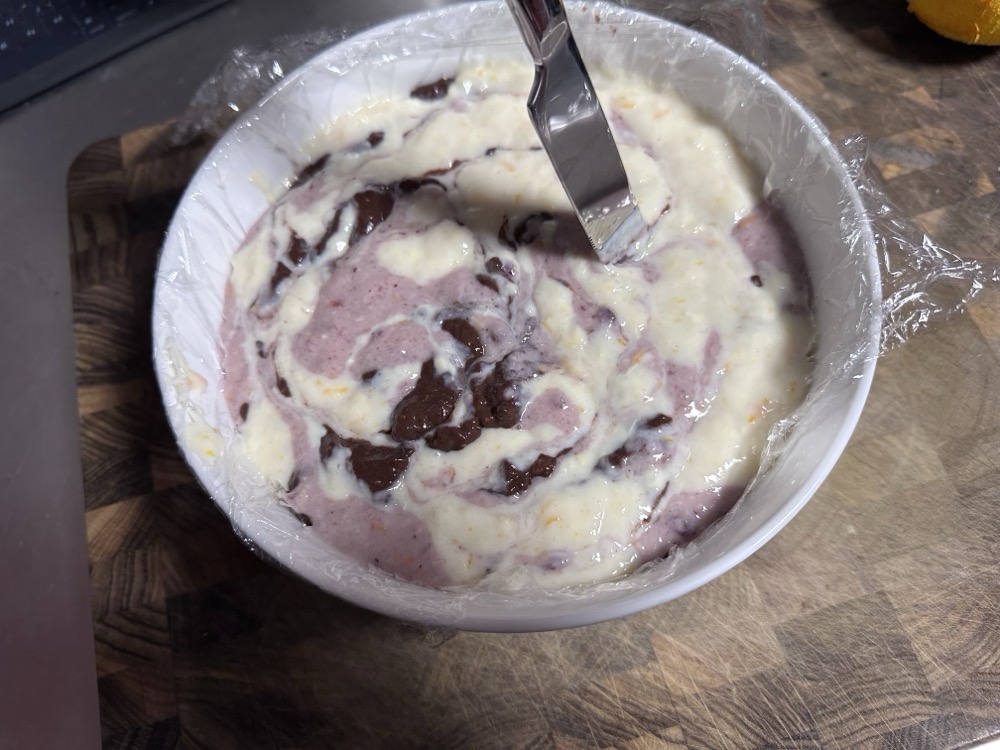
I decided it meant dragging through a knife to marble the three colours together. SO SUNSET, RIGHT?
Then I put it in the fridge overnight to set up.
Guess what? Even after 18 hrs, there was no possibility of turning this thing out of the bowl. It was way way too wobbling in the middle; it would have just splatted everywhere. So I settled on just scooping some out for myself and my guests.
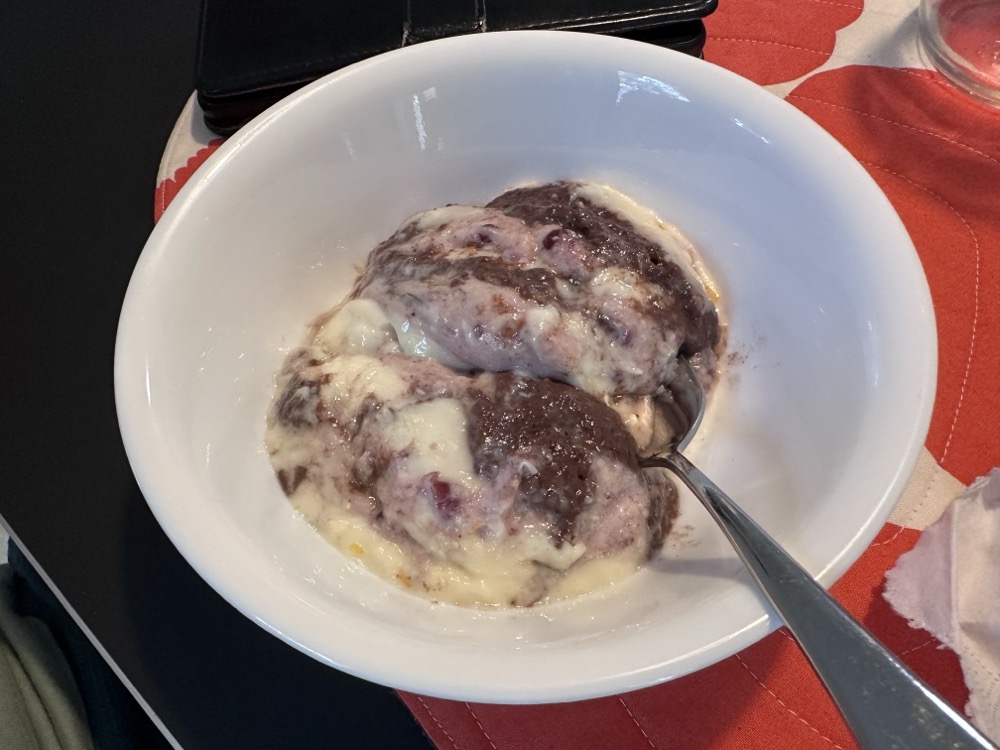
Folks, this was Not Good. Look, I happen to like basic chocolate pudding. I’m not a snob. But I am not a big fan of the chocolate-and-orange combo, of which this is very strong. The texture was also pretty lumpy, despite me whisking the heck out of it and doing my best not to scramble the egg. (I’ve looked at other cornstarch recipes, and the proportions and method here seem in line with them. I think it’s just hard to avoid with this type of pudding unless you’re prepared to put it through a sieve.) And I still don’t get how chocolate pudding, pink pudding, and yellow pudding are meant to look anything like a SUNSET. If you saw a sunset that looked like this, you’d think you were dying.
I have searched online to see if there are any photos of this dessert, but there are none that I could find. Instead I found a version of my cookbook that dates back to 1930, and in it – on March 4th, in fact – is the very same recipe for Sunset Pudding, credited to one Mrs. E. S. Darby of the Condobolin Branch. That explains the reference to cooking over a fire, I guess! And I guess only Mrs. Darby knows for sure what it’s meant to look like. Maybe it isn’t meant to resemble a sunset at all, but instead is a nice pudding to eat while you’re LOOKING AT a sunset? 🤔 But if I make it again, I’m gonna leave out the orange peel…