Tag: cwa1965

  • Bachelor’s Pudding – CWA 1965 Cookbook

    Bachelor’s Pudding – CWA 1965 Cookbook

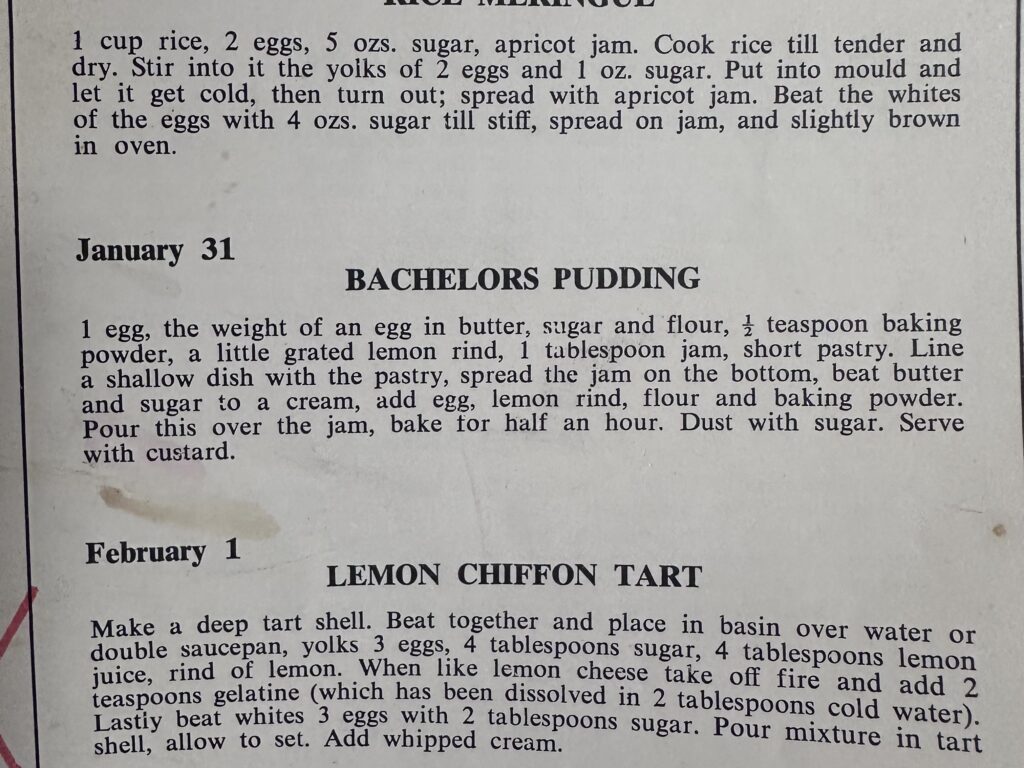
    It’s time for another recipe from 1965! Continuing our vintage cooking experiment, this time I chose the recipe from January 31 – Bachelor’s Pudding – and happily, I think it was a big success! Here’s the recipe:

    Bachelor's Pudding recipe

    There’s quite a lot crammed into only six lines…
    1 egg, the weight of an egg in butter, sugar and flour, 1/2 teaspoon baking powder, a little grated lemon rind, 1 tablespoon jam, short pastry. Line a shallow dish with the pastry, spread the jam on the bottom, beat butter and sugar to a cream, add egg, lemon rind, flour and baking powder. Pour this over the jam, bake for half an hour. Dust with sugar. Serve with custard.

    First up, what even is “bachelor’s pudding”? Of course, “pudding” is used here in the British sense, meaning simply “dessert.” If you search for “bachelor’s pudding” online, you’ll find lots of old recipes that have currants and breadcrumbs in them… and this recipe has neither. I liked this explanation the best: “Nobody knows for sure how Bachelor’s Pudding got its name but it is suggested that the frugal ingredients lend themselves to single men on minimal means.”

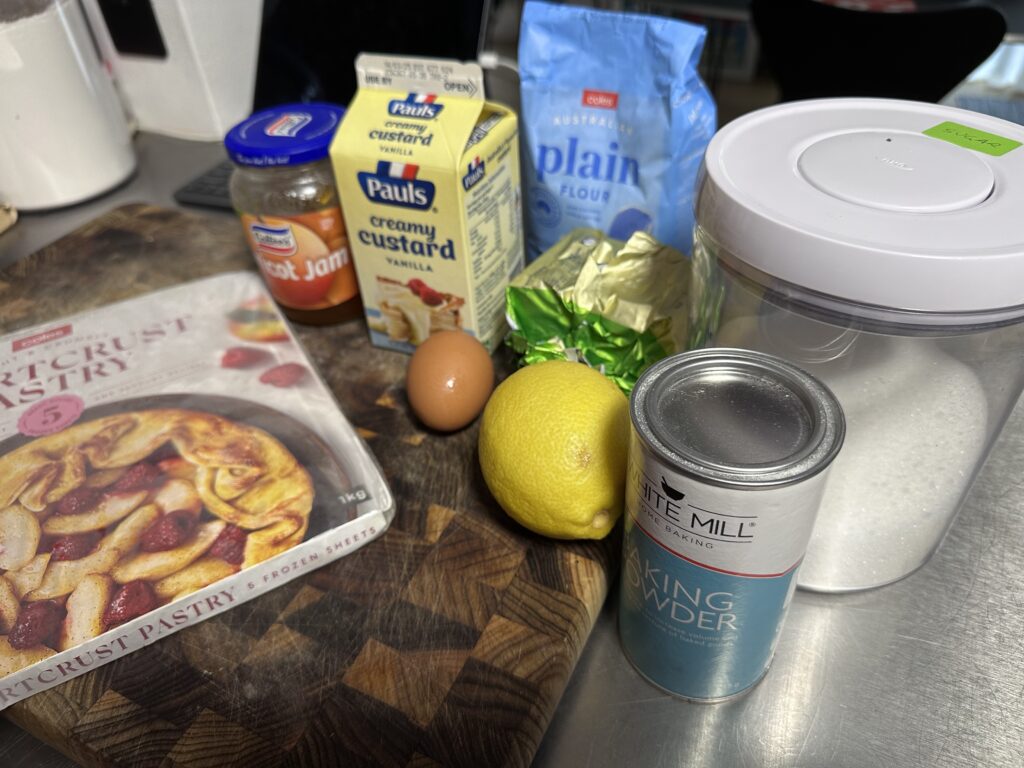
    Ingredients for Bachelor's Pudding

    I wasn’t sure whether a CWA wife in 1965 would be making her own short pastry or not. The recipe just seems to assume that you have some. I decided to keep things simple and go with a sheet of frozen shortcrust. I also went with a carton of custard. For the jam, I went with good ol’ Cottee’s apricot, which I figured would have been easily available at the time.

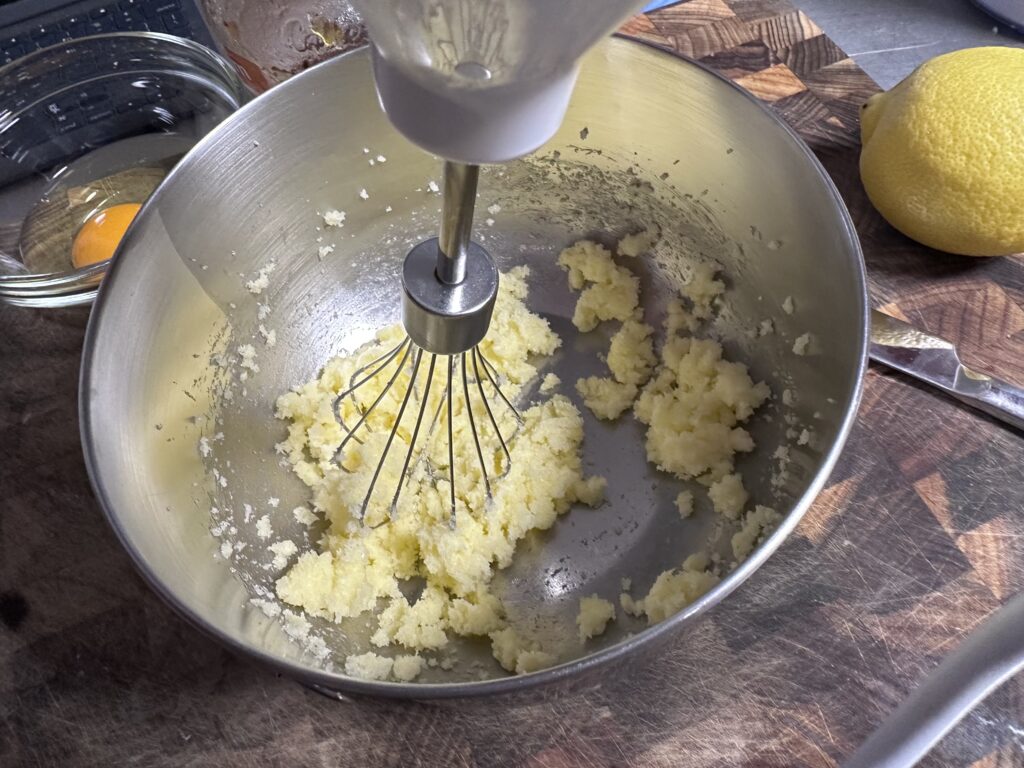
    Creaming the sugar and butter

    I started by cracking my egg and weighing it, and it ended up around 55g. So I put that much butter and sugar in my mixing bowl and creamed them together.

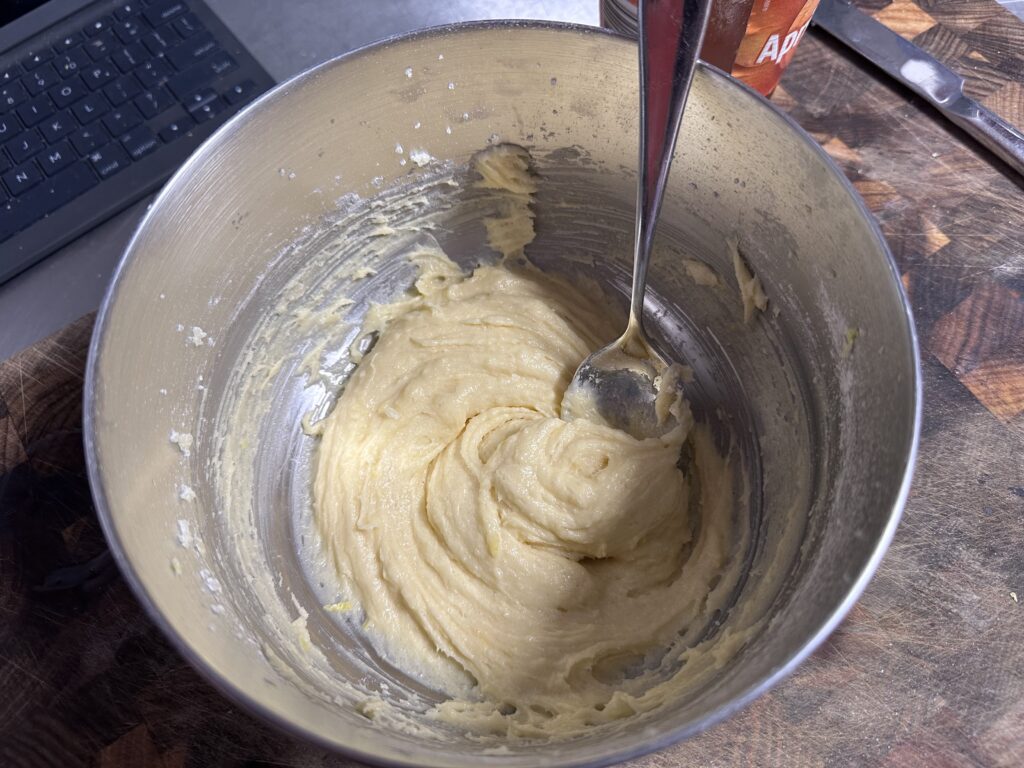
    Batter mixture

    Then I added the egg, lemon rind, flour, and baking powder. It came together into a creamy batter.

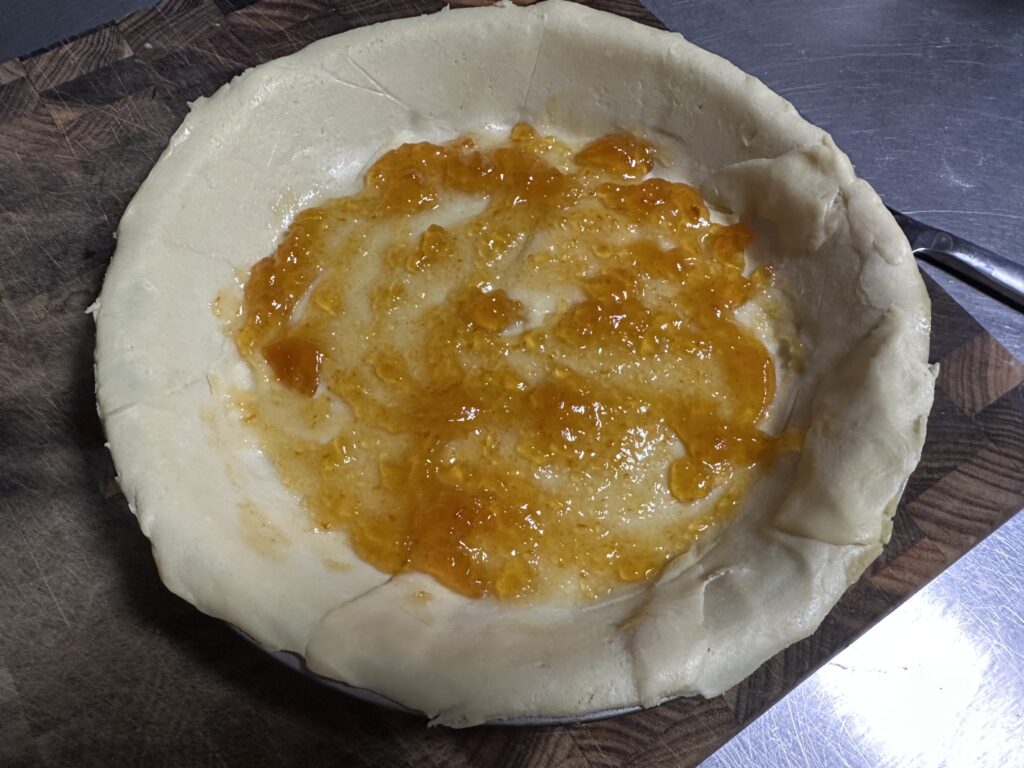
    Dough and jam

    Rodd and I debated on what an appropriate “shallow dish” would be and decided to go with a simple small metal pie plate. I buttered it (not in the recipe but I figured it couldn’t hurt) and then lined it with my thawed sheet of shortcrust, sealing the cracks as best I could. Then I spooned in some apricot jam (probably a little more than the recipe called for) and spread it around.

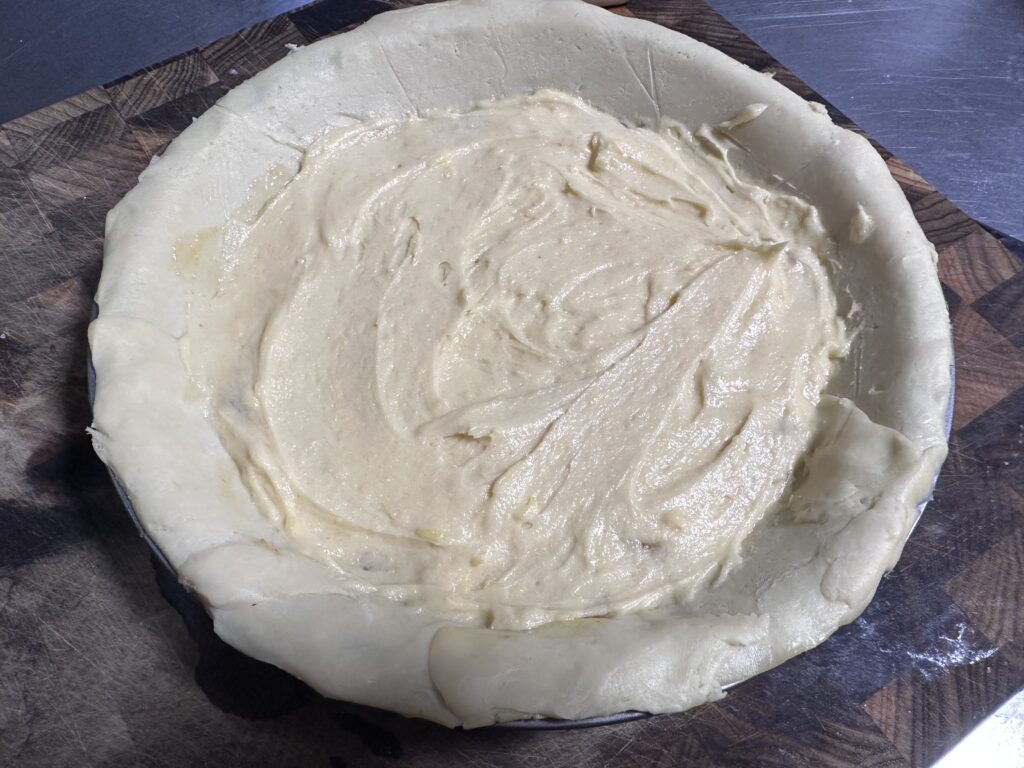
    Covered in batter

    The batter certainly wasn’t pourable, so instead I spooned it on and then smoothed out as best I could. I’m glad I didn’t go with a bigger dish, as it didn’t even come close to filling it.

    The recipe doesn’t give any guidance as to baking temperature, so I figured I’d go with 180C / 350F and just keep an eye on it.

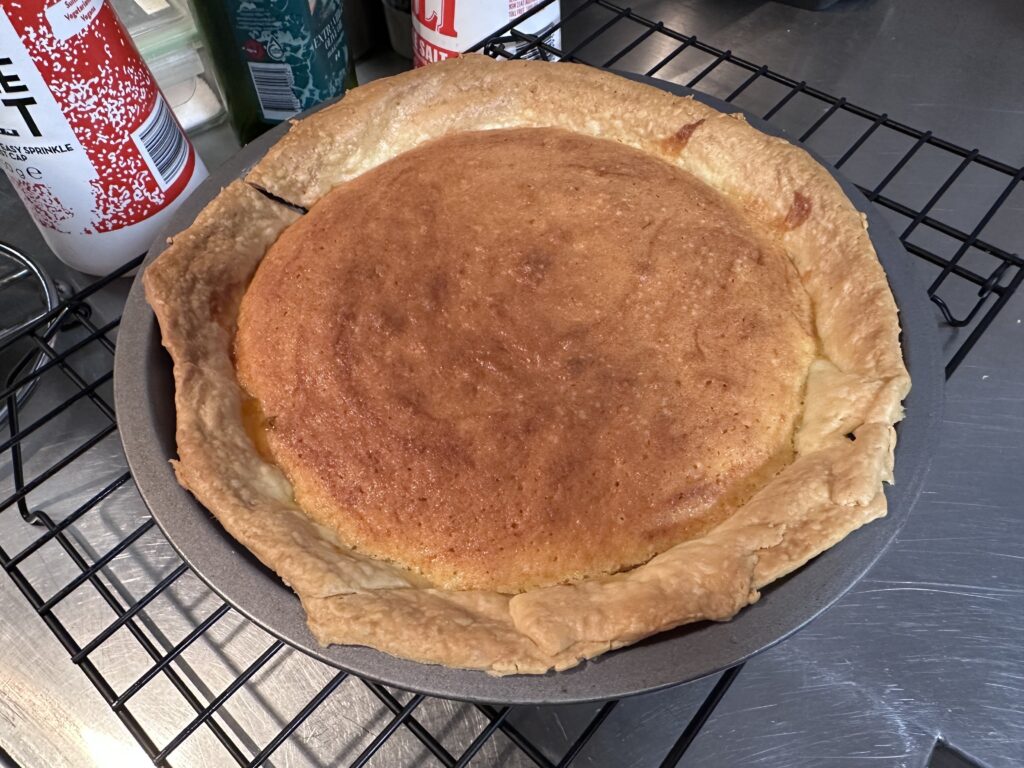
    Baked pudding

    It actually worked really well! The batter puffed up a bit and the pastry shrank, so I think the proportions actually worked. By 30 minutes it was nice and golden so I pulled it out to cool.

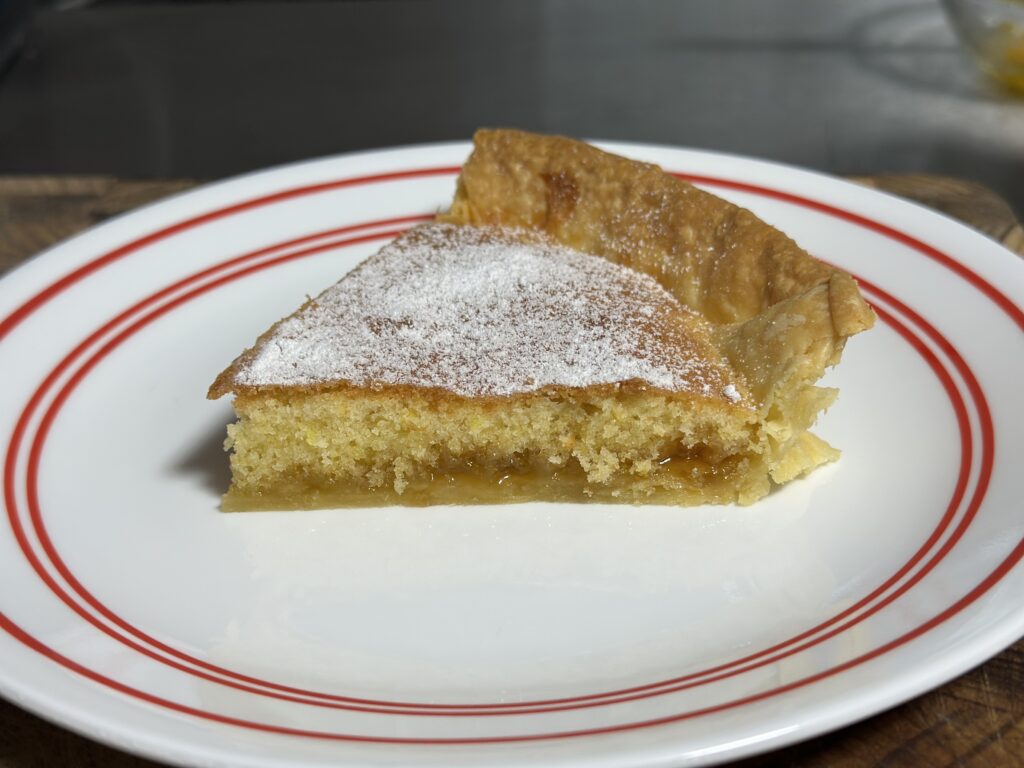
    Sprinkled with powdered sugar

    I sprinkled it with some sifted powdered sugar and then cut it into pieces. It came out cleanly, and the bottom wasn’t too soggy despite the lack of blind baking. You can clearly see the jam layer. I was quite impressed!

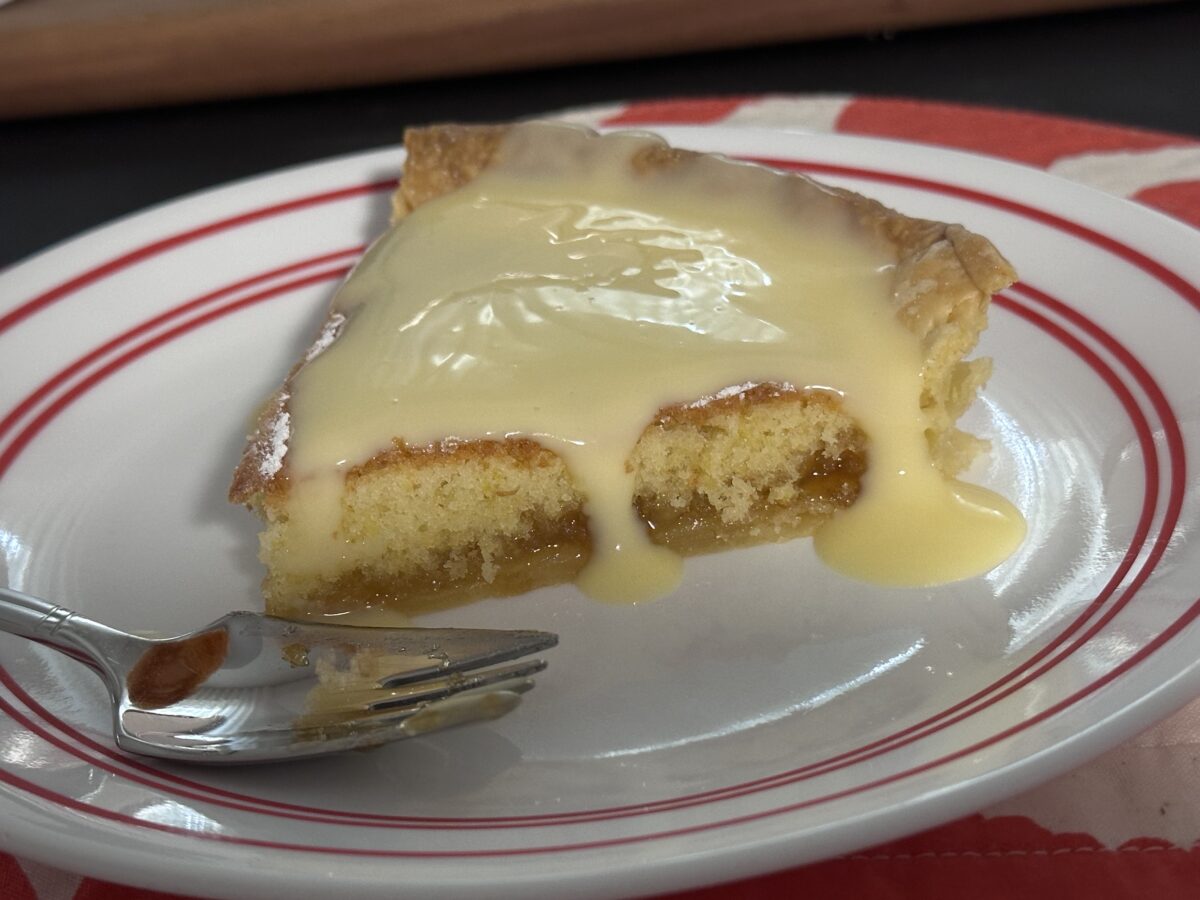
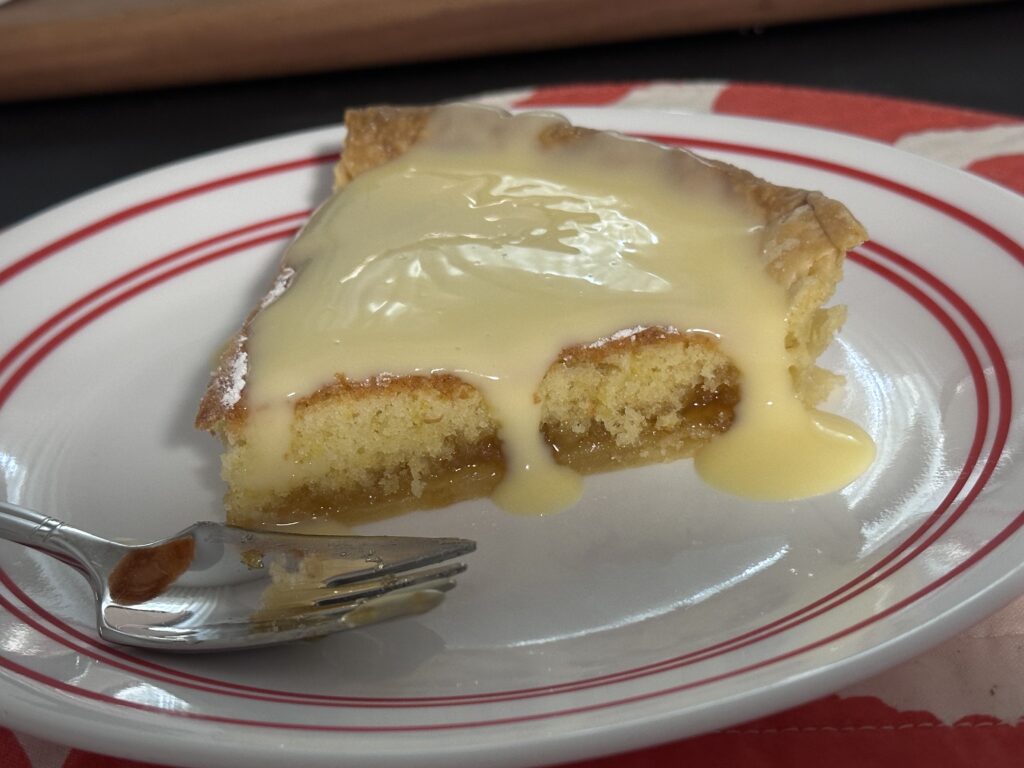
    Bachelor's Pudding with custard

    And here it is, served with custard for afternoon tea! It was quite tasty – sweet but not overly so. I think I could’ve gone with more lemon zest as it got lost a bit.

    We debated on how you’d modernise this. Obviously you could make your own pastry and custard, which would certainly zhush it up. I think you could also experiment with the jam layer and try a few different things in there. (Kaya pudding?!) But overall this one was pretty good as is, even with the shortcuts I took and the vagueness of the recipe. Big thumbs up! 👍

  • Coffee Velvet – CWA 1965 Cookbook

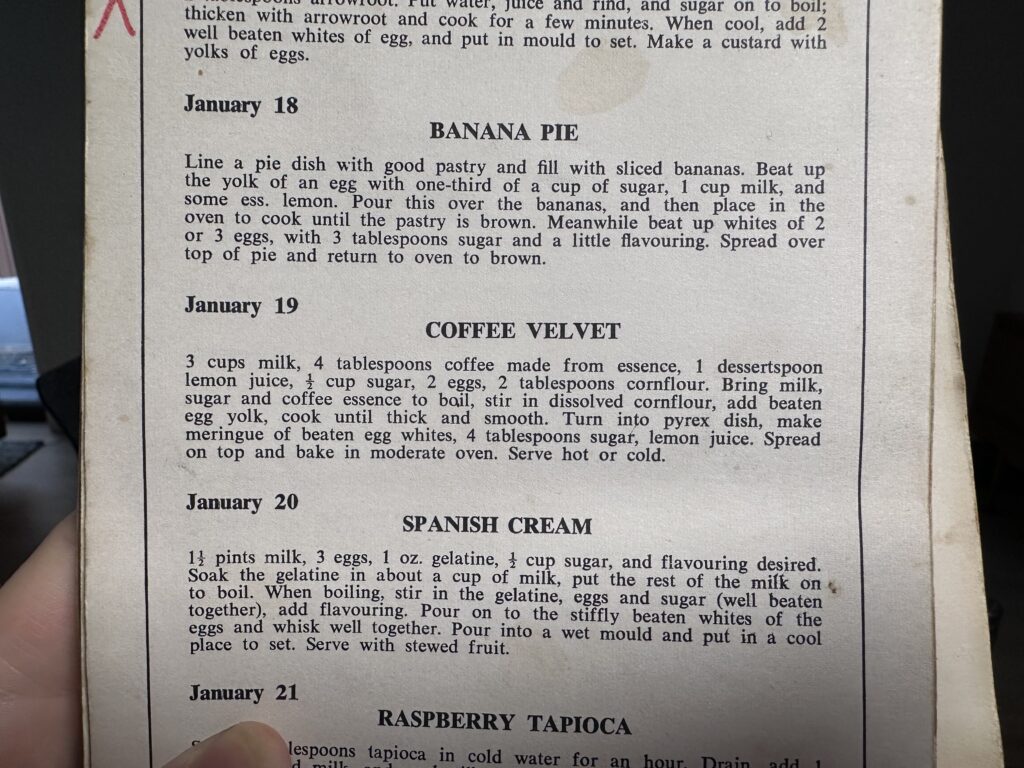
    It’s time for another recipe from 1965! Continuing our vintage cooking experiment, we chose a tasty looking recipe from January 19 – Coffee Velvet. Sounds good, right? However, it resulted in our first unmitigated FAILURE. First, the recipe:

    Coffee Velvet recipe

    The very, very vague instructions:

    3 cups milk, 4 tablespoons coffee made from essence, 1 dessertspoon lemon juice, 1/2 cup sugar, 2 eggs, 2 tablespoons cornflour. Bring milk, sugar and coffee essence to boil, stir in dissolved cornflour, add beaten egg yolk, cook until thick and smooth. Turn into pyrex dish, make meringue of beaten egg whites, 4 tablespoons sugar, lemon juice. Spread on top and bake in moderate oven. Serve hot or cold.

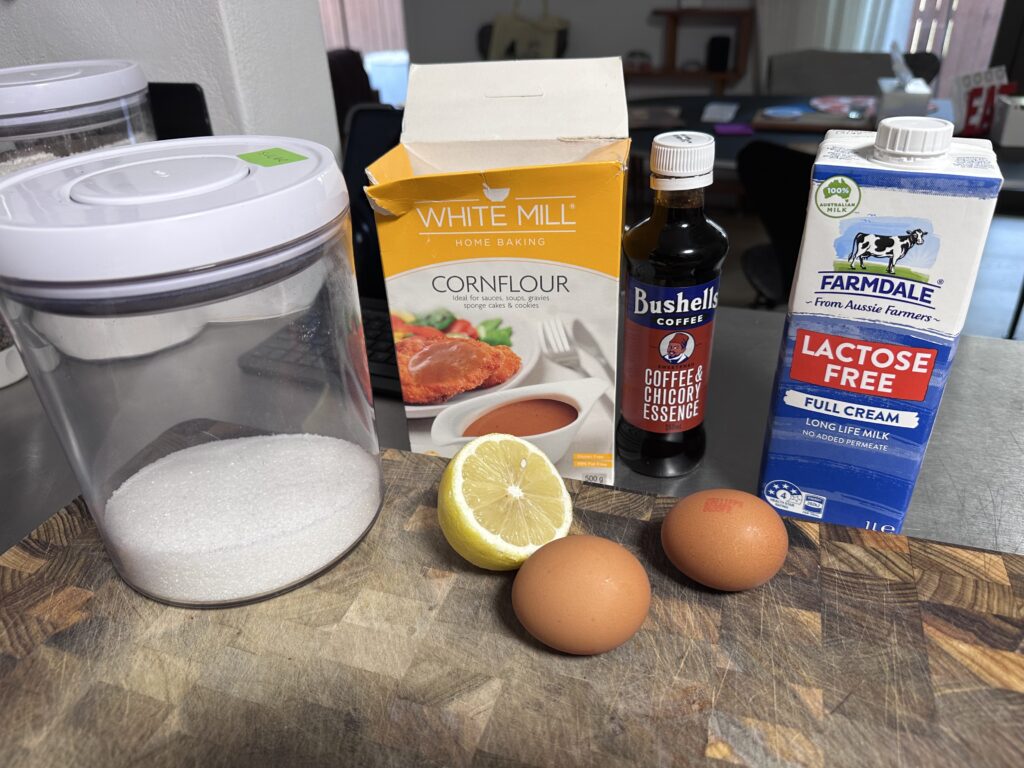
    Okay, first up: coffee essence. We went with Bushells Coffee and Chicory Essence as it’s an old-fashioned Aussie ingredient, used in many traditional baking recipes. We opened it up and yowza, it’s basically very strong, very sweet coffee syrup. Here it is with everything else.

    Ingredients for Coffee Velvet

    First I had to make the custard. You would not believe the debate we had about the coffee part. I argued that “4 tablespoons coffee made from essence” meant that I needed to make up a cup of coffee essence plus water as if I was going to drink it, and then take 4 TB from that. However, I could not find a single recipe telling me what ratio of essence to water to use. (The bottle label recommends you put it in milk to make a milky drink with whipped cream.) The Snook however argued that I should use the ratio on the bottle to simply add enough syrup for 3 cups of milk, as if I was making a pot of that drink. His way would’ve involved a lot more syrup, so we settled on starting with 2 teaspoons and then eventually adding a third. I also cut back on the sugar a bit as these recipes are always way too sweet.

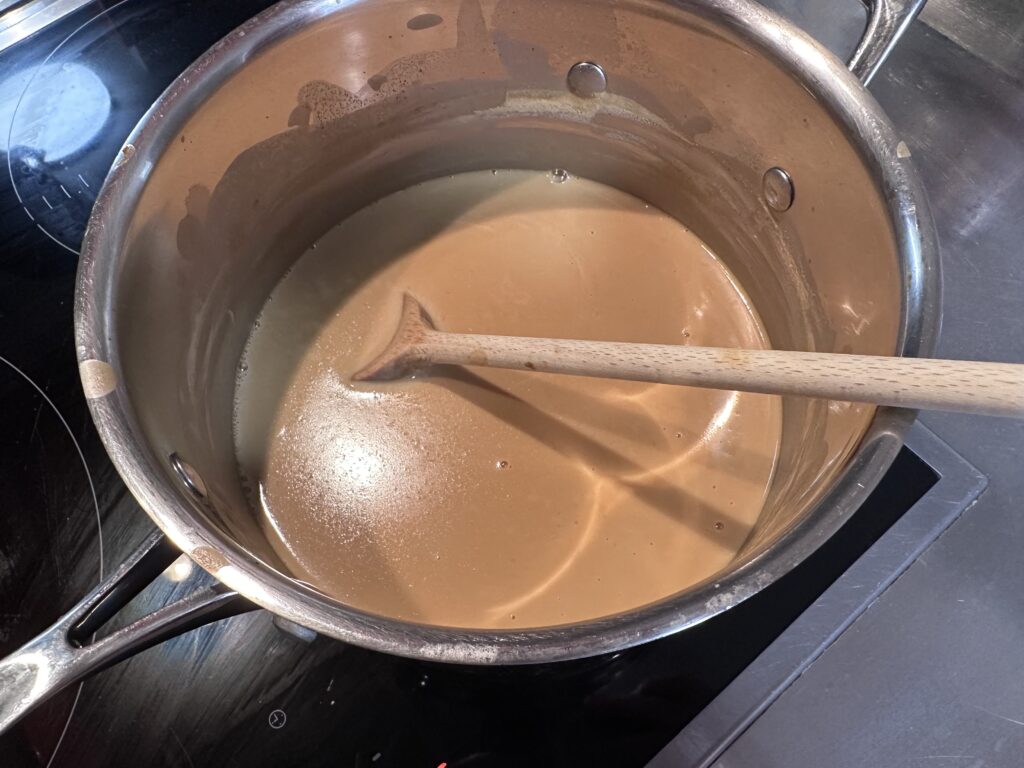
    The recipe also has you pour beaten egg yolks straight into very hot milk, which seemed like something we should alter. I decided instead to temper the eggs by adding a couple spoonfuls of the mixture to the eggs. That seemed to work well, and eventually I had it all coming together in the pot. My only concern was the amount of cornflour, which seemed pretty low. (I dissolved it first in a shot glass of water.) I started to worry it wouldn’t set… which, as it turns out, was a valid concern.

    Coffee custard

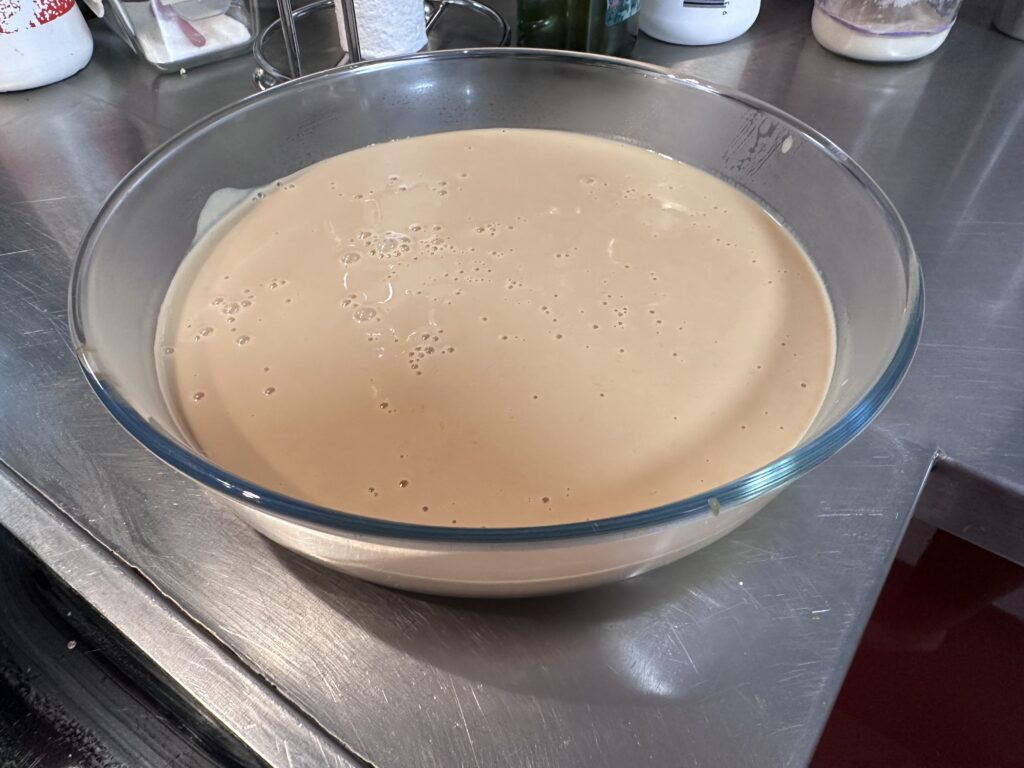
    But anyway, once it was thick enough to coat the back of the spoon, I poured it into my pyrex dish and set it aside to cool a bit.

    Coffee custard

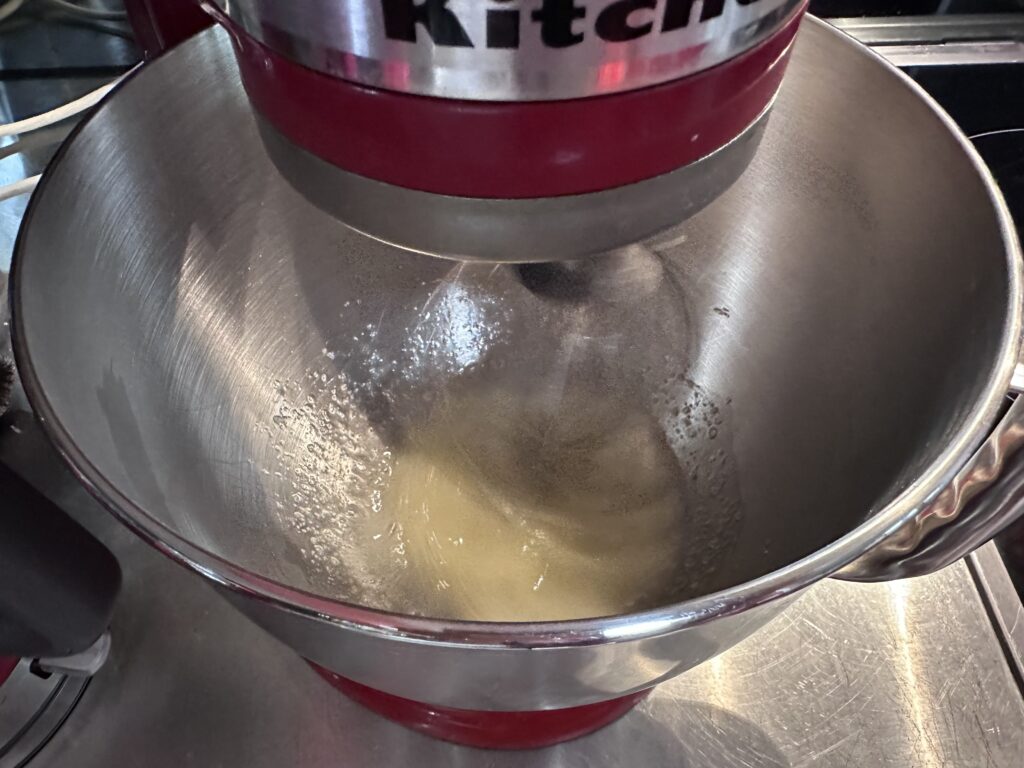
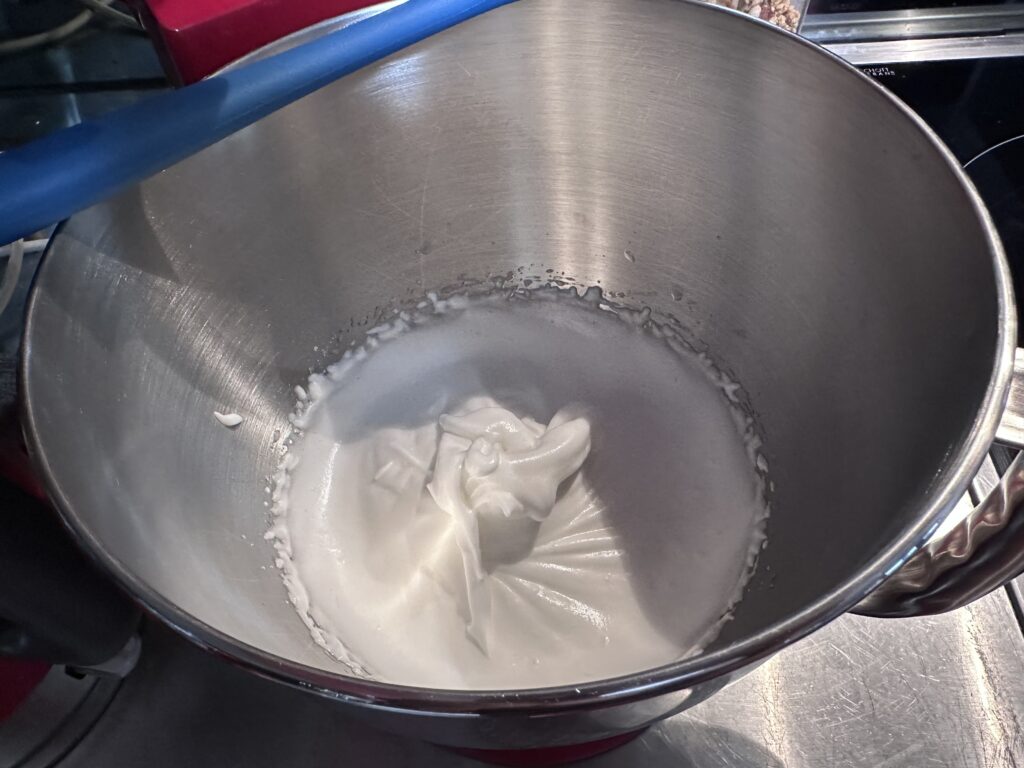
    On to the meringue! I’m not an expert meringue maker, but I did know to make sure my bowl was clean and free of any fats. I did not know, however, that I should whip the eggs before adding the sugar. I don’t think it made much difference though.

    Beating egg whites and sugar

    See? I still got stiff peaks.

    Meringue

    The custard was still very liquid, so I sort of floated islands of meringue on top until I could smooth them out and cover it completely.

    Next mystery: what’s a “moderate oven”? I did some googling and consensus seemed to be about 180C / 350F. So I preheated the oven and set the dish inside to hopefully start solidifying.

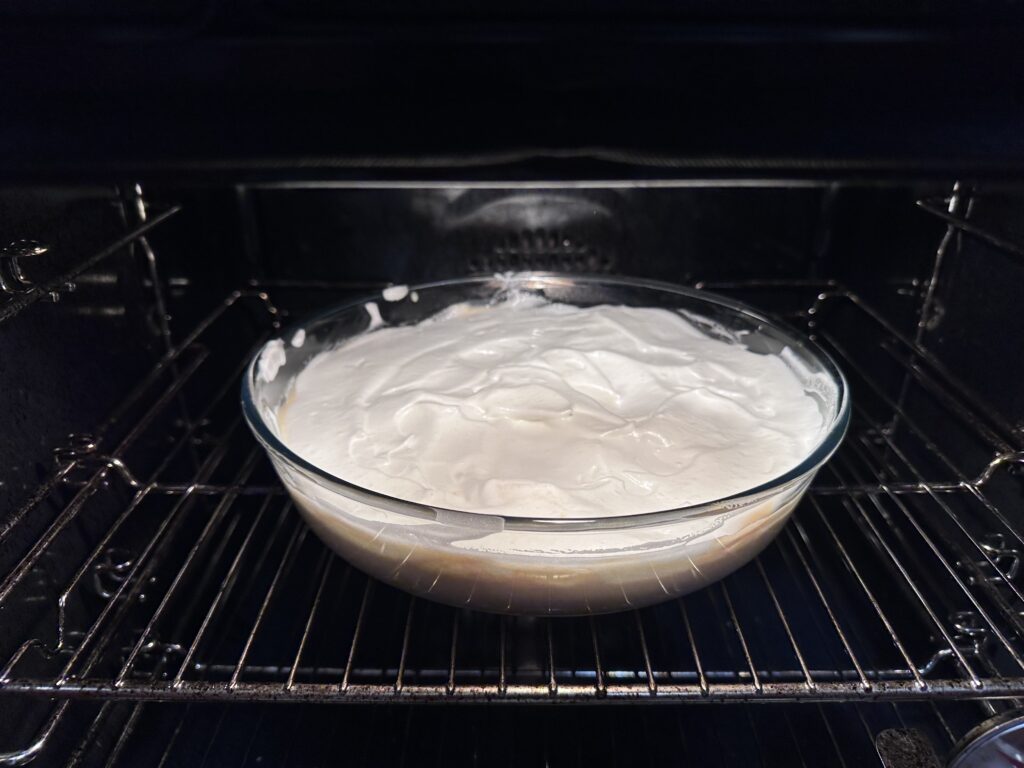
    Custard covered with meringue

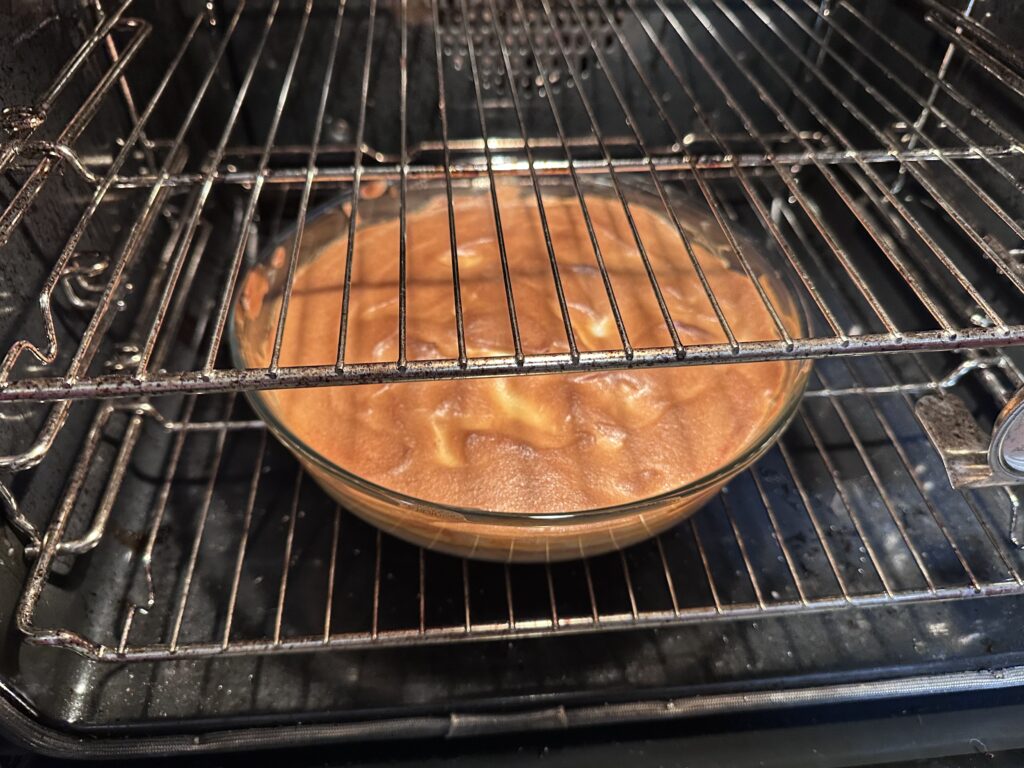
    We obviously had no idea how long it would take to cook. I checked on it after 25 minutes and EEEEEK. 😱 The meringue was getting very brown, but I could tell by moving the dish that it was still essentially just hot liquid underneath. I turned the oven down to 150C / 300F and moved the dish to the lowest shelf, hoping that would keep it from overbrowning while it continued to cook.

    Baking Coffee Velvet

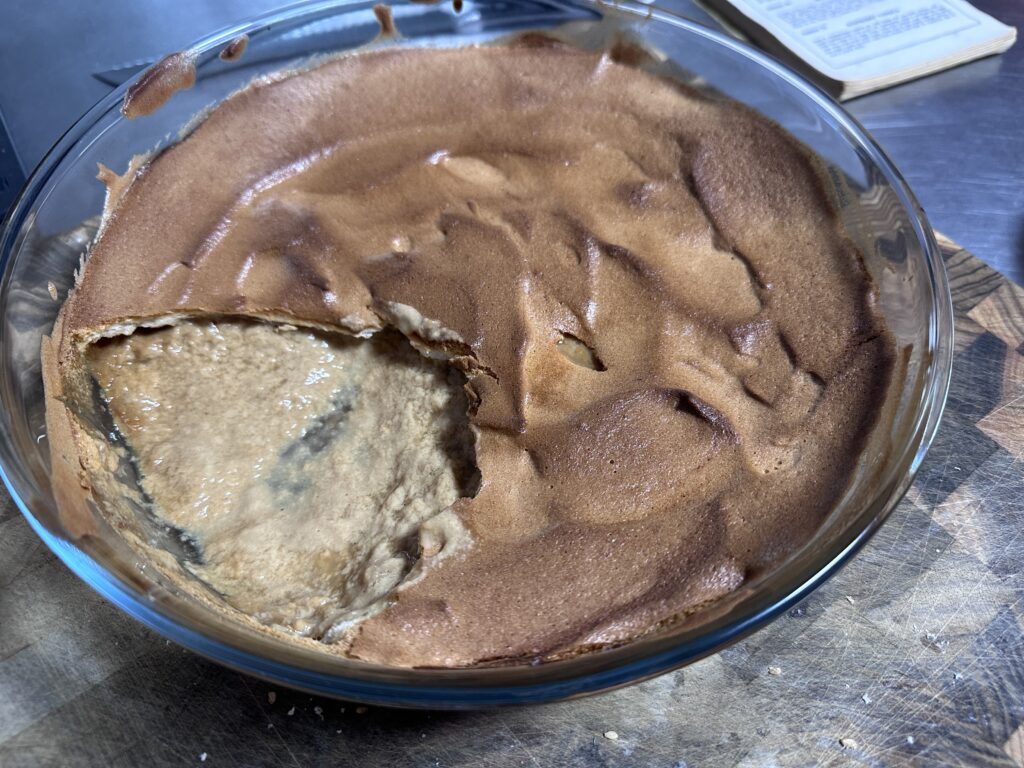
    Eventually it became clear after nearly an hour of baking that no solidification was happening, so I pulled it out. Maybe, I reasoned, it would work better chilled? So after it cooled down, I put it into the fridge for a few hours. Later that night once it was thoroughly cold, I pulled it out to give it a try.

    Folks, it was Not Good. Well, actually it tasted all right. It’s basically coffee-flavoured milk and sugar, right? But the custard had completely split in the oven, and it was like grainy scrambled eggs in there. It never solidified at all.

    Split custard

    So, THAT was disappointing. But as with our previous experiment, the Snook was inspired to try to modernise and improve on the recipe. He did some research and discovered something called a Flan Pâtisserie, which is basically a French custard tart. He looked at several recipes for it and realised that they were all pretty similar to the ingredients called for in our 1965 book, just in a different ratio. He then came up with his own recipe for a small serving:

    1 egg + 1 yolk ~70g
    80g sugar
    28g cornstarch
    ~ 1.5c milk
    Tiny pinch salt
    40mL espresso
    Pat of butter 

    Bake 180 fan. 40 minutes. Then top with meringue:

    37g egg whites
    75g powdered sugar
    Dash lime juice
    Vanilla

    Blow torch.

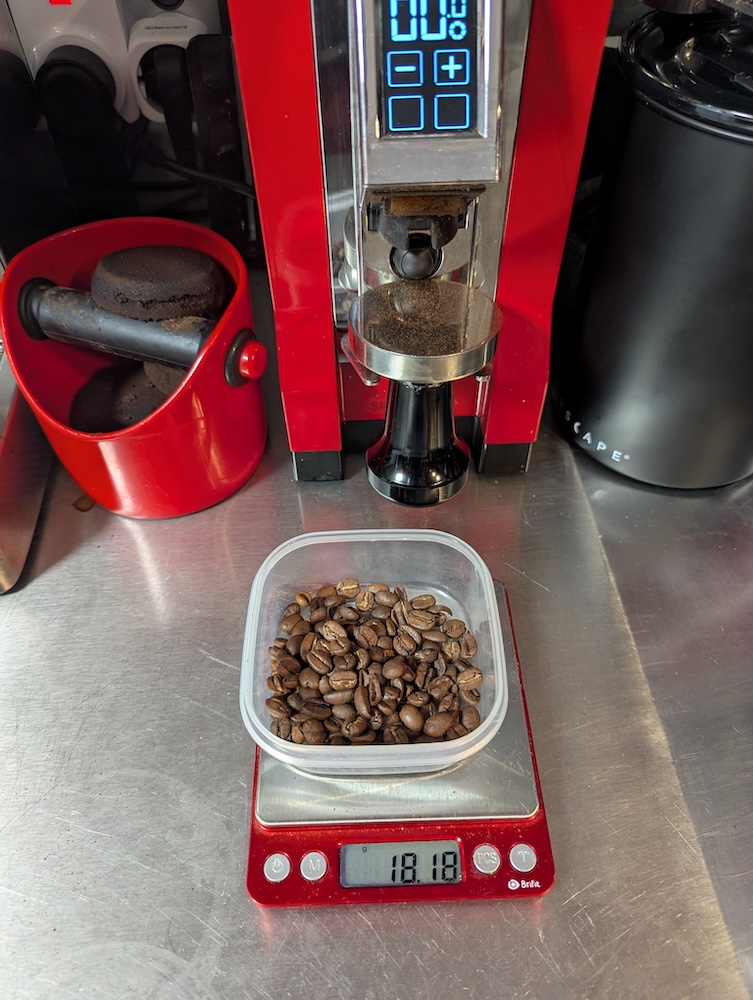
    He documented his process for posterity. First, he weighed out 18g of beans, which is what he uses for a 40mL double shot in our machine.

    Weighing coffee beans

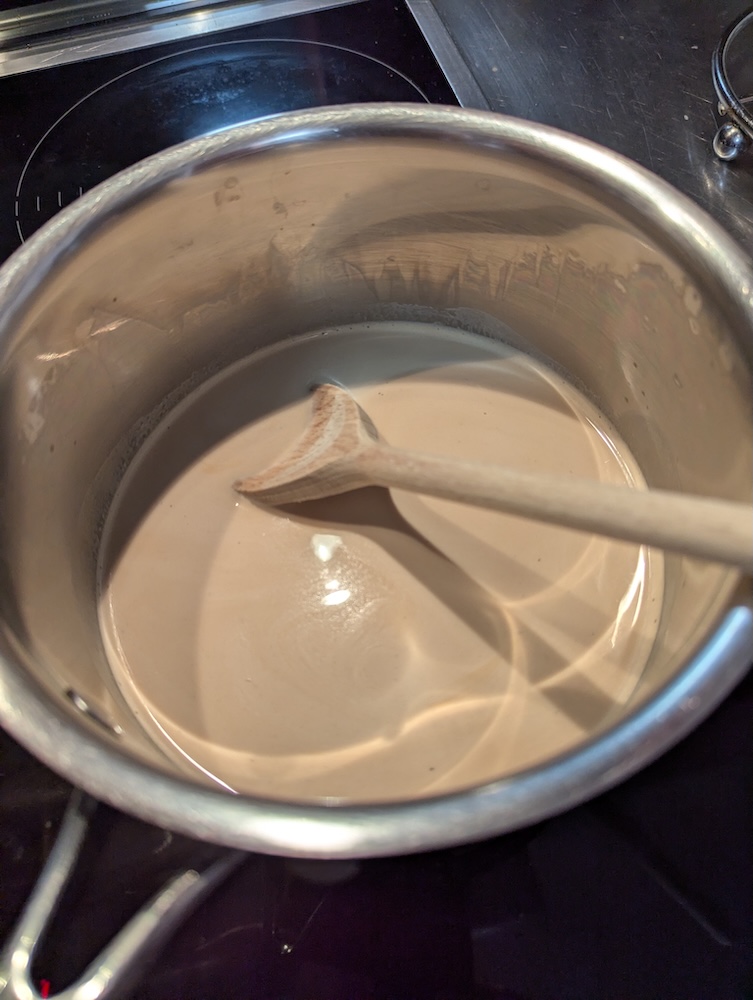
    Then he started heating up the milk gently…

    Heating the milk

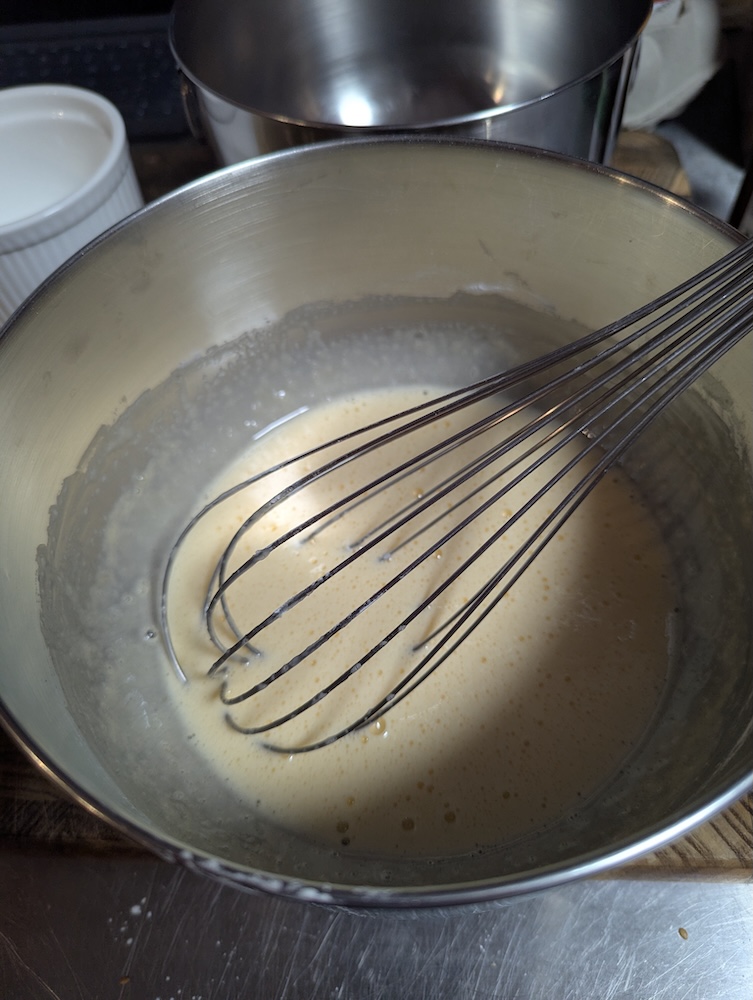
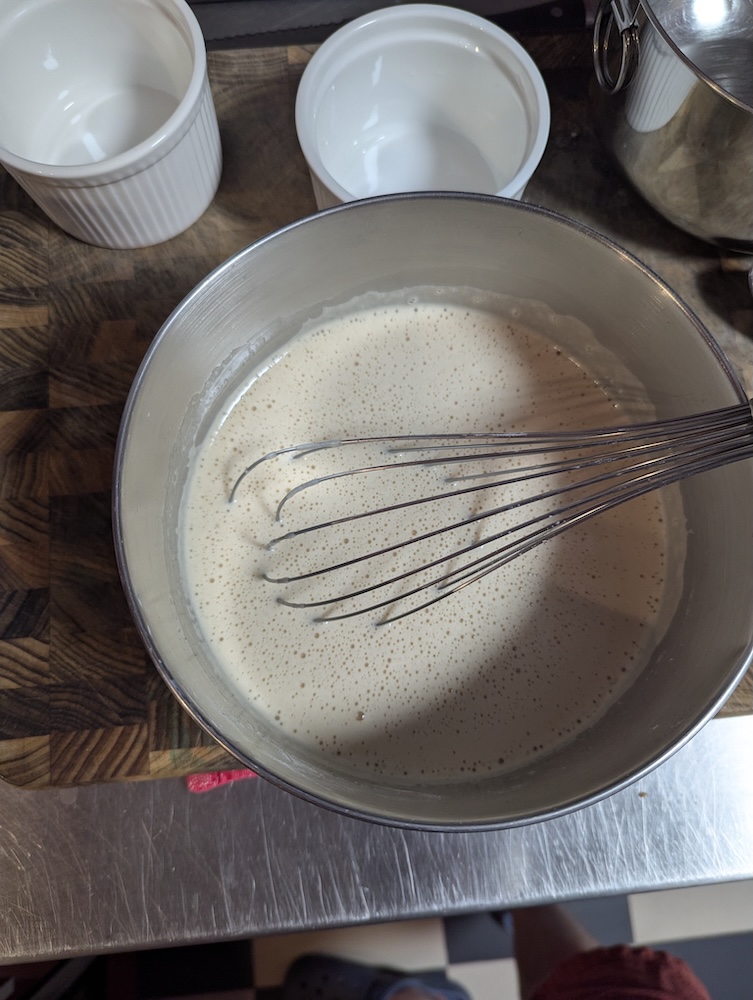
    …while he whisked the eggs, sugar, and cornstarch together.

    Whisking eggs, sugar, cornflour

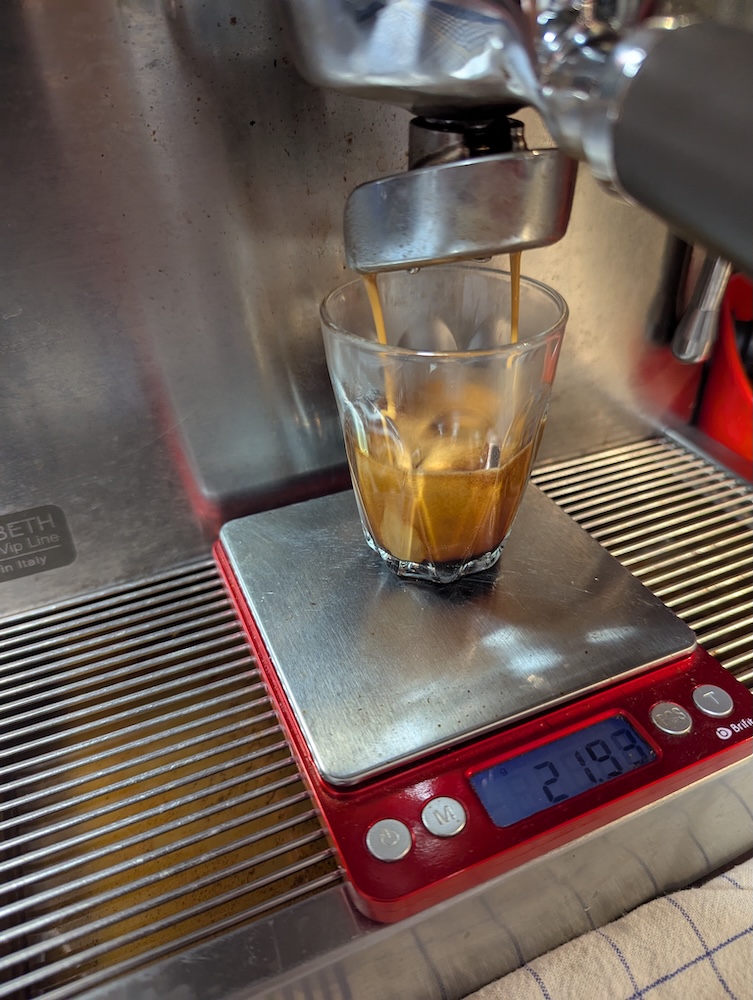
    Then it was time to make the coffee! He ground the beans and pulled a 40mL double shot.

    Making espresso

    He then added the coffee and salt to the milk mixture.

    Coffee milk mixture

    He then used the hot coffee milk mixture to temper the egg mixture, eventually pouring all the milk into the eggs.

    Eggs and sugar mixture

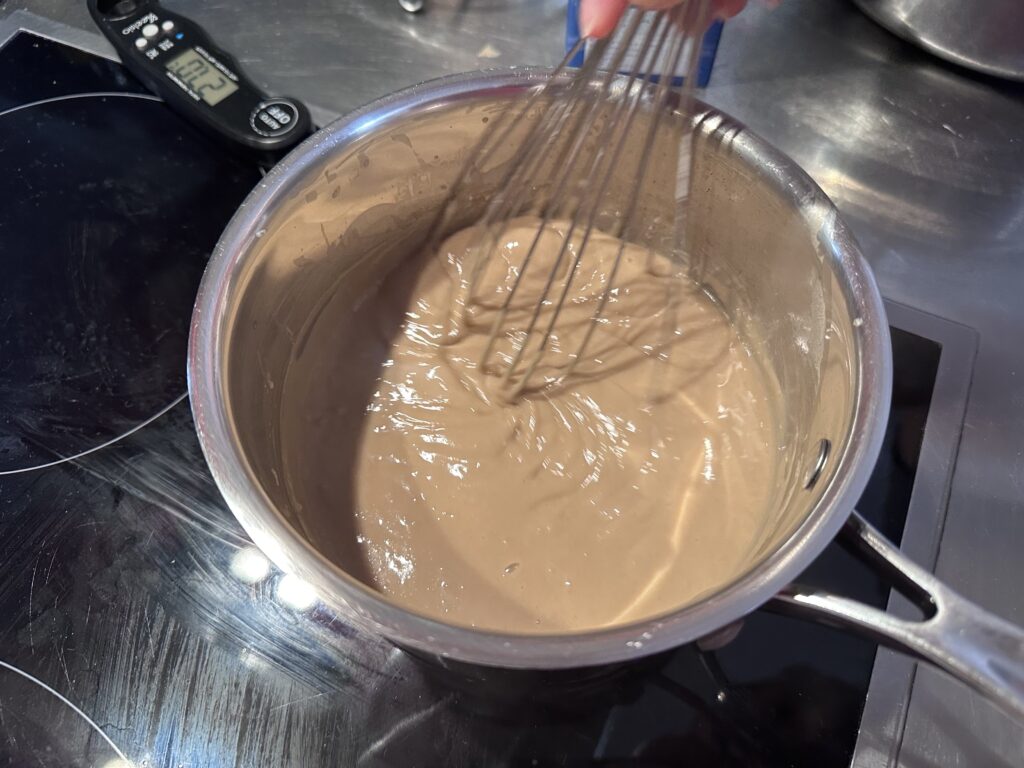
    That went back into the pan and over heat, where he cooked it until it thickened up.

    Cooking the custard

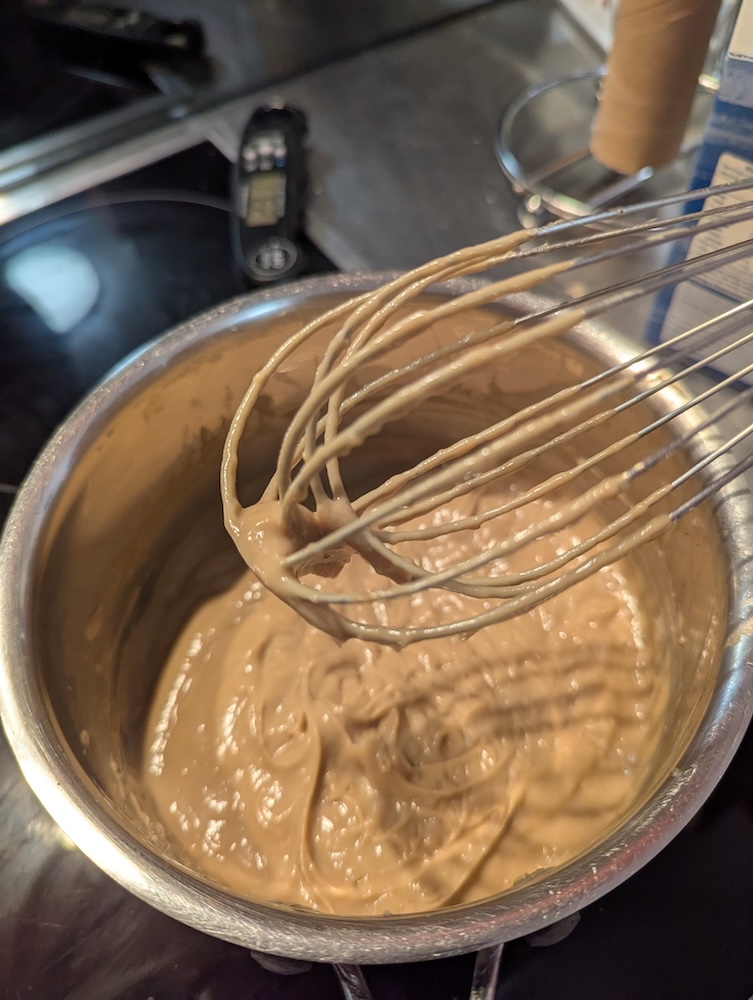
    His custard ended up WAY thicker than mine! The secret, he said, was “way more cornstarch.” (He was supposed to stir in a pat of butter at this point, but he forgot.)

    Very thick custard

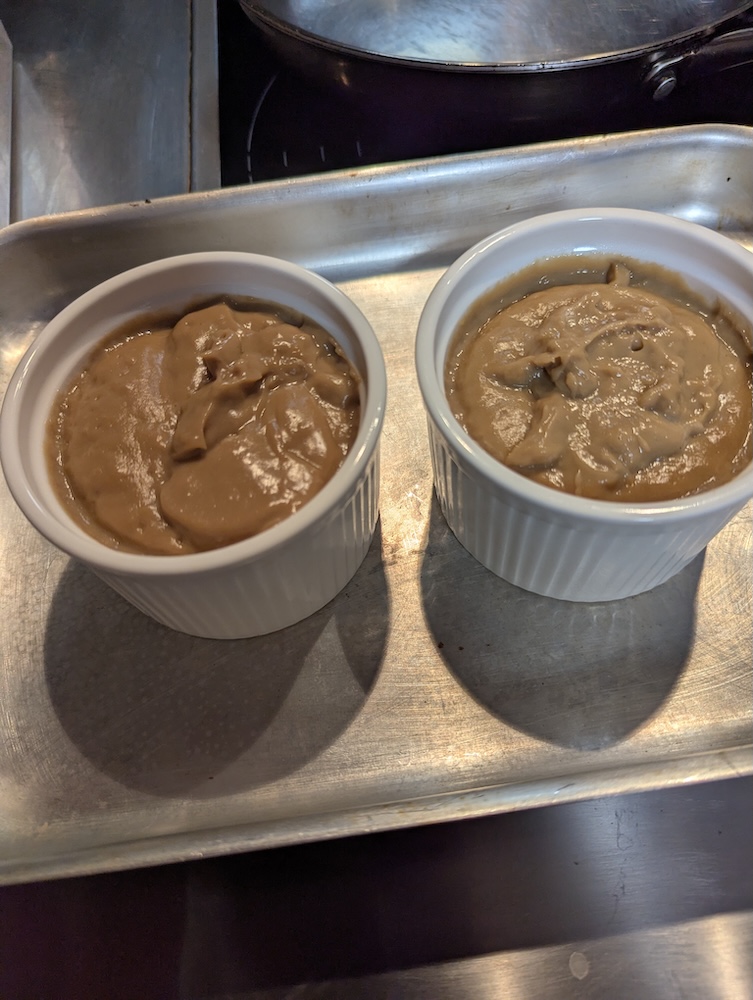
    He filled two small ramekins with it…

    Ramekins

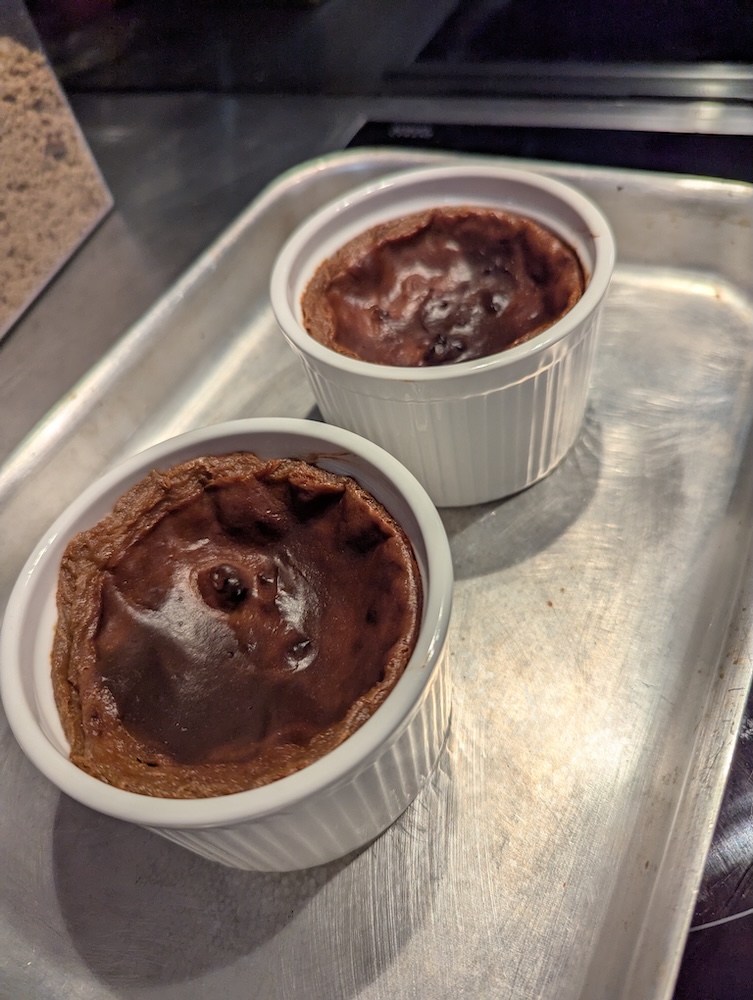
    …and baked in 180C / 350F fan-forced oven for 40 minutes. When they came out they were puffed up, but then sank as they cooled.

    Baked ramekins

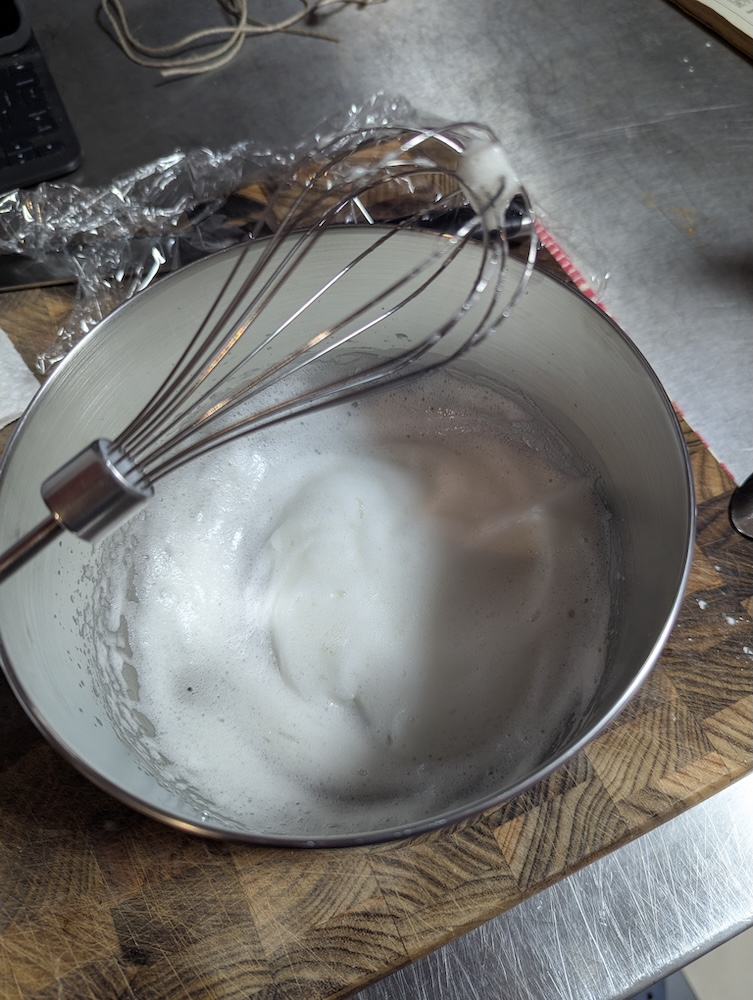
    He mixed up his meringue, and as he is an expert meringue maker, he knew to whisk the egg whites first and THEN add the sugar. 😐

    Whisking egg whites

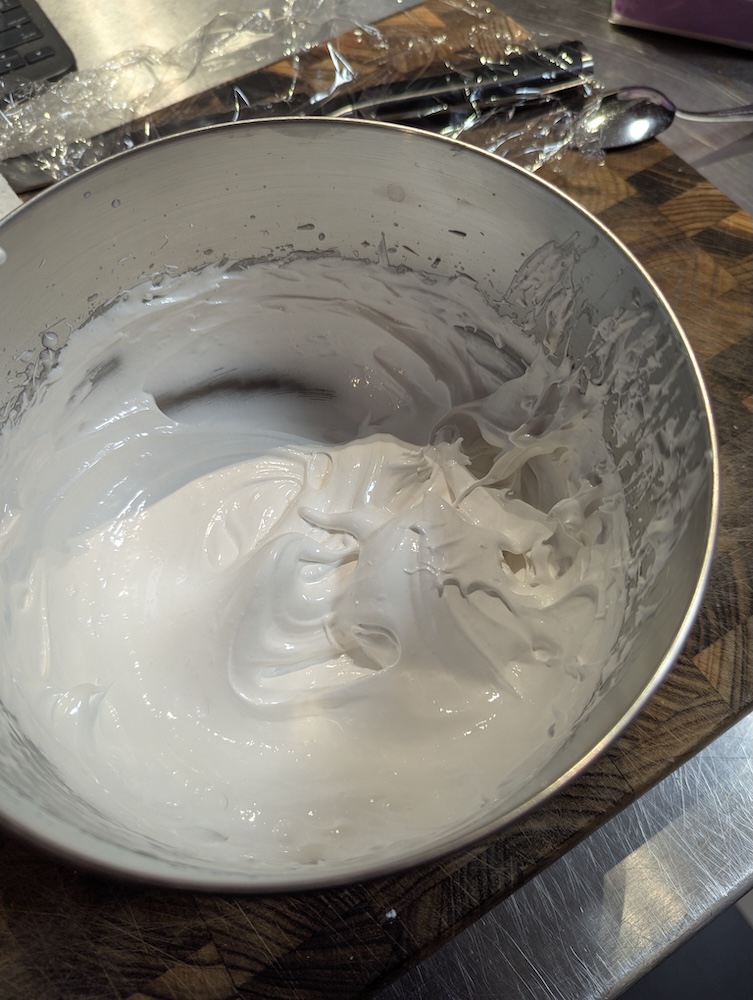
    His meringue definitely looked more luxe and glossy than mine. He also added a bit of vanilla.

    Meringue

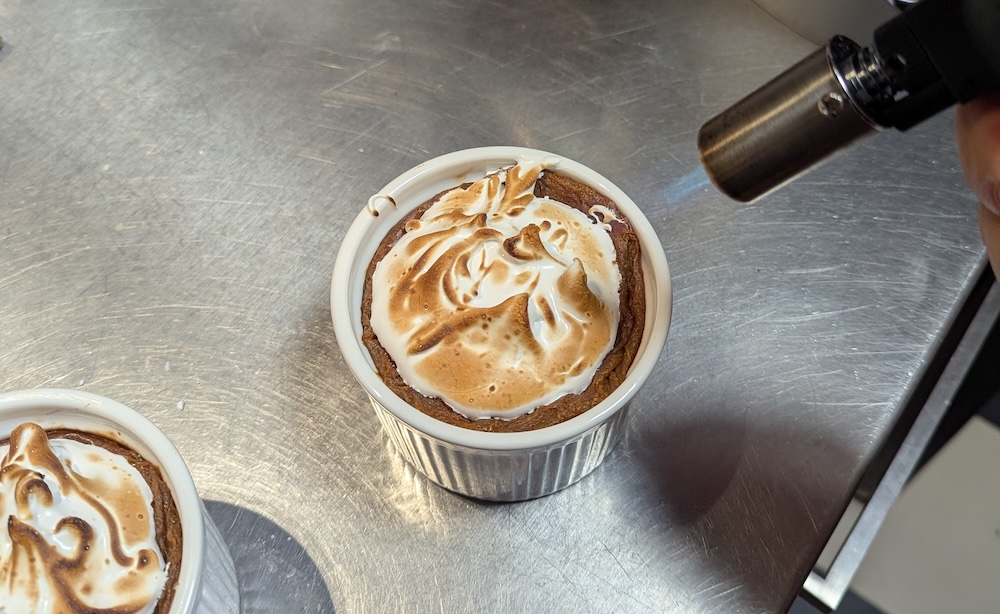
    He topped the ramekins and then blow-torched them.

    Blowtorching

    I mean, there’s really no contest, is there? Old and busted vs new and improved!

    Original gross Coffee Velvet, and new and improved Coffee Velvet

    Also, his tasted delicious, of course. The coffee flavour wasn’t as pronounced, but the texture was firm and creamy throughout. (If he’d made them in a springform, I reckon they may have even held their shape on their own.) It reminded me very much of the texture of pumpkin pie. The meringue was like a rich vanilla marshmallow on top.

    Coffee Velvet

    So ultimately the Snook was able to rescue Coffee Velvet from the jaws of defeat. If you want to make it, I definitely recommend you use his version!

  • Peach Marshmallow – CWA 1965 Cookbook

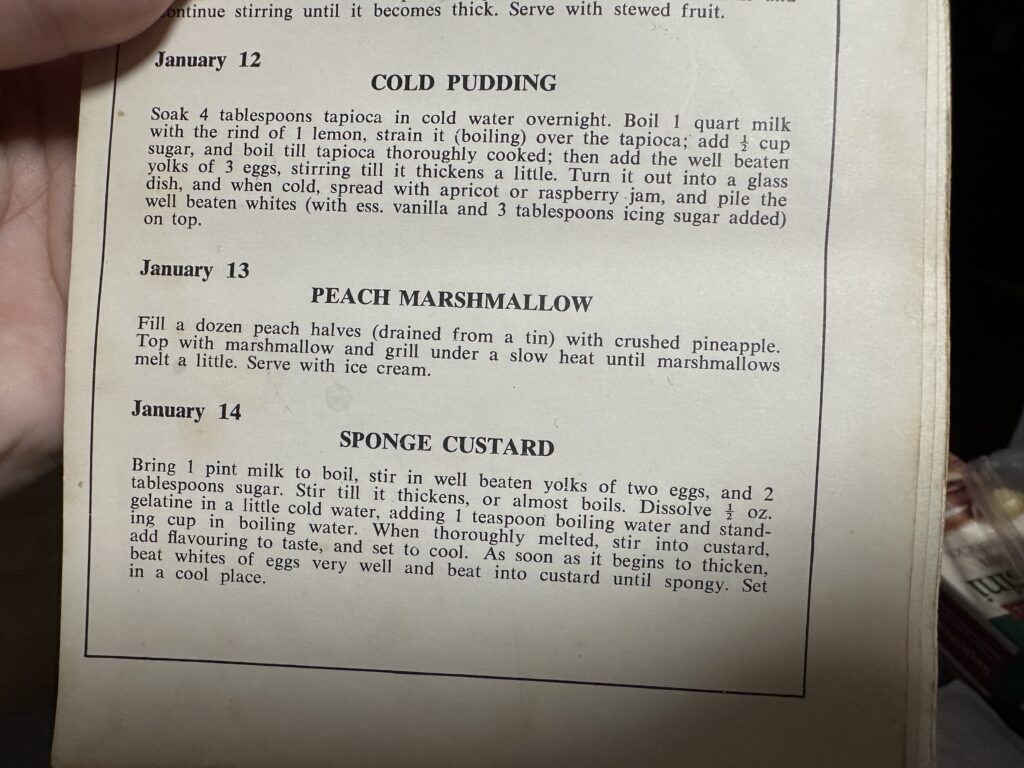
    Continuing with our vintage cooking experiment, for the second week of January we chose what looked to be a very simple recipe: January 13 – Peach Marshmallow.

    Peach Marshmallow recipe

    That looks pretty simple, right? Here’s the recipe:

    Fill up a dozen peach halves (drained from a tin) with crushed pineapple. Top with marshmallow and grill under a slow heat until marshmallows melt a little. Serve with ice cream.

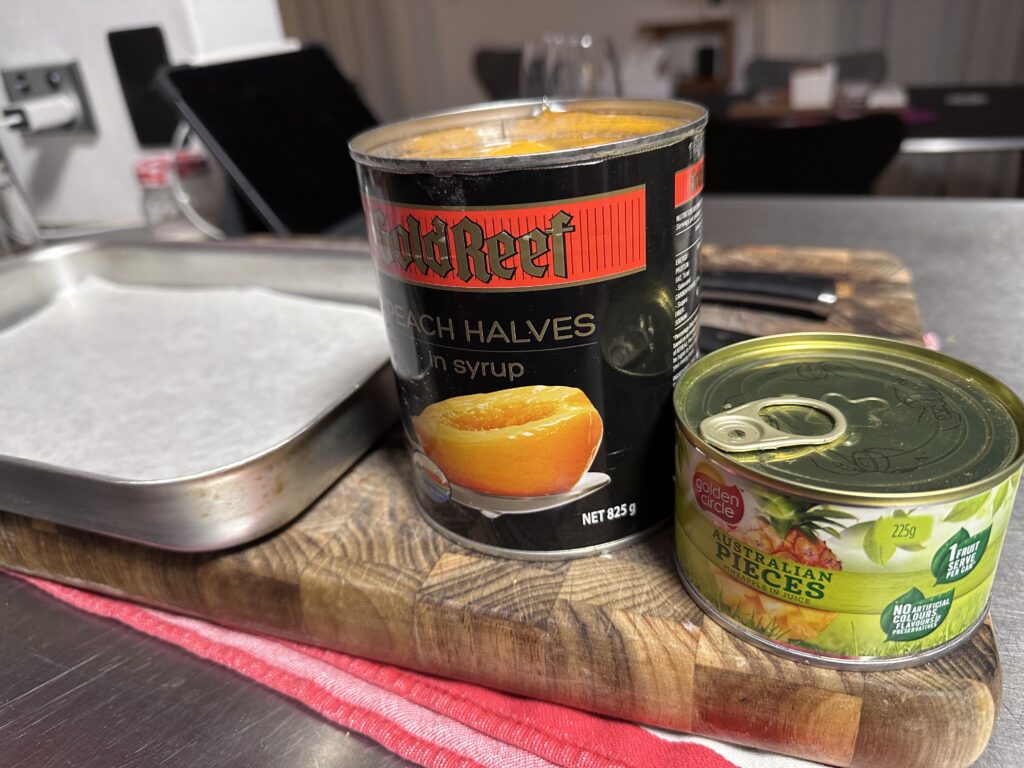
    The first hurdle I ran into was actually getting canned peach halves. Most of the ones on offer in our supermarket were slices. Eventually I found one brand though…

    Peach Marshmallow ingredients

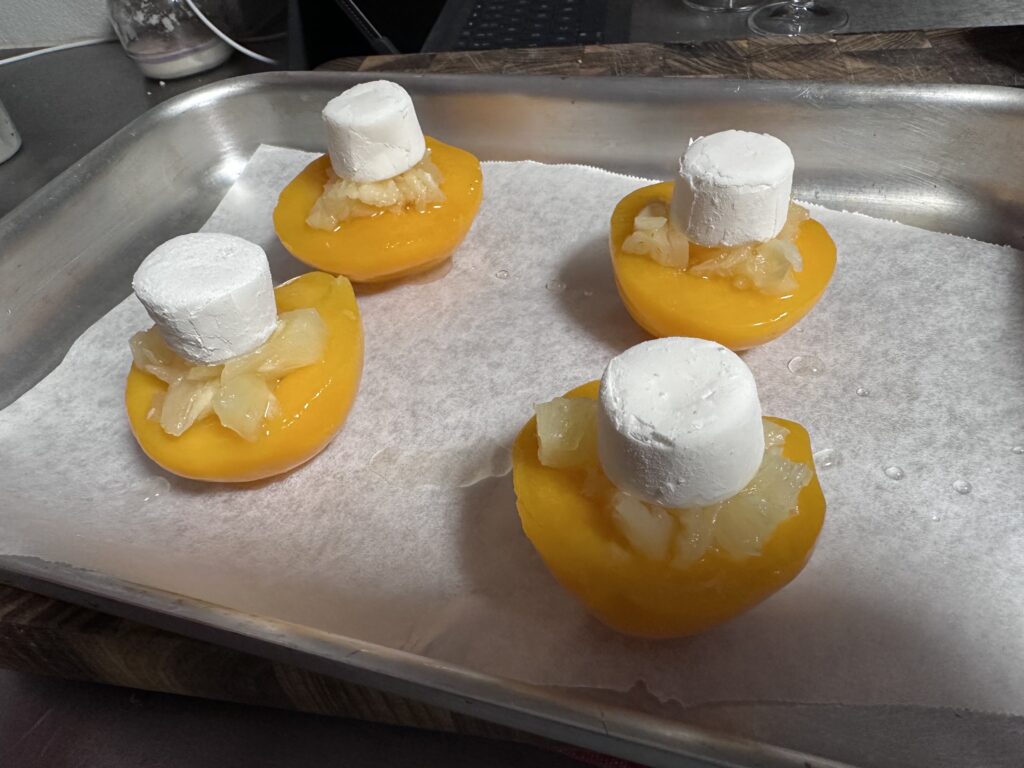
    Rather than making a dozen, I just made 4 for us after dinner. I crushed some of the pineapple and filled each of the peach halves with it, then topped it with a marshmallow.

    This is where I registered a concern: I went with Pascall Marshmallows because I figured they were an Aussie brand and would therefore be closest to what the recipe was asking for. Unlike American marshmallows, these are sold in the candy aisle and are intended to be eaten like sweets. They were coated in cornstarch and had almost a crunchy exterior. I had no idea how they would melt.

    Peach Marshmallow

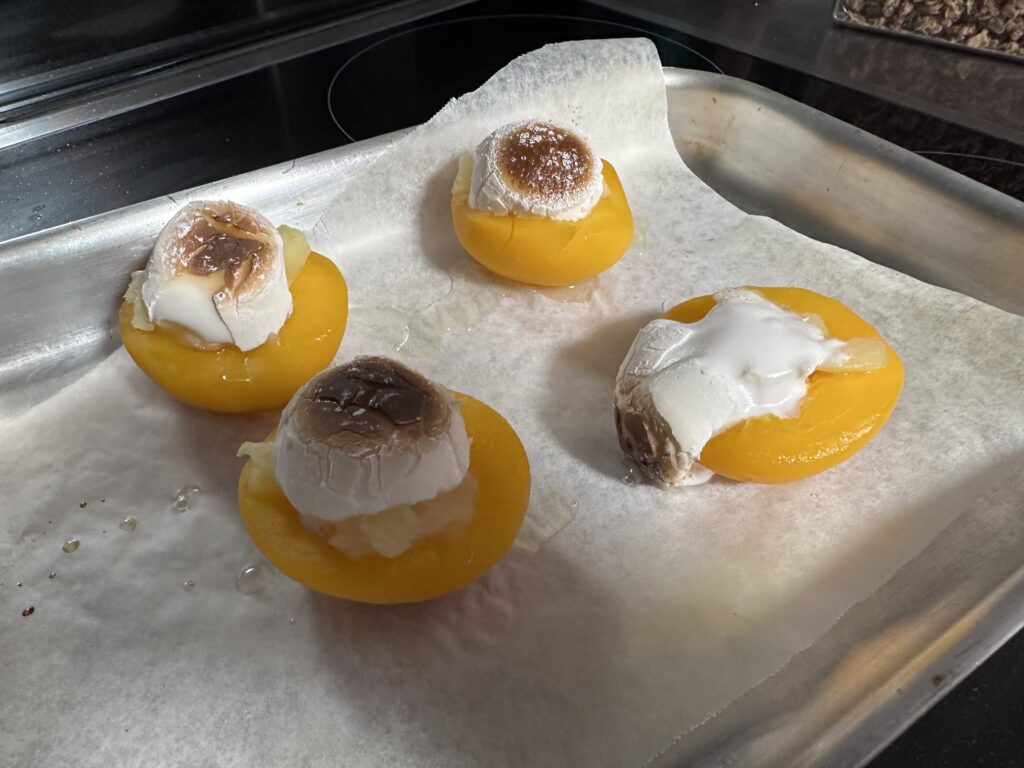
    I put them into the oven with the top element turned on, but rather low on the temperature (like 170C). As you can see they did start to toast and melt a bit. I think they were in there well under 10 minutes, and I pulled them for fear they’d burn.

    Melted marshmallow

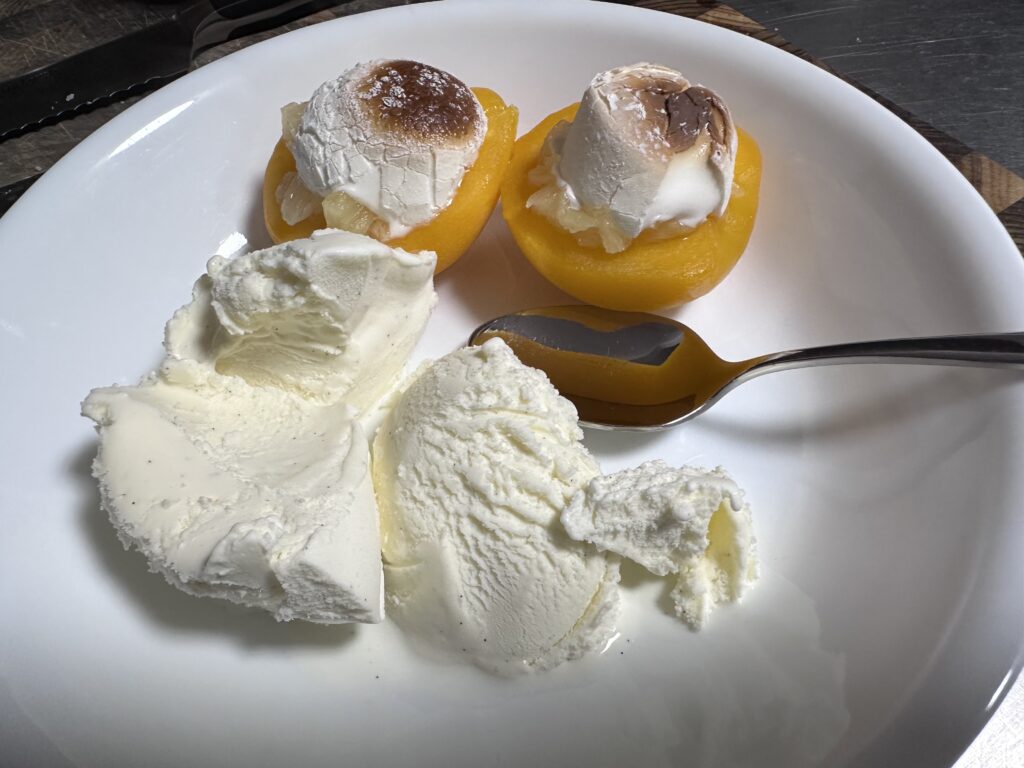
    Here they are, served with ice cream.

    Peach Marshmallow

    It was… okay. I mean, it’s just a peach, some pineapple, and a marshmallow. The canned peaches did get warm, but they were still pretty firm. The marshmallow was sticky and the outside was still rather crunchy, though the middle was gooey. This didn’t feel like that impressive of a dessert.

    Enter the Snook.

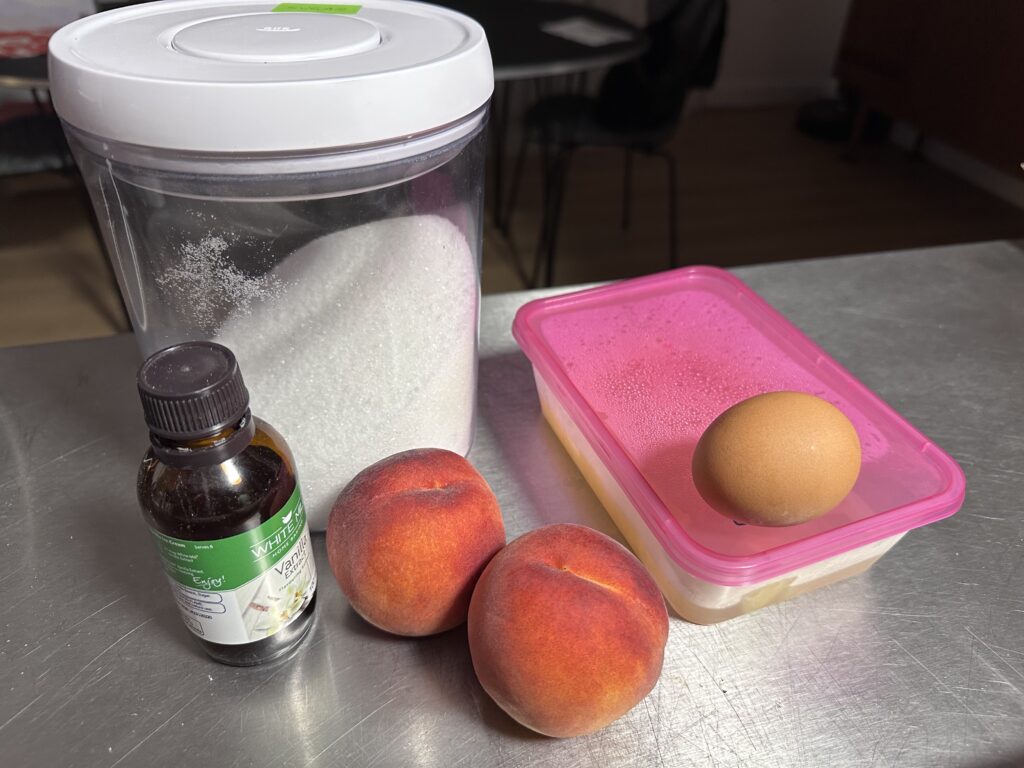
    He decided to have a go at modernising it and fancying it up. We started by doing some research on marshmallows, and after talking to some of my older friends, it looks like packaged marshmallows were not readily available here in 1965. Instead people would have been making their own using a recipe like this. “That just looks like a Swiss meringue!” he said, and got to work. He assembled his ingredients. (The plastic container has the rest of the pineapple in it.)

    Peach marshmallow ingredients

    He started by separating the eggs. After some internal debate he decided to do two eggs, which he weighed and then adjusted the recipe accordingly. (He did have a bit left over though, so one egg might have been sufficient.) He didn’t bother with any cream of tartar, and he had vanilla essence rather than a bean.

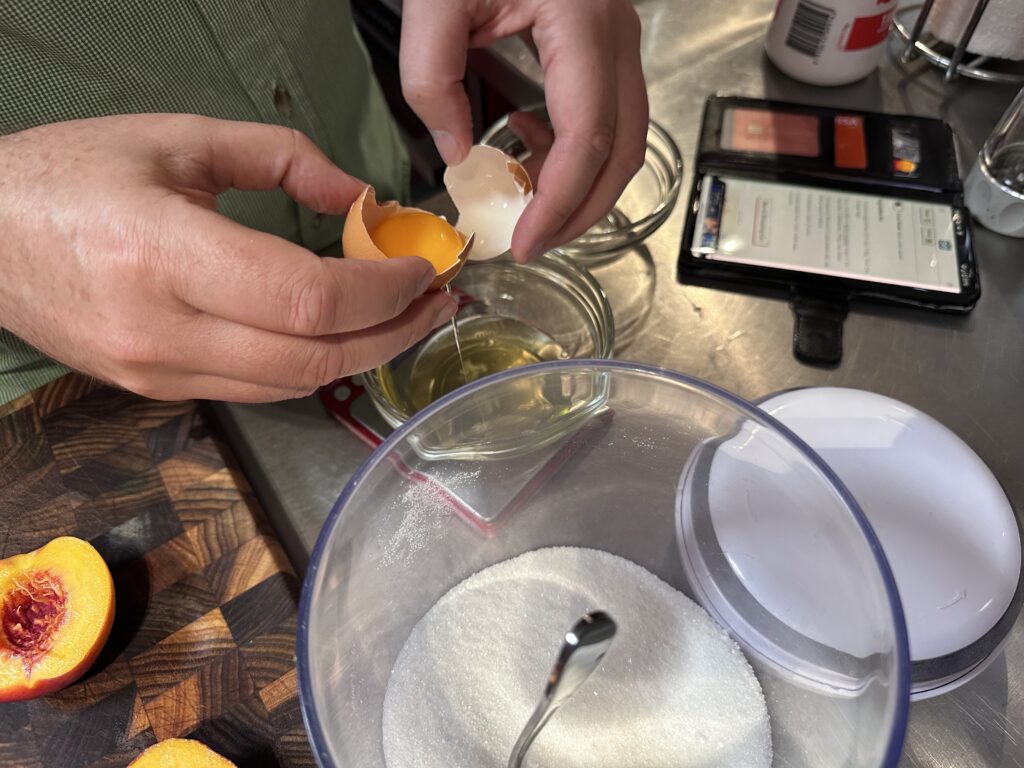
    Separating eggs

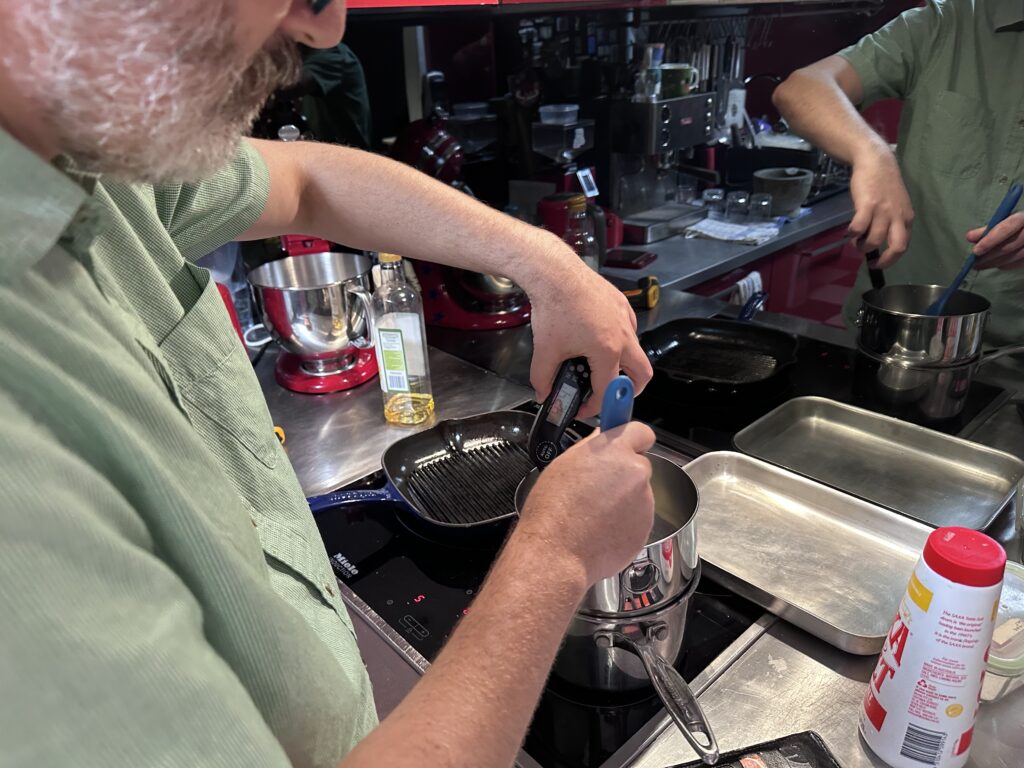
    The egg whites were mixed with sugar and gently cooked over a double-boiler until they reached the required temperature.

    Cooking eggs and sugar mixture

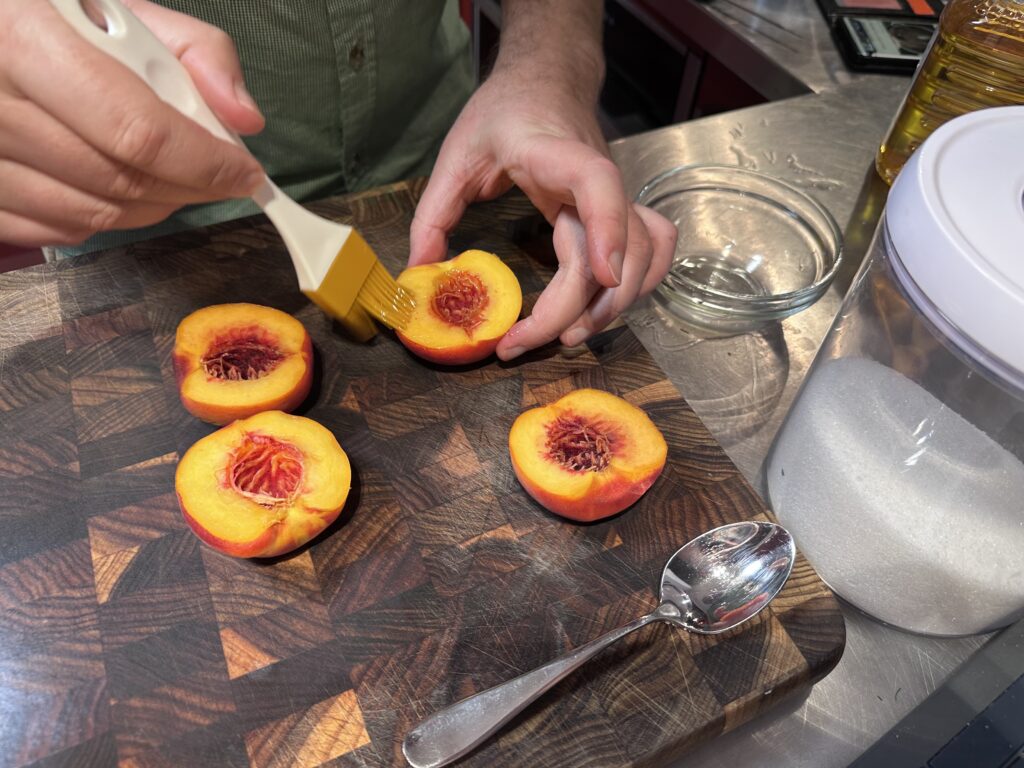
    Meanwhile, he halved and pitted the fresh, ripe peaches, and he brushed them with macadamia oil. (He left the skin on.)

    Prepping peaches

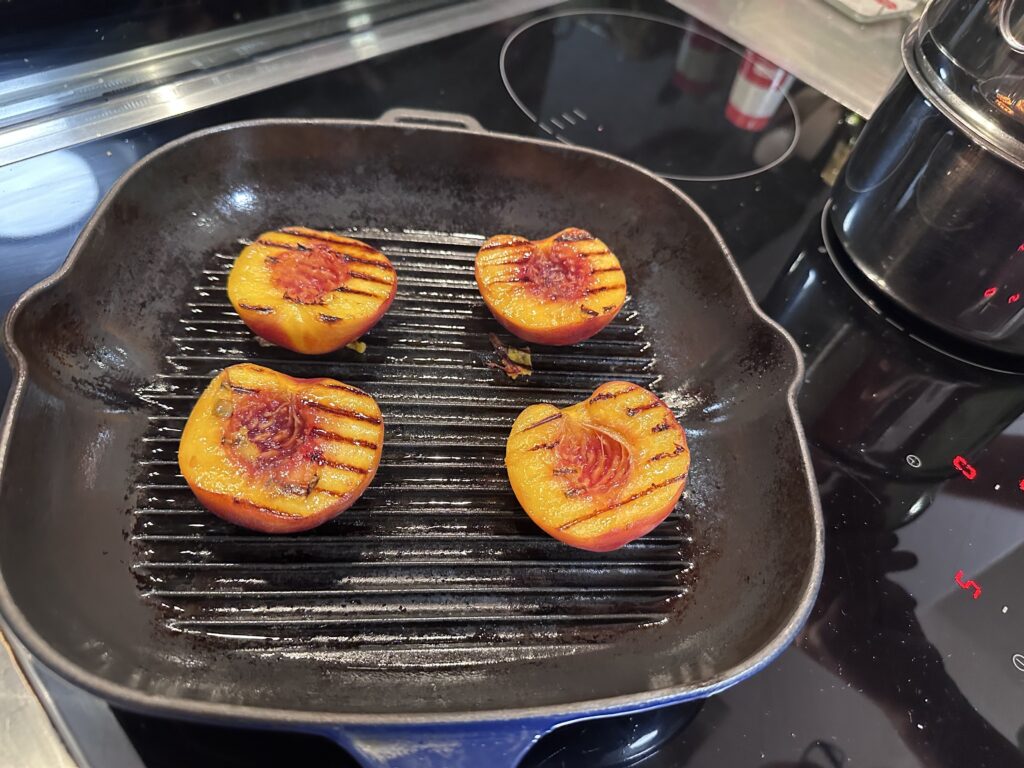
    Then he grilled the peaches on a ridged grill pan.

    Grilling peaches

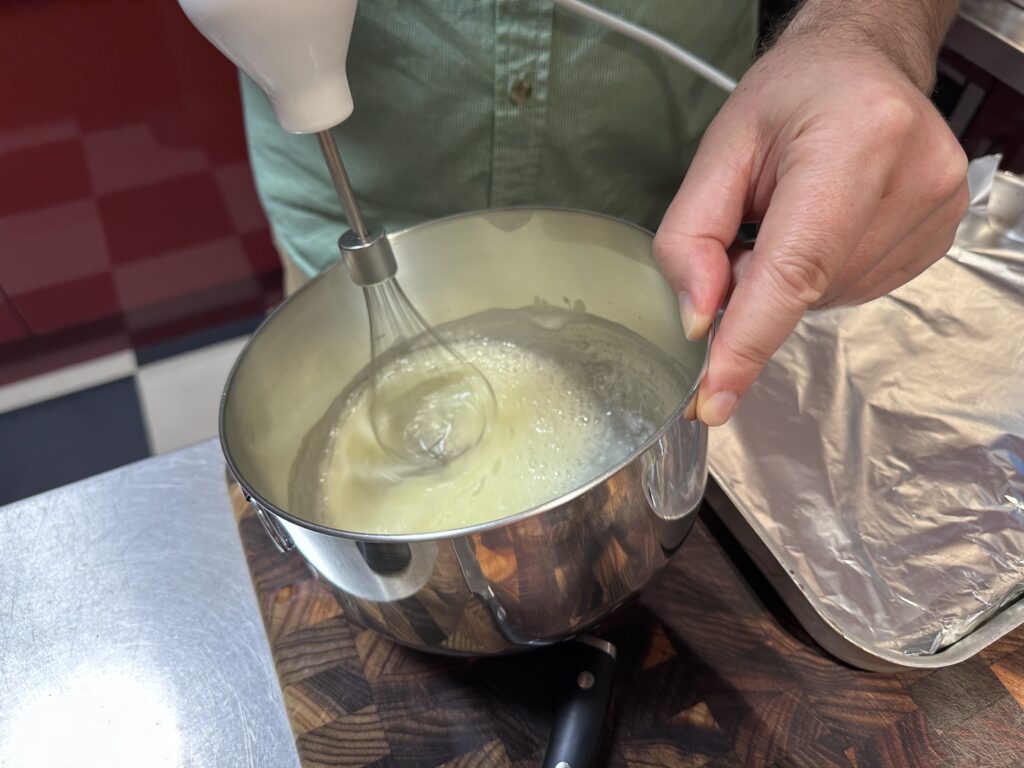
    Once the egg/sugar mixture was at the right temperature, he took it off the heat, added the vanilla, and began to whisk.

    Whisking

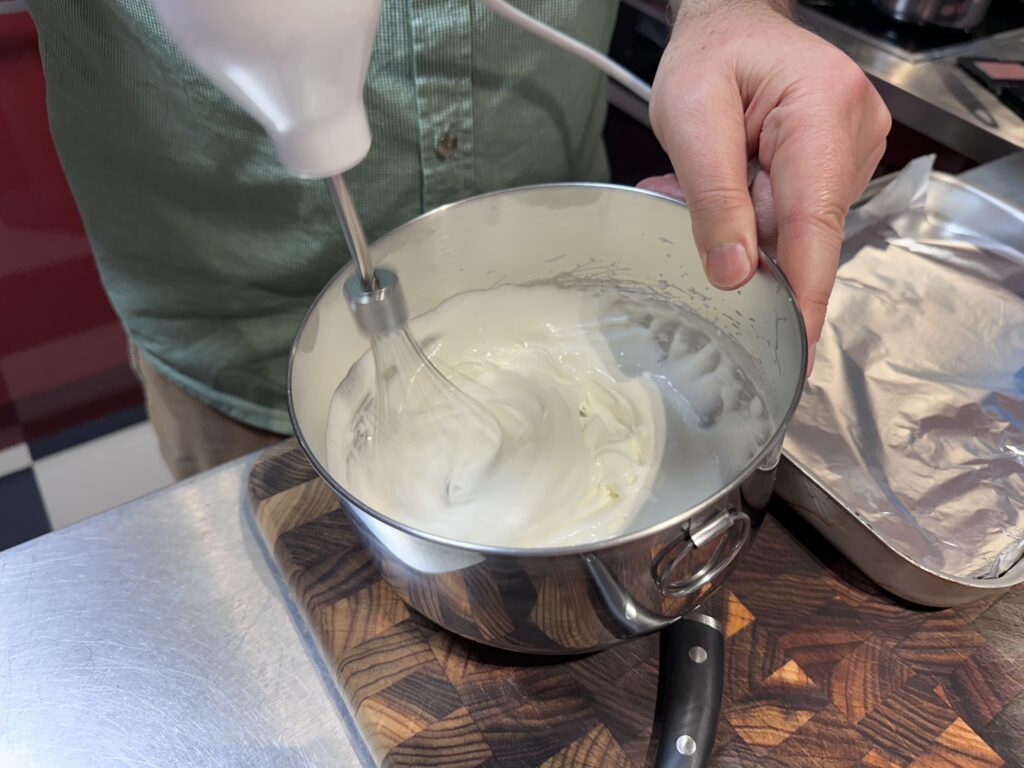
    Eventually it became thick and glossy. (He thinks he might have over whipped it a bit as he was hoping for stiff peaks, but it still looked great to me!)

    Whipped egg mixture

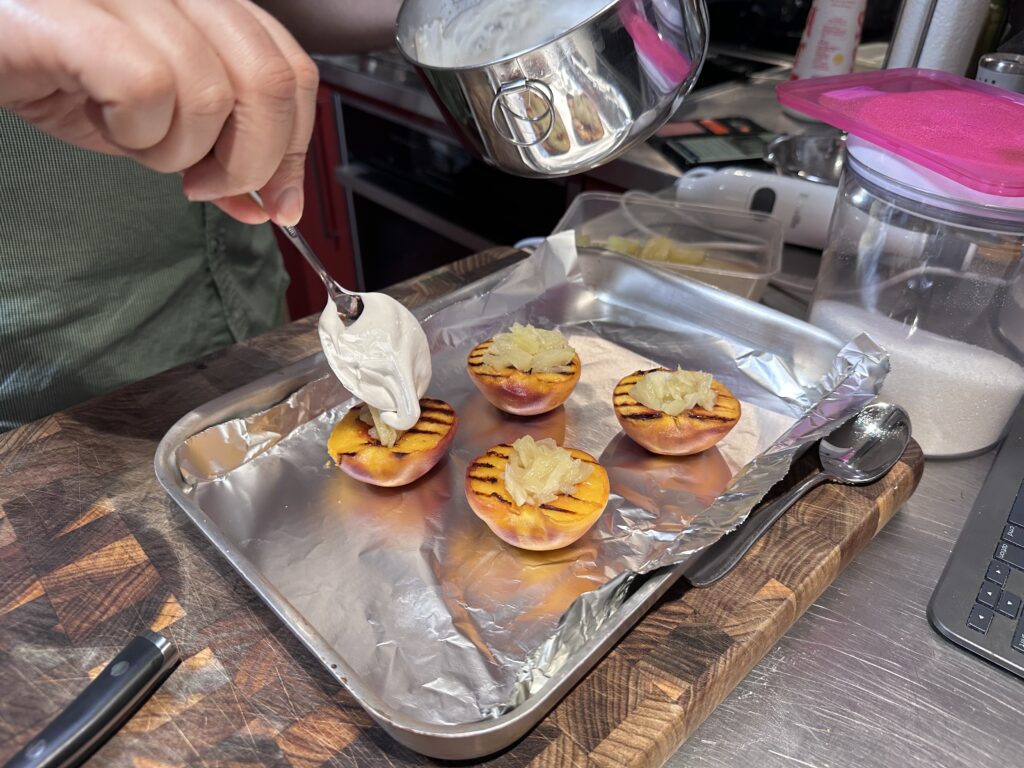
    Time to assemble. He filled each grilled peach with crushed canned pineapple as before, and then added a big dollop of the Swiss meringue.

    Assembling Peach Marshmallow

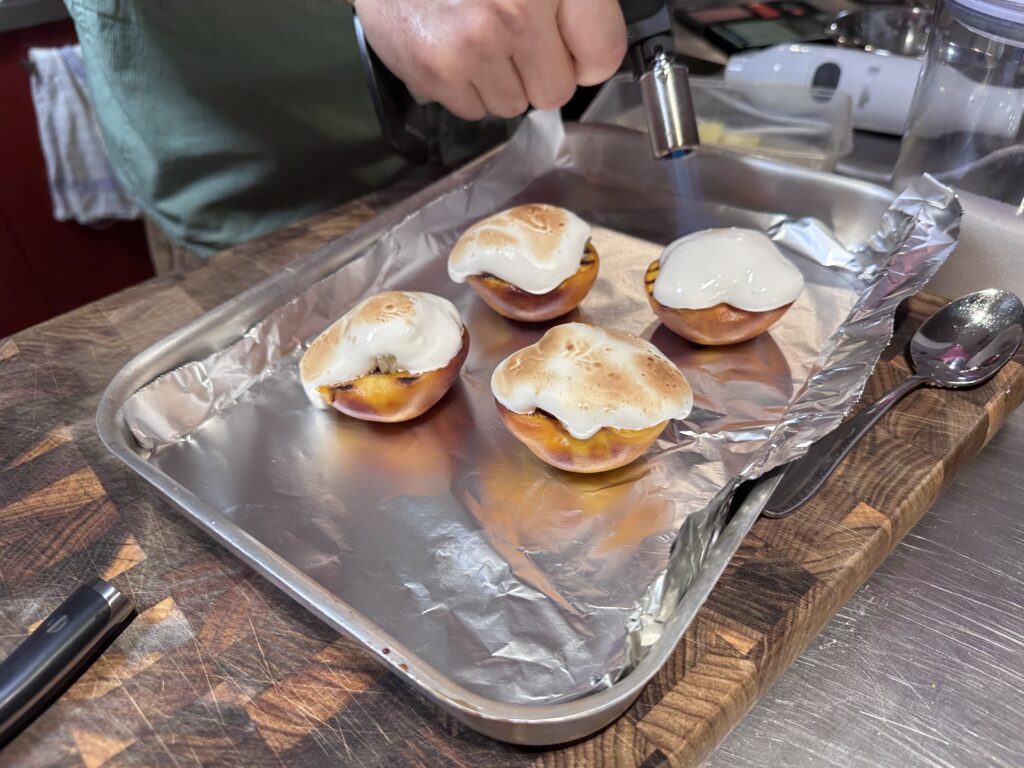
    And then out came the blowtorch! 🔥 He gently toasted each one to a golden brown.

    Torching the Peach Marshmallows

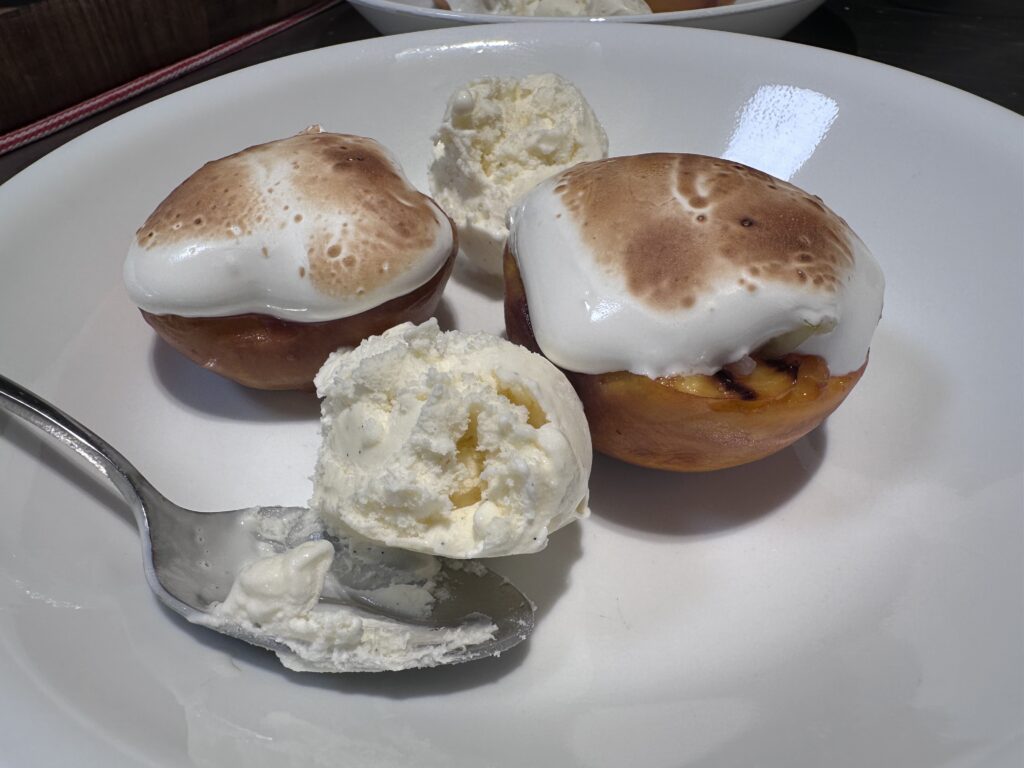
    And here’s the completed (Fancy) Peach Marshmallow, again served with ice cream.

    (Fancy) Peach Marshmallow

    This version was SO MUCH BETTER. The ripe peach was soft with the perfect amount of bitterness from the char marks. The Swiss meringue was delicious and fluffy with that slight burnt sugar taste from toasted marshmallows. This is something you could serve to guests and rightly feel pretty proud of yourself!

    Future enhancement: Rodd thinks there’s also scope to improve on the pineapple element, perhaps by adding a bit of rum or bourbon? Maybe caramelised and cooked down with some brown sugar and cinnamon? YES, PLEASE.

  • From the CWA “Dessert for Every Day of the Year” 1965 Cookbook

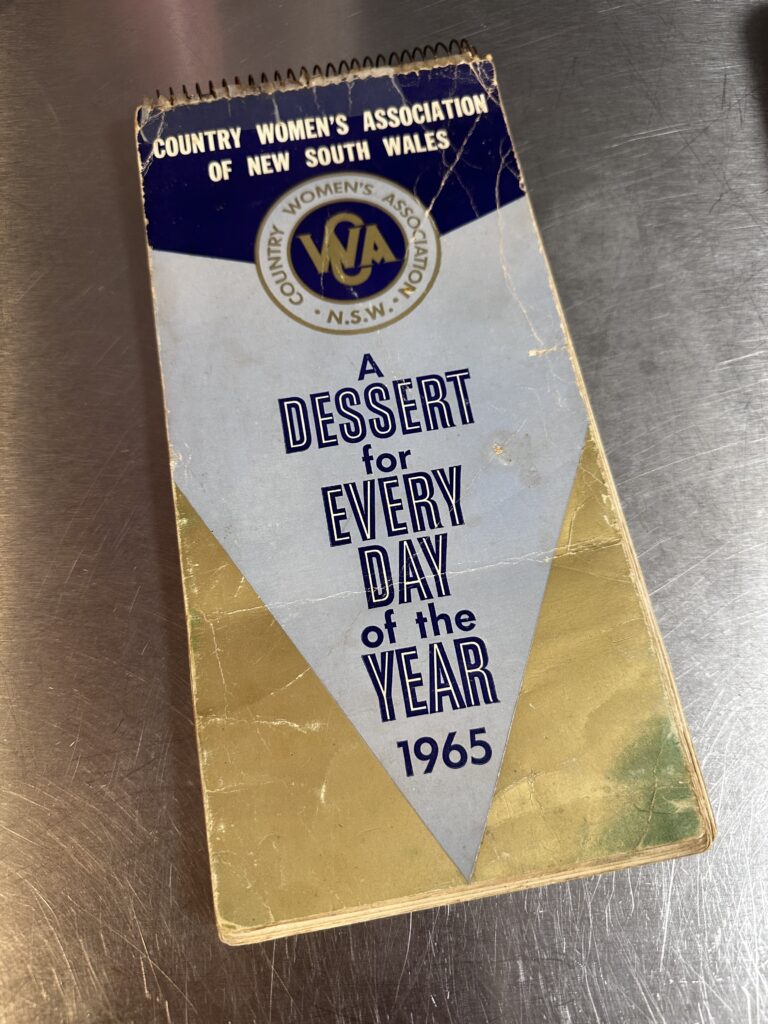
    Way back in 2007, I was gifted by my mother-in-law Bev a copy of the Country Women’s Association of New South Wales cookbook “A Dessert for Every Day of the Year – 1965.”

    Dessert for Every Day of the Year cookbook

    I made two recipes from it, but then set it aside for another day. Well, I just realised that this year will be its sixtieth anniversary 🤯 so it’s a good occasion to explore some more. This time I started with January 2: SUMMER PUDDING.

    Summer Pudding

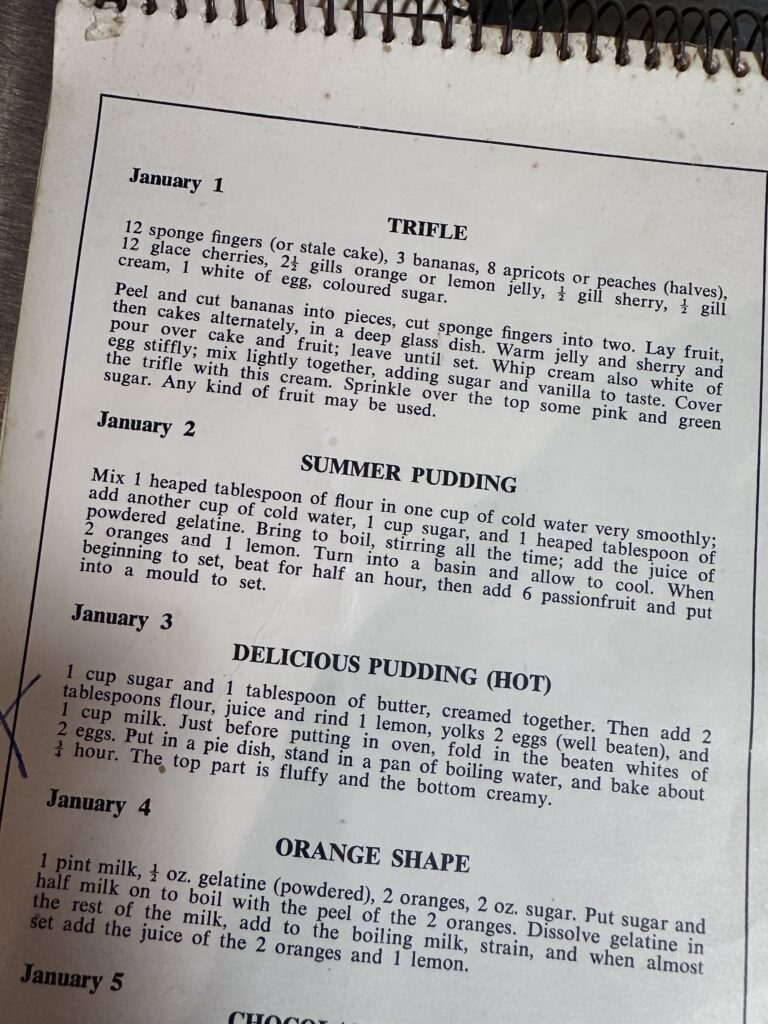
    This isn’t like the English-style summer pudding that I’m used to. Instead it’s more like a whipped fruity gelatine dessert. Here’s the recipe:

    SUMMER PUDDING
    Mix 1 heaped tablespoon of flour in one cup of cold water very smoothly; add another cup of cold water, 1 cup sugar, and 1 heaped tablespoon of powdered gelatine. Bring to boil, stirring all the time; add the juice of 2 oranges and 1 lemon. Turn into a basin and allow to cool. When beginning to set, beat for half an hour, then add 6 passionfruit and put into a mould to set.

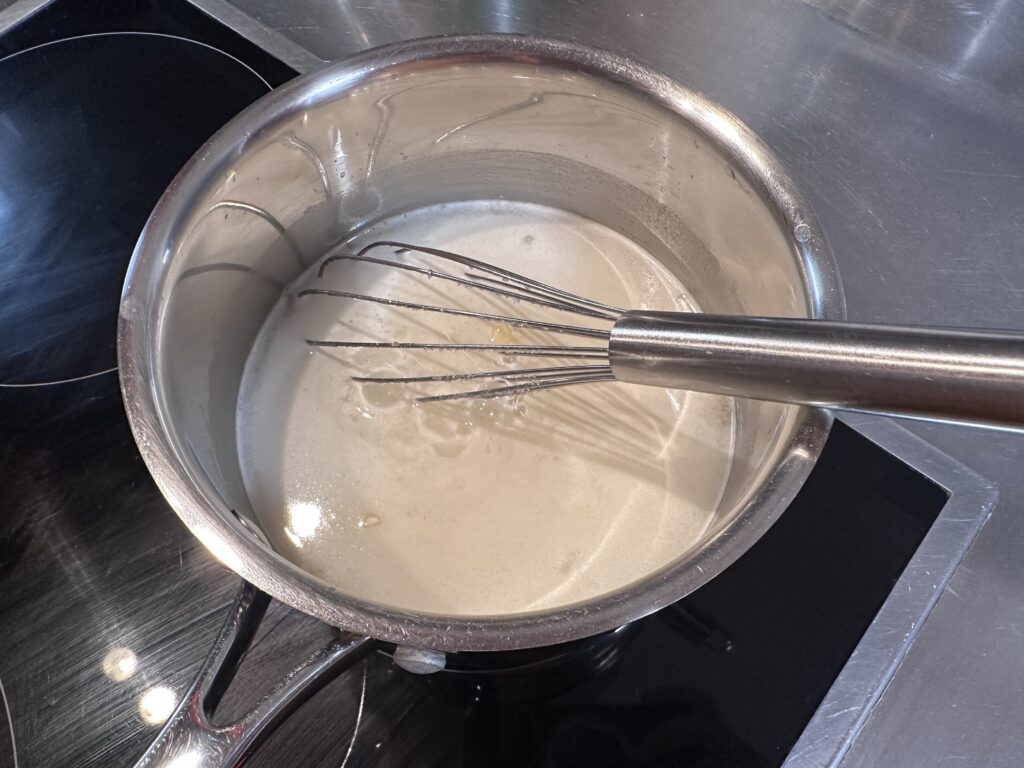
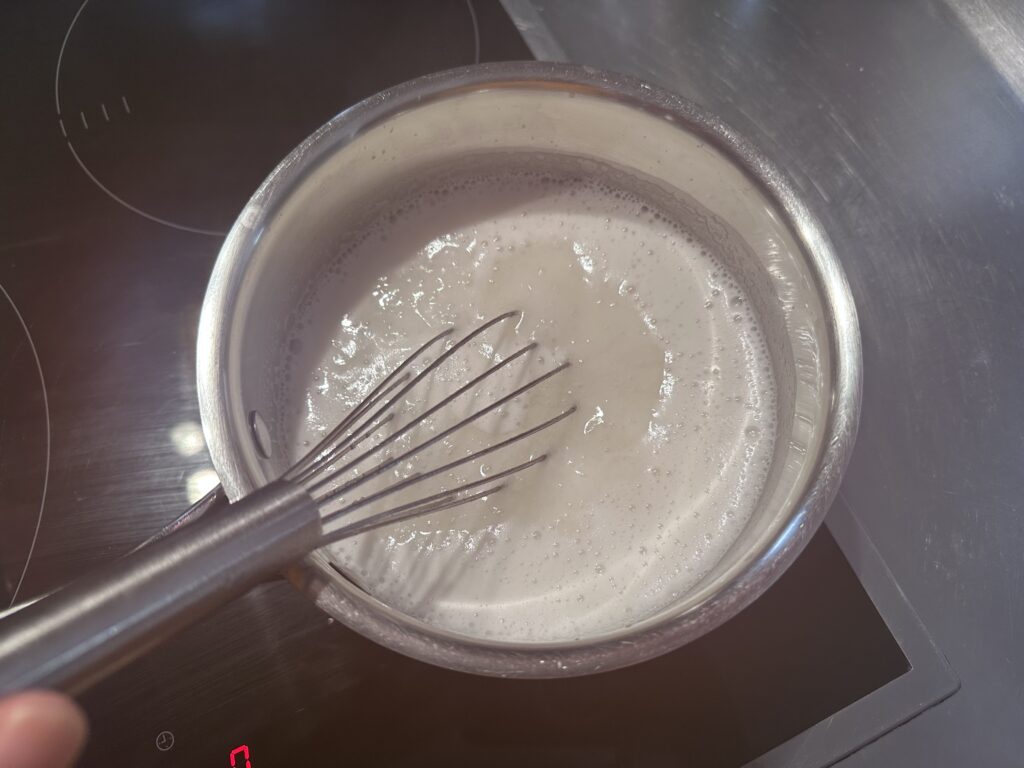
    Pretty simple, eh? I started off by boiling the flour, water, sugar, and gelatine as directed.

    Flour, water, sugar, and gelatine

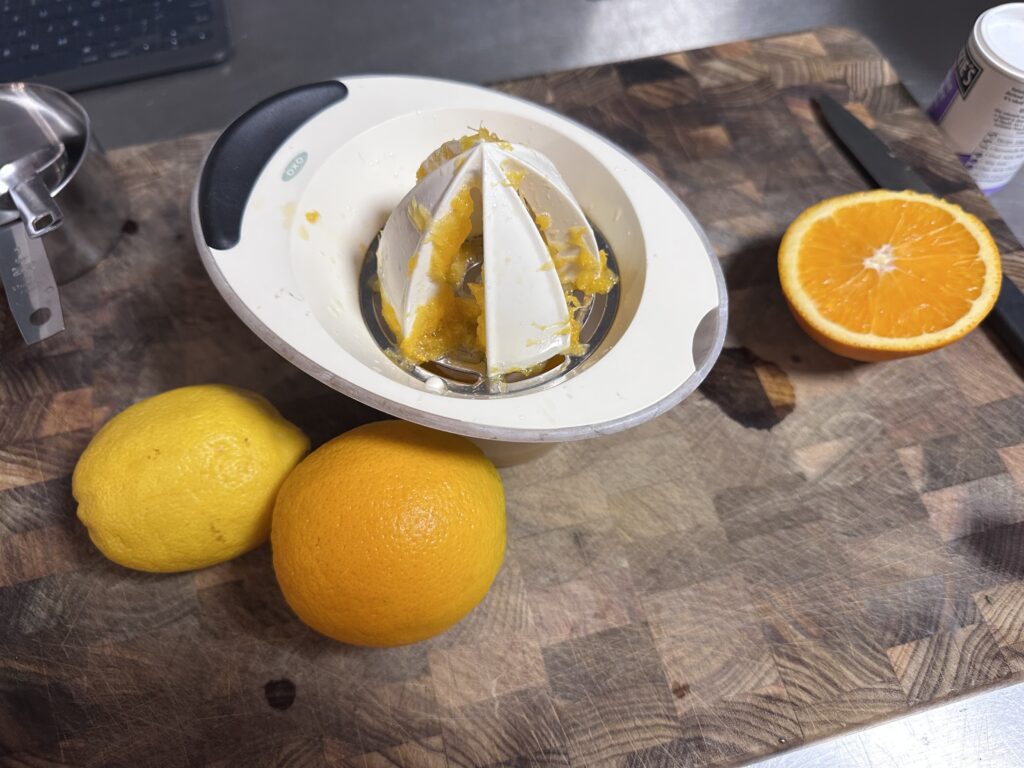
    Meanwhile, I squeezed two oranges and a lemon.

    Juicing fruit

    Once the mixture had boiled, I added the fruit juice and set it aside to cool down a bit.

    Cooked mixture

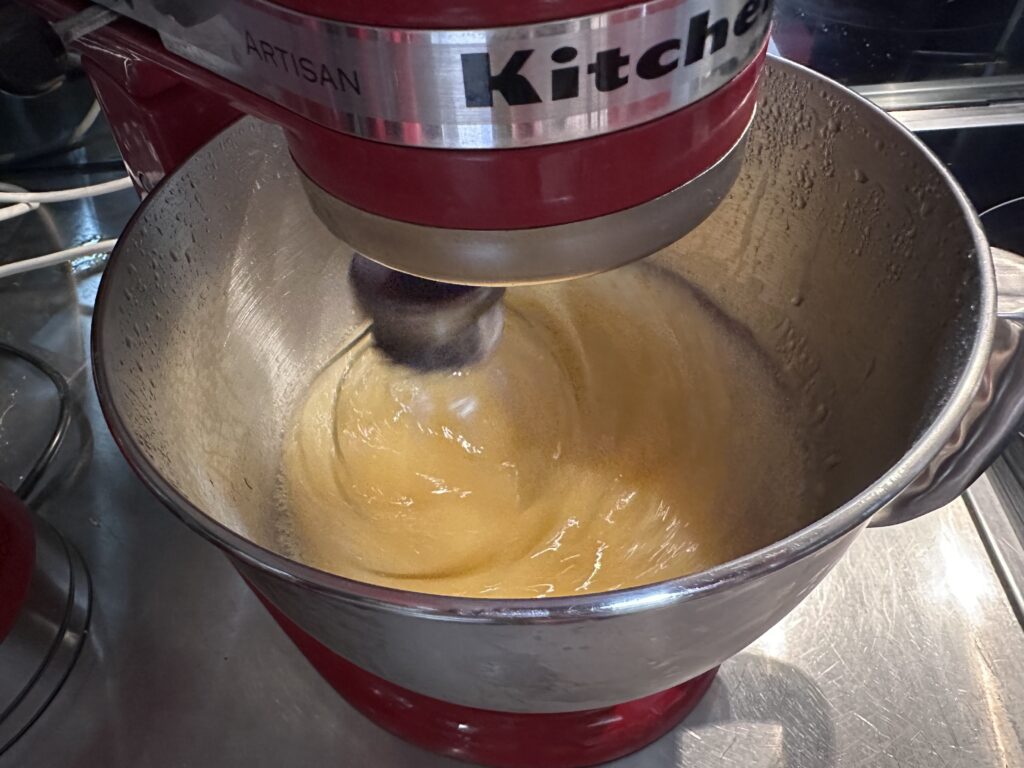
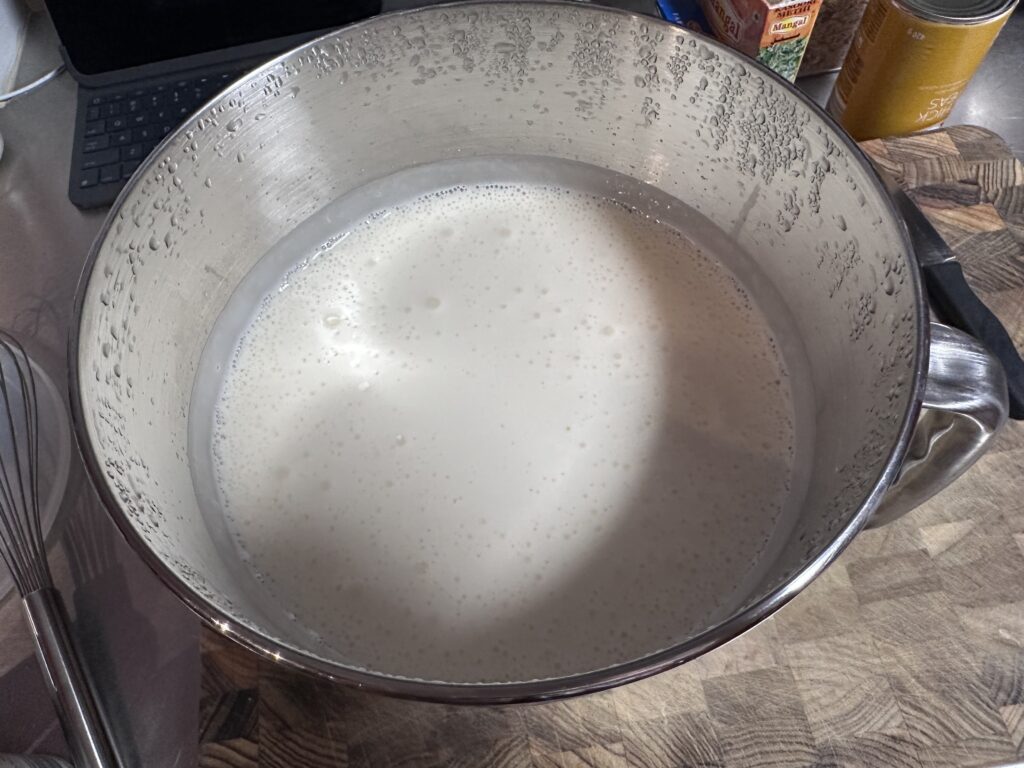
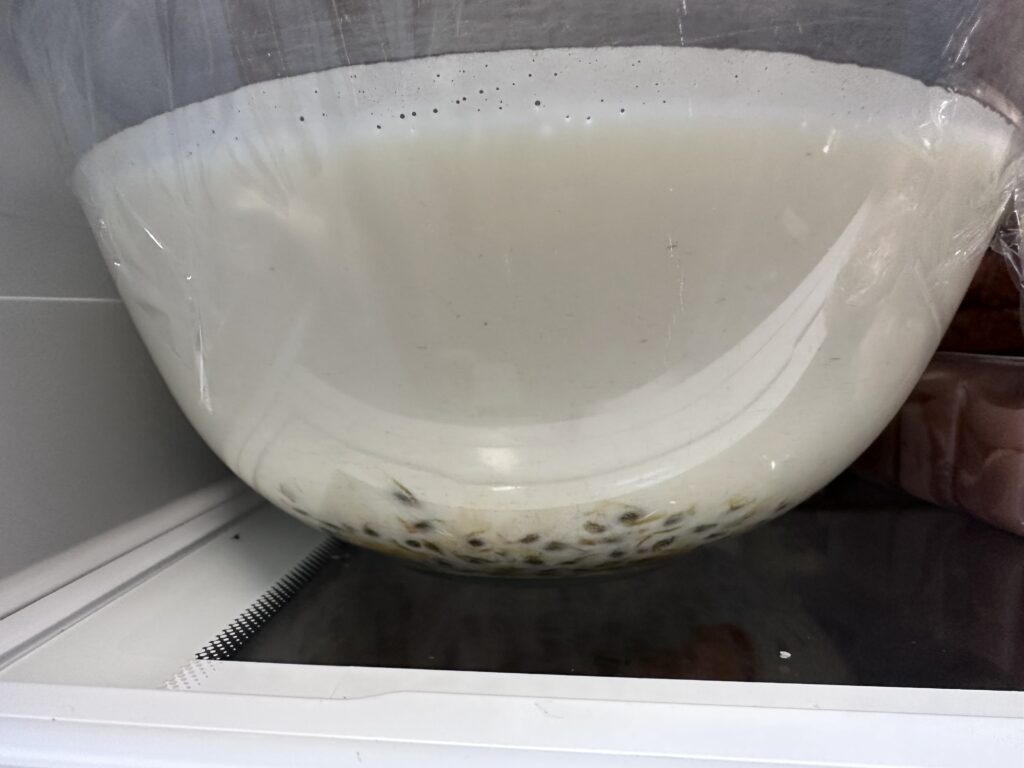
    Eventually I poured it into KitchenAid bowl and put it in the fridge to chill. I noticed after an hour or so that it looked like it had separated a bit (as it was setting from the edges) so I gave it a good stir. After another hour or so it was starting to fully set, so I got it out and started beating.

    Beating the mixture

    The instructions to “beat for half an hour” gave me some pause. I mean, really?? So I asked my knitting group chat for their opinions.

    Whatsapp screenshot

    Consensus was that the point is to make it thick and light and creamy, and that 8-10 minutes with a modern stand mixer would probably be sufficient. It definitely changed colour after a while and started to grow in volume, and by 9 minutes looked like a bowl of thick white fluff.

    Beaten pudding

    Time to add the passionfruit. I’m guessing that the expectation back then was that you’d have your own passionfruit vine. That’s not as common in the city these days, and currently fresh passionfruit are about $2 apiece. So I went with a couple of the small cans of passionfruit pulp, filtering out some of the excess syrup. I folded it in and it immediately all sank to the bottom of the bowl.

    Passionfruit pudding

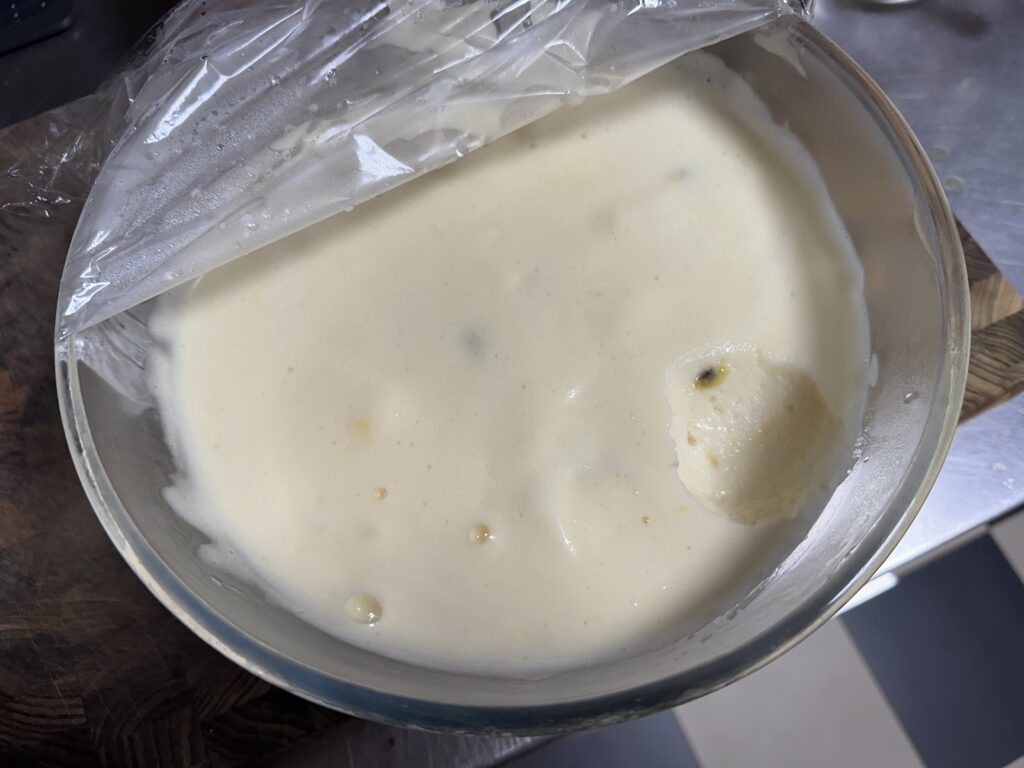
    I let it chill for a few more hours. Once it had thickened to the point where it could support the passionfruit seeds, I gave it another stir so they were distributed throughout. Here’s what it looked like before bedtime (when I couldn’t resist having a little taste.)

    Summer pudding

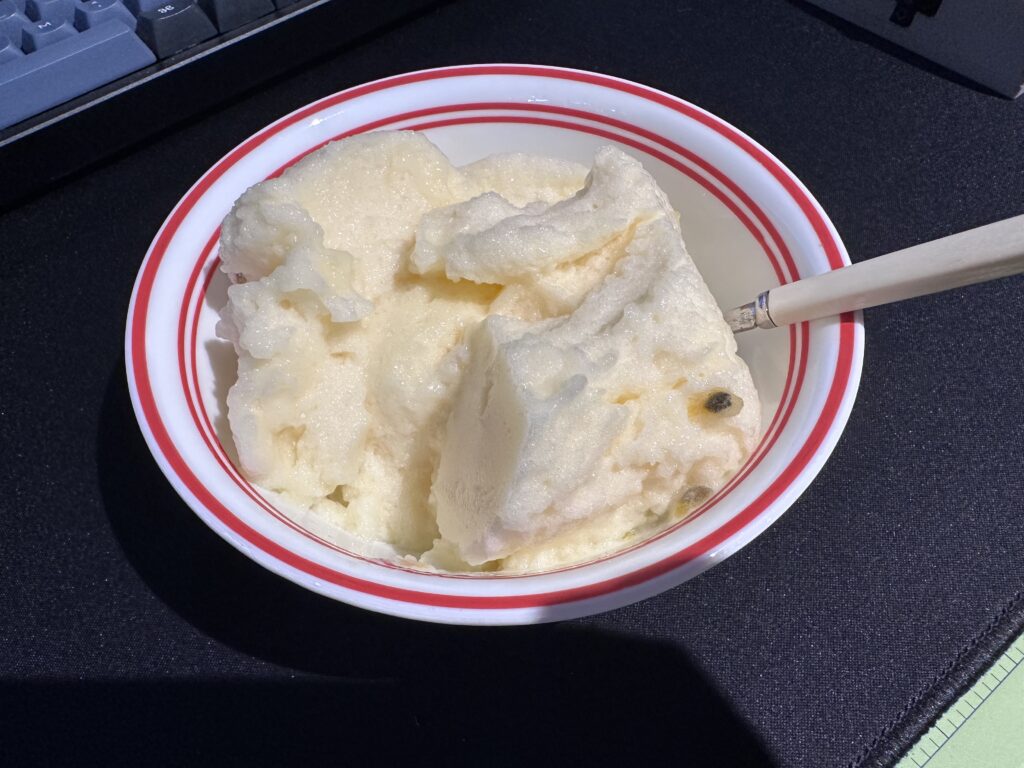
    And here’s the finished “summer pudding!”

    Summer pudding

    It’s very light and fluffy, and I feel like I’m eating the foam off a bubble bath. The citrus and passionfruit flavour is lovely, but man, it’s just way too much sugar. I need to remember going forward that I should pretty much just halve the sugar in any recipe. (They really liked things sweet in 1965.) It also makes a LOT of pudding, and it’s economical in that the ingredients really don’t cost much (especially if you have your own passionfruit and lemon trees, which I expected many CWA members would).

    I wonder what the second week of January will bring…?