
I went to a tea party! The regular Thursday night crowd from the Morris & Sons SnB all met up on Saturday afternoon at Harrogate Teas. We nibbled on sandwiches, sipped a variety of teas, and guzzled our weights in champagne. (I’m serious.) It was so much fun! We also had a “Kris Kringle” swap of decorations, where I got a lovely sparkly dove ornament. And of course, we all frocked up. I’m wearing a vintage “Jonathan Summers” dress that Ma Snook gave me last year. (Everyone joked that I looked like a Stepford Wife.) Lyn has some great photos here too.

Fiona in a fabulous floral headpiece…

Alison and Sue prove that there is no occasion too formal for the winding of wool…

Lee was a fabulous organiser and looked so smart in his green scarf!

Jody knits along with our distant visitors Donna and Ailsa…

Recent graduate Ness chats with Jody and Lyn…

A room full of happy and talkative knitters!


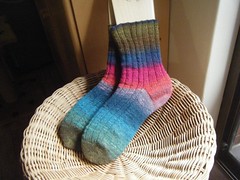
 This weekend was the bi-yearly

