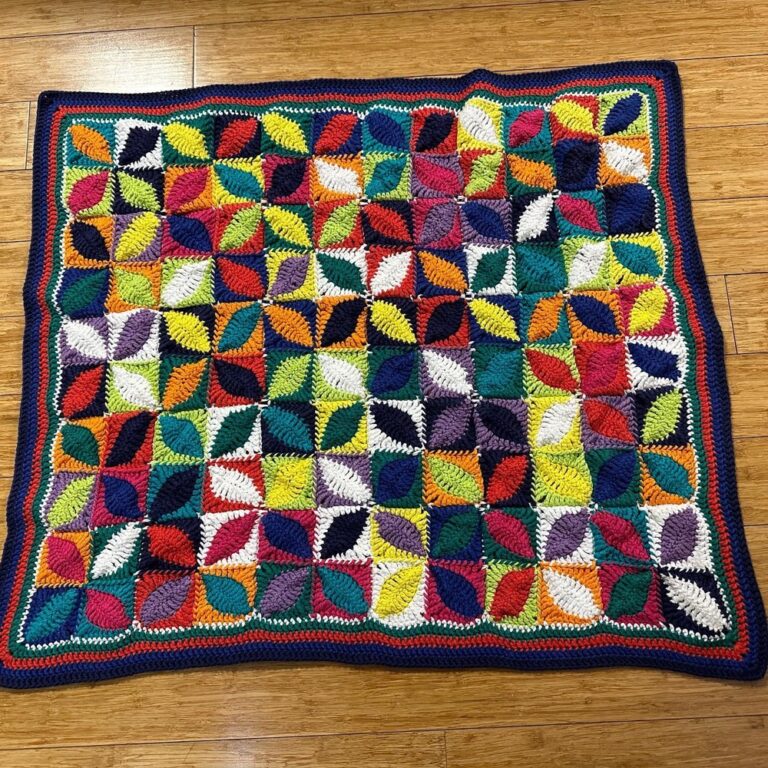
Today I finally delivered the Kawung motif crochet rug I made for baby Myles! It uses @hobbii_yarn DK cotton. 🌈🍃
Craft projects of mine
Today I finally delivered the Kawung motif crochet rug I made for baby Myles! It uses @hobbii_yarn DK cotton. 🌈🍃
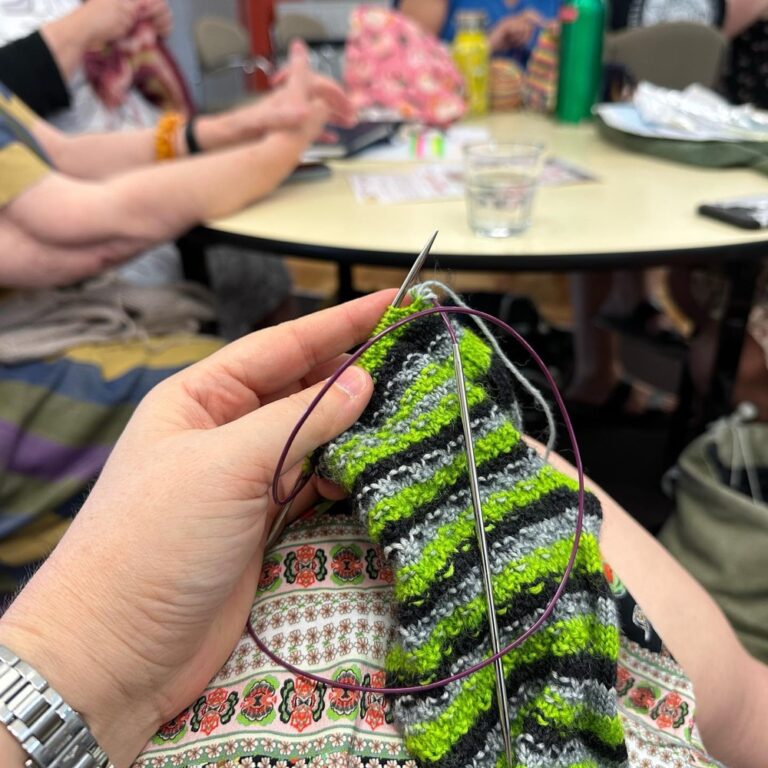
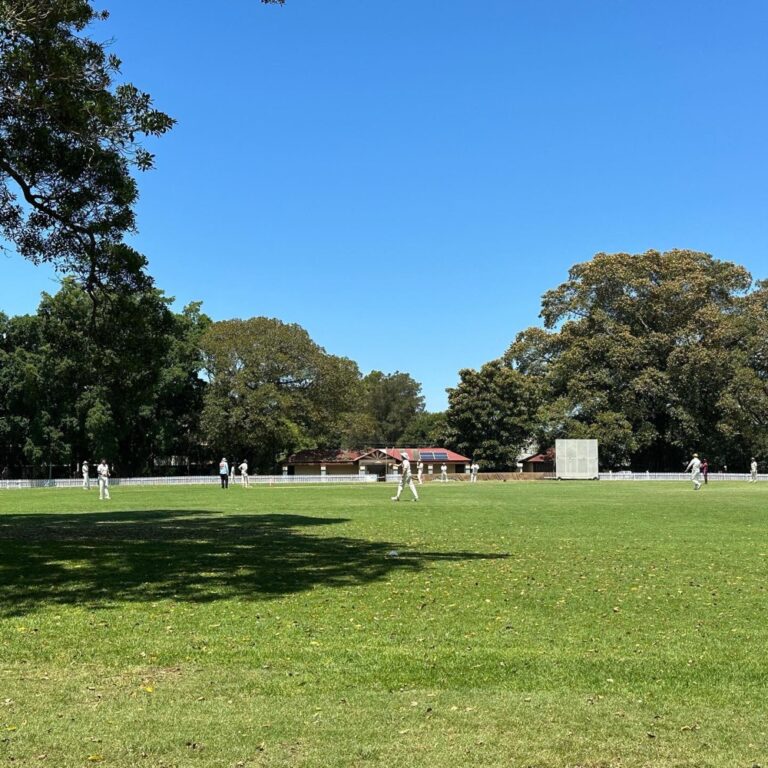
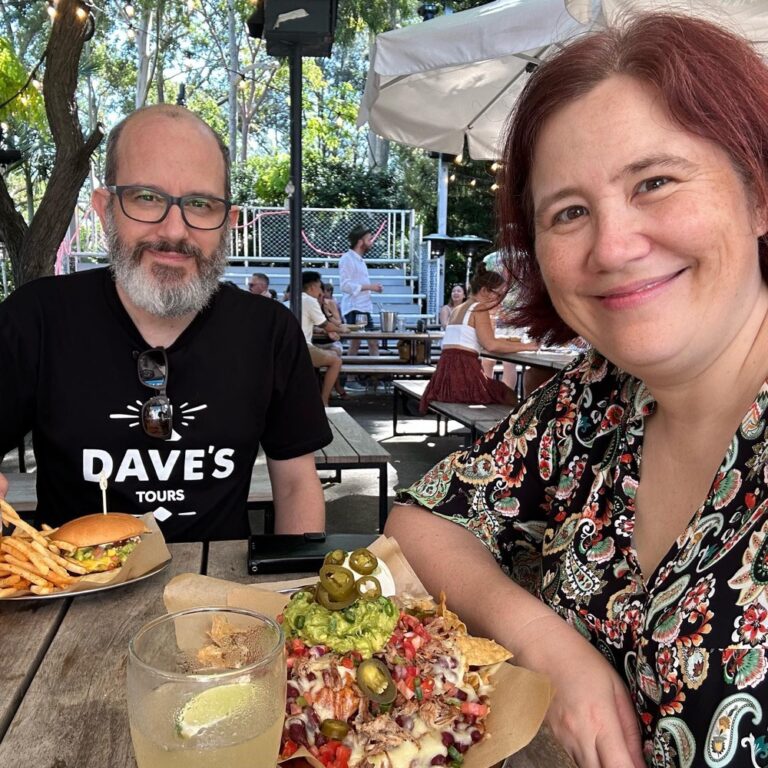
A hot, sunny summer’s day! I rode my bike over to the @knittersguildnsw meeting, then across Alexandria Park and stopped to watch a bit of the cricket. Then over to @bracketbrewing to meet the Snook for a cheeky beer, before finishing up at the @thealex_hotel for lunch. ☀️🚴♀️🍻 (2023 beer garden count: 1!)

Huh. I just learned a new knitting technique from Reddit, of all places! Rather than weaving in all the ends from your fairisle colour changes, you leave them long and then you essentially French braid them down the seam on the inside.
What the video doesn’t show is what happens at the end. Presumably you have some length of braid from your last few changes, and you… what? Put a rubber band on the end and have it hanging outside your sleeve? 😂 I’m guessing it’s something like: “fold it back on itself and weave the last few bits back into the braid,” but it’s annoying that they didn’t cover that bit.
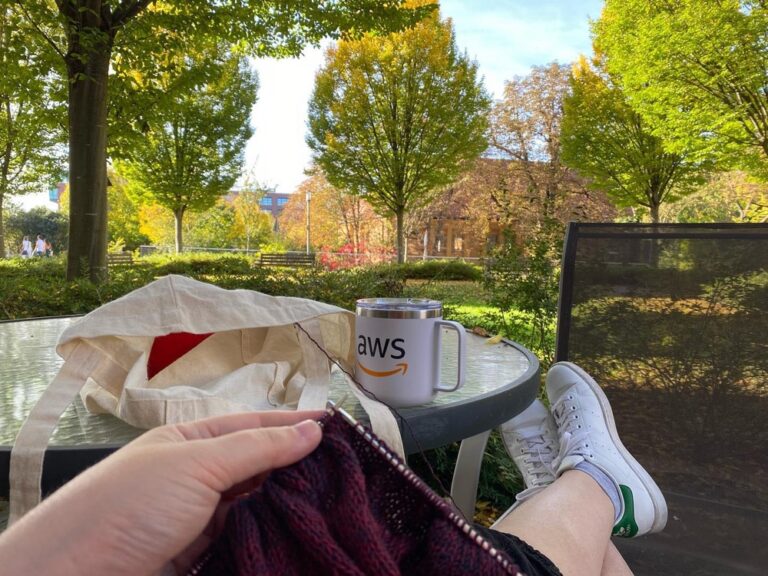
🧶🫖🍁🍂
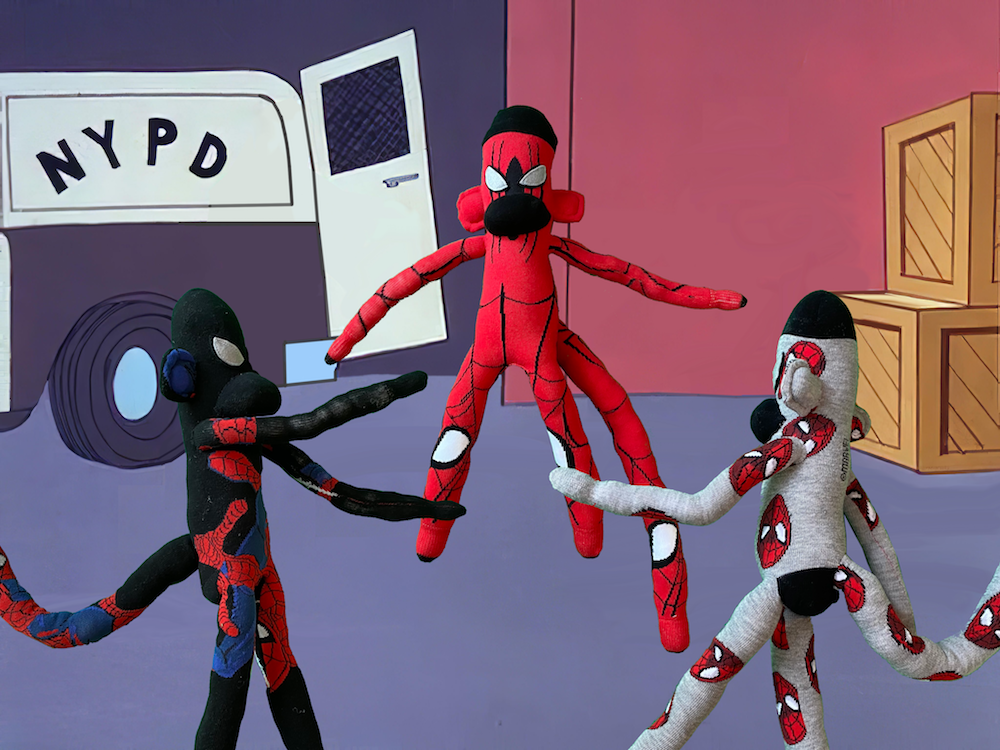

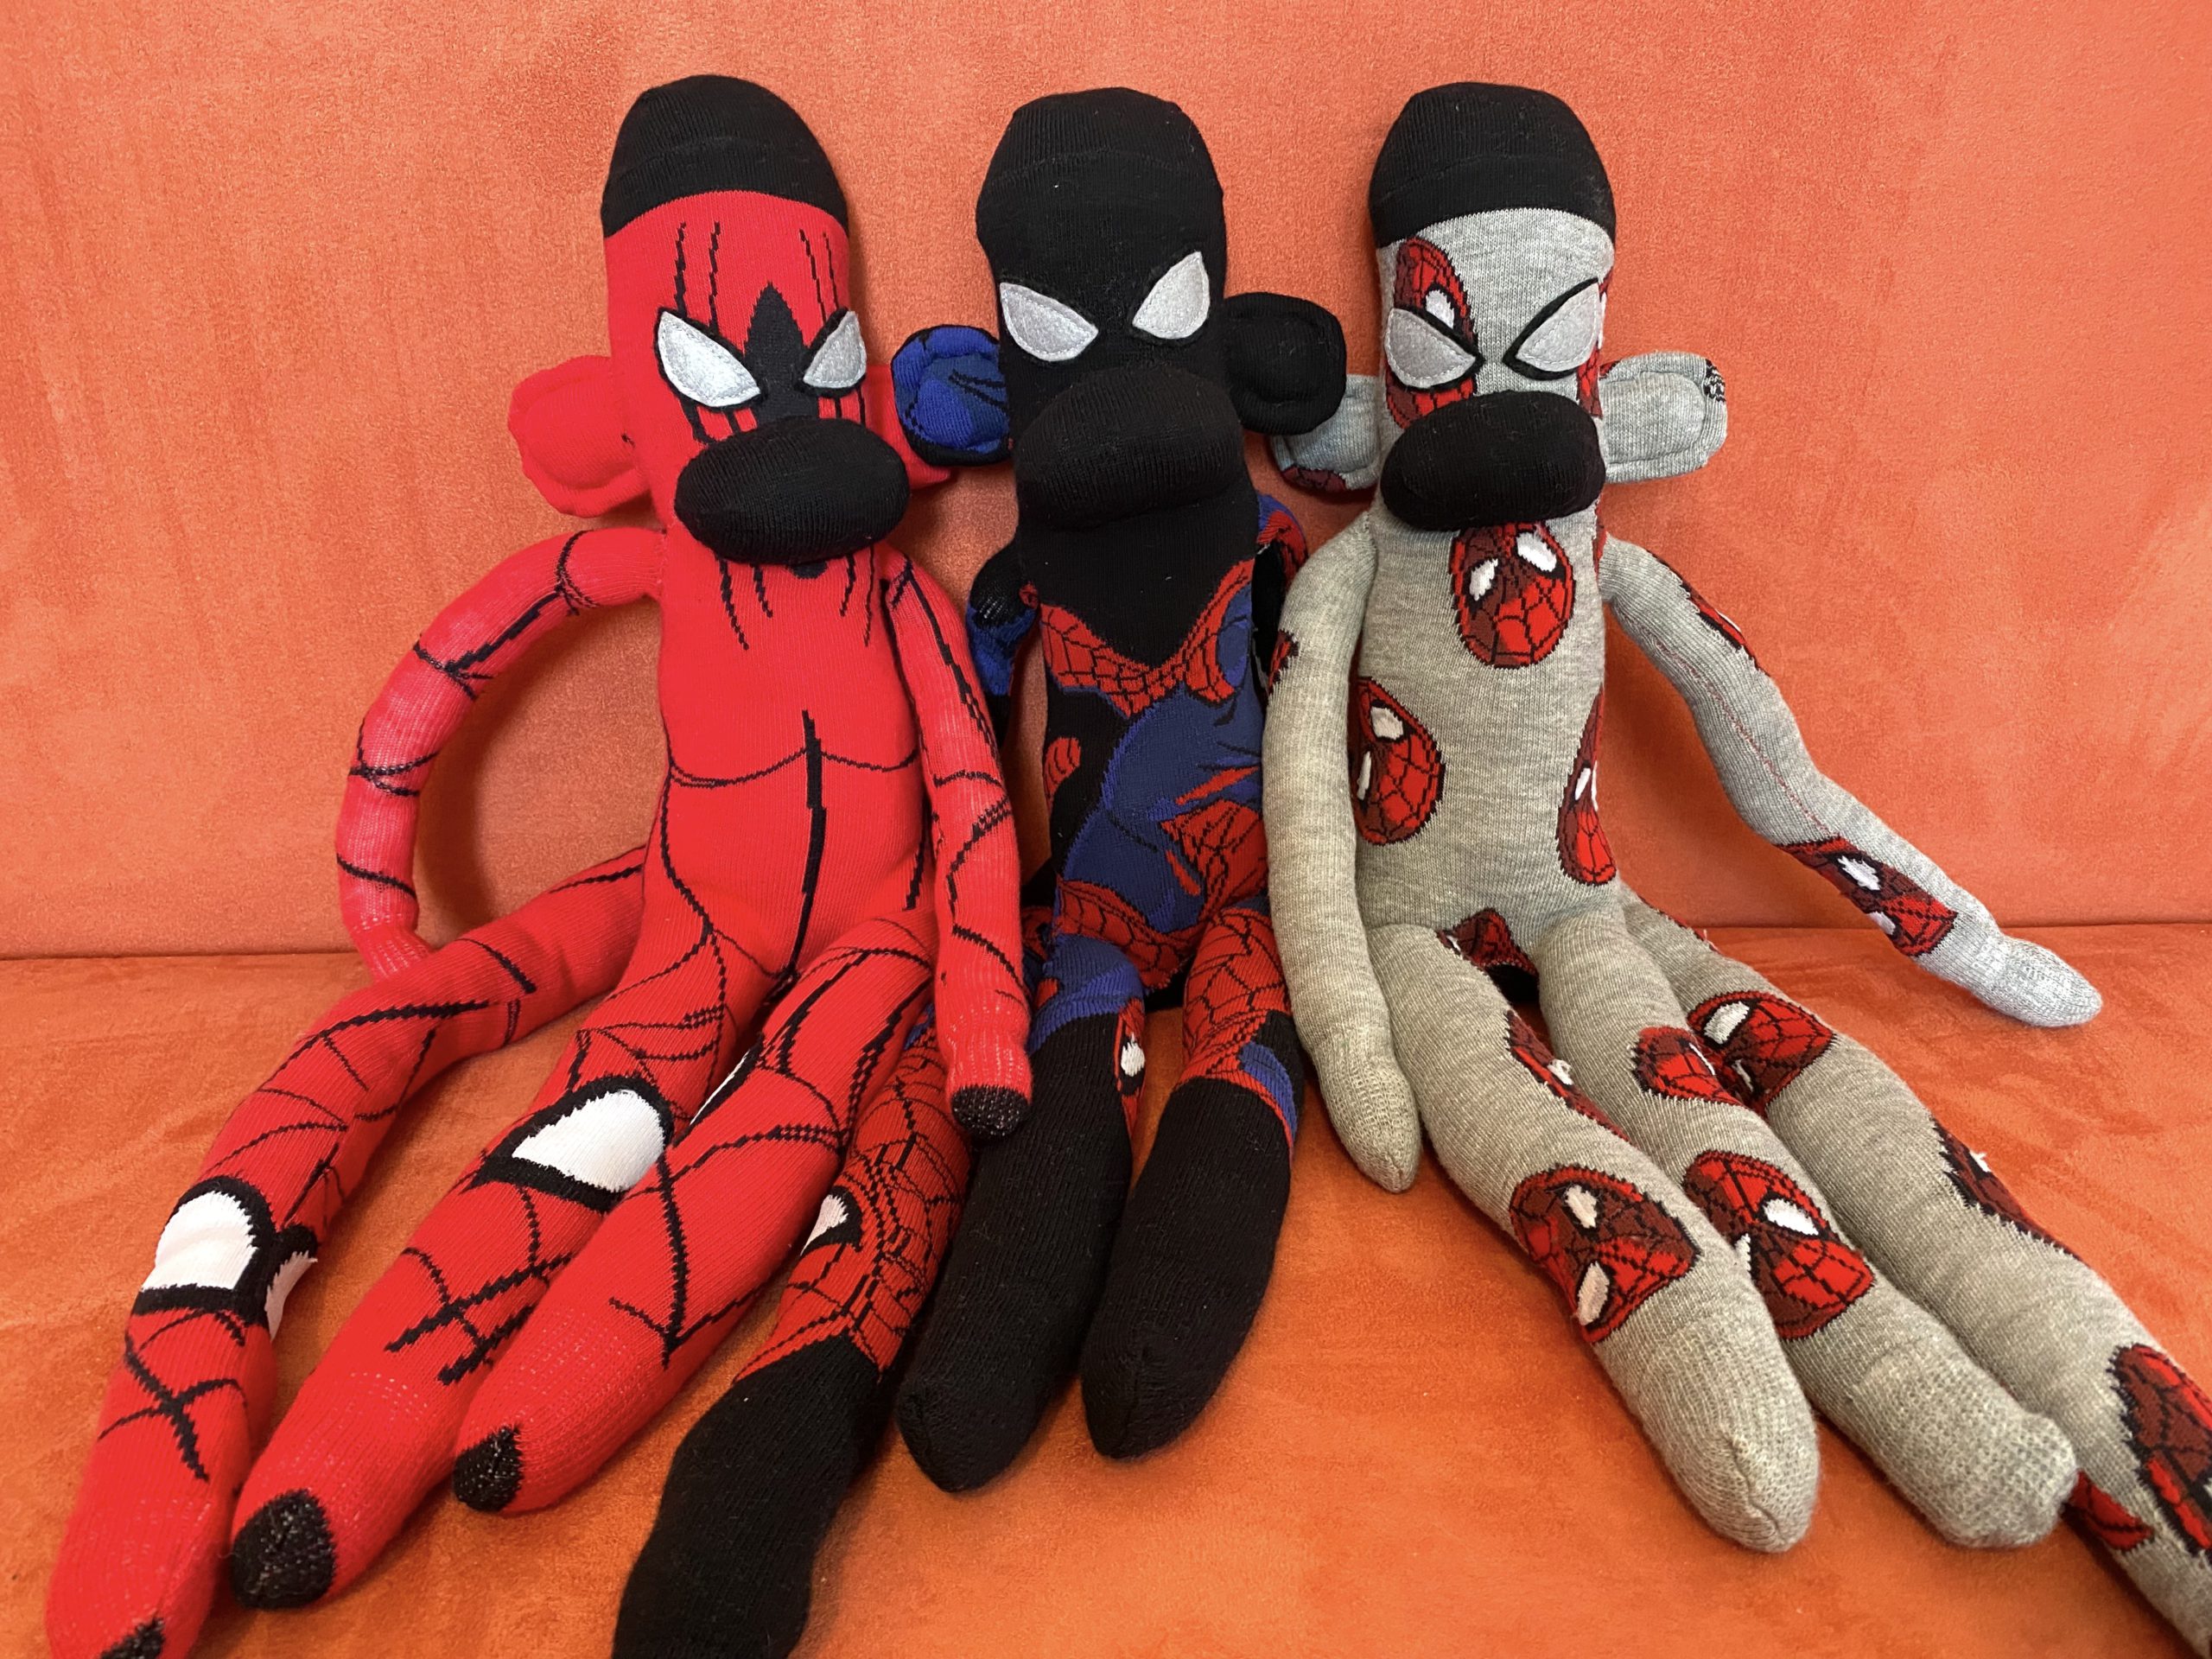
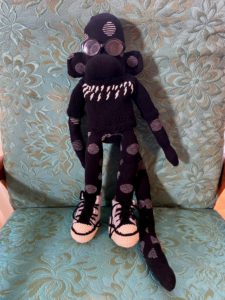
The fourteenth (semi-)annual Web-Goddess Oscar Contest has officially launched! 🎉 And this year you can win your very own set of Spider-Monkeys so you can act out scenes from No Way Home (or the meme!)
Each is crafted from a pair of Spider-Man socks, with felt eyes appliquéd. See? They’re very similar, but all slightly different. You can call them Peter 1, Peter 2, and Peter 3 if you like. (They’re a bit simpler than my original idea, but it turns out that the only person that wants a dirty, sexually repressed, toxically masculine Benedict Cumbermonkey is me.)
The 2022 Academy Awards happen on Sunday, March 27th (California time), which is like 2am here. So I’ll cut off entries a few hours beforehand when I go to bed, and you’ll have to wait until I get up in the morning to find out who won!
Nineteen years ago, I thought it would be fun to run a contest and give away a sock monkey. I then kept that up for 10 years running, and you can see the history of my creations below. These days I only do it when the inspiration strikes…
2022 – Spider-Monkeys
2021 – Schitt’s Creek Sock Monkeys
2019 – Freddie Monkcury
2013 – The Avenger Monkeys
2012 – The Monkey with the Dragon Tattoo
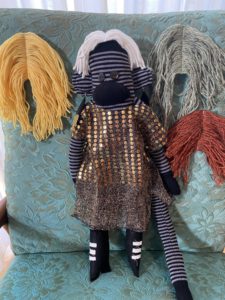
2011 – Black Swan and White Swan ballerina monkeys
2010 – Sparkly Emo Vampire Sockmonkey playset
2009 – Batman and Joker monkeys
2008 – Striking Writer Monkey
2007 – Trio of Dream Monkeys
2006 – Gay Sock Monkey Cowboys
2005 – Soctopus
2004 – Plain sock monkey
2003 – Oscar the Sock Monkey
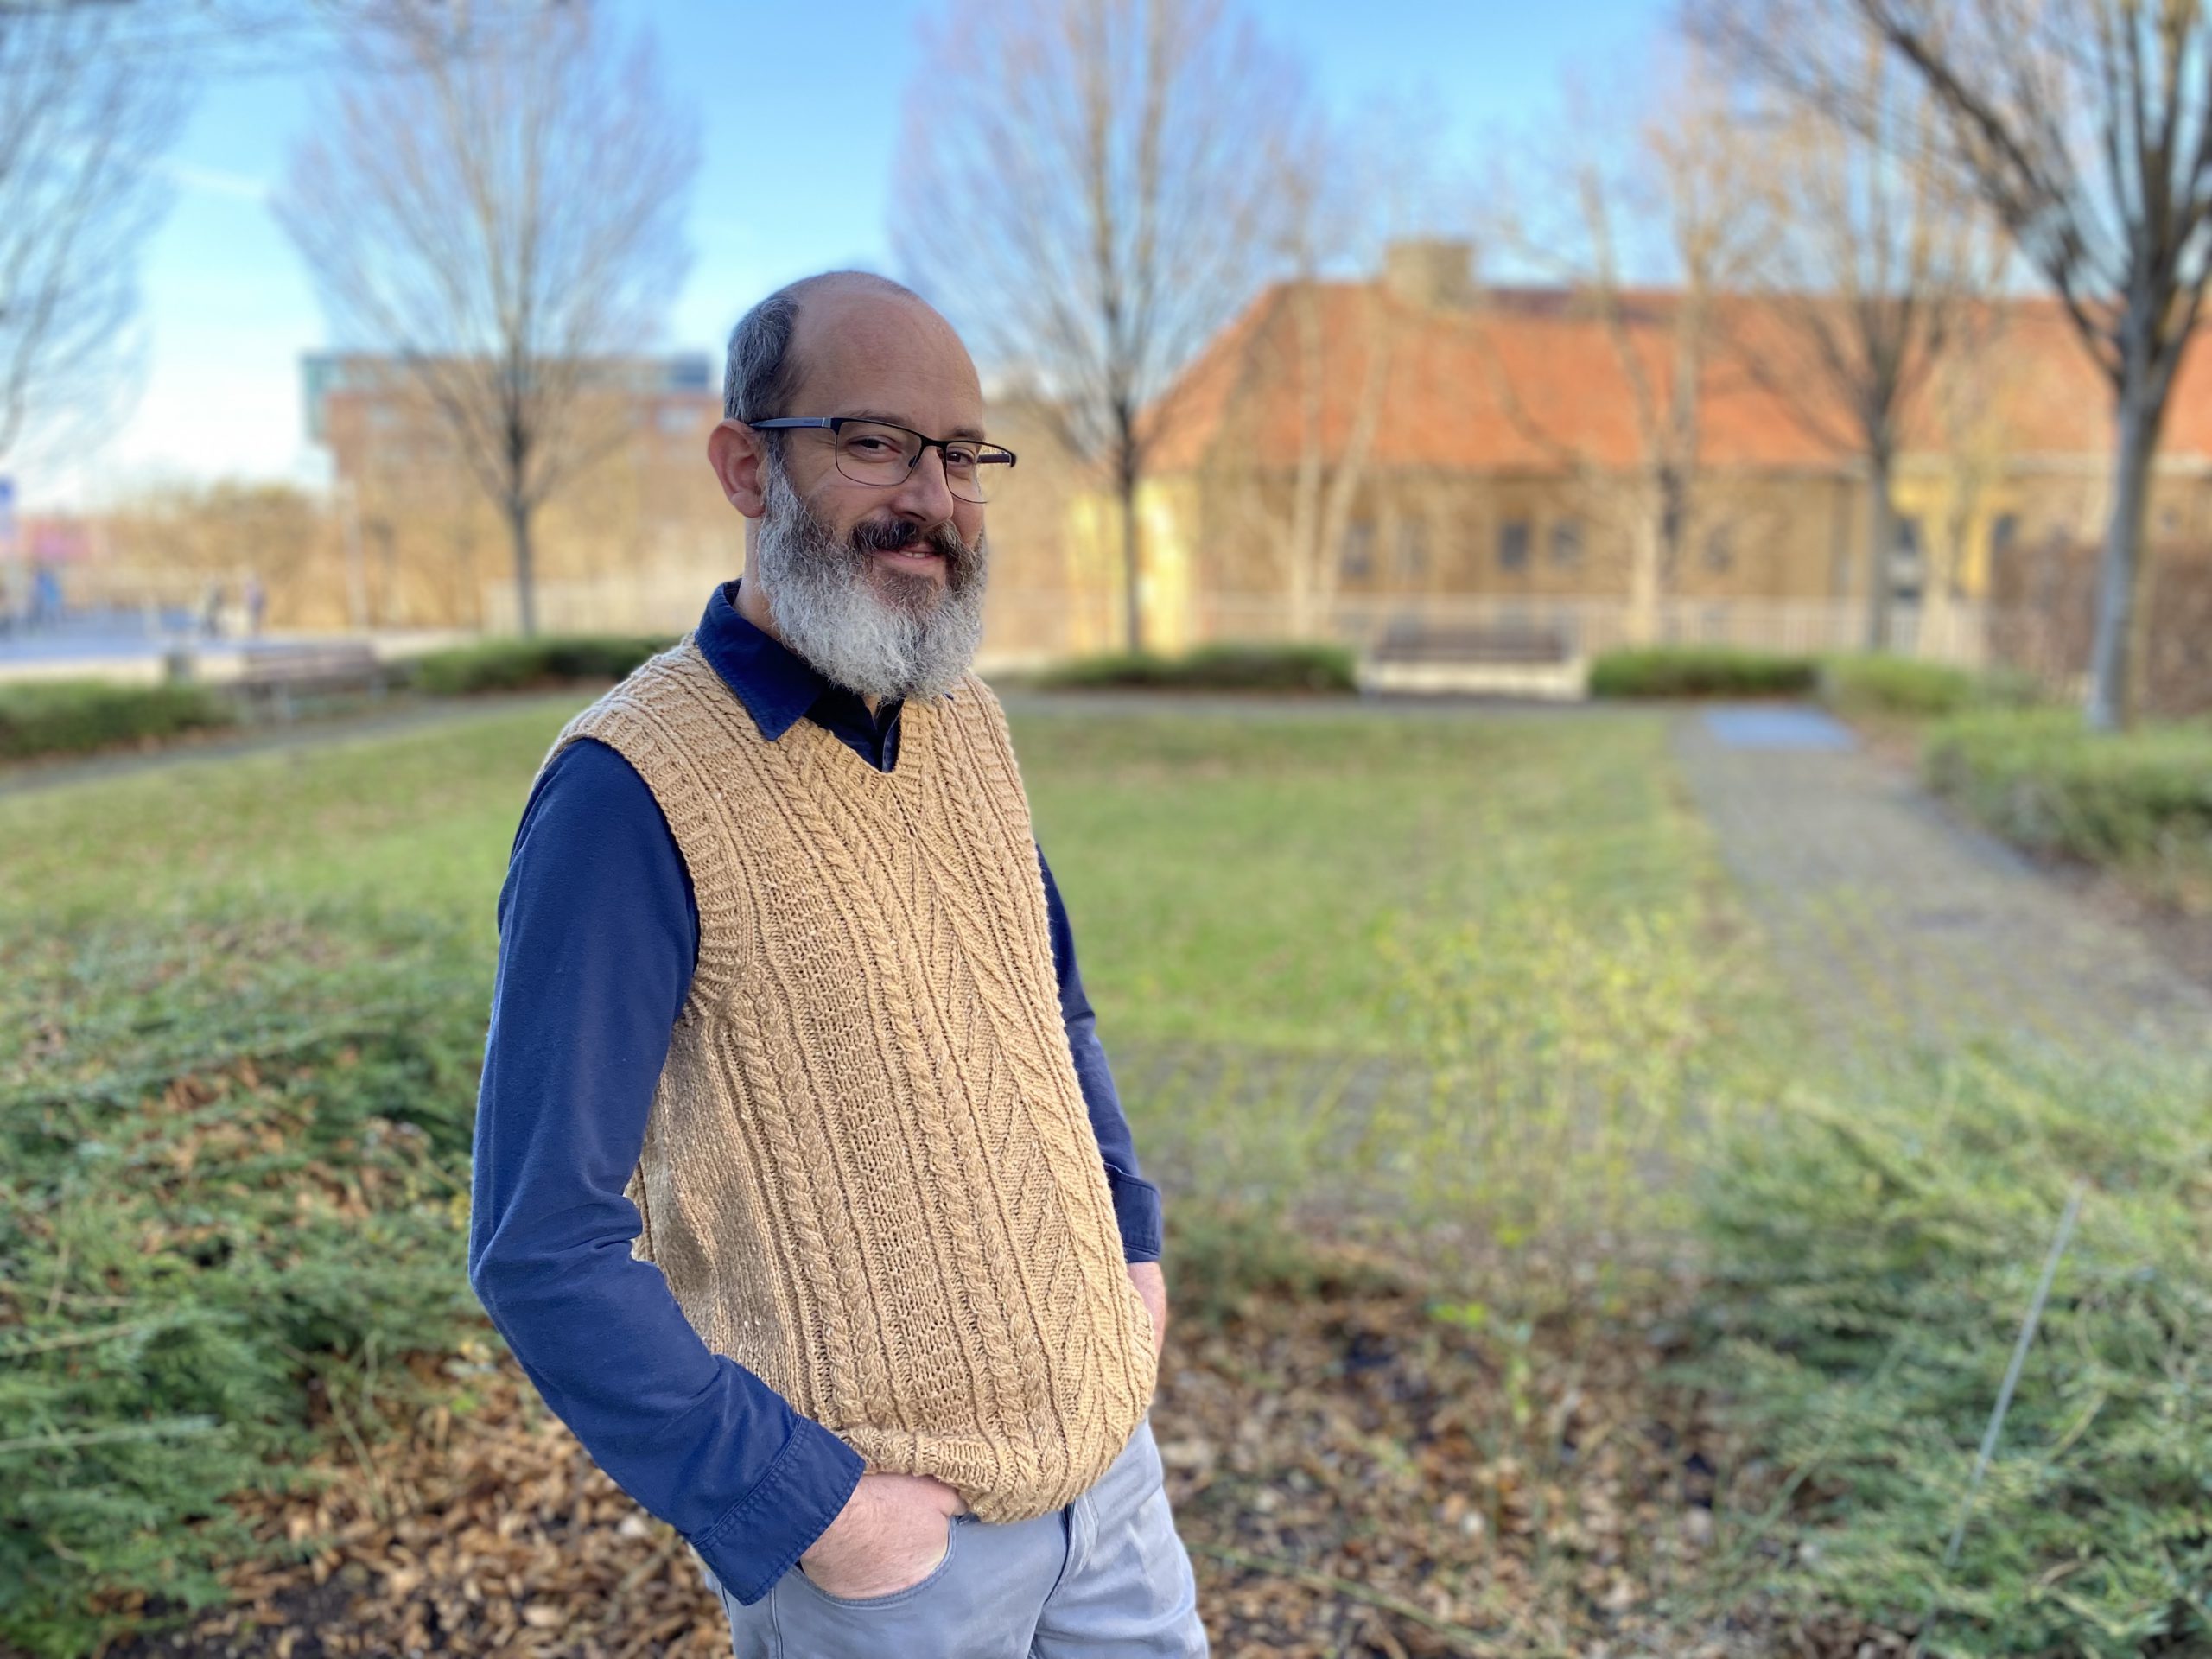
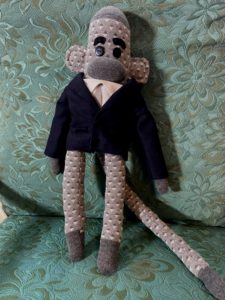
I actually did finish a couple long-gestating knitting projects in 2021! Above you can see the Snook modelling his new cabled v-neck vest. He’s decided in recent years that he likes knitted vests, as he can still wear a jacket over them and not be too warm. The wool is Jo Sharp Silkroad DK Tweed from a packet that I bought in a Knitters Guild destash many years ago. It’s wonderfully soft and squooshy, and I knew it wouldn’t make him itch. (The colour is 419 Butternut, but to me it looks more like a golden cookie or a teddy bear.) The pattern is called Dr. G’s Memory Vest, and it was designed as a tribute to someone who suffered from dementia. I modified the pattern to be knitted in the round from the bottom up, and I worked on it off-and-on throughout the year. I also tweaked the length slightly as the Snook has a long torso. Doesn’t it look good against a blue shirt? More details over on Ravelry.
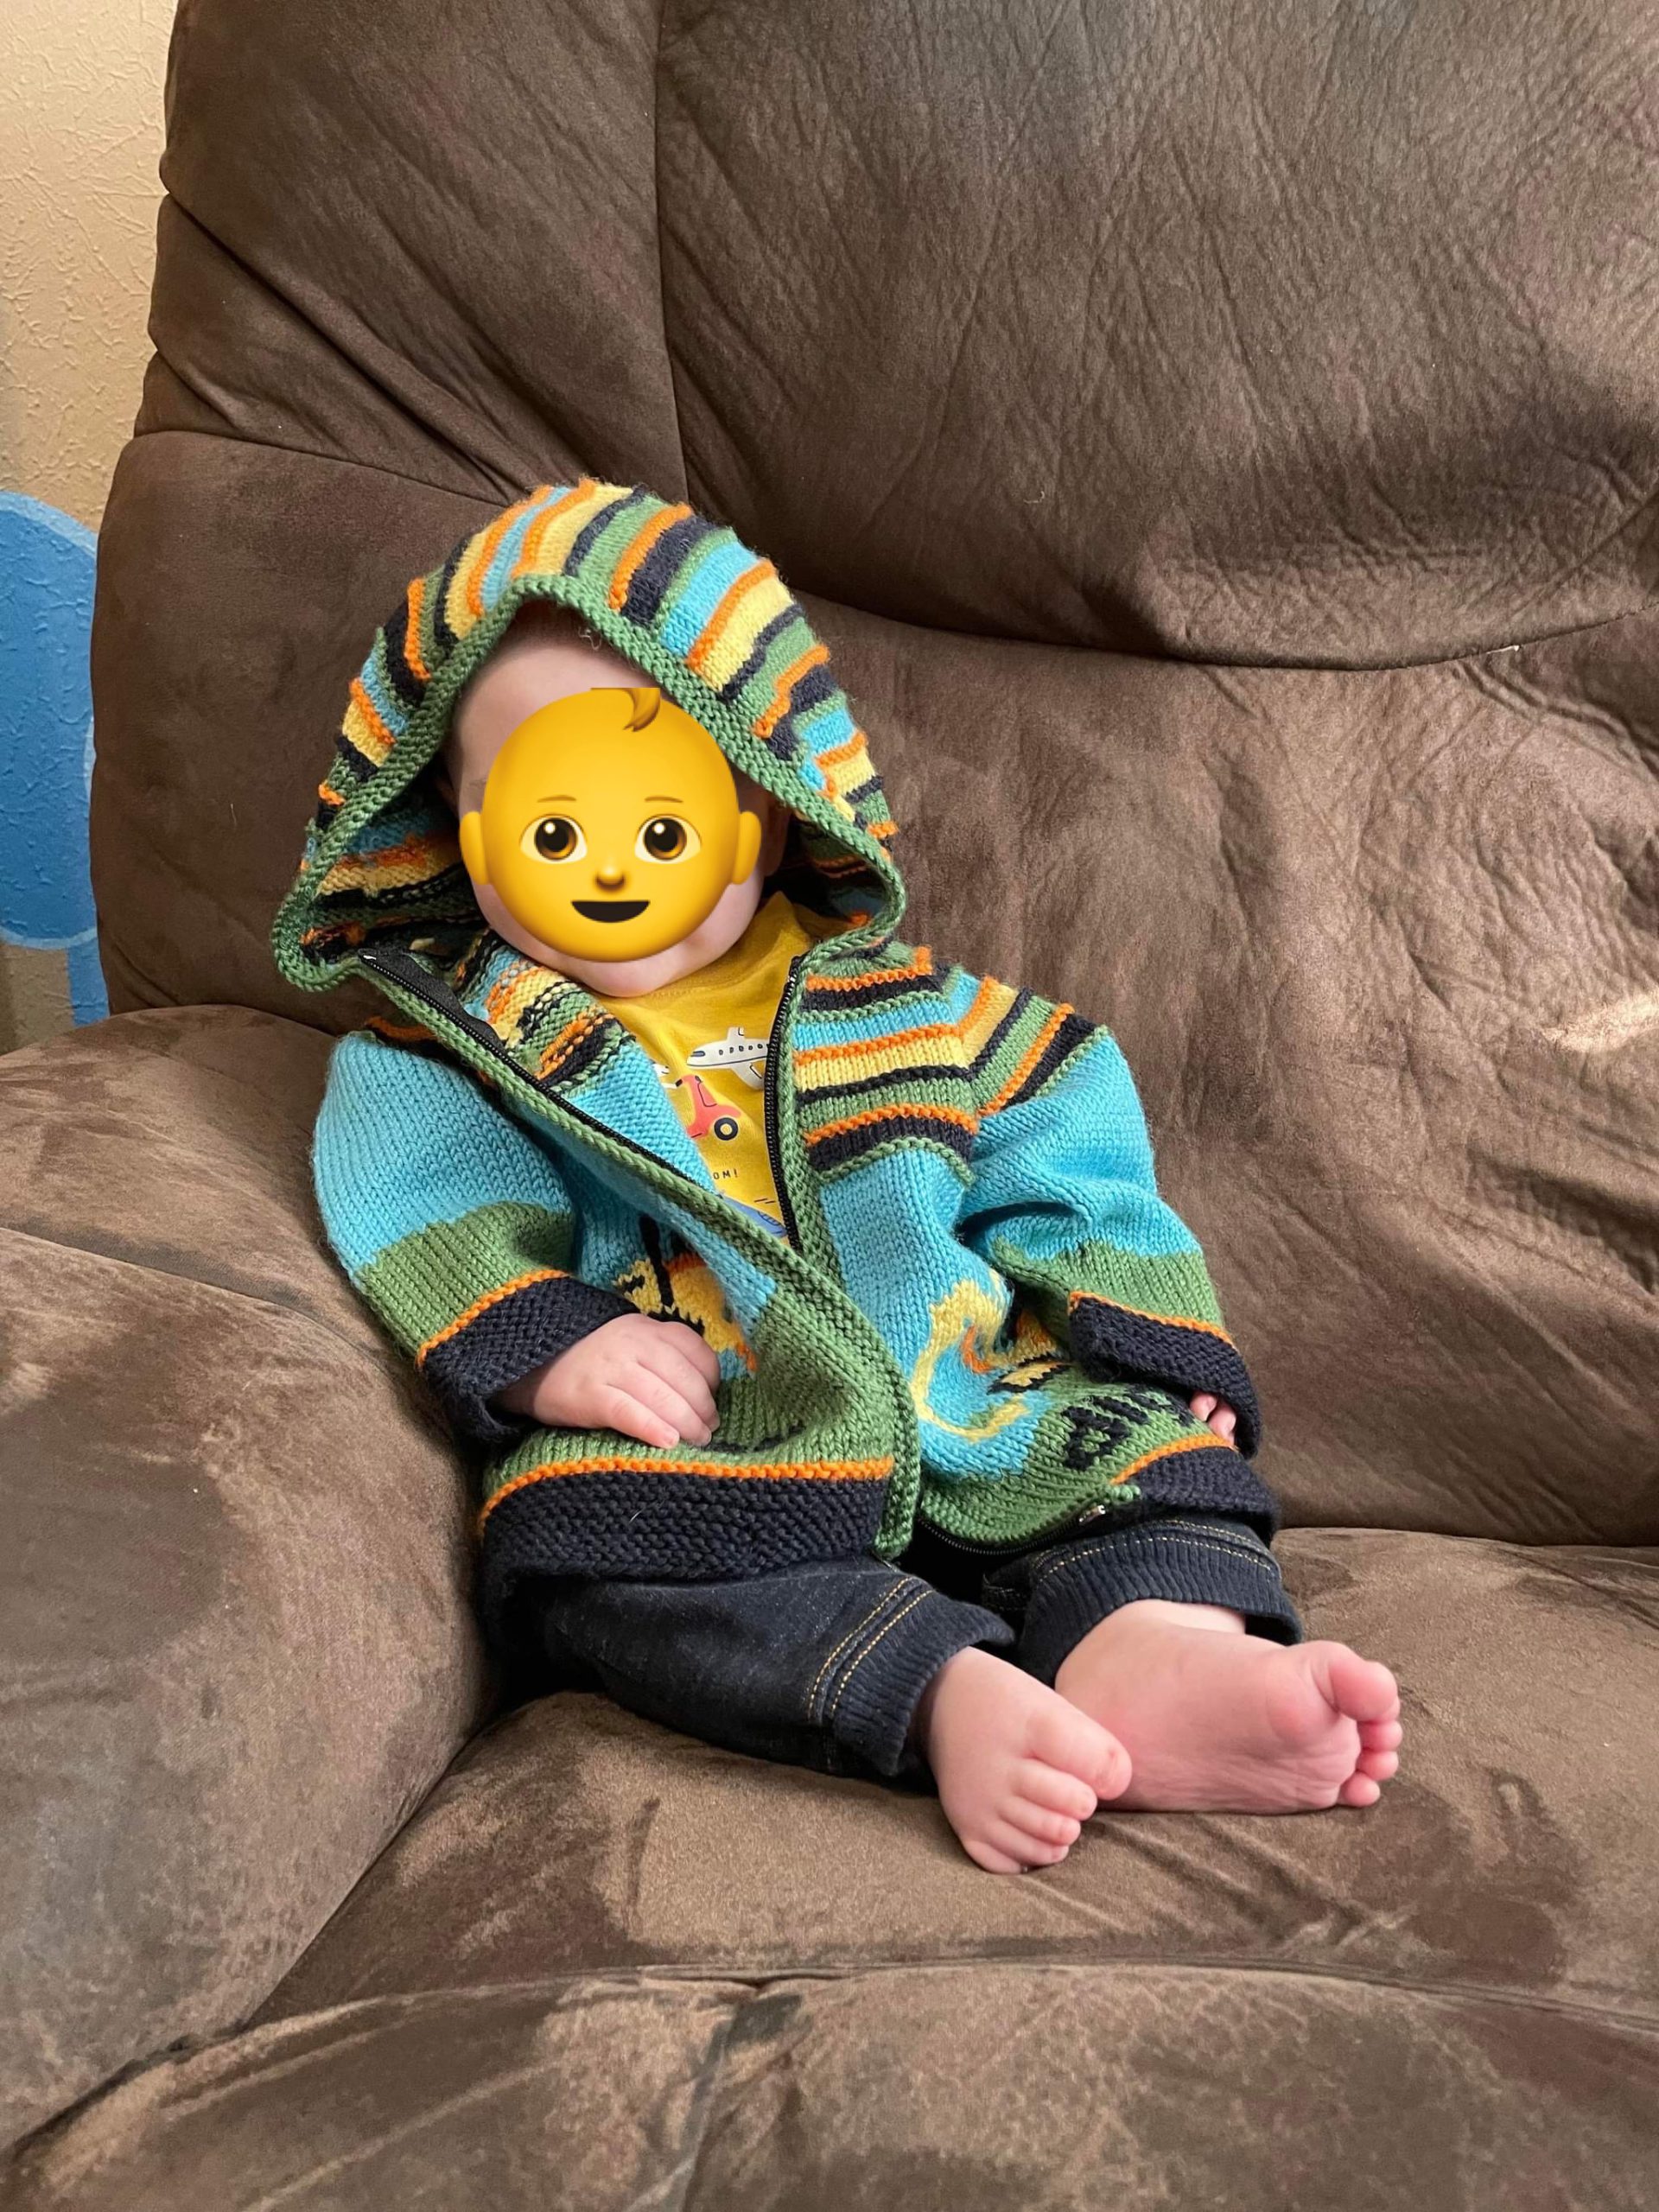
The other project I finished was the Digger Jacket. I actually started this project years ago when my cousin had her first child back in the US. I severely underestimated how quickly I can knit complicated intarsia though (or how frustrating dealing with hundreds of ends can be) so it took me a really long time to finish. By the time it was ready for the zipper, she was pregnant with her third son! I brought it to Germany with me so I could finally finish it off, and last month I was lucky enough to get to deliver it to her in the US. Obviously it’s a bit big for the little one right now, but he’ll grow into it. The wool is Morris Estate 8ply and I absolutely love the colours. As always, I tried to minimise sewing up by knitting the fronts and back together on a singular circular needle. The trade-off was that meant I had to knit all four machines at the same time, which got pretty complicated juggling all the different colours. I tried to simplify things a little by using duplicate stitch for the words and a few of the smaller details. I’m really charmed by how it turned out though, and the little one looks so adorable in it! More details on Rav…
I sewed pants! 👖
For a really long time, trousers have been my Mount Everest as a sewist. I’ve sewed lots of dresses, shirts, and even shorts, but never a pair of actual trousers. I made a valiant but cursed attempt last year at a muslin for the Moji pants by Seamwork before accepting that a drawstring waist was never going to work with my shape…
Then a few months back I started to see the Darlow pants from In the Folds popping up in my Instagram feed. “No way,” I thought. Those curving seams?! These aren’t straight up-and-down pants; they have multiple curvy pieces that swoop around the legs and create volume. It seemed like jumping several levels of difficulty. The style was also slouchier and baggier than what I normally wear. But then I clicked on the #darlowpants hashtag on Instagram, and I was able to see them on different body types and in different materials, and I started to think, “…maybe??”
I bought the pattern. Back in Australia I’d purchased several meters of a soft drill-type fabric for future pants — I never remember to write down the fabric I buy — and I’d shipped it all the way here. It seemed a shame to let it go to waste. Why not give it a go?
I decided to go with View B, which is the less voluminous version and has less pattern pieces. I cut a straight Size I and printed out all the pattern pieces and assembled. Just as I was about to lay out my fabric for cutting, I realised there was one crucial modification I needed to make right from the start – lengthening the legs! The pattern is drafted for someone 5’7”, and I’m 5’10”. So I added three inches at all of the length/shorten lines. This isn’t as straightforward as on normal pants, as the curving lines mean you have to redraw some curves and then “walk the seams” to ensure they still line up. (Thankfully the designer has provided a Fit Kit which walks you through several common modifications.)
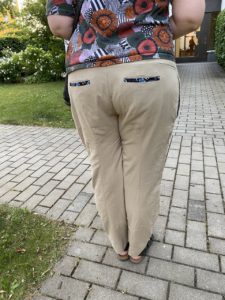
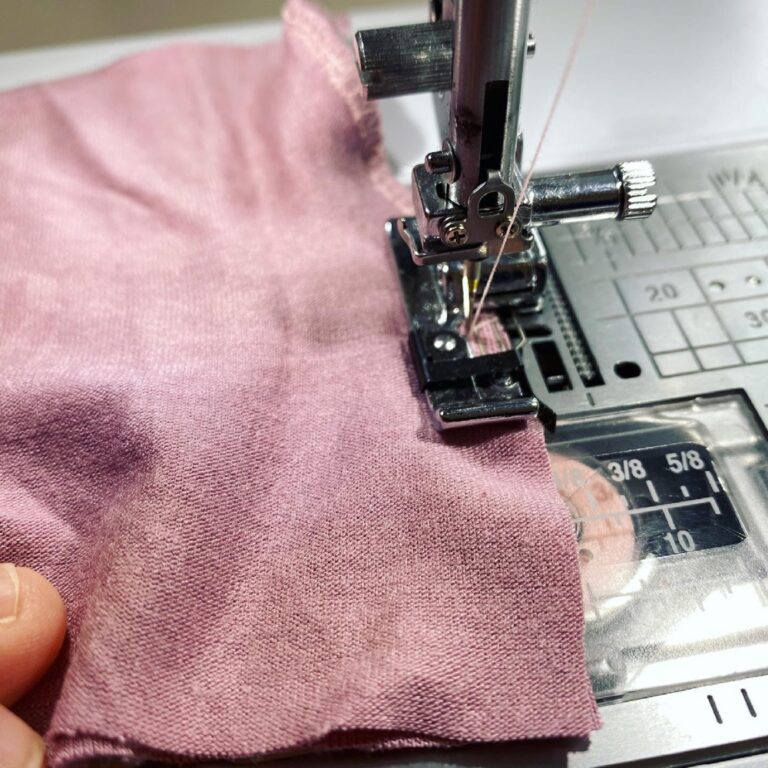
Finally it was time to cut the fabric and start sewing! The first thing you assemble are the back panels, and I had a lot of fun using my special overlocker foot and stitch to finish the raw edges. Once the panels are sewn, you then create the rear welt pockets. I decided to make them a design feature by using some scraps of paisley fabric. The pattern instructions are pretty straightforward and suggest several places where you should hand-baste just to keep everything all lined up. Everything went well until I got to Step 23, when I got confused and just couldn’t figure out how to secure the welt. I ended up emailing the designer, who helpfully sent me a video that explained everything. The key is that Piece 17 (the pocket lining) needs to be folded up under the back panel and out of the way for Step 23. Then you’re meant to fold the welt on Piece 18 and then sew along it. If you look at the photo here, you can just see a line of white stitching at the bottom of each welt. That’s where I did it WRONG. Mine isn’t securing anything; it’s actually meant to go through both layers of the paisley fabric. Oh well – I’ll get it right on the next pair! (Note: the bodgy red stitching along the top is just hand-basting to keep the pocket flat while you assemble the rest of the pants.)

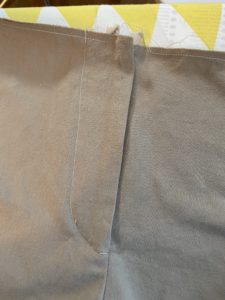
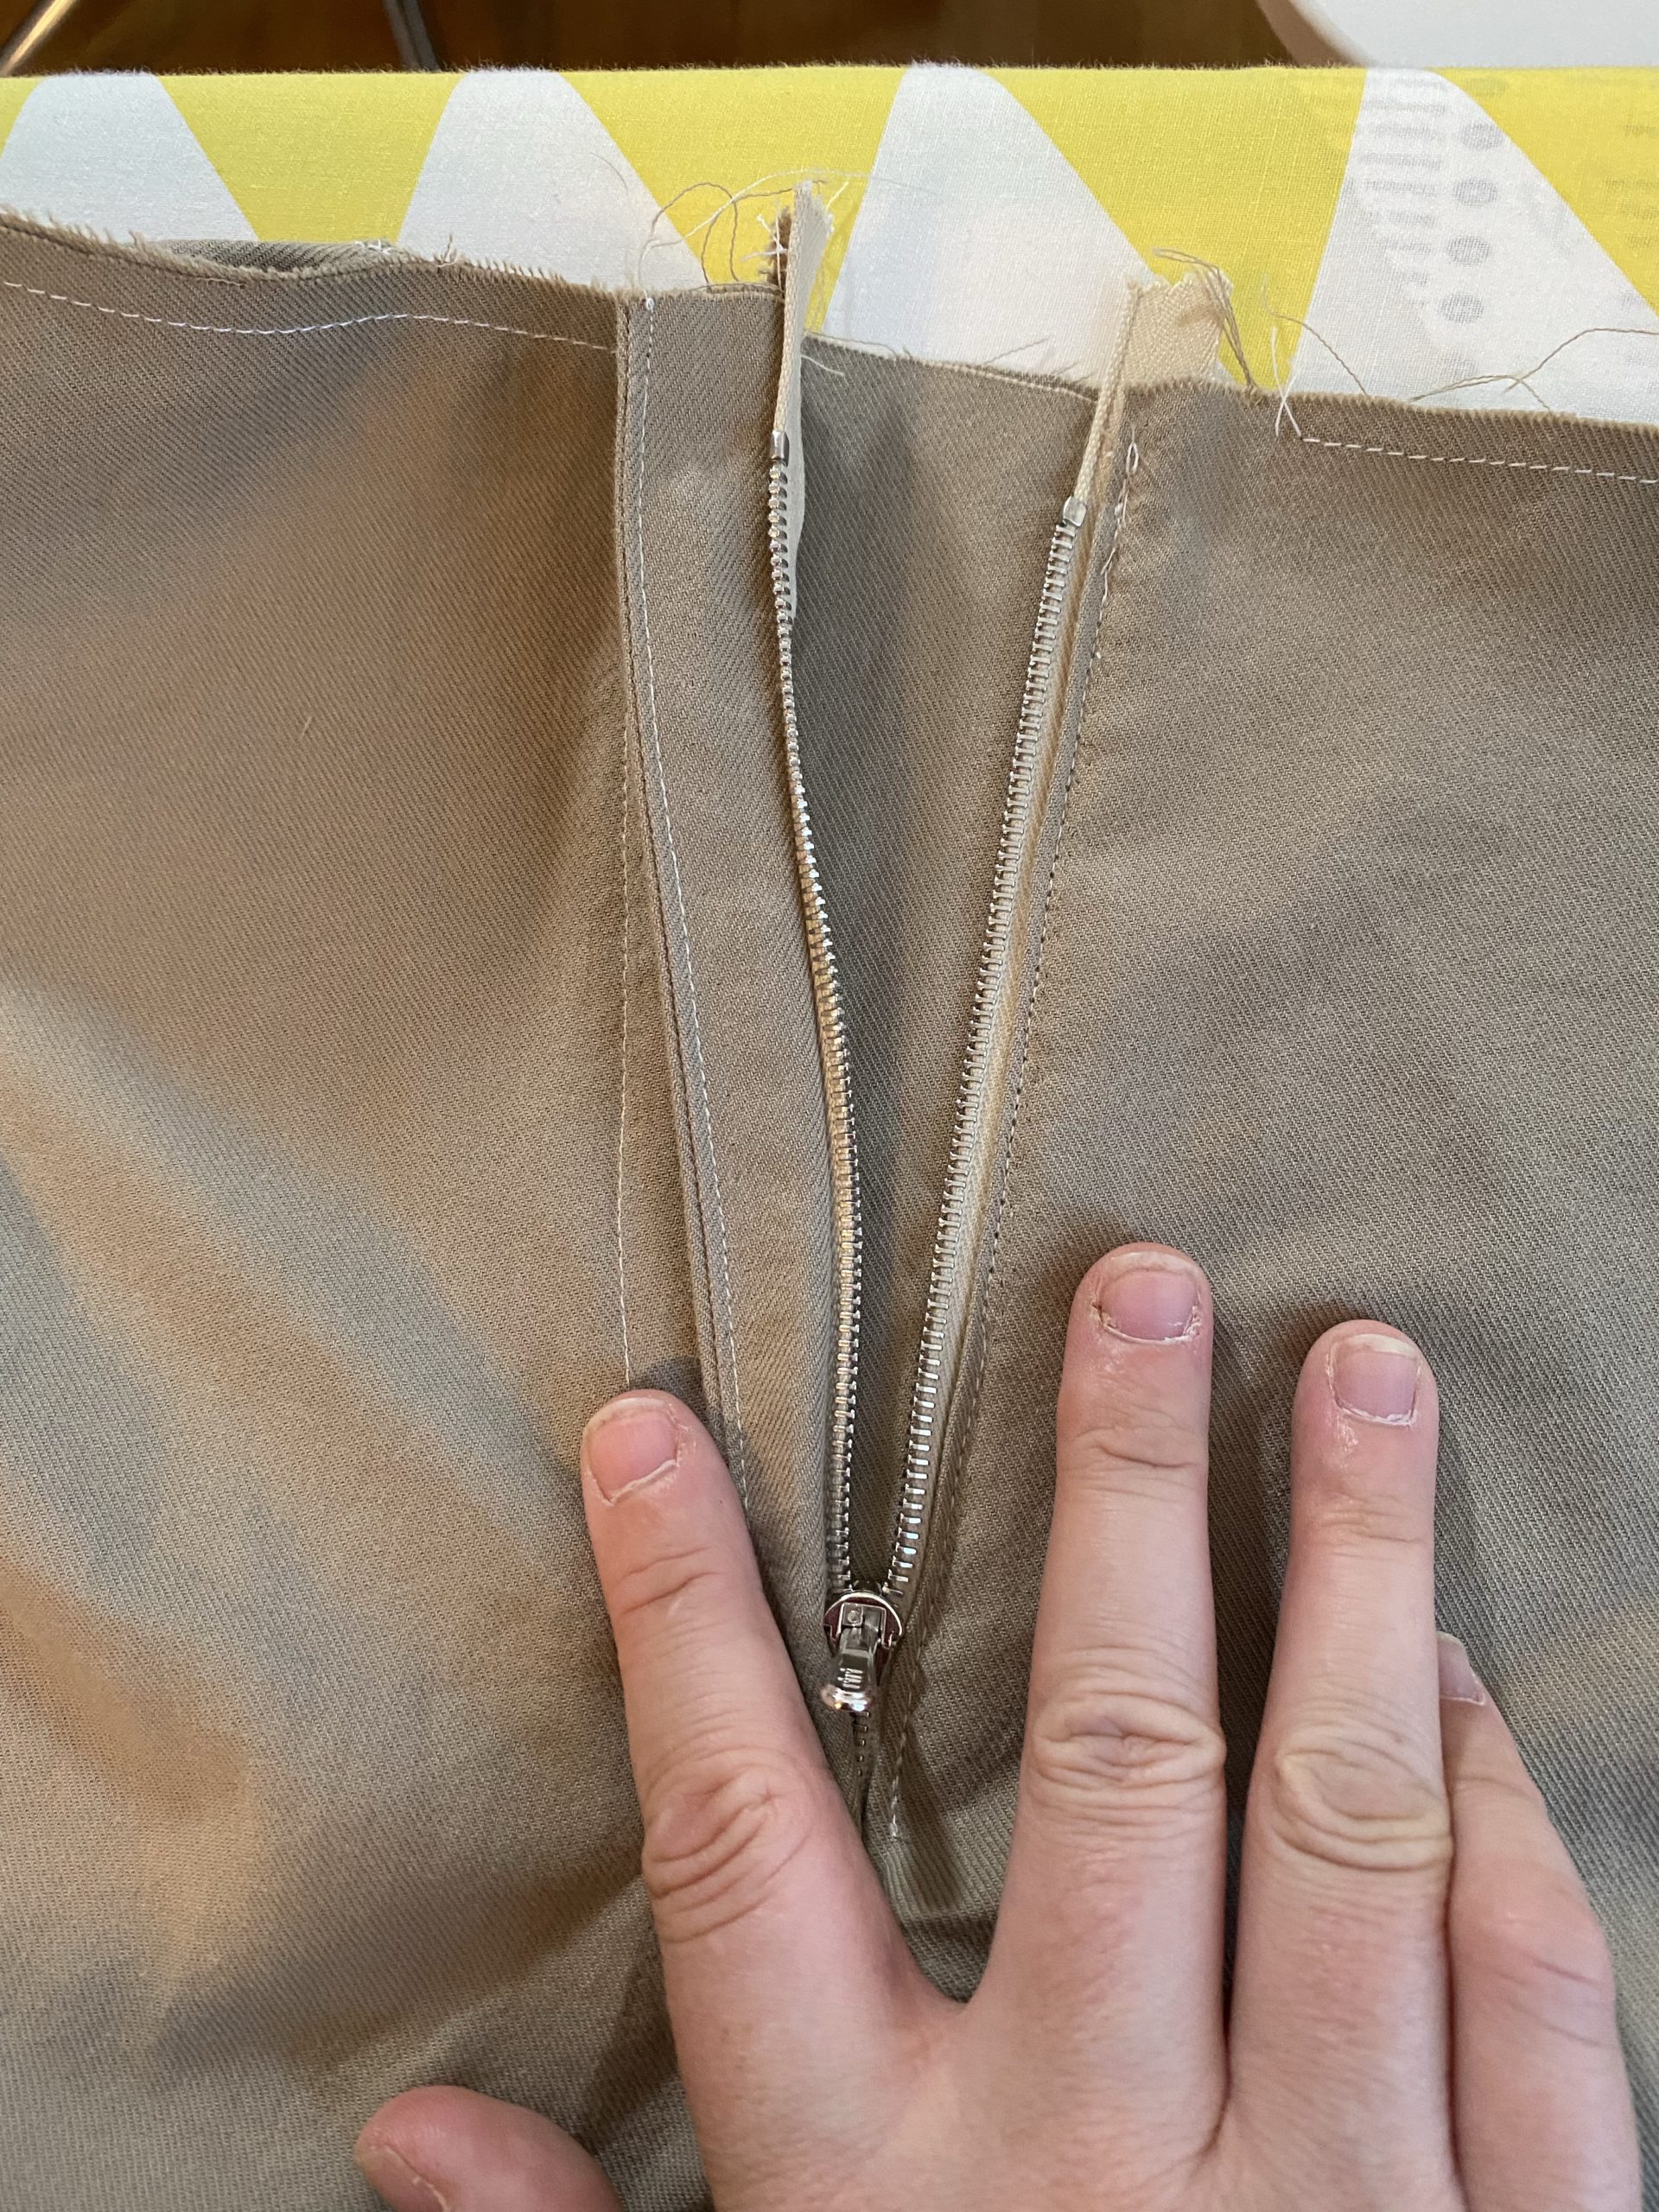
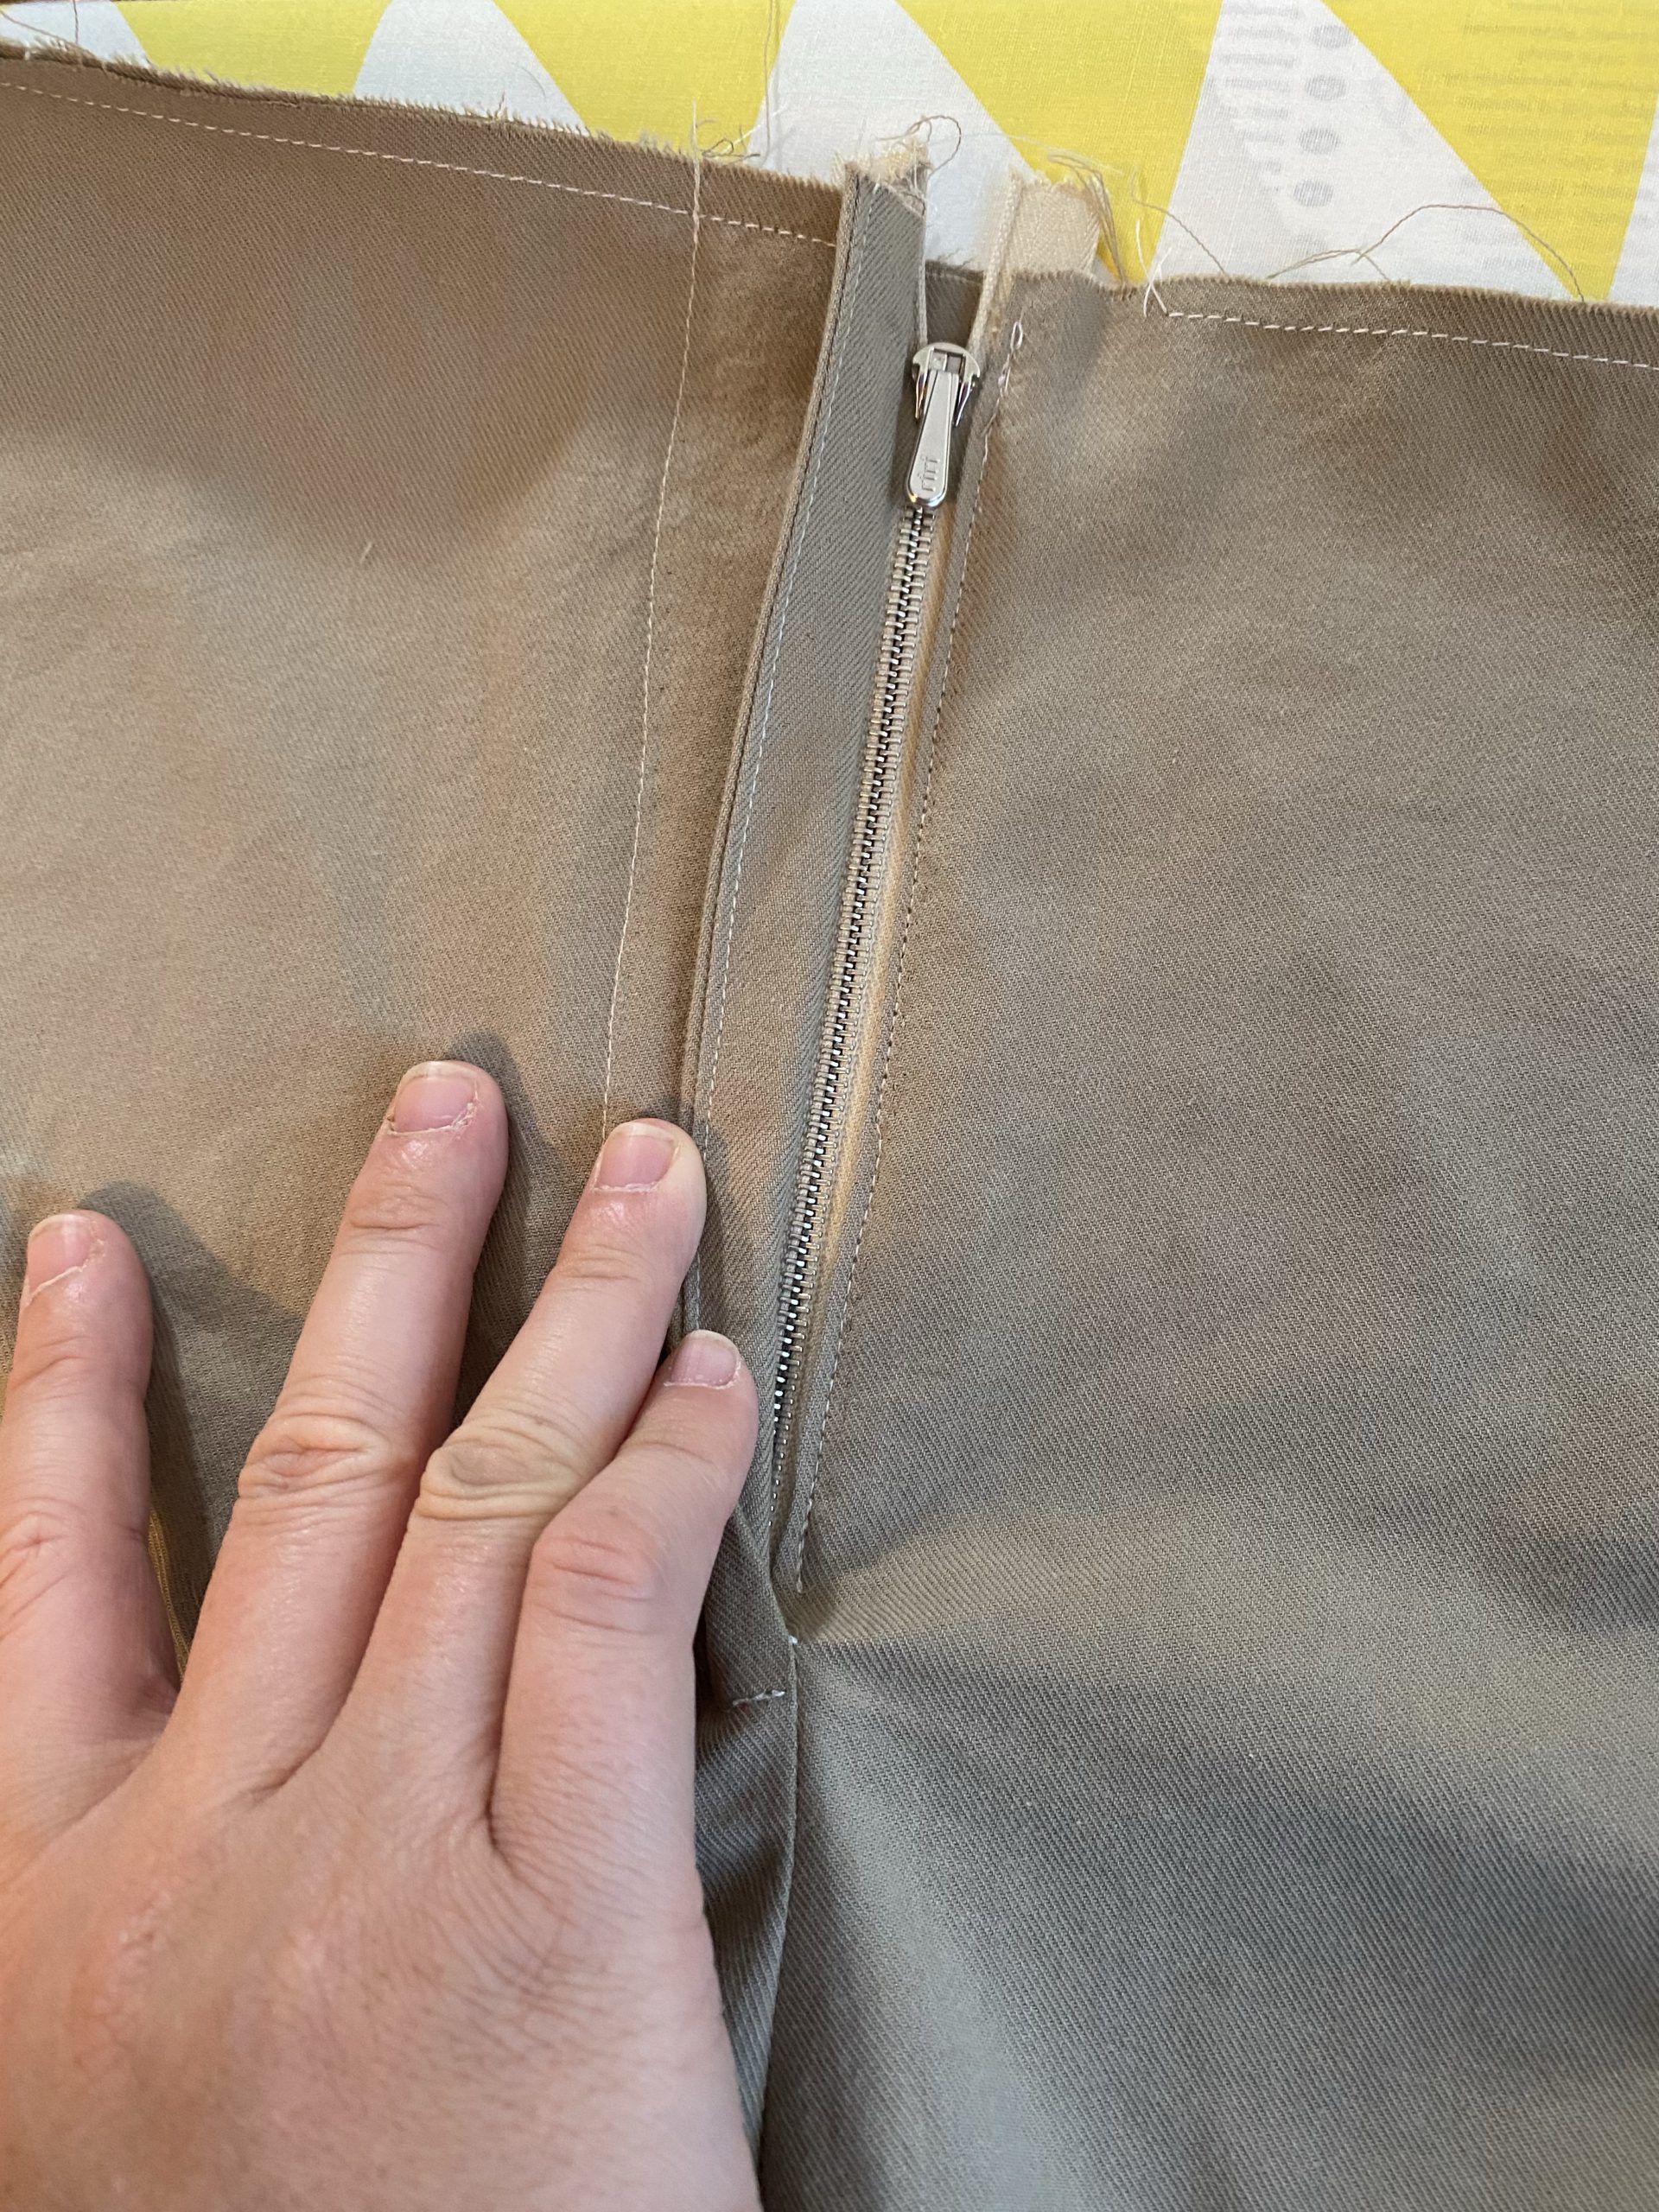
The rest of the pants assembly was pretty easy – even those big curvy bits! – and you end up inserting nice deep pockets into the side seams. Then it was time to insert the zip. I’ve sewn zippers before, but only side-seam ones. I decided that I really wanted a quality metal zip rather than futzing about with crappy nylon ones. I made a pilgrimage to a local haberdasher – which was amazing – and got everything I needed. I was nervous about inserting it, but the instructions were great and again had you baste things together to keep everything lined up. And guess what? IT LOOKS LIKE A REAL PROFESSIONAL ZIP!
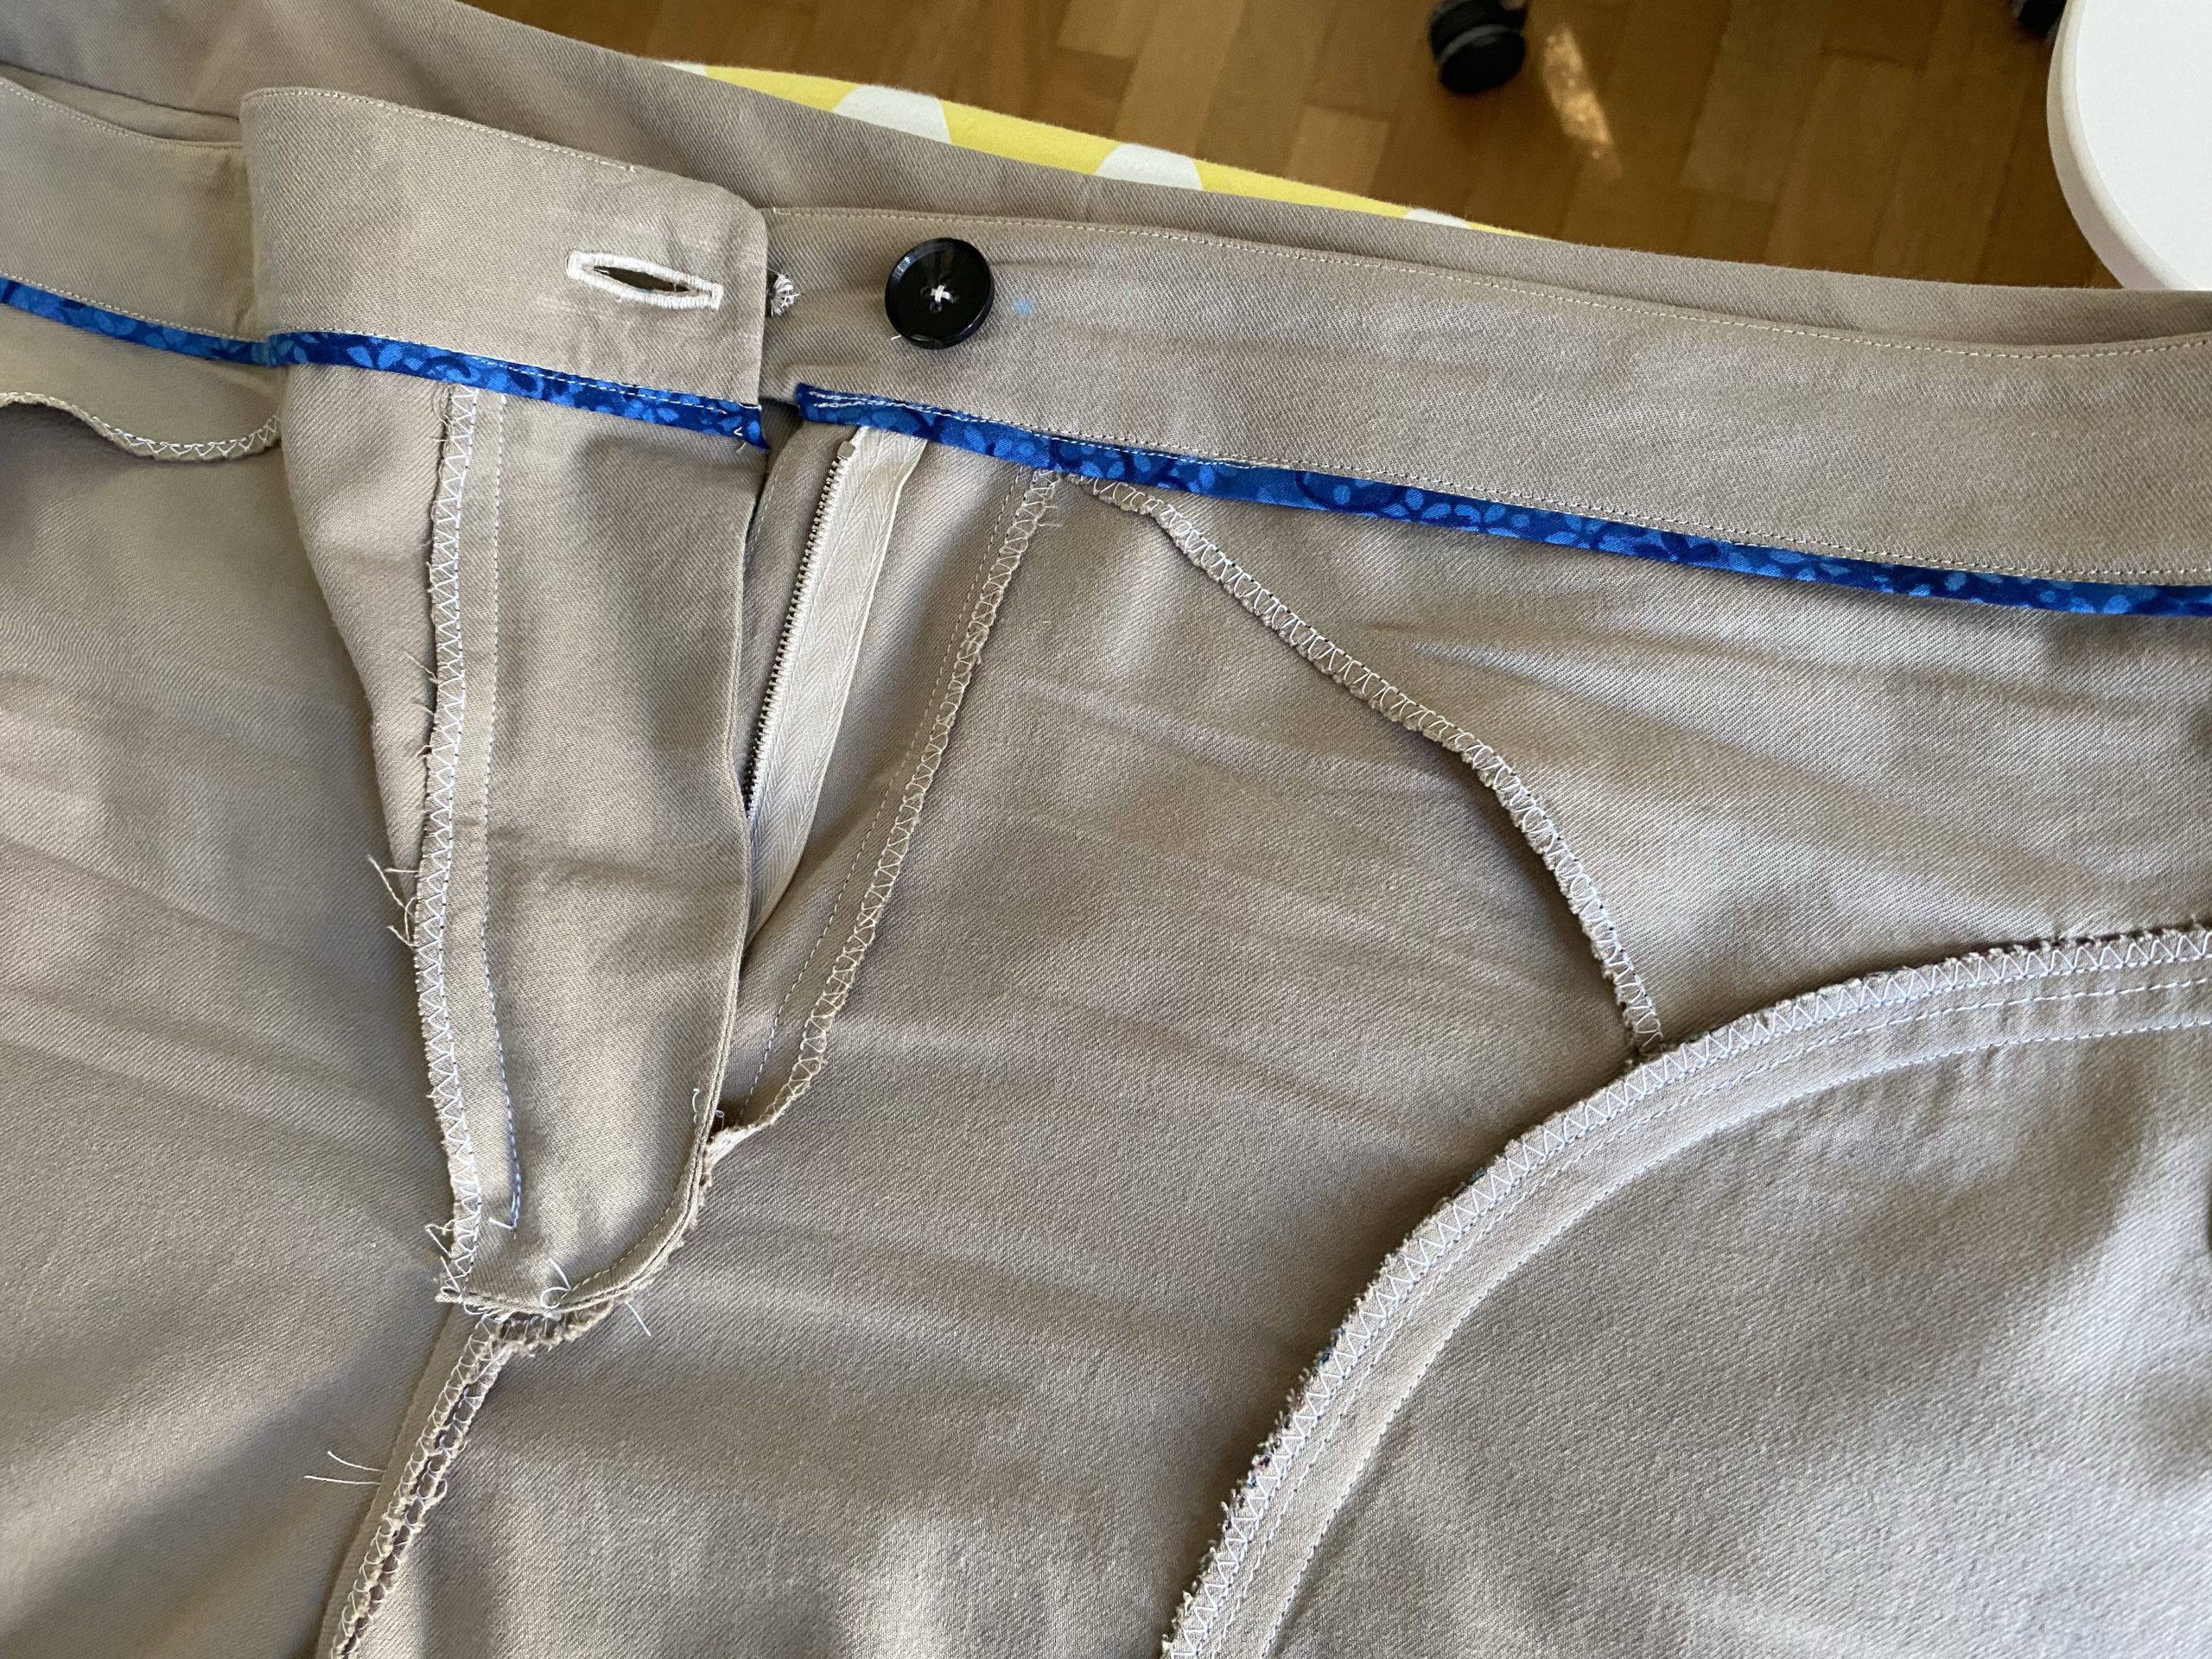
The waistband assembly was pretty simple. You have the option of binding the inside edge with bias binding or enclosing it within the waistband. I had some leftover binding from a previous project so I went with that, and it actually makes it look really nice. Then I just needed to add a buttonhole, sew on a button, and also sew on a trouser hook for the tab. Here’s what it looks like on the inside…
And here are the welt pockets from the inside as well.

The final step was to finish and sew on the hem facings to the legs. And then they were DONE!
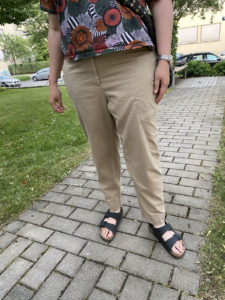
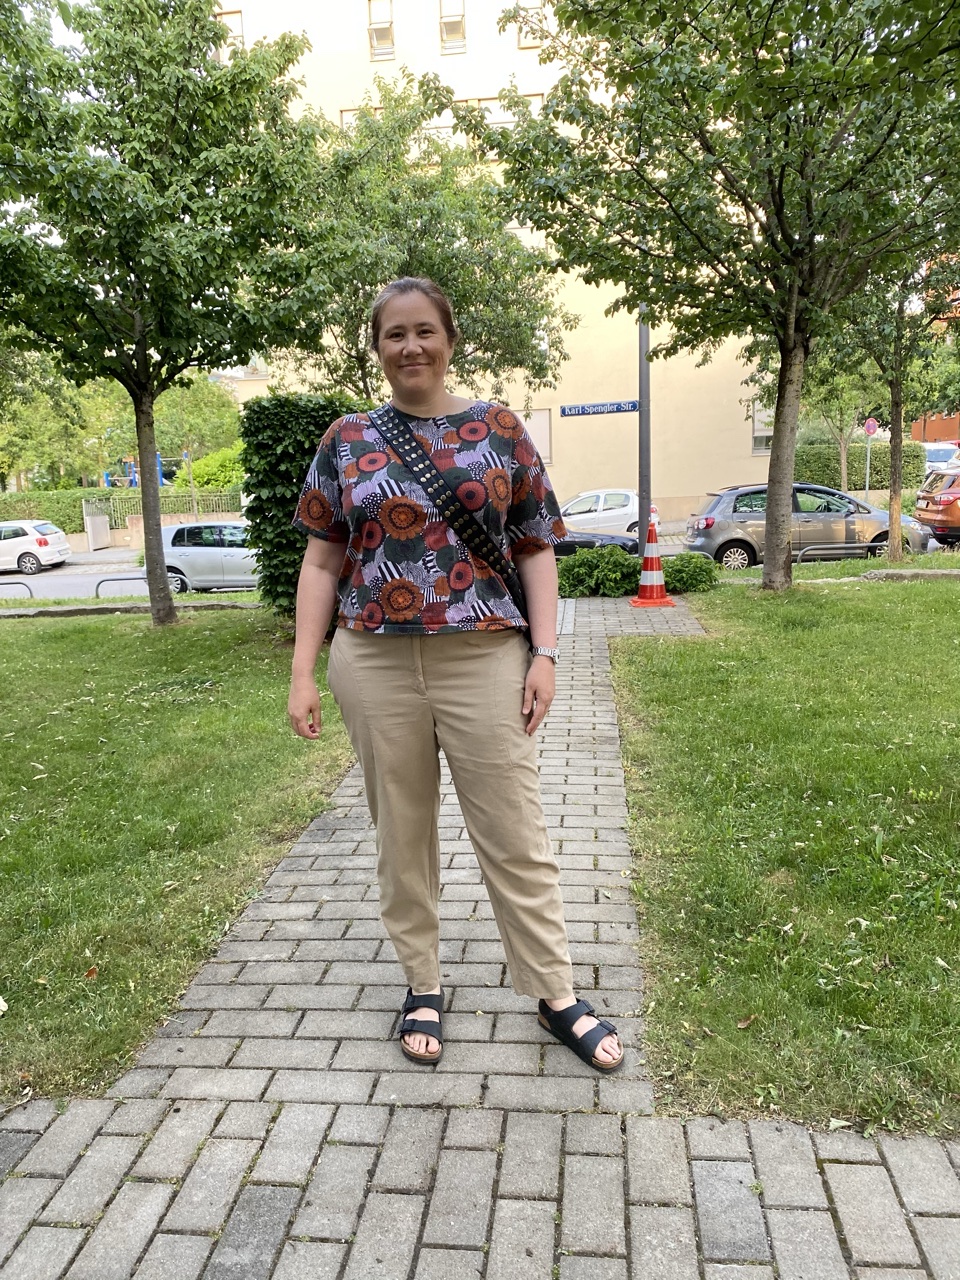
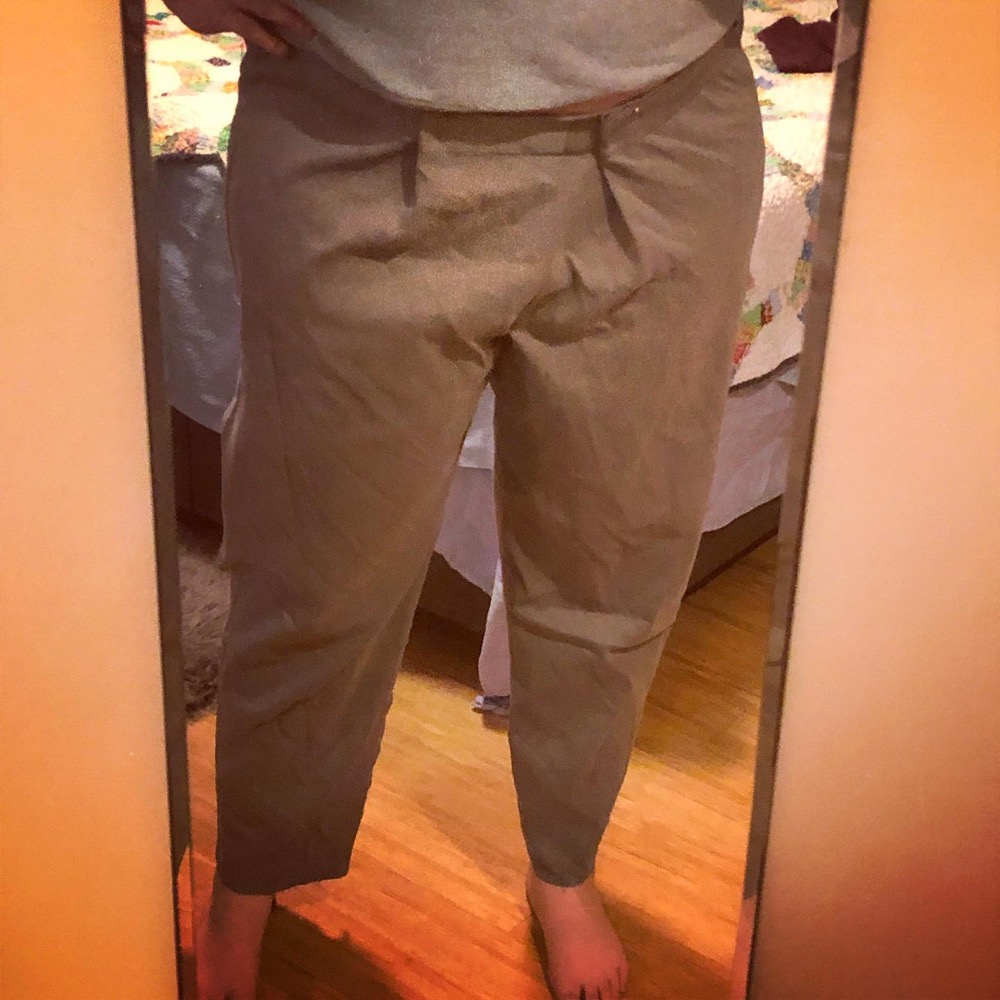
As a wearable muslin, I’m pretty happy with these! I think the three inches I added to the length was just right. There are definitely some fitting issues remaining though. You can’t tell in the photo, but I think I actually need to go down a size in the waist (but leave the size through the hip) – they’re actually quite loose around my middle. (And since there are no belt loops, you can’t really cinch it up.) I also think I need to add a bit more room to the seat, possibly by extending the back crotch point. But still – entirely wearable PANTS! I’m looking forward to making the next pair even better. 🙂
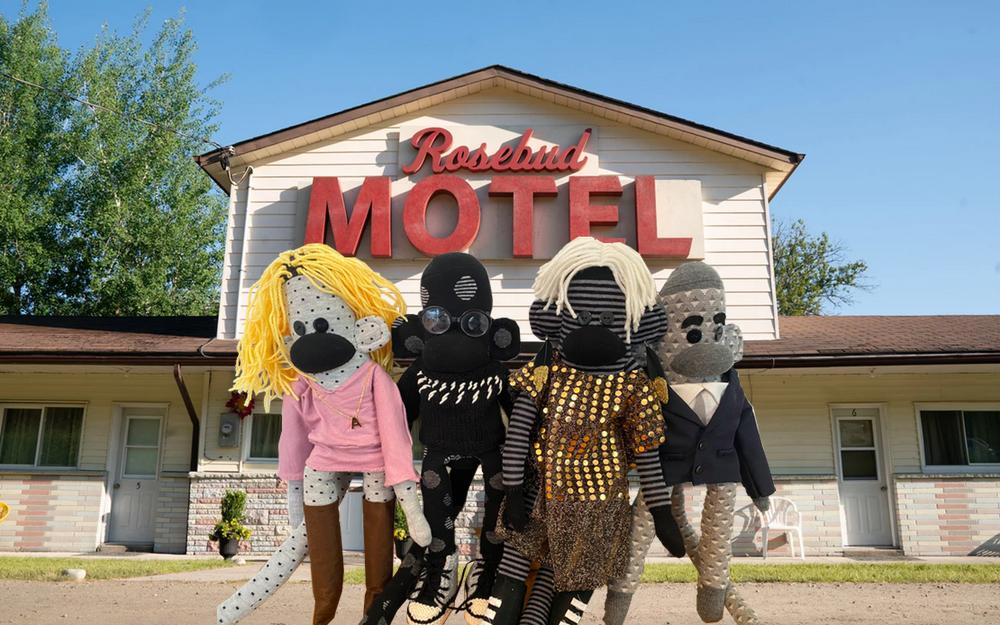
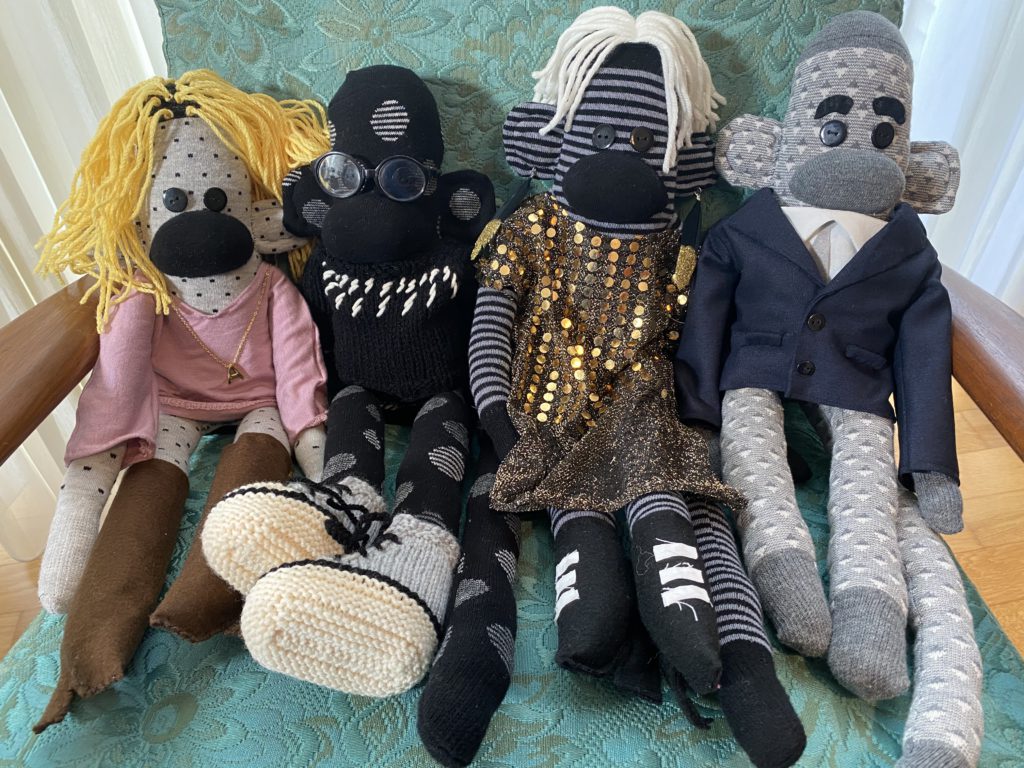
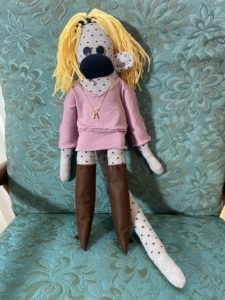
The thirteenth (semi-)annual Web-Goddess Oscar Contest has officially launched! 🎉 And this year you can win everyone’s favourite family – the Roses of Schitt’s Creek.
No, I know they don’t have anything to do with movies. But honestly, I didn’t see many of the nominated films last year, and Schitt’s Creek brought me the most joy of pretty much any media. So that’s what I went with, and that’s what you win if you predict the most Oscar winners!
More details on the monkeys:
If you want Steve, Patrick, or any of the other Schitt’s Creek residents to recreate the scene, that’s all on you. 😂
So go ahead and enter! The 2021 Academy Awards happen on Sunday, April 25th (California time), which is like 2am here. So I’ll cut off entries a few hours beforehand when I go to bed, and you’ll have to wait until I get up in the morning to find out who won!
Eighteen years ago (good grief!), I thought it would be fun to run a contest and give away a sock monkey. I then kept that up for 10 years running, and you can see the history of my creations below. These days I only do it when the inspiration strikes…
2021 – Schitt’s Creek Sock Monkeys
2019 – Freddie Monkcury
2013 – The Avenger Monkeys
2012 – The Monkey with the Dragon Tattoo
2011 – Black Swan and White Swan ballerina monkeys
2010 – Sparkly Emo Vampire Sockmonkey playset
2009 – Batman and Joker monkeys
2008 – Striking Writer Monkey
2007 – Trio of Dream Monkeys
2006 – Gay Sock Monkey Cowboys
2005 – Soctopus
2004 – Plain sockmonkey
2003 – Oscar the Sock Monkey
My fancy sewing machine came with, no joke, like 30 different feet. I only ever use like 2. But today I discovered the overcasting foot and stitch, which made sewing jersey much nicer! 👏
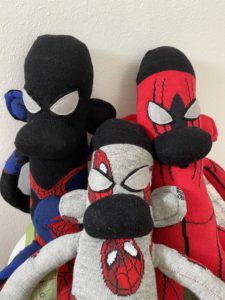
Monkey face assembly. One down, three to go! 🐵🐵🐵🤓
