- 1995 Was the Most Important Year for the Web – 1995 was the year I graduated high school, and while I’d briefly looked at Compuserve at home, it was at uni that I really got into the Internet in a big way. I’m really loving this series.
- ‘An Overwhelmingly Negative And Demoralizing Force’: What It’s Like Working For A Company That’s Forcing AI On Its Developers – Yep. I’m glad I’m not working in tech right now.
- Lunar Quilts capture crafters, astronaut’s take on return to the moon – Gorgeous! I love these. (Quite frankly, I’m surprised these works are being displayed at the Kennedy Center. Quilting? Women astronauts? Feels a bit woke, doesn’t it? 🙄)
- TOAST MALONE – That one helped us win pub trivia last week, as it enabled me to quickly identify the singer’s name from an anagram. 😂
Tag: quilting
-
Links I’ve been enjoying lately
-
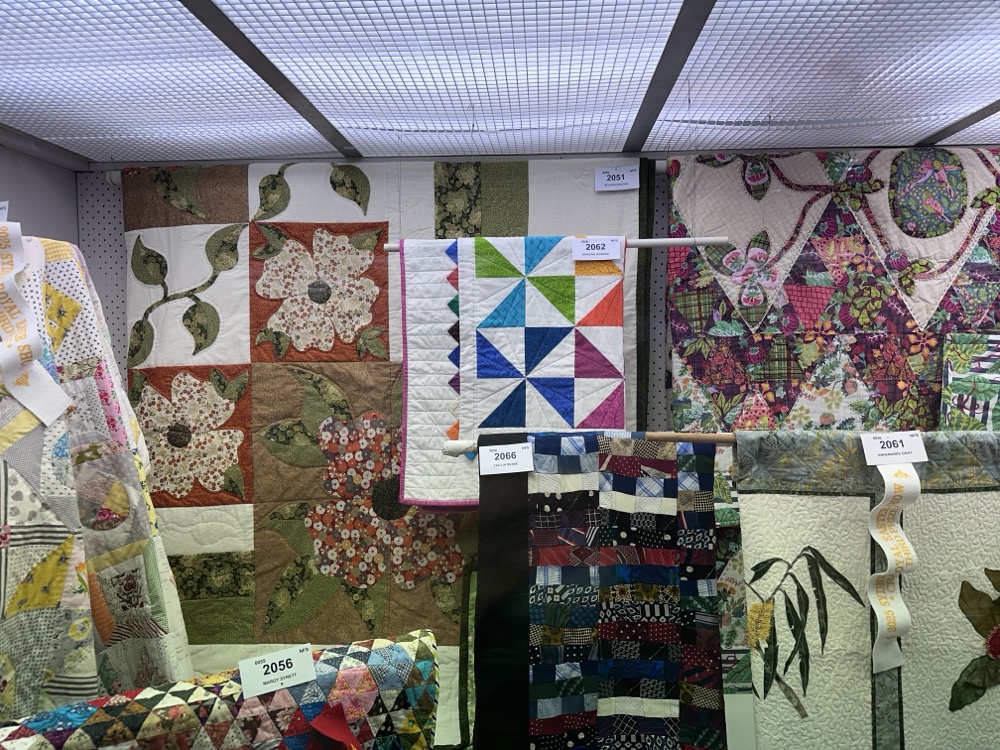
Highlights of the Easter Show Arts & Craft Entries
At the Arts Preview last week, I took a lot of photos of all the Arts & Crafts entries that caught my eye. Sometimes because they were beautiful or clever, and sometimes because they were METAL AF. They’re mostly in the order I saw them, so you get the full “meandering around the display cases while pounding drinks” effect.
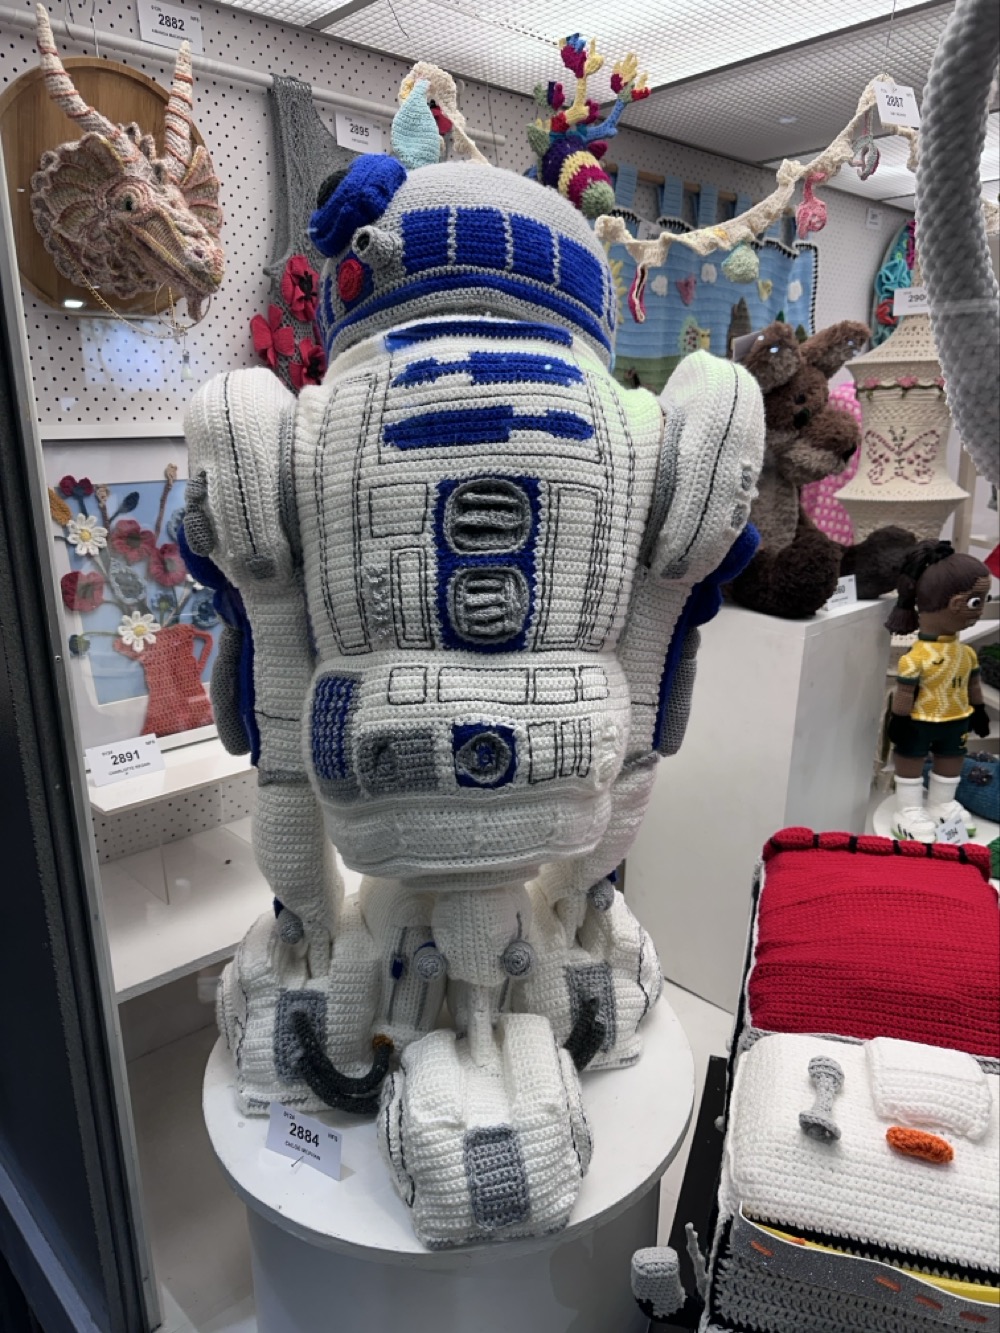
This crochet R2-D2 was fully life-size, and it was a big hit with the viewers. I like it, but he looks a little oddly muscular and organic to me for a robot! (And what’s with that crocheted, mounted dinosaur head?!)
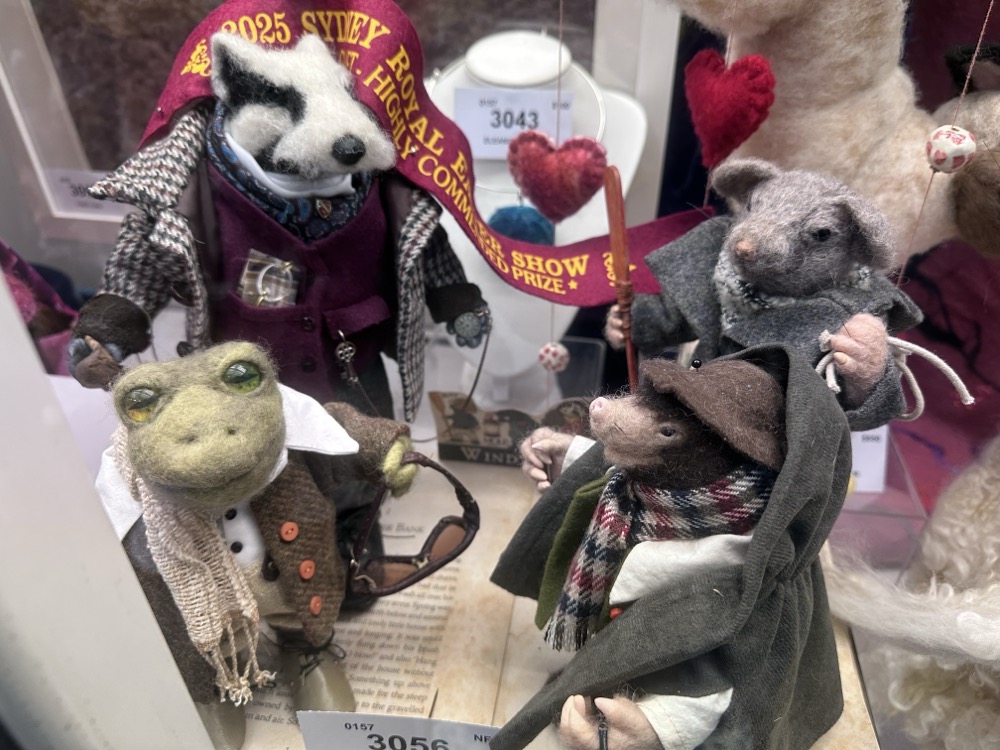
I loved these needle-felted Wind in the Willows characters. Mr. Toad even has his driving goggles!
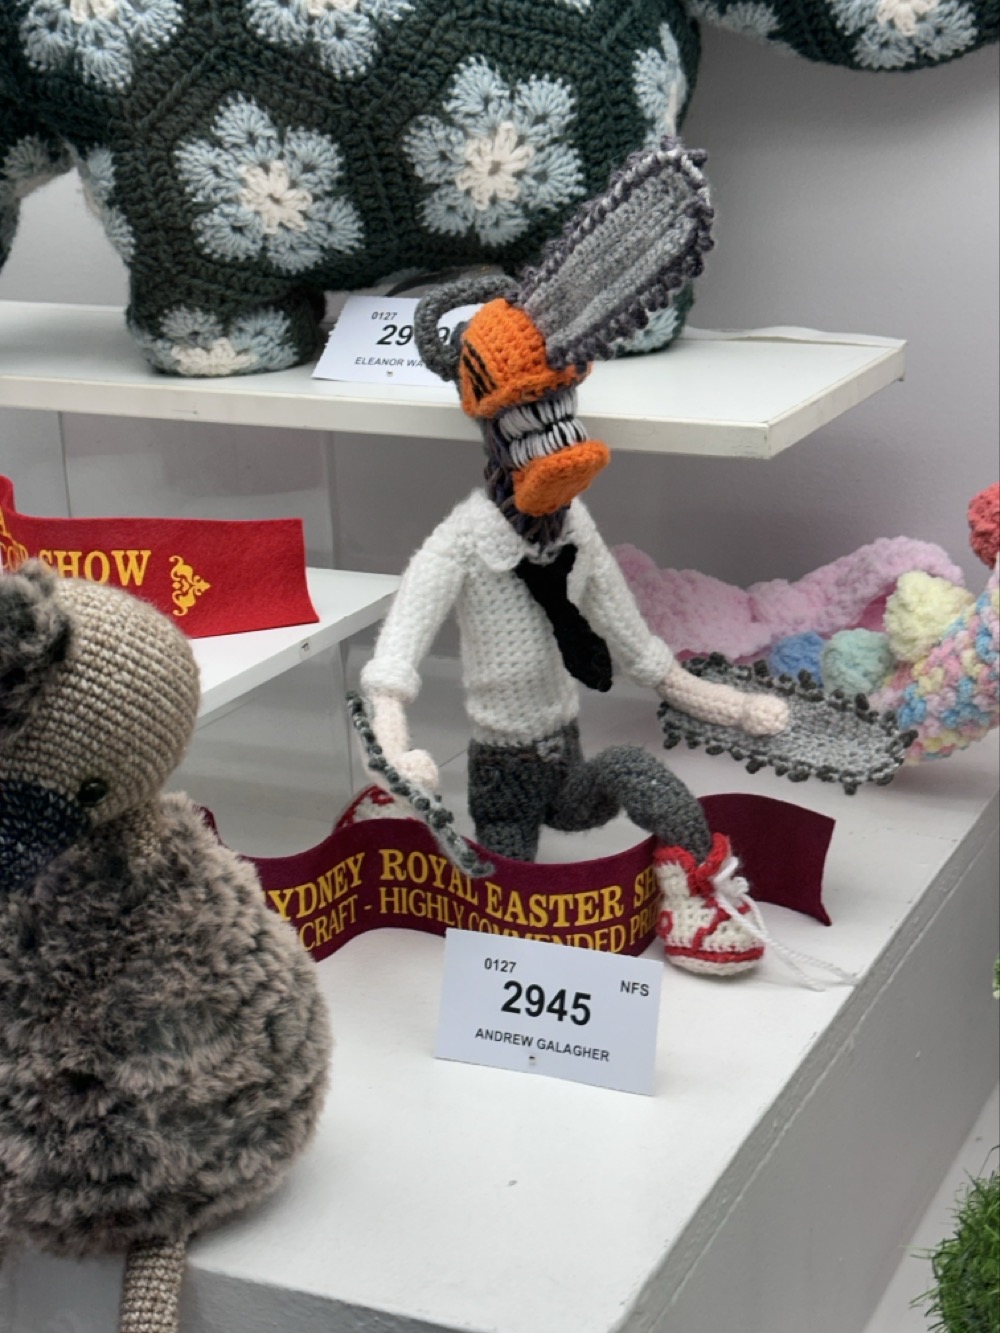
I mean, who is this little crochet guy with a chainsaw head and hands, and sweet red high-tops? Kudos to Andrew Galagher on the ribbon!
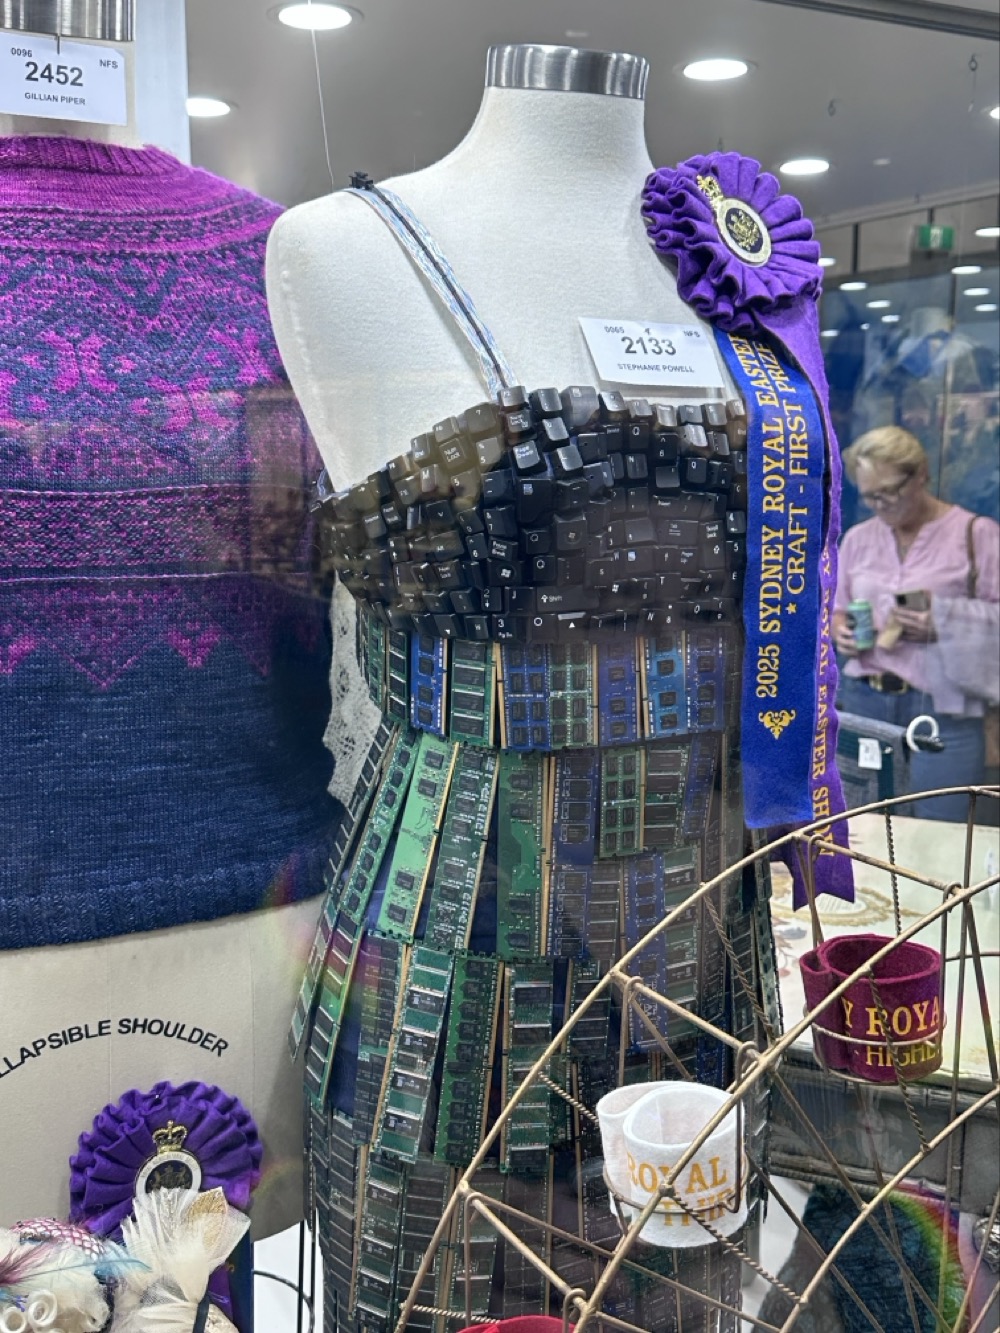
I gasped when I saw this “Byte Couture” dress in the Cabinet of Excellence. It was in the “Recycled Garment” category and used computer keys, RAM, and cables to fashion a dress. Well done, Stephanie Powell!
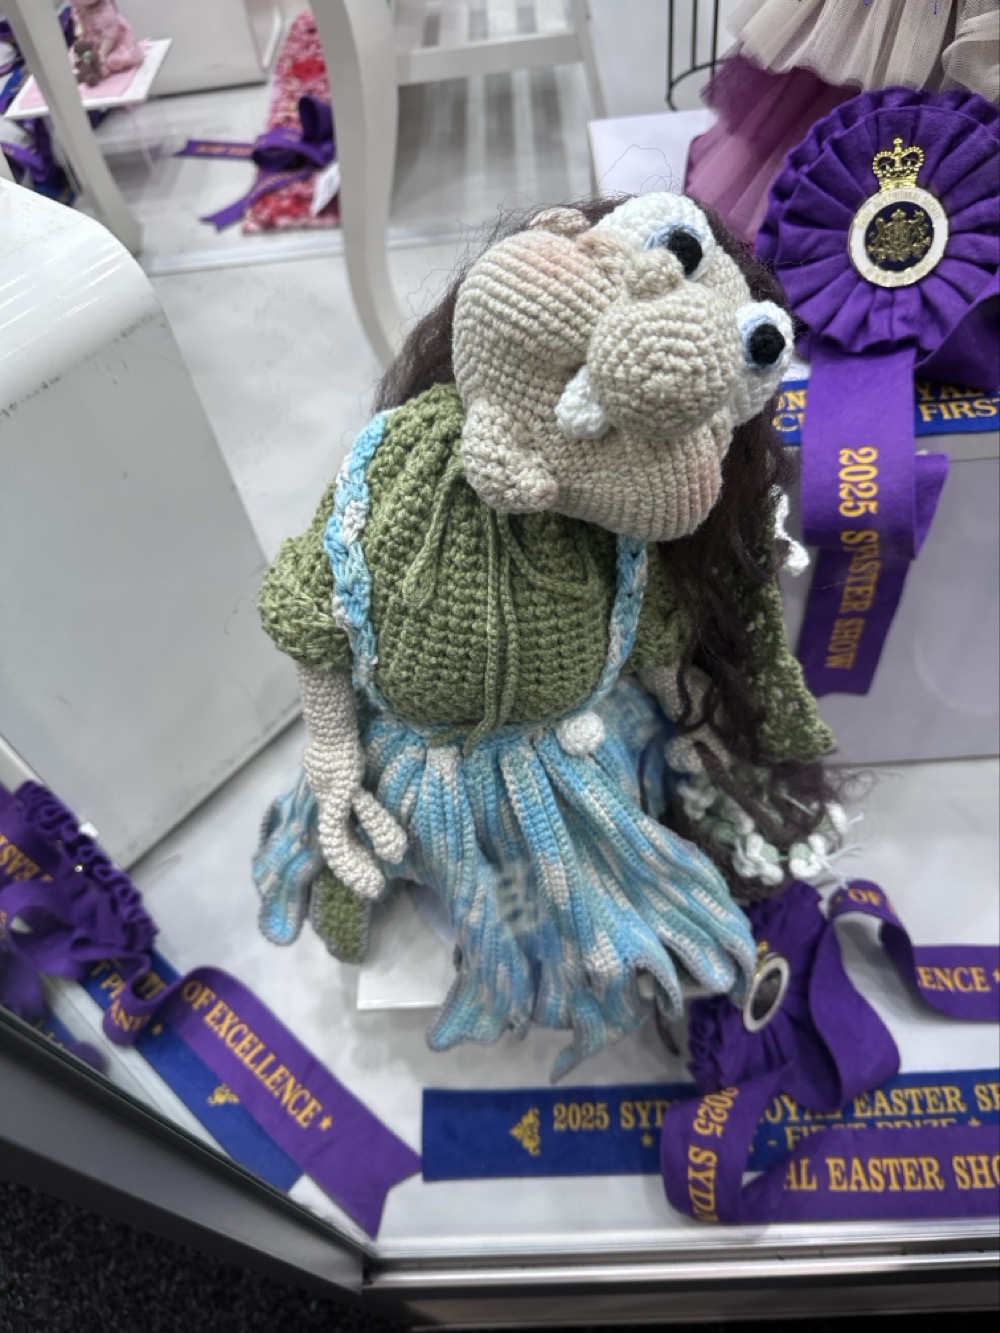
This crocheted doll is very expressive, but it freaks me out a little bit. It reminds me of the podlings from The Dark Crystal somehow.
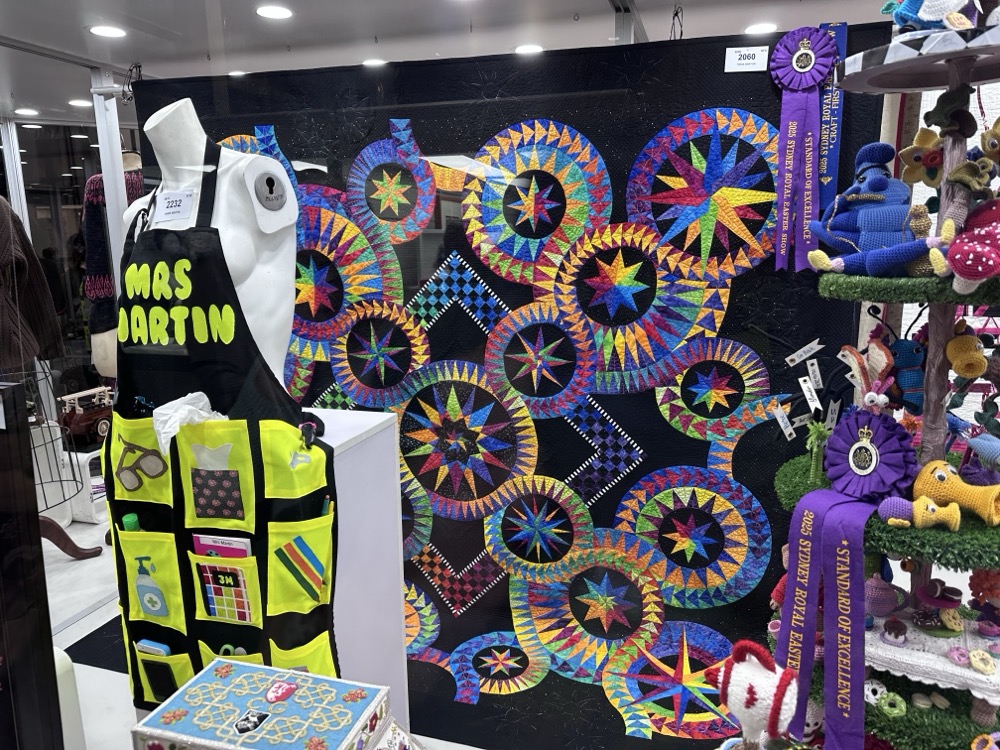
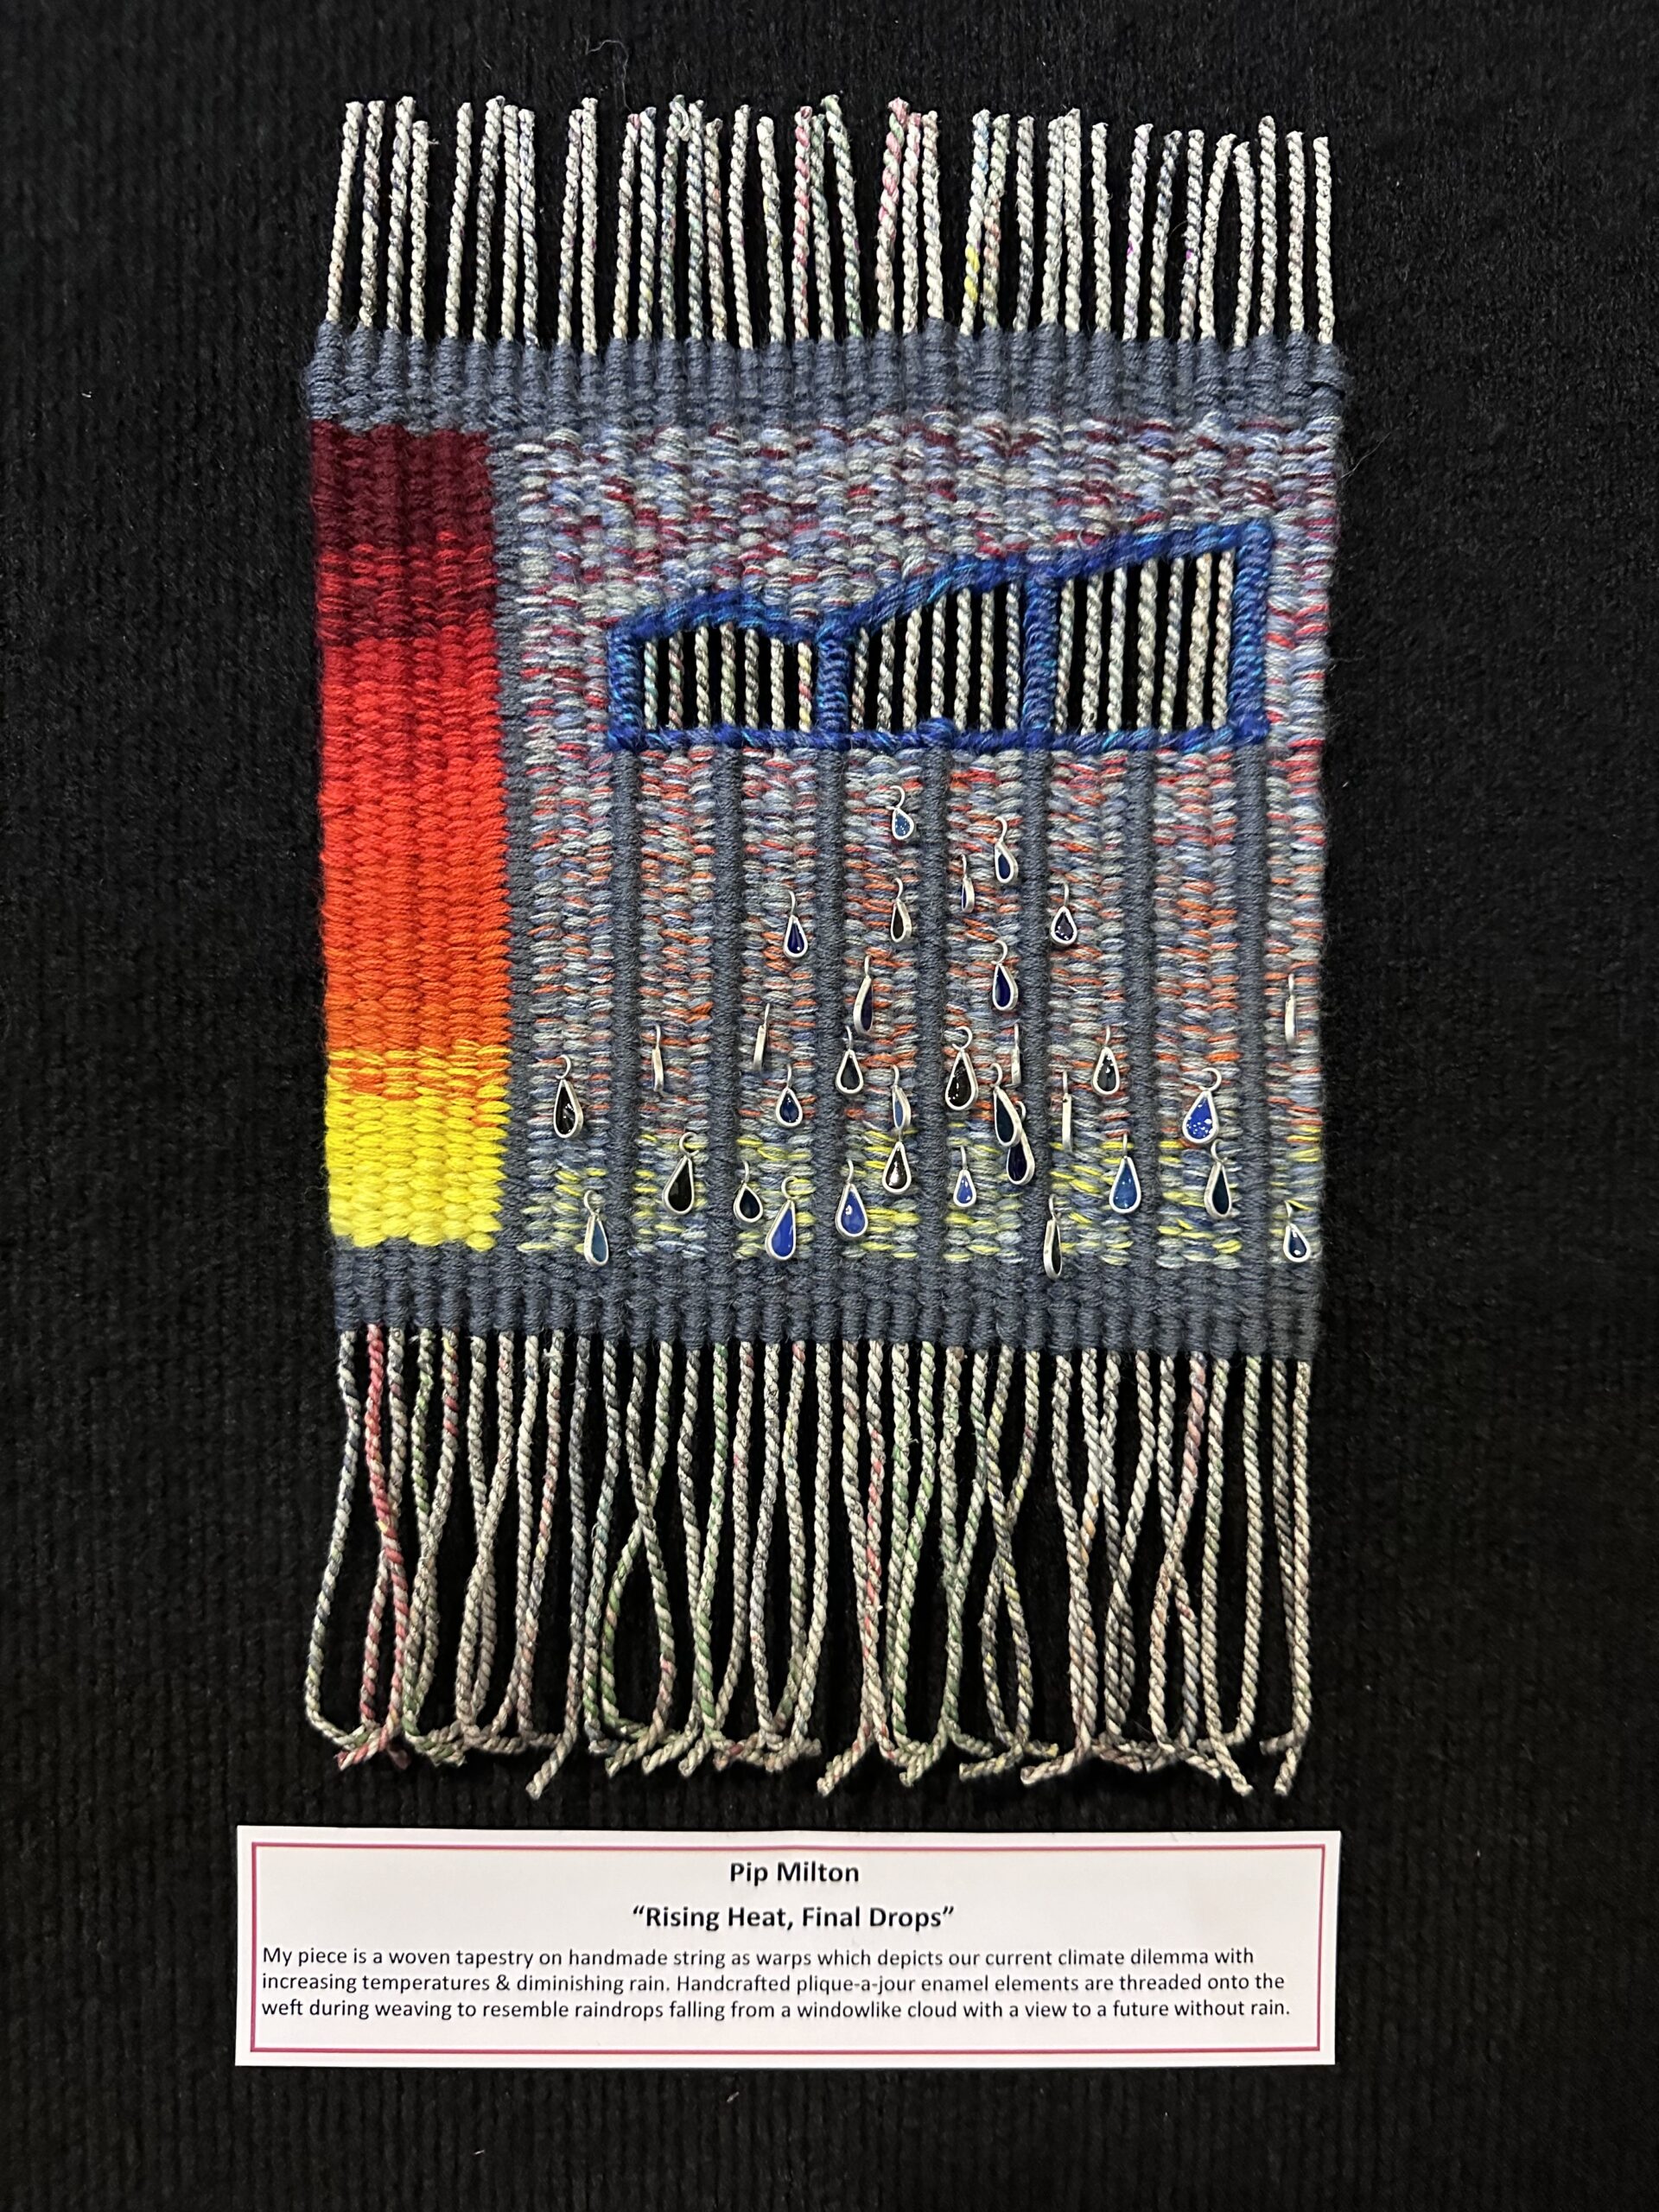
This quilt is why I was not particularly surprised or disappointed to miss out on a ribbon, as it was competing in the same category as mine. 😳 Amazing work, Tonia Barton!
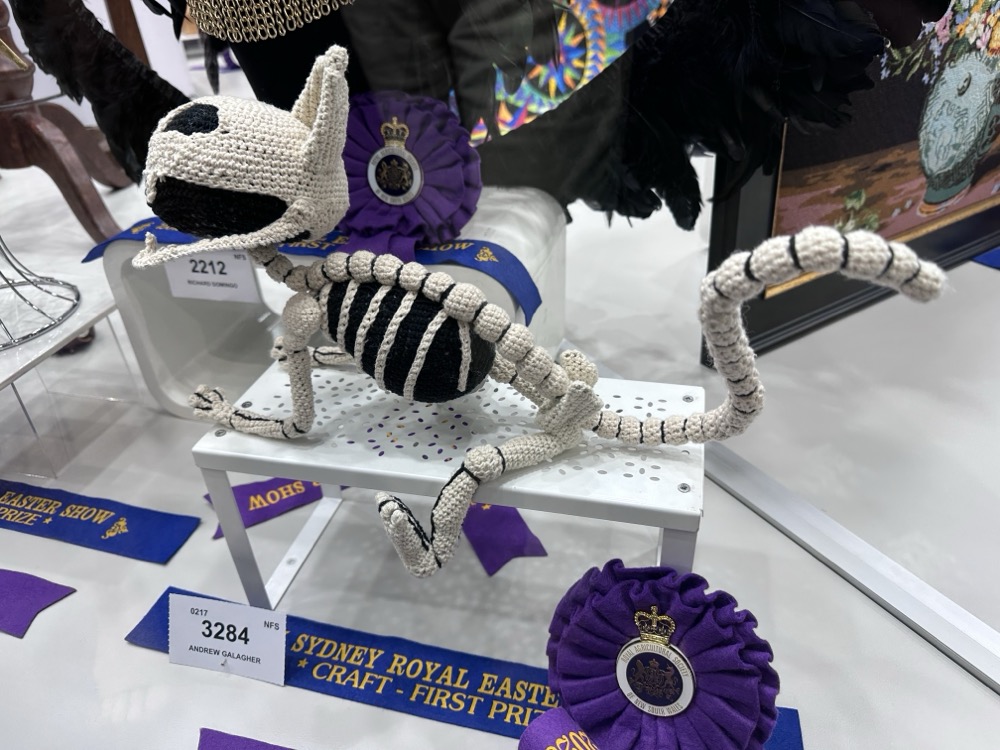
Andrew Galagher strikes again! This “Cat Skellington” won the blue ribbon in soft toys or dolls.
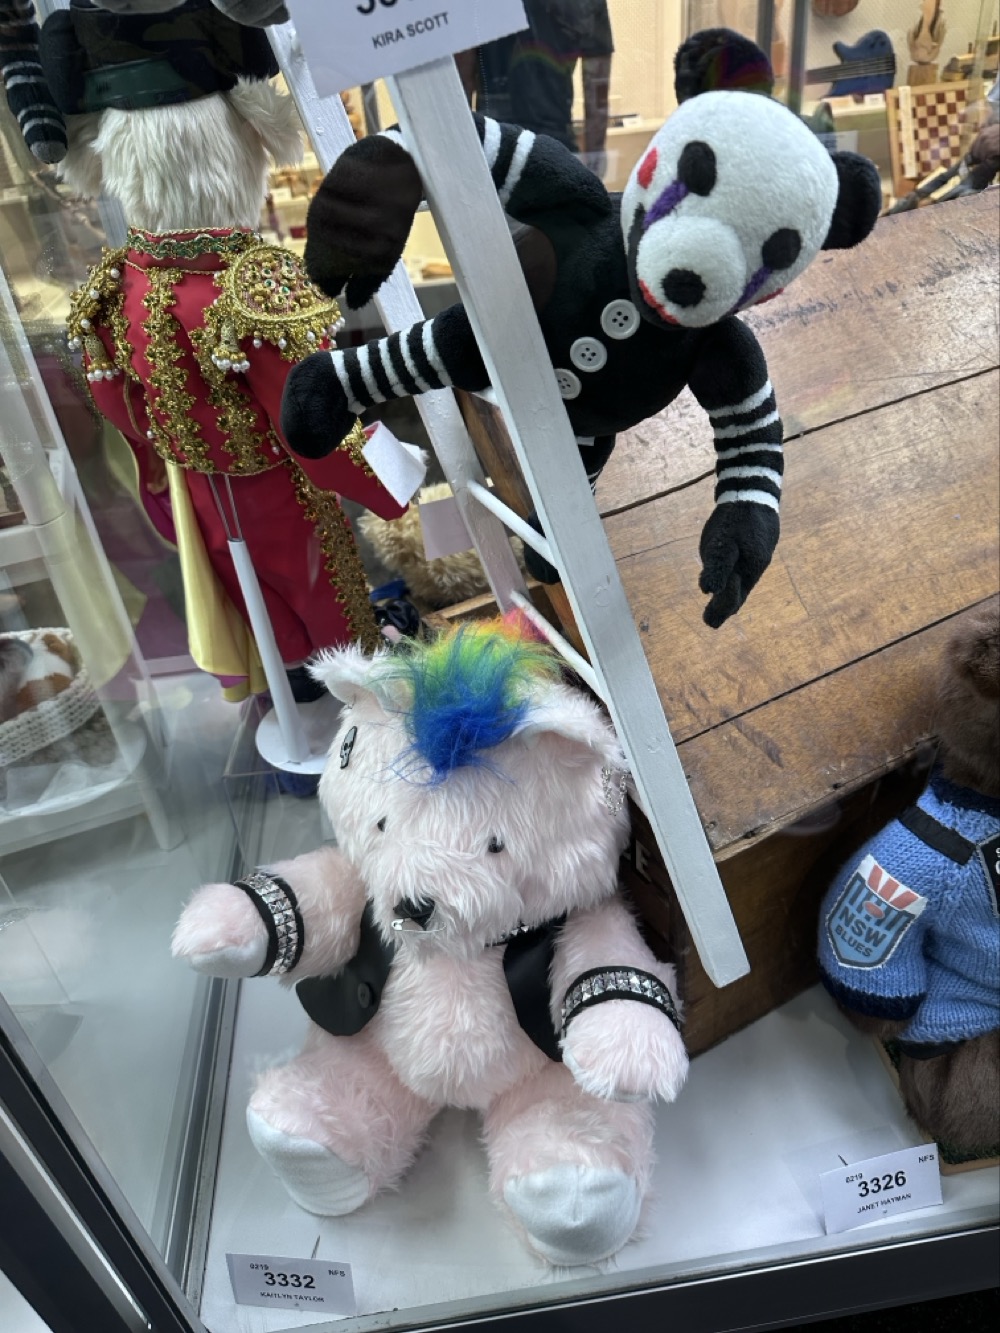
Loved the punk teddy bear! I didn’t even realise he has a safety pin through his nose.
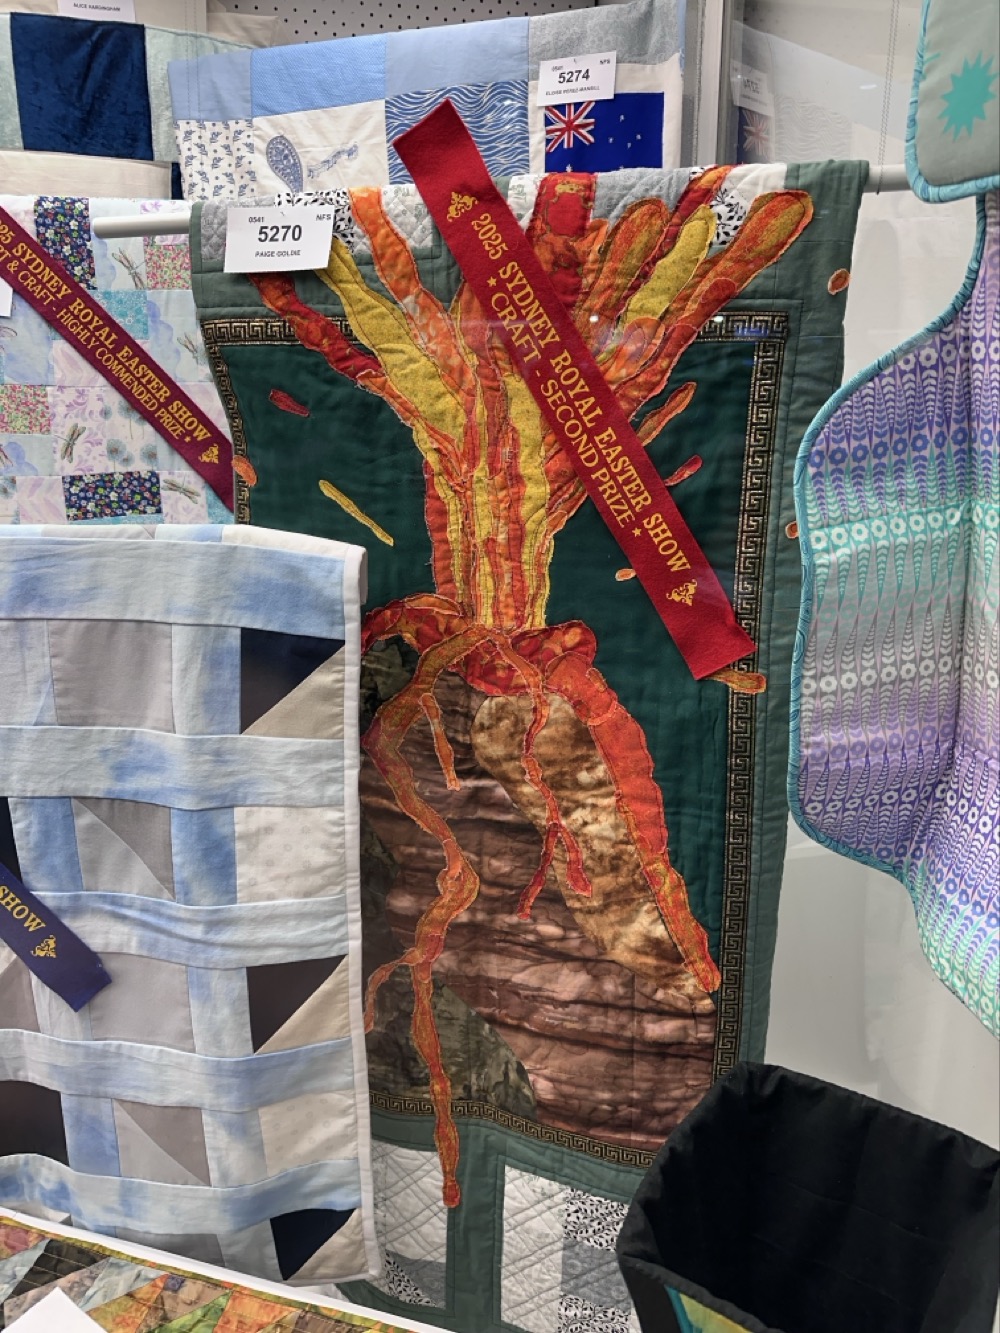
How cool is this volcano quilt? The artist is a teenager!
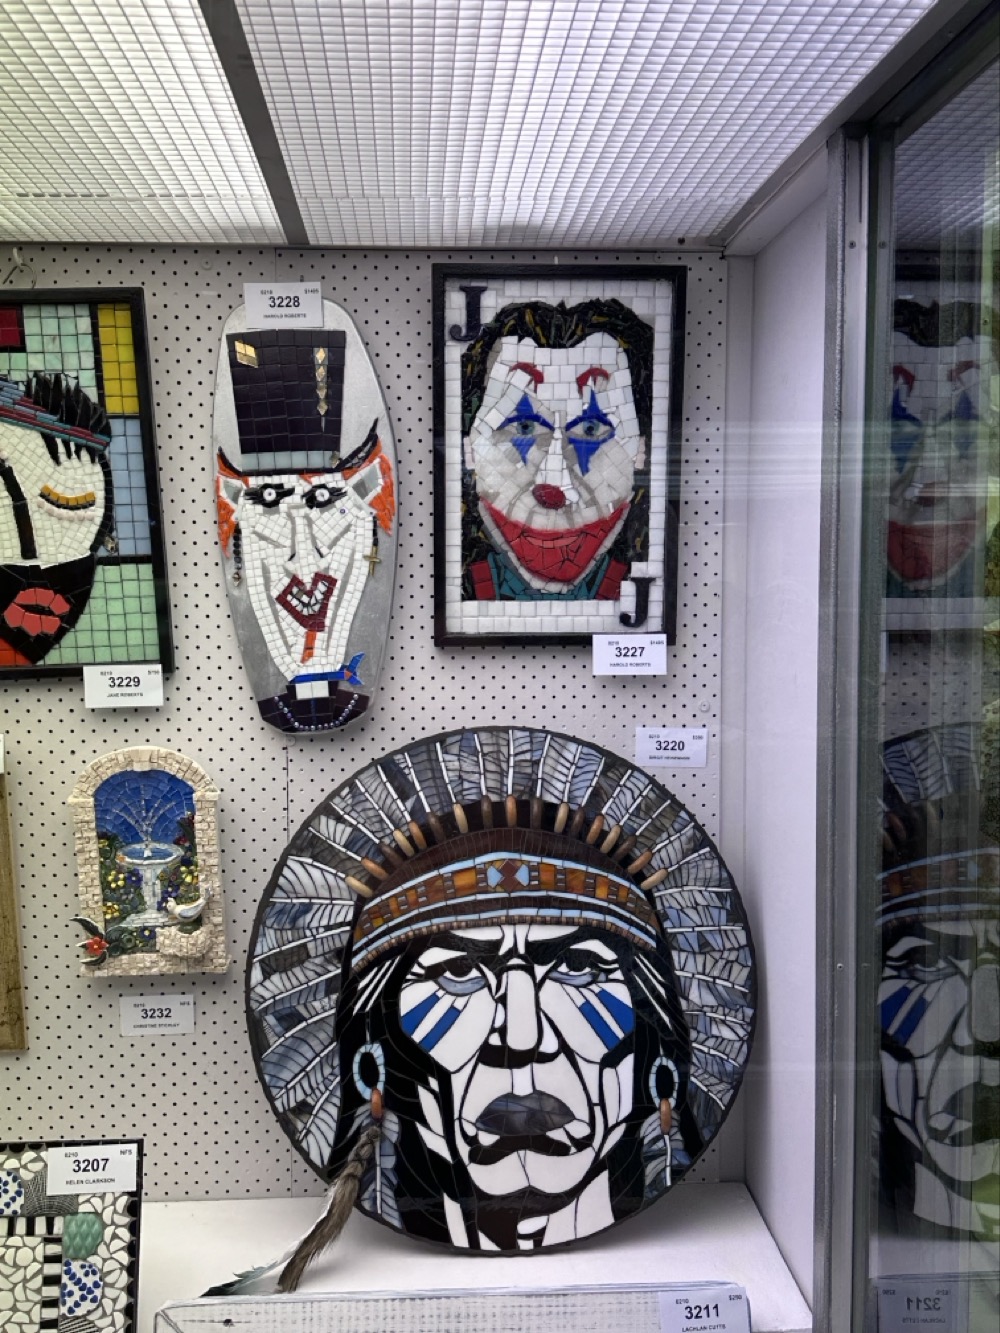
This was the point where I started to appreciate how the folks doing the displays had sometimes grouped together thematically or visually similar items. That mosaic of the Joker stopped me dead in my tracks, and then I was able to appreciate the other two next to it.
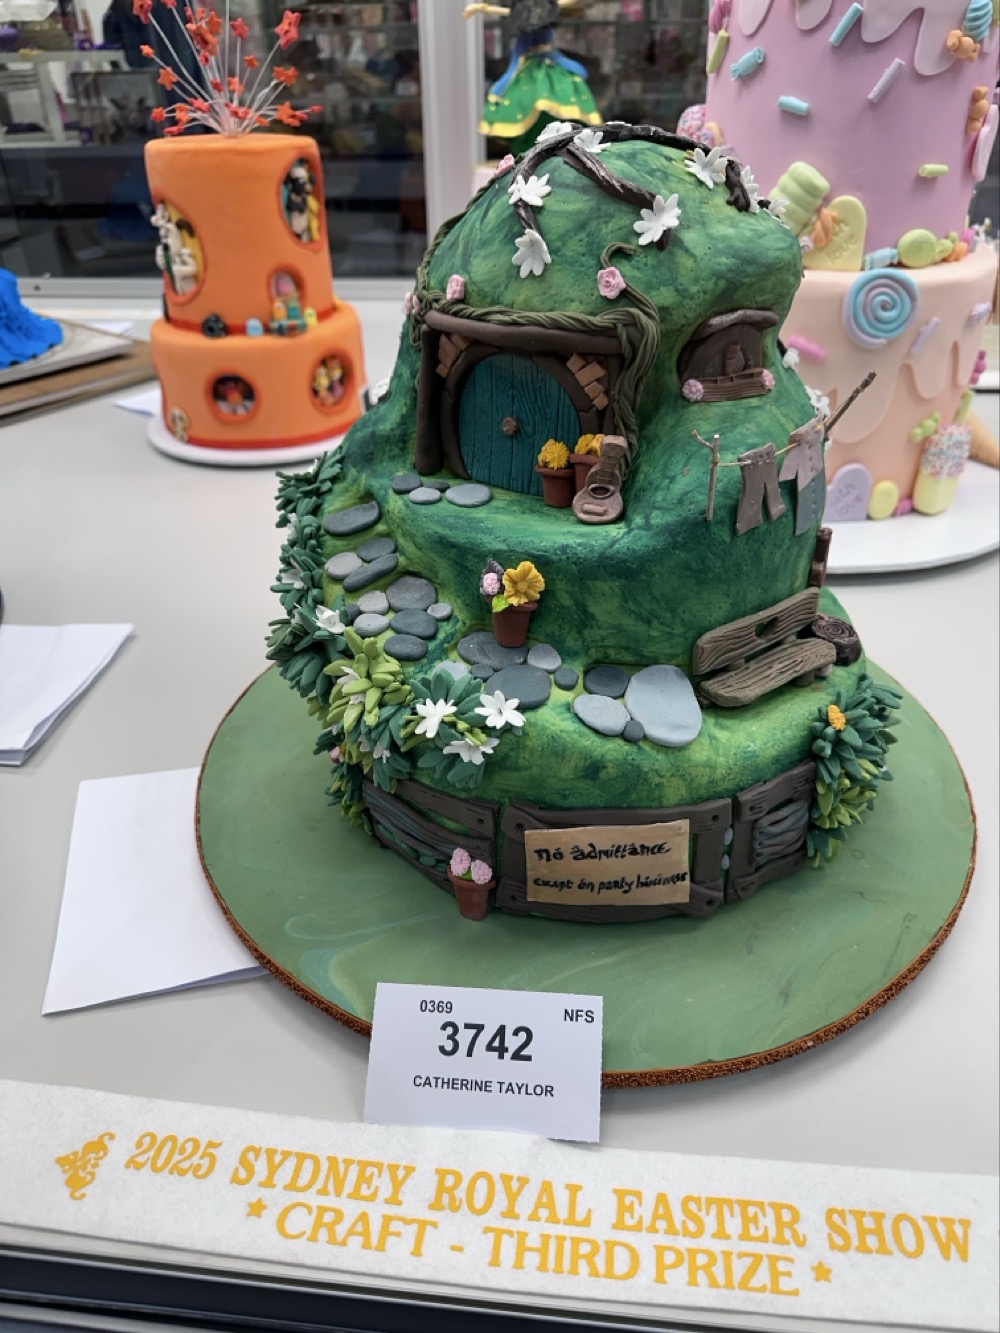
This Bag End cake won an award in the “Most Creative Cake” category. Very cute!
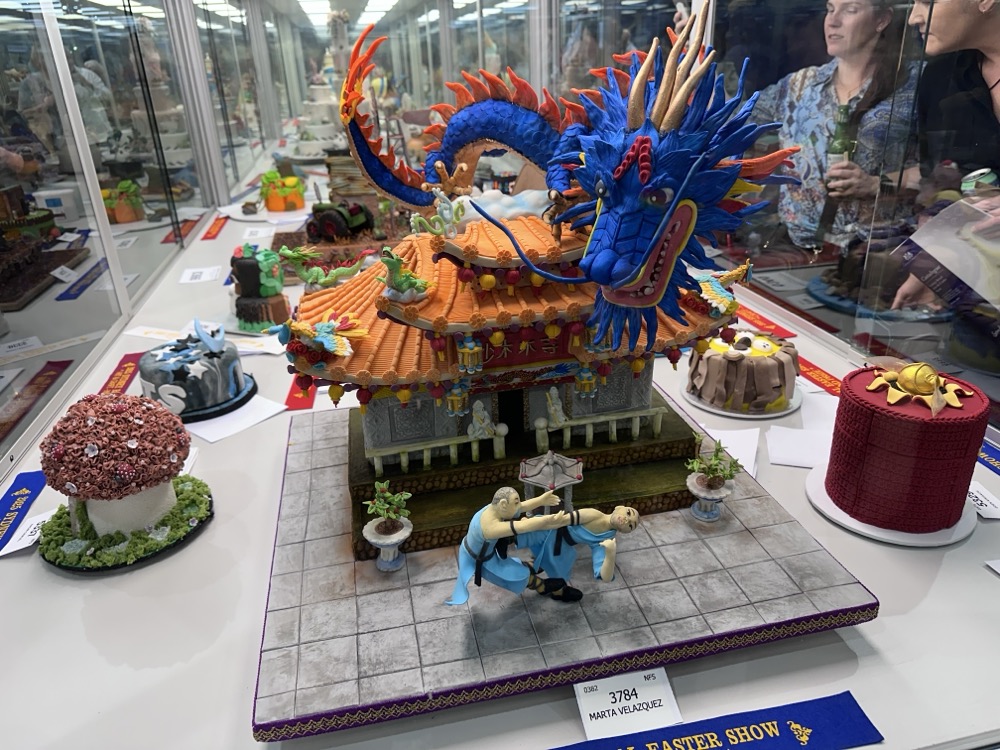
And this one won in the “Gravity Defying” category. I love the little Shaolin monks in front of the temple!
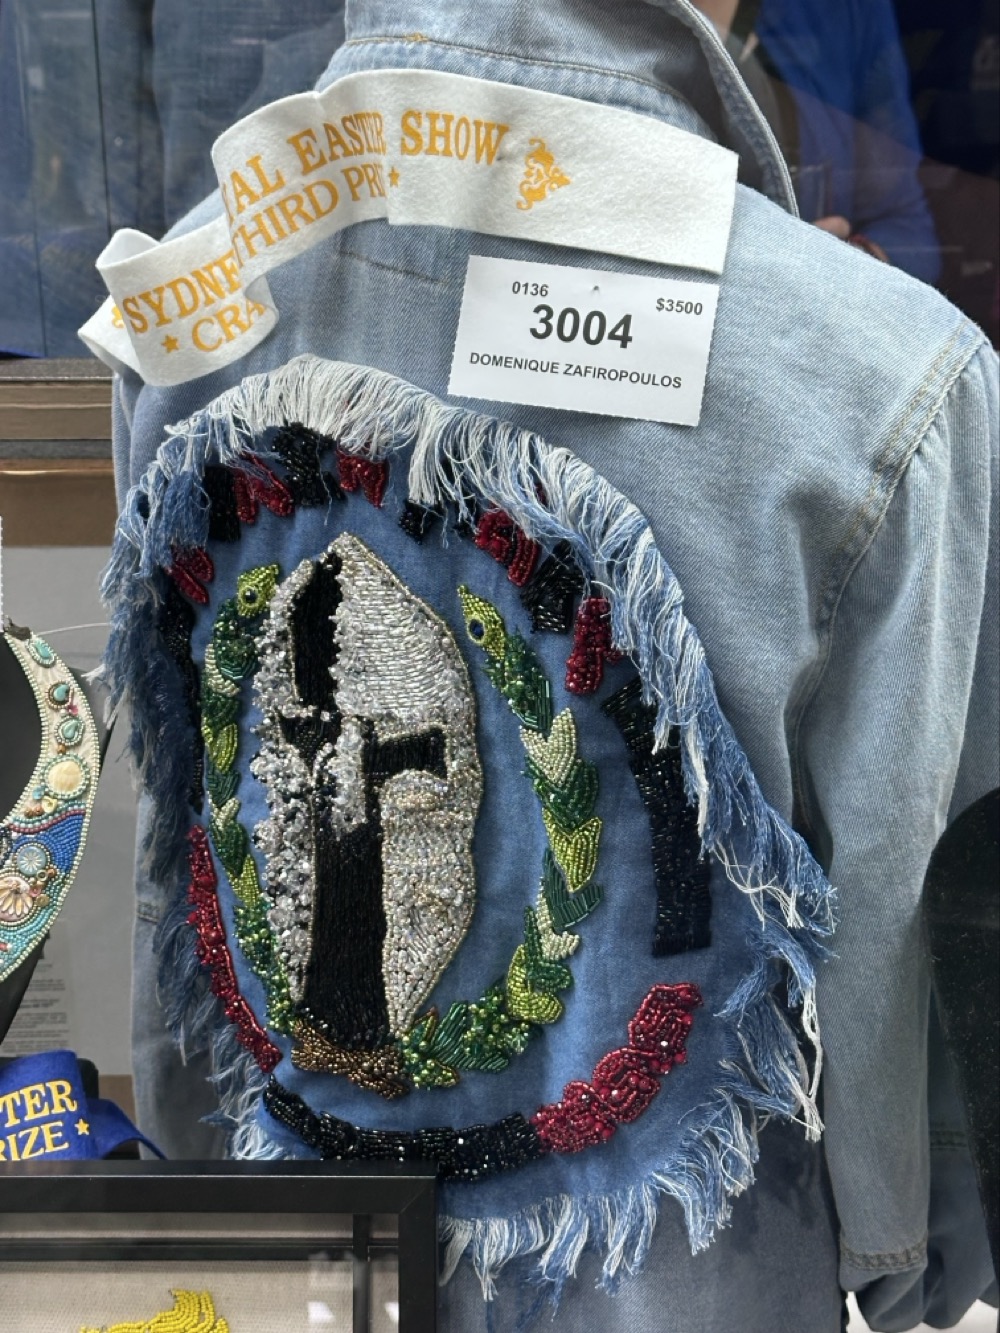
SPARTA! This beaded denim jacket was insane.
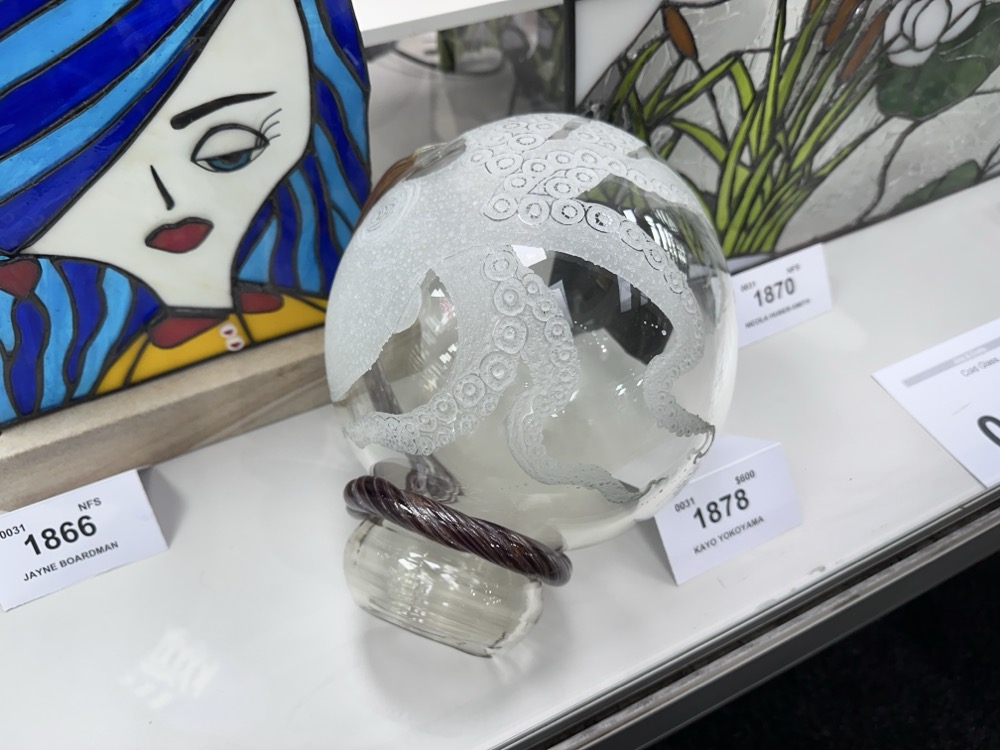
I thought this octopus glass sculpture was lovely. It reminded me of The Dream of the Fisherman’s Wife and some of the Minoan vessels we saw in Crete last year.

The creepiest thing about that rabbit sculpture is how the eyes were set back inside the head so the damn thing seemed to track you as you walked past.
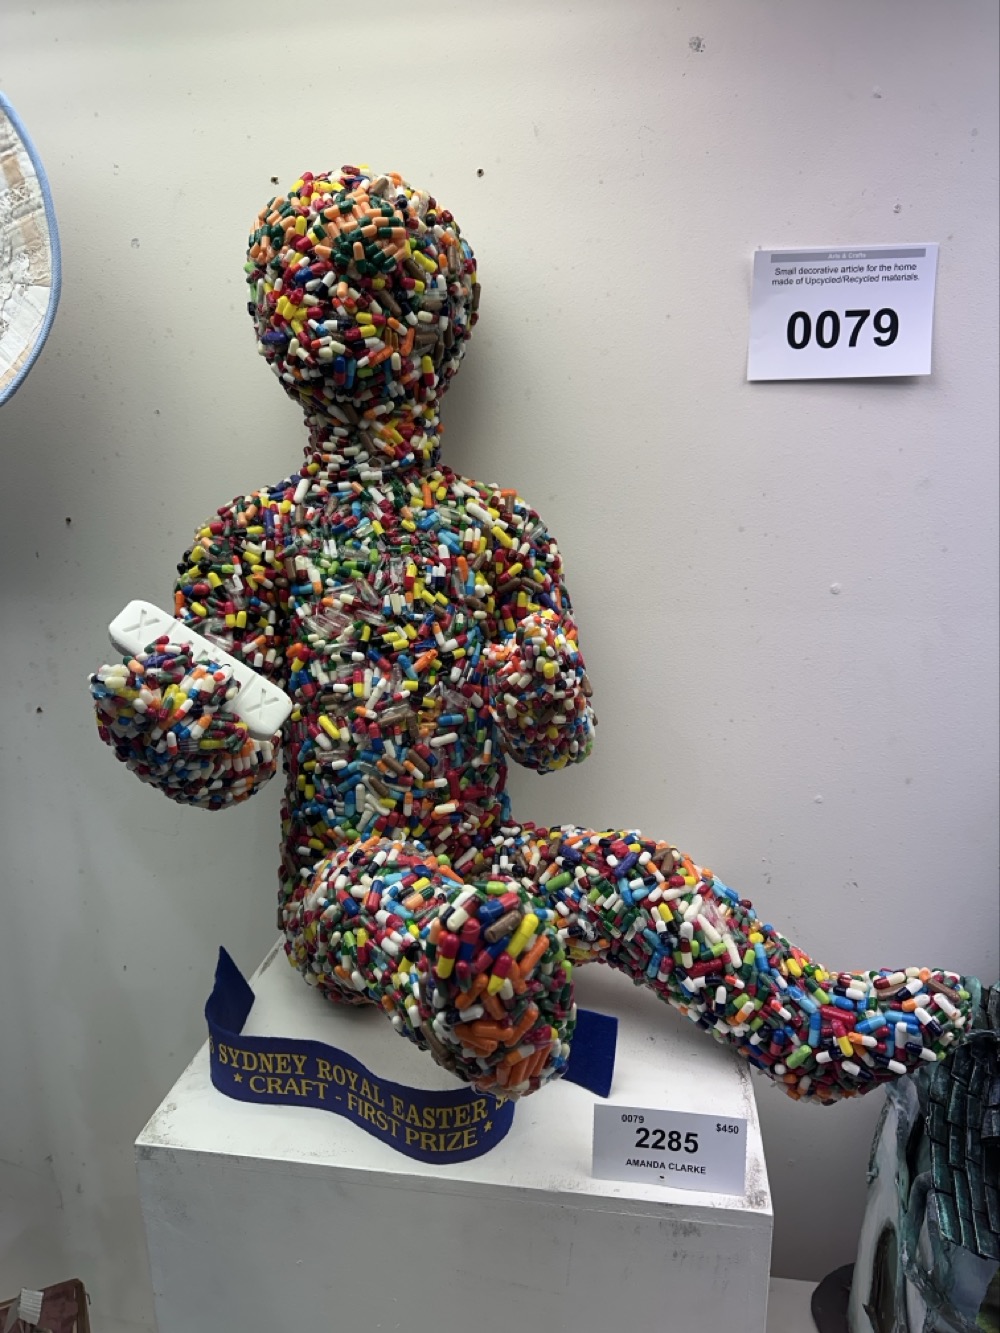
At first I thought this PILL BABY was creepy, but then I discovered that A) the artist is a doctor, and B) she titled it “A self portrait of the younger me.” Now I think it’s amazing.
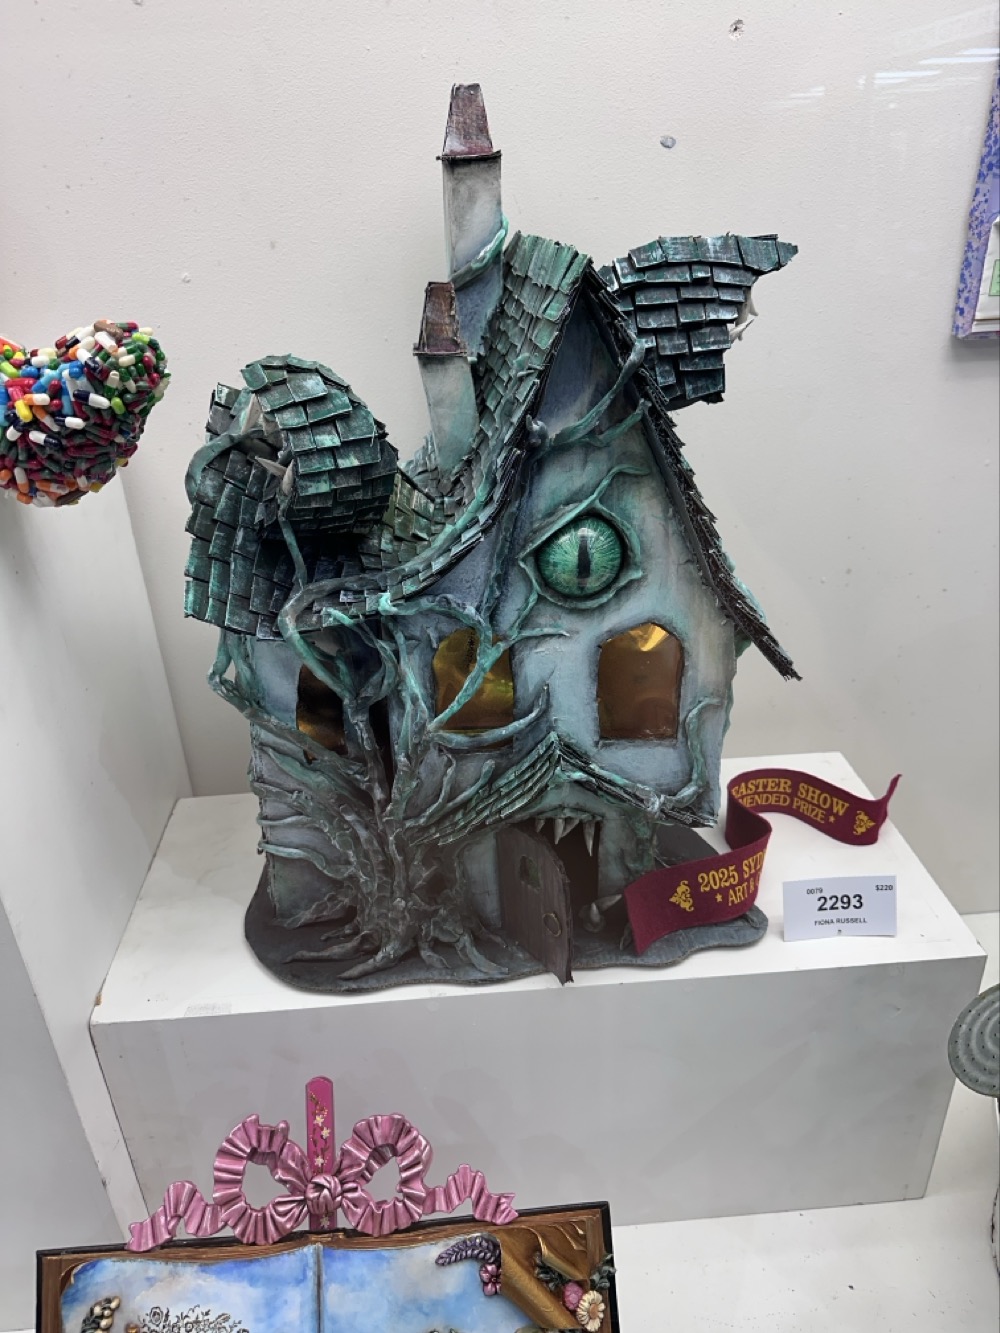
This is entitled “Fairy House Light,” so I think maybe it lights up? That would be the scariest night light ever.
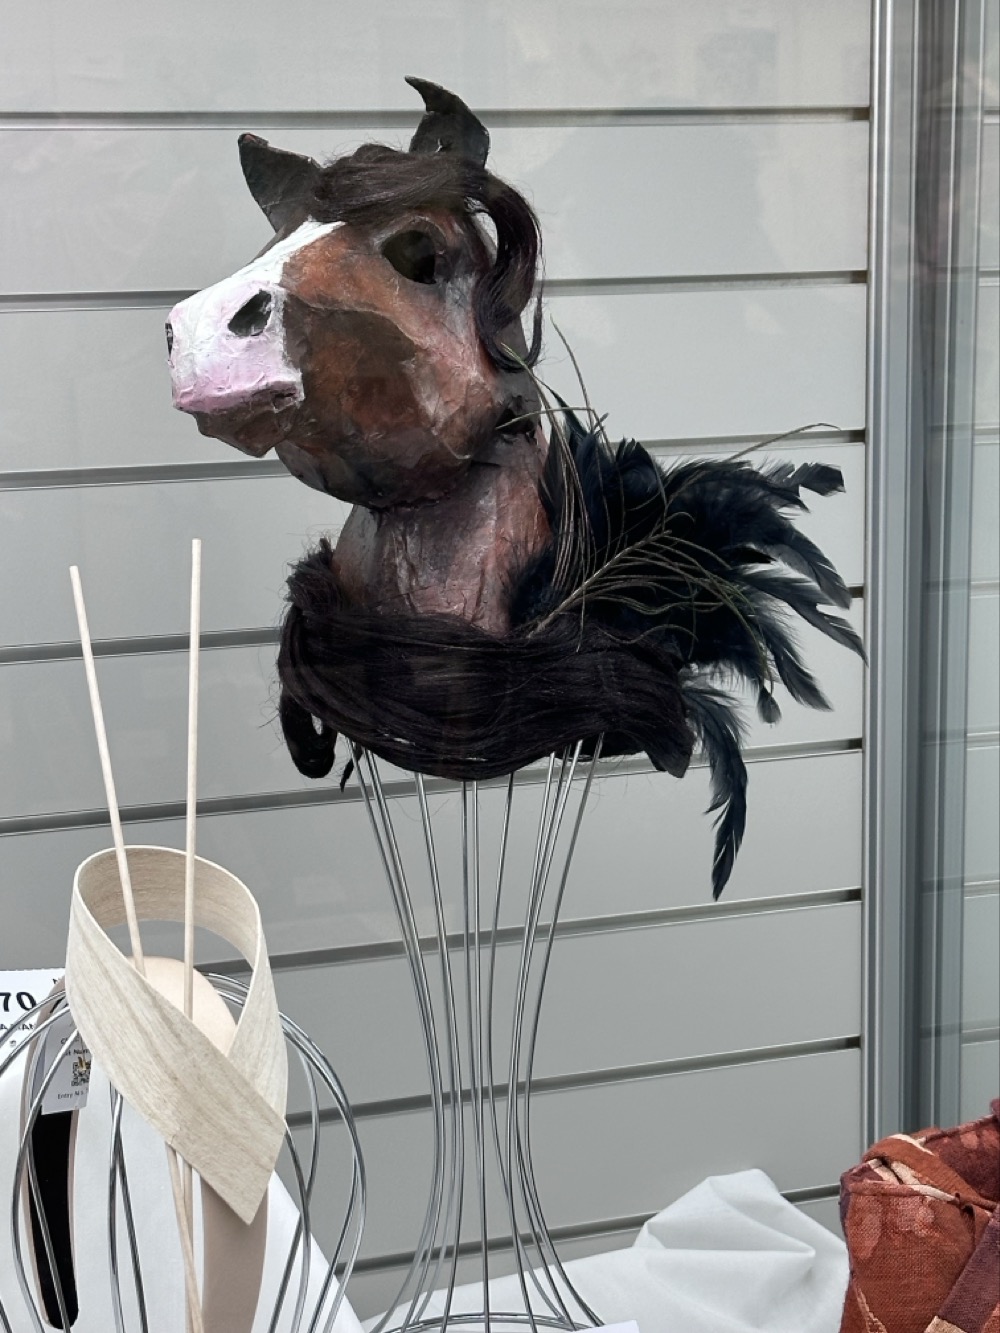
I loved this horse head fascinator mixed in among the fancy lady hats. Hell yeah! This would be amazing to wear to Melbourne Cup Day. (You know, if one supported such barbarism.)
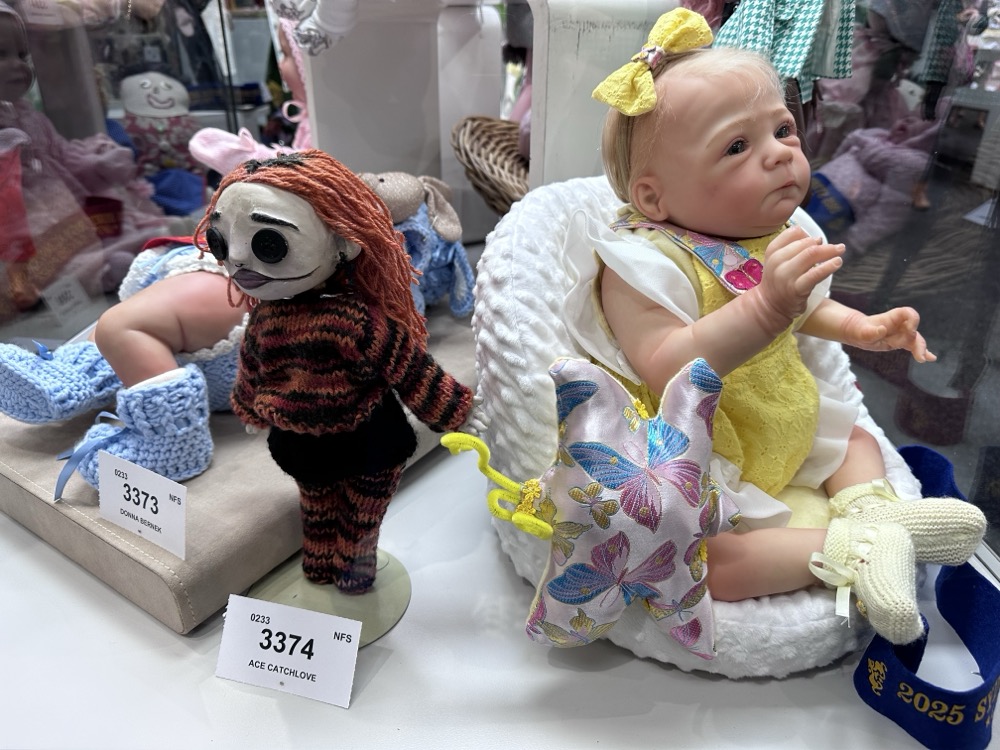
I think we can all agree that, of the “Dressed modern dolls,” the one on the right is actually way scarier.
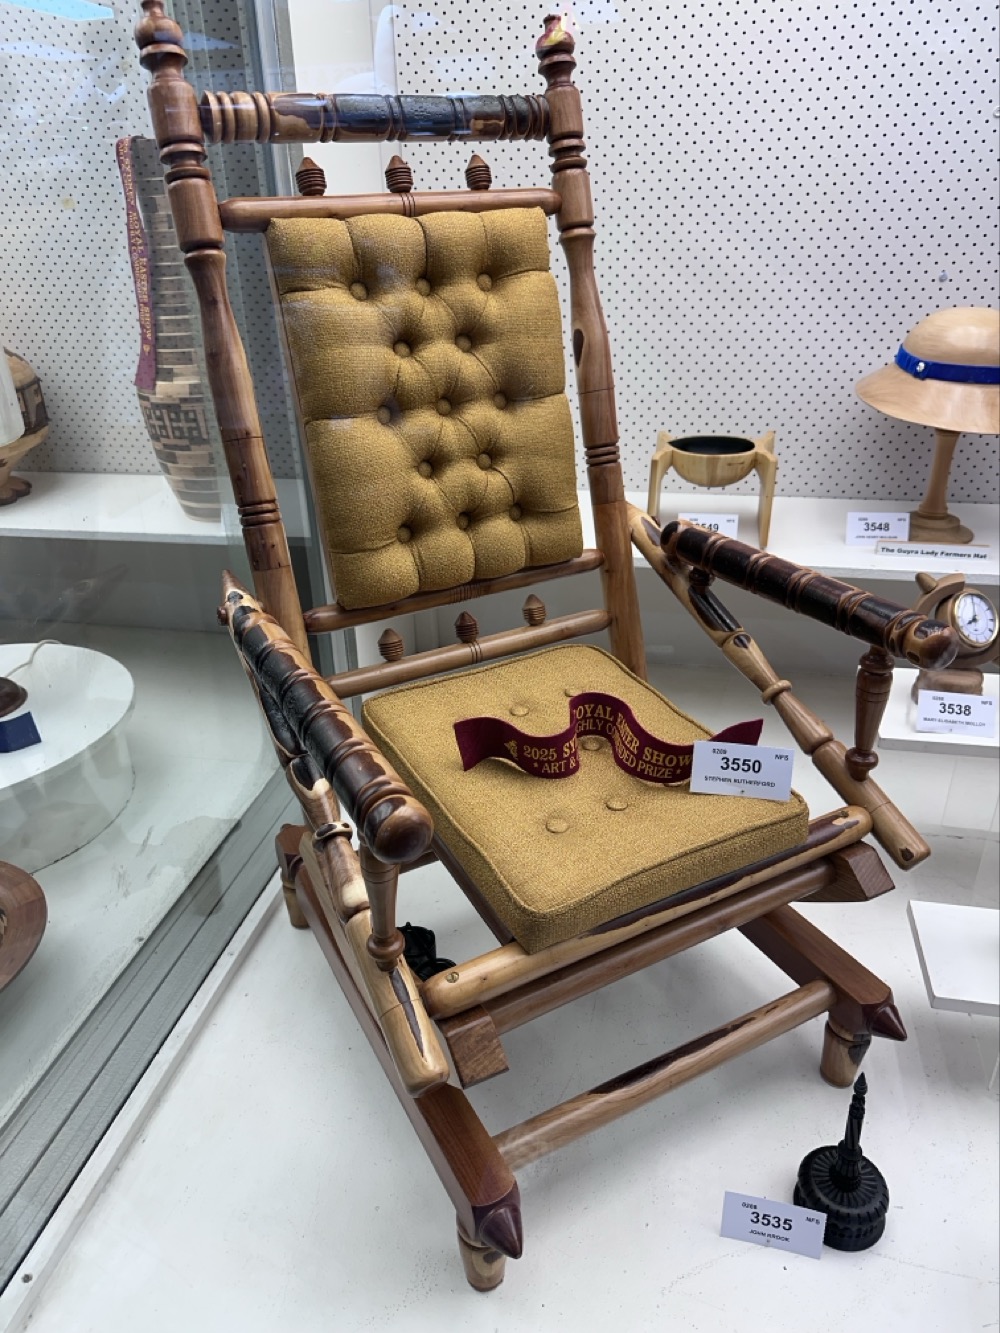
Stephen Rutherford was in the queue right in front of us with this rocking chair at the Drop-off Day a couple weeks ago. Rodd and I both admired it, especially the way it looks like he’s incorporated some recycled pieces. I was happy to see he won a ribbon in the “Innovative” woodwork category!
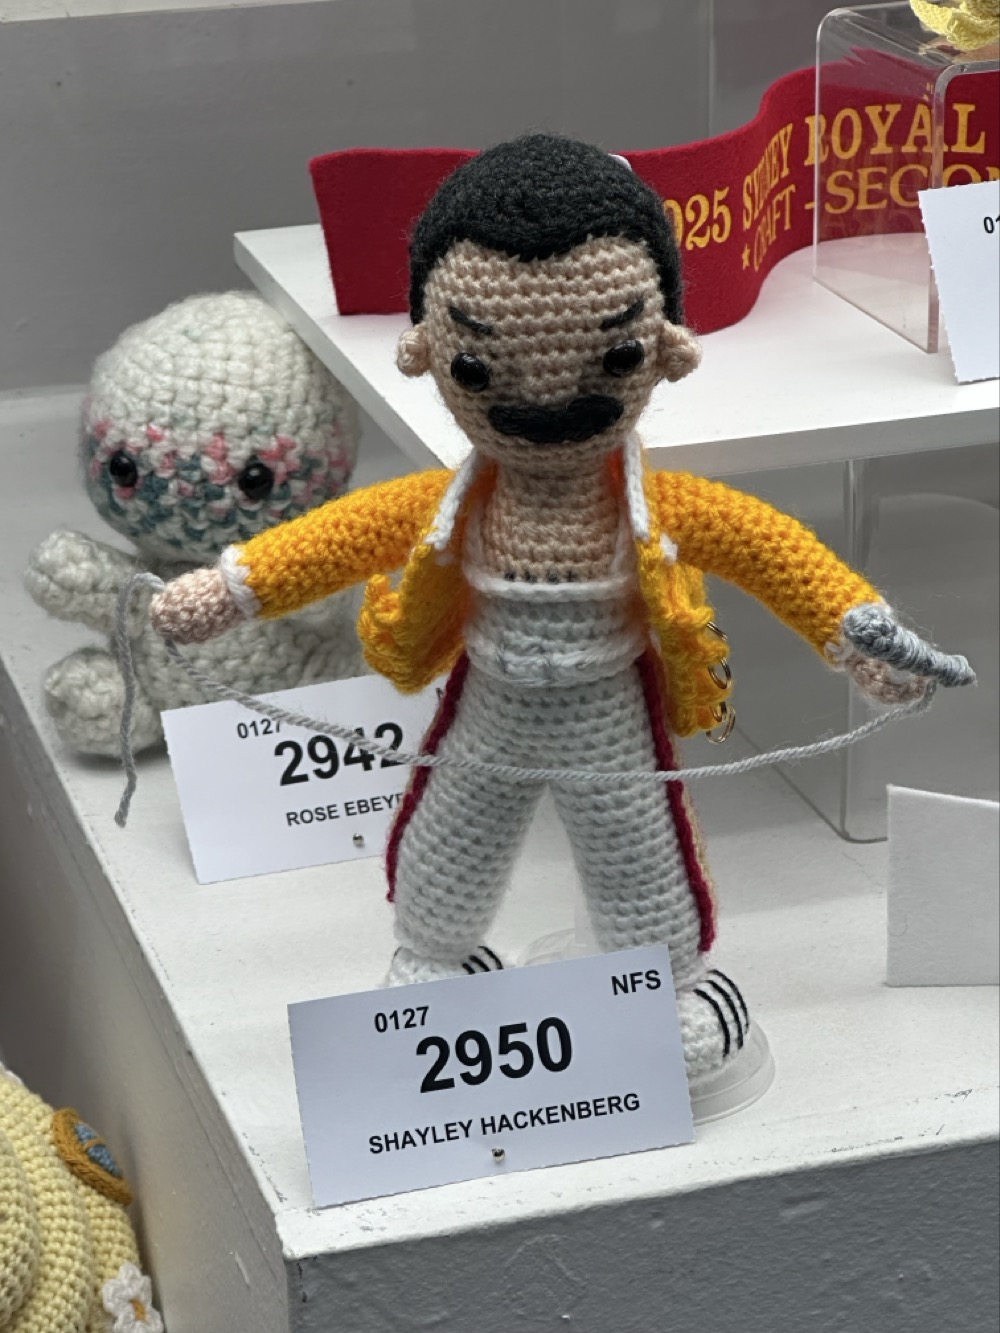
Crochet Freddie Mercury, of course. Nice.
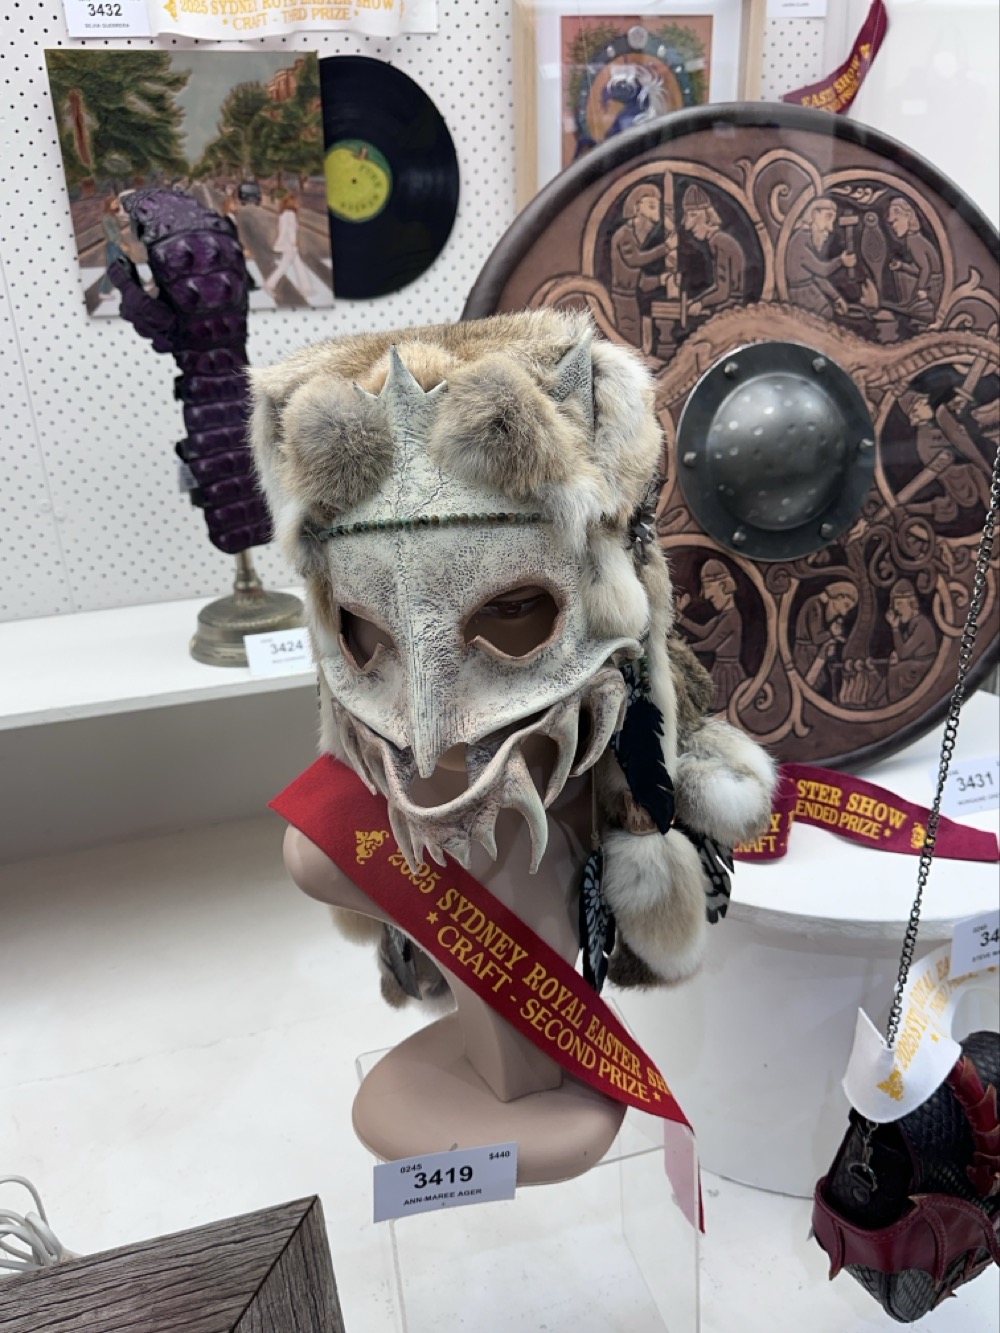
Another badass thematic display of an “animal skull headdress,” decorated medieval shield, and what appears to be a DRAGONSKIN GAUNTLET in the background.
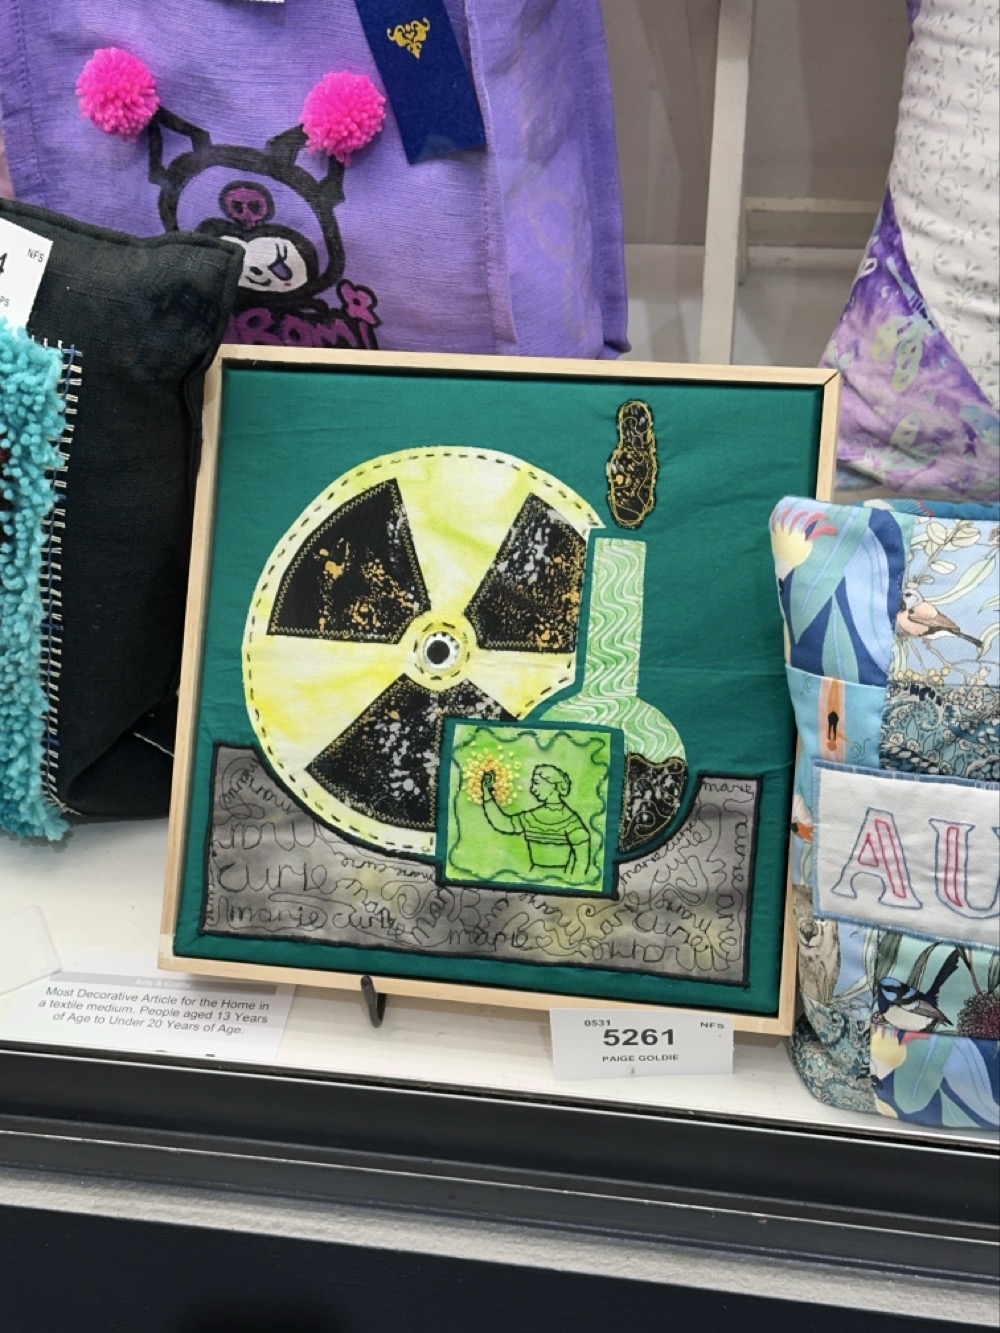
This Marie Curie themed textile artwork was done by the same teenager who did the volcano quilt. Very cool!

What a cuddly looking armadillo!
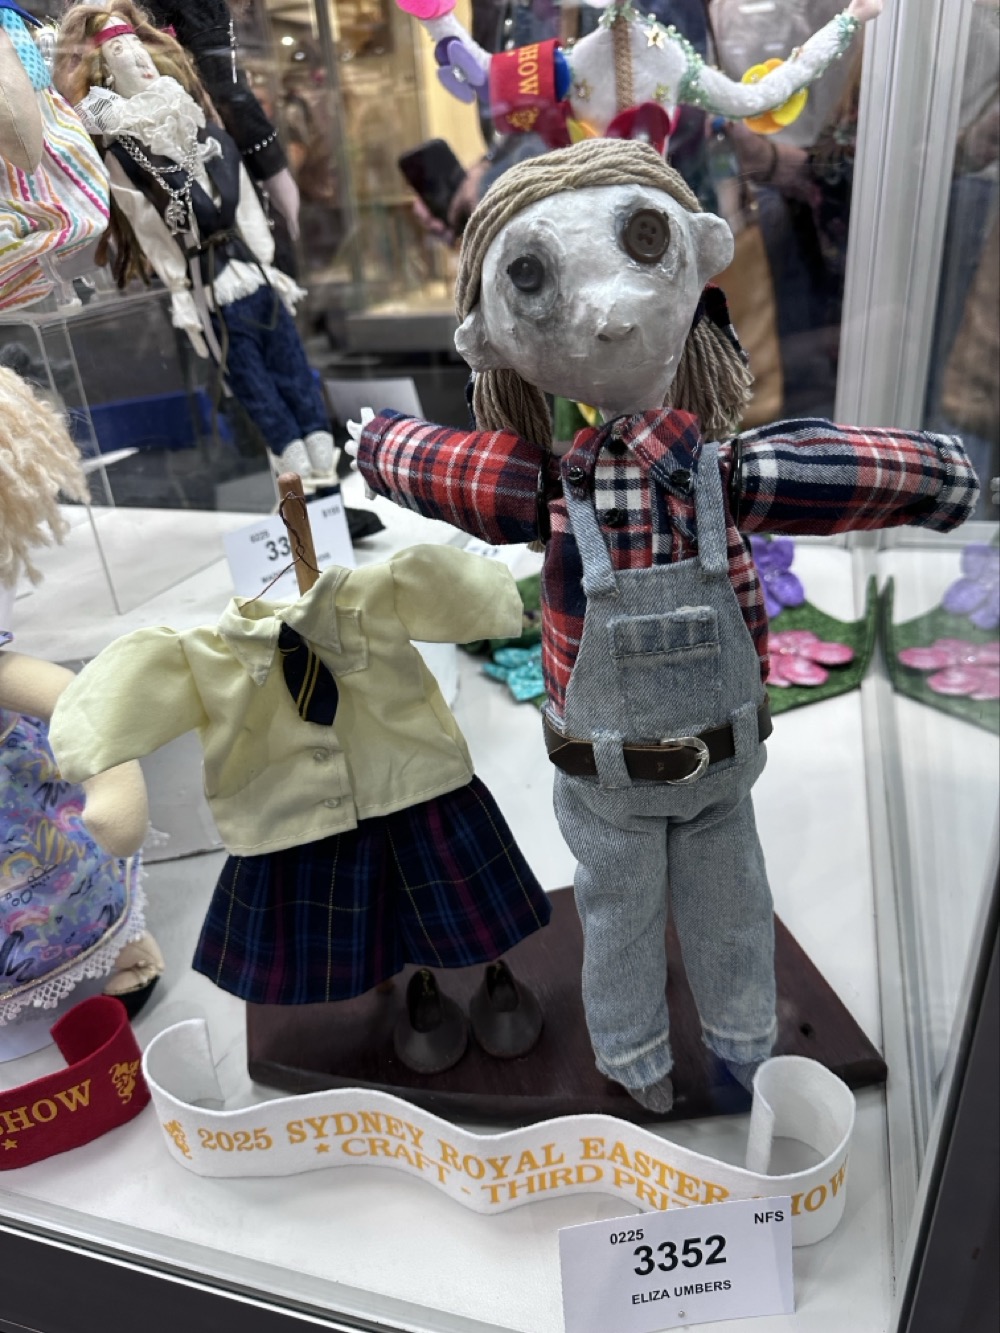
I can appreciate the skill required to make this papier-mâché doll while also worrying that it comes to life in the night to kill people.
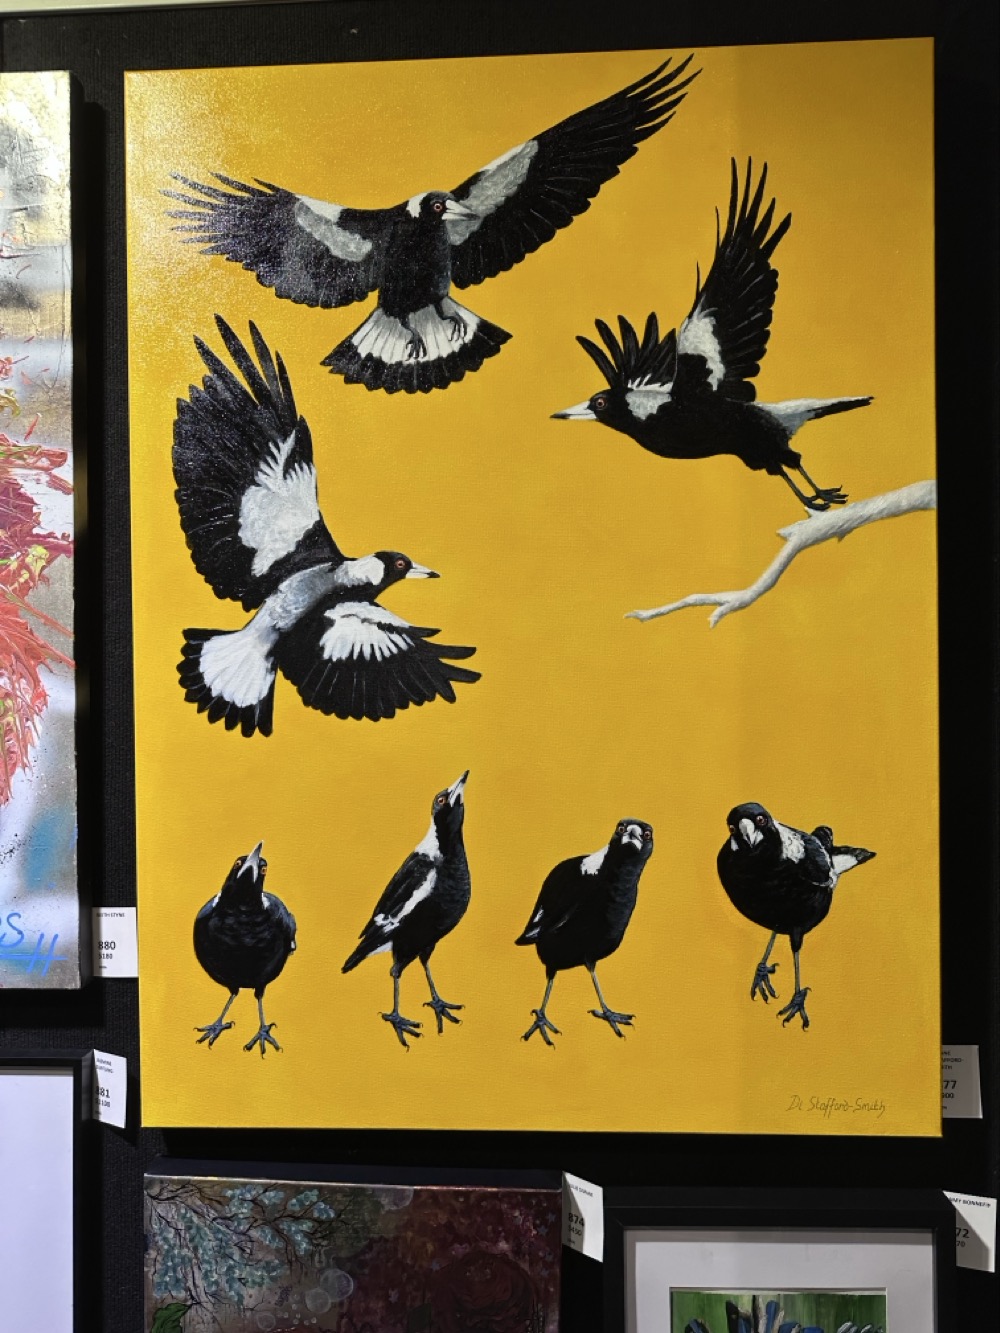
I really liked the bold graphic qualities of this painting of magpies.
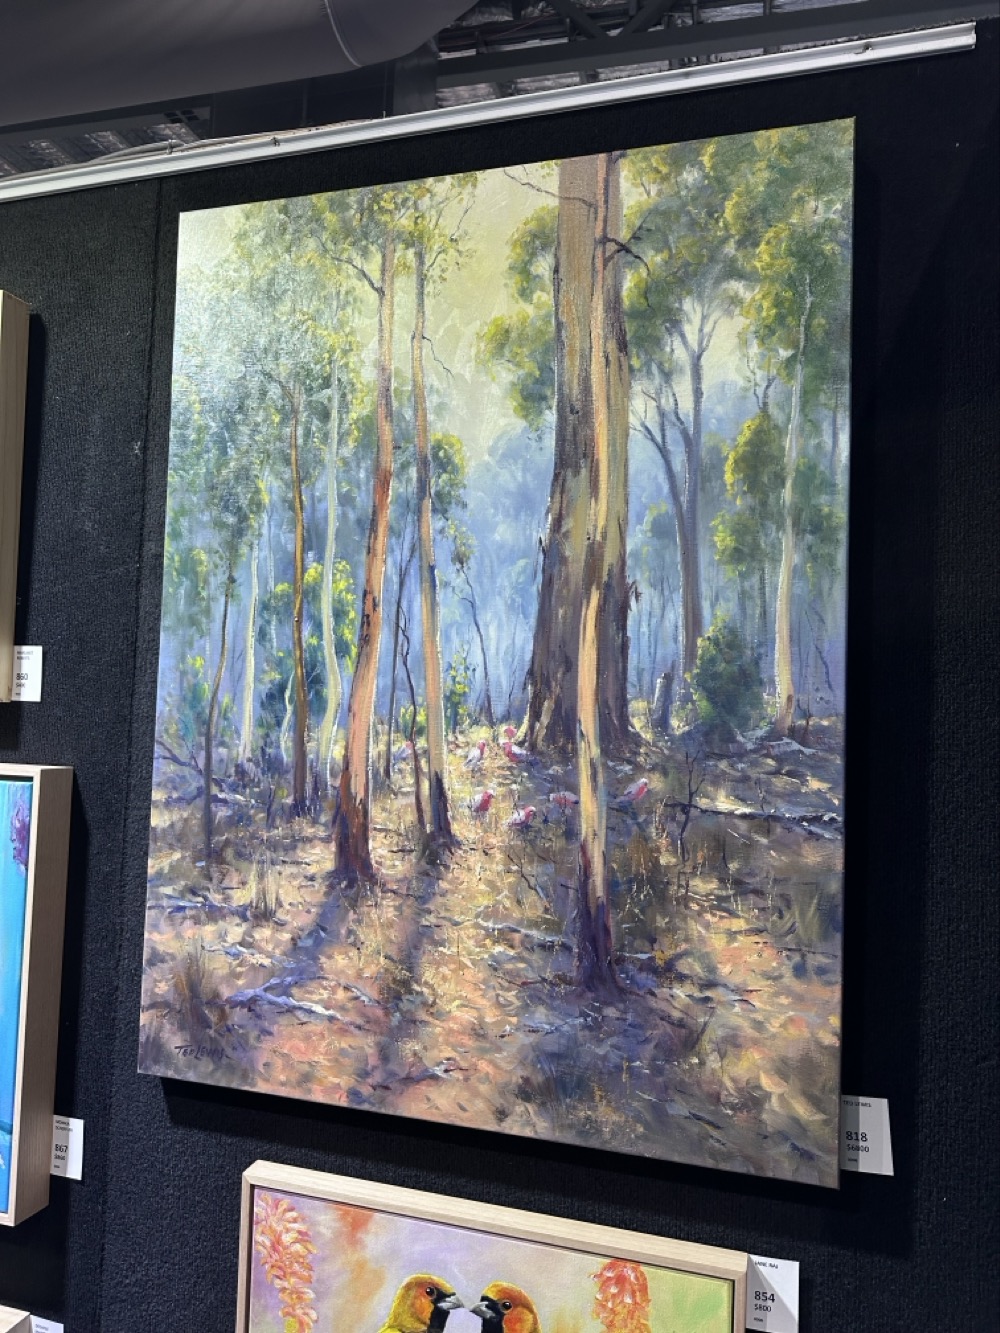
I recognised the style of this piece immediately and was pleased to verify it was by Ted Lewis. We very, very nearly bought one of his paintings a few months ago, and I’m still thinking about it. I love in this one how you don’t notice the galahs at first.
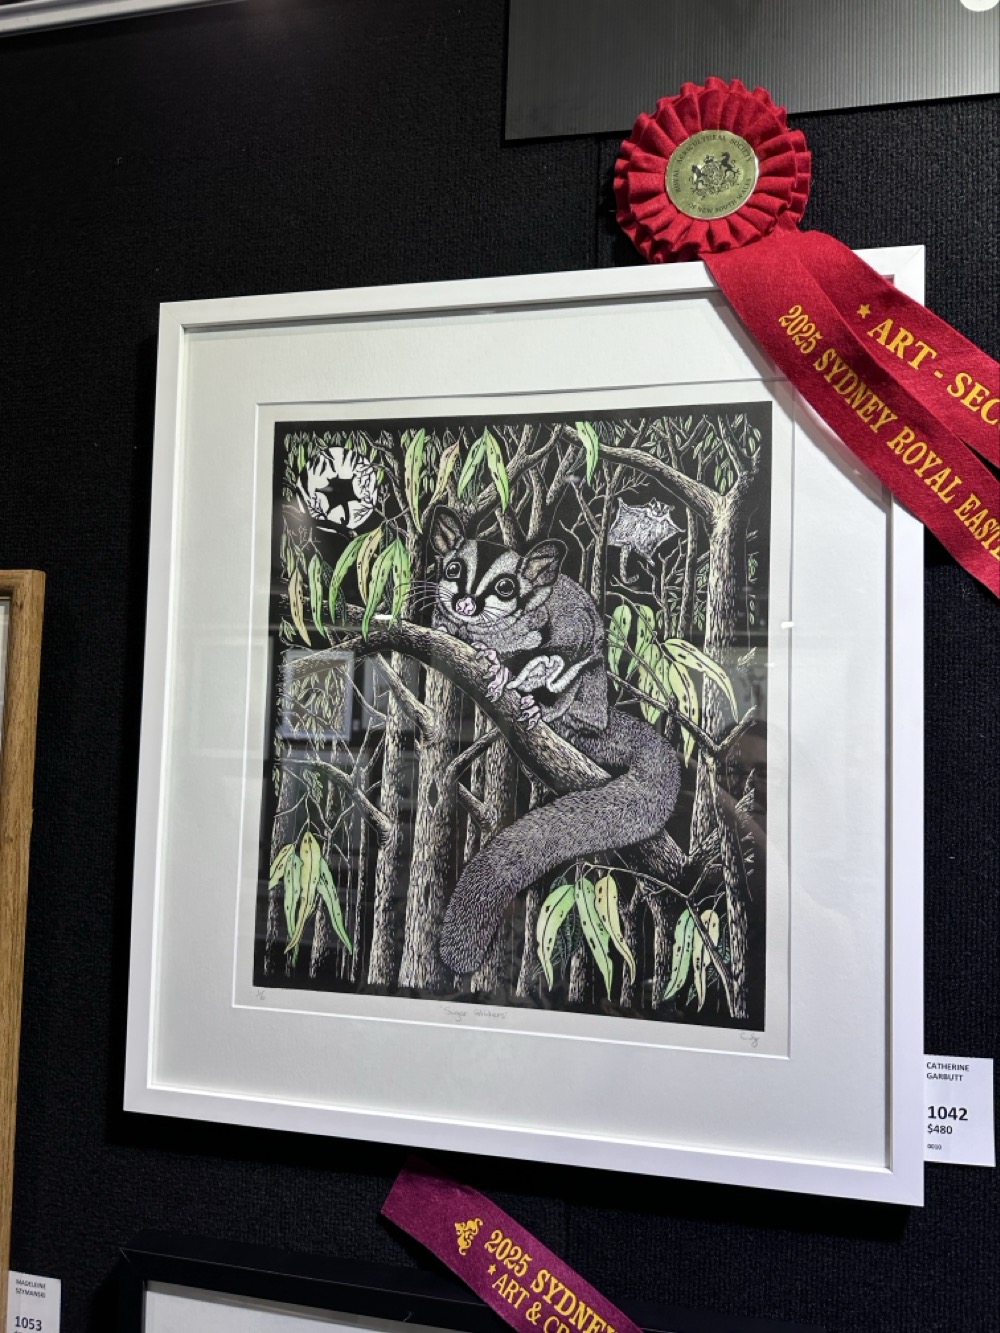
This print of sugar gliders was so intricate and so beautiful!
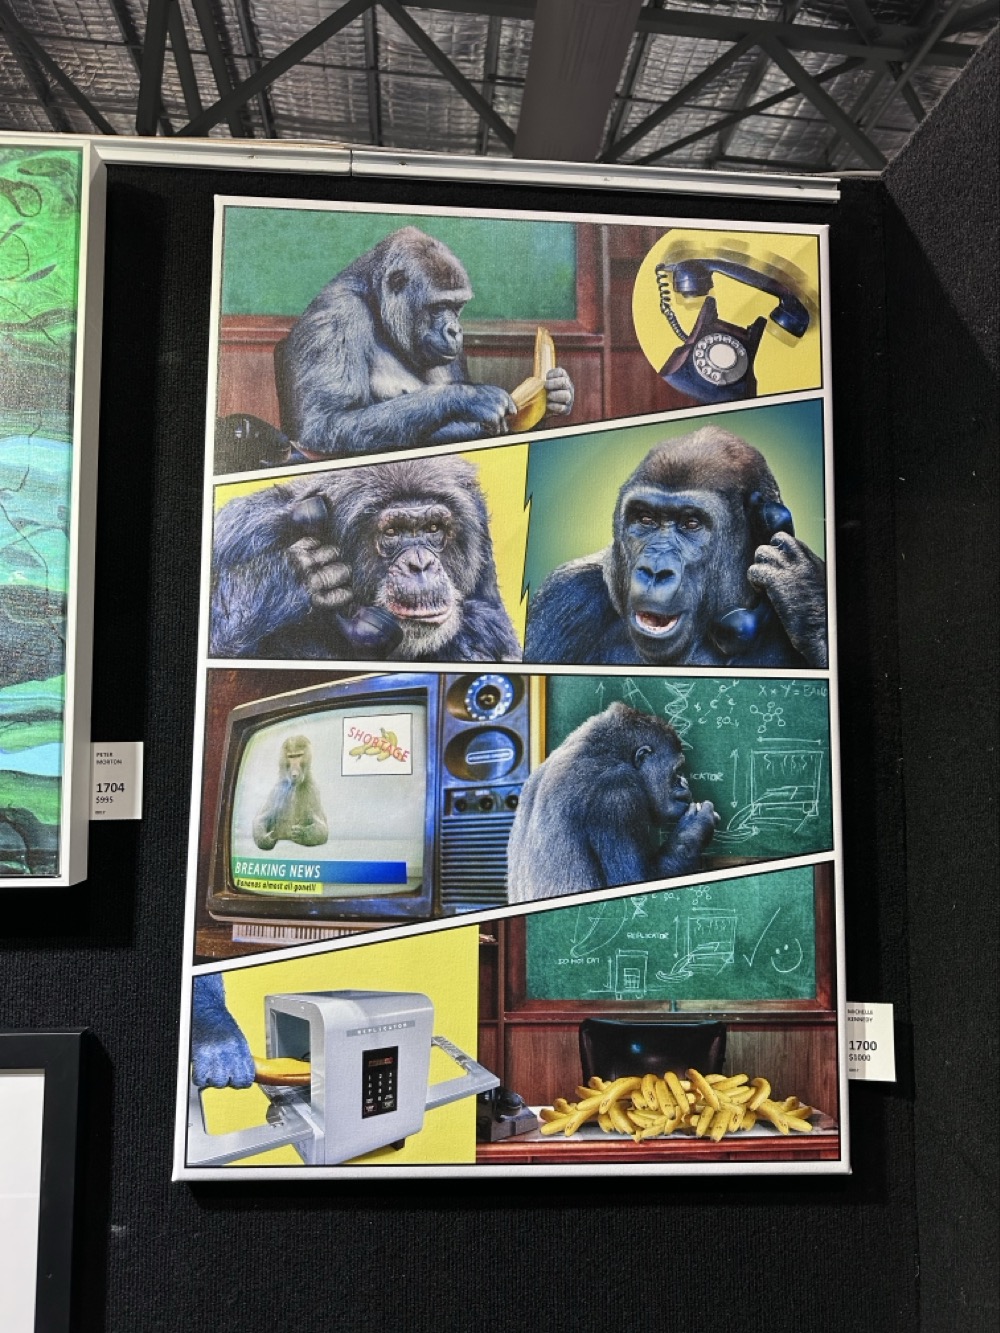
Banana replicator! This amused the hell out of me. It was in the “raster artwork” category, and I had to look it up in the schedule to see what that actually means: “The image must have originated from an original photograph, including photographs purchased within Copyright or acquired after Copyright has expired. The image may be significantly manipulated or enhanced using Photoshop or equivalent computer software.”
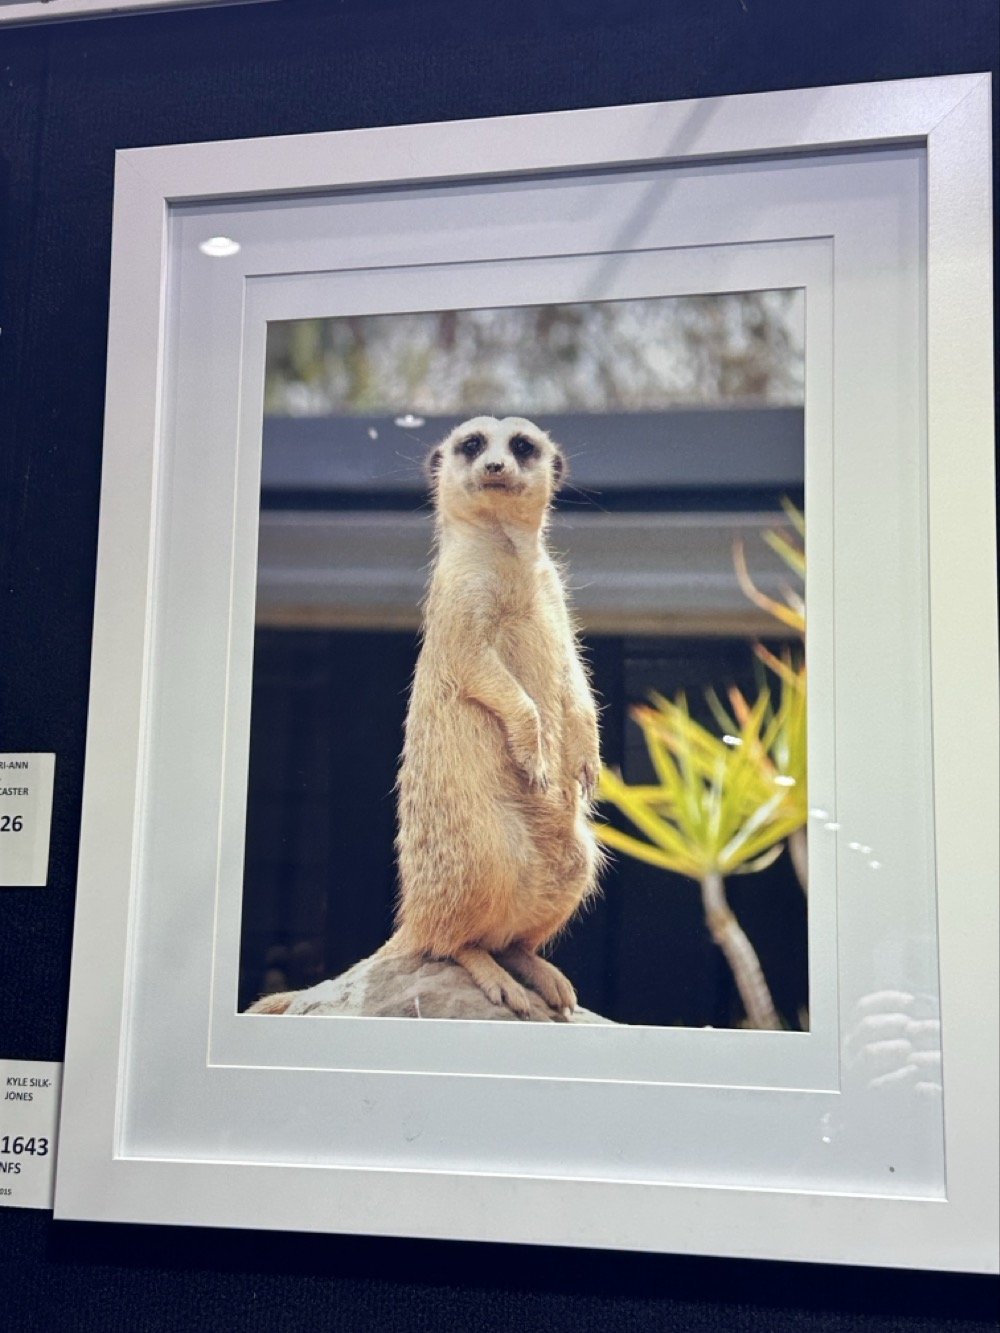
Meerkat! Mr. Snook is a big fan. We were delighted to discover that the German word for meerkat is “Erdmännchen,” which means “little earth man.”
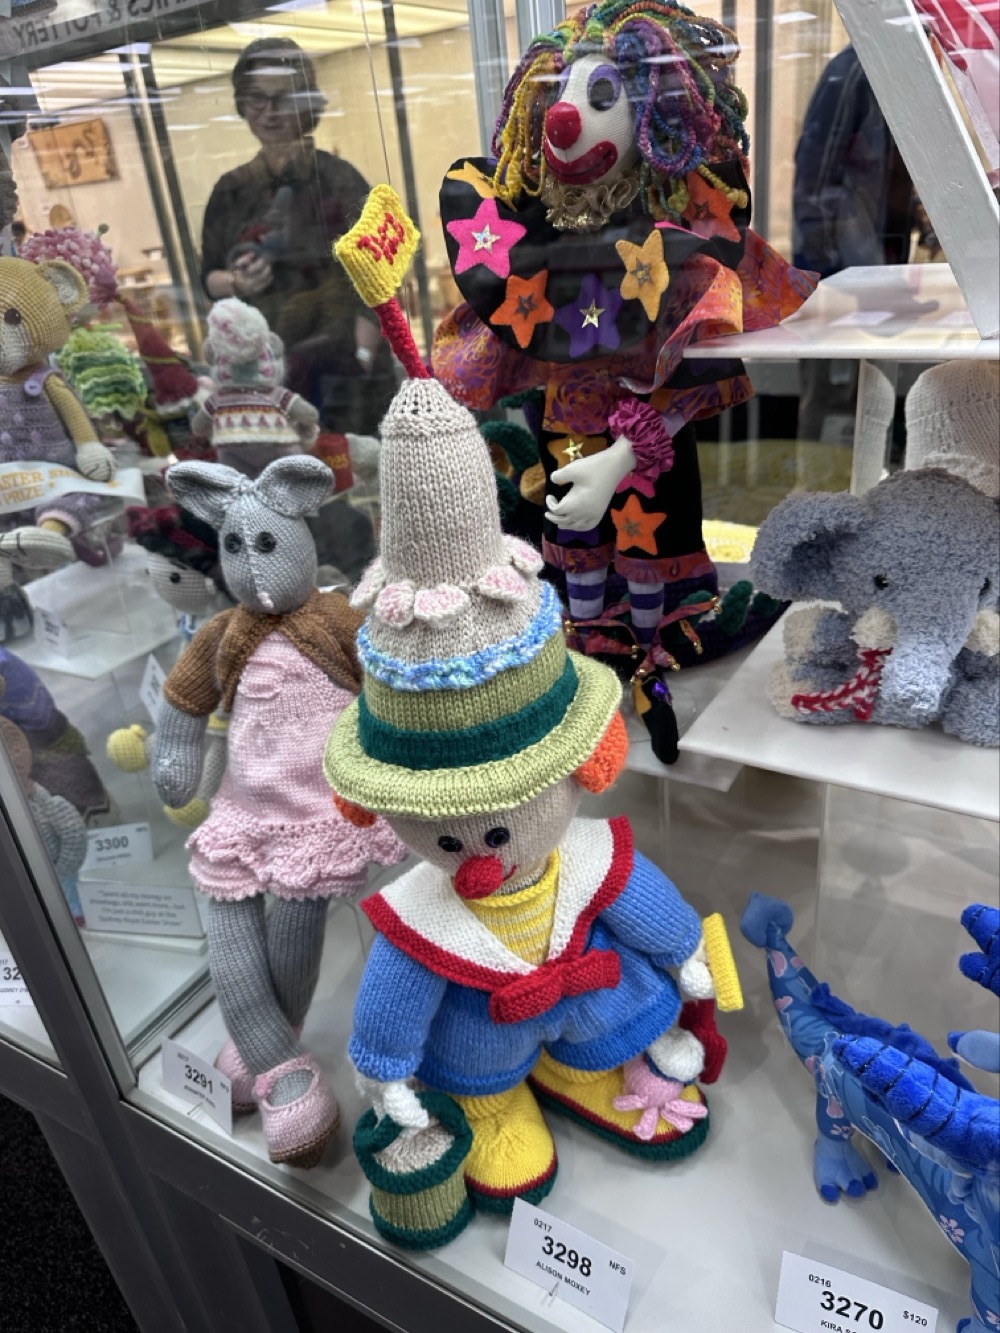
I almost thought I’d escaped—that as a society we’d moved past this particular brand of evil—but of course, there’s gotta be a goddamn Jean Greenhowe clown. I kid, but not really. It’s not an Easter Show without someone knitting a Greenhowe clown.
-
2025 Easter Show entry details (and results!)
Now that the 2025 Easter Show Craft Competition judging is finished, I can finally reveal the details of my three entries!
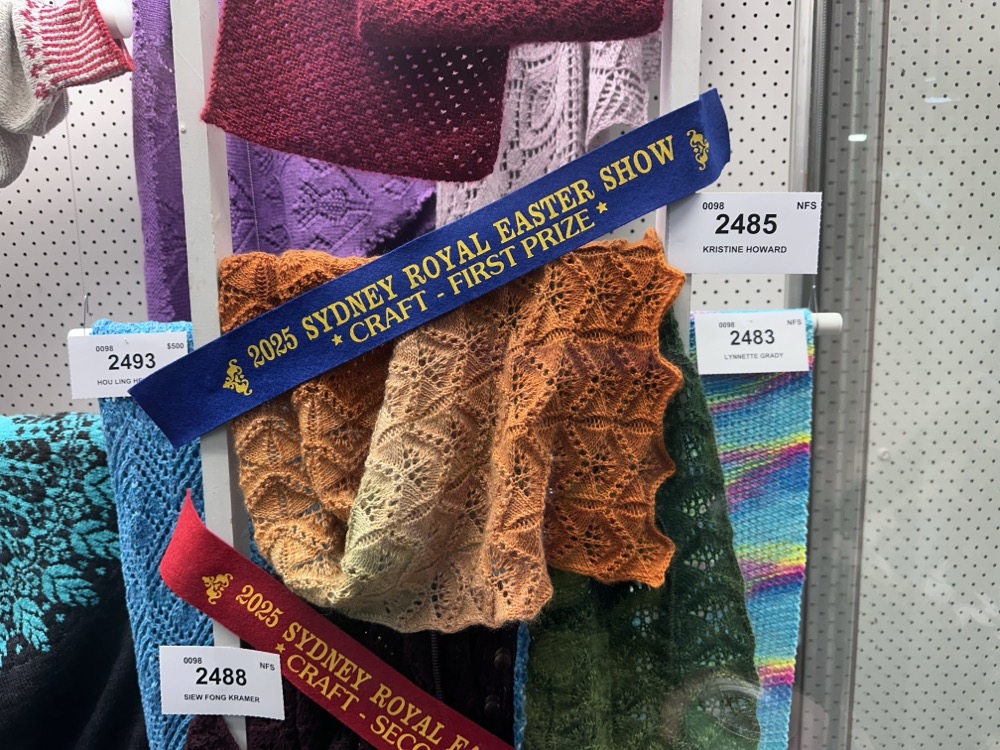
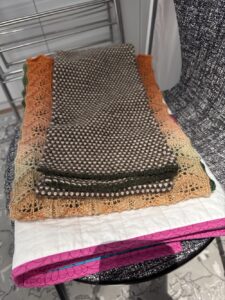
Ginkgo Leaves Gradient Lace Scarf
I bought this yarn – Schoppel Zauber Flower Pro – ages ago but really struggled to find an appropriate pattern for it. Last April I frogged it and started again with a simple lace pattern that looks like ginkgo leaves. I’m not normally a big fan of lace, but I could tell that it was going to look pretty special once I blocked it. I was so pleased with how it turned out, and I thought it had a real chance at the Show. And guess what? It did! My second ever blue ribbon!
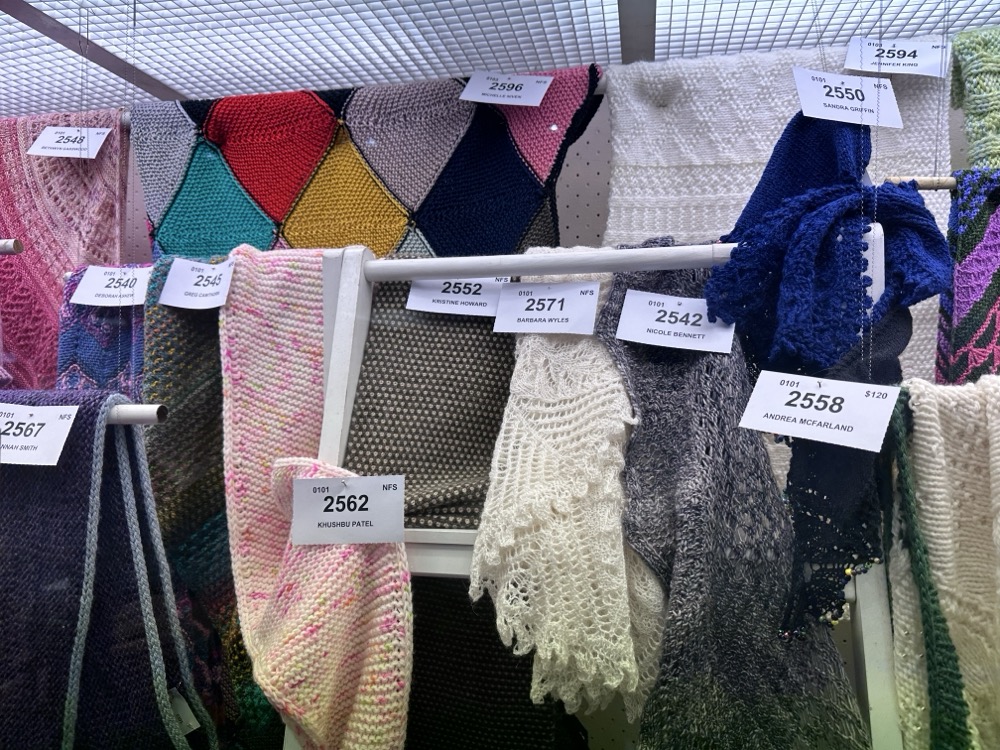
3-Colour Slip Stitch Alpaca Scarf
Ten years ago I knitted the Snook a grey alpaca scarf in linen stitch… and last year we lost it in Darling Harbour. It was mostly my fault, so I felt I needed to replace it with something comparable. I settled on a simple 3-colour slip stitch pattern done in Morris & Sons Maya 8ply. Because I used 3 colours, I could just always drop a colour and pick up the next one at each edge. It resulted in a perfectly flat fabric, with one side having a little tessellated seed pattern and the reverse having all of the horizontal floats. It was very satisfying to knit, even with having to constantly untangle the balls! When I was finished, I even knitted him a matching beanie. I doubted the project was flashy enough to win a ribbon, but I thought I’d enter it anyway just to have something different in the display case. As expected, it was shown but didn’t win anything. I’m okay with that. There’s really nothing else in the case like it.
Rainbow Pinwheel Baby Quilt
Earlier this year, a friend of mine let slip that he and his wife were expecting their second child, a daughter. I know how much they’ve gone through in their fertility journey and really wanted to gift them something special for her. I also was getting the itch to do some patchwork again after making Baby Taos’s quilt in 2023. I started looking for a design that would work with a charm pack, and soon I settled on this Pinwheel Baby Quilt from Moda. I loved the idea of doing something bright and cheerful, but in a more modern print than in the pattern. I started checking what fabrics were available in my local shops, and I eventually decided on Moda’s Rainbow Spice collection. I bought a charm pack along with yardage for the backing and the binding, and in January I kicked off the project.
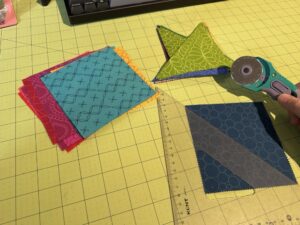
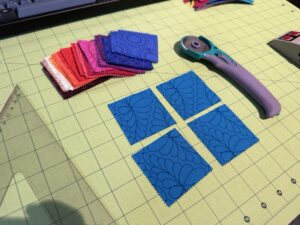
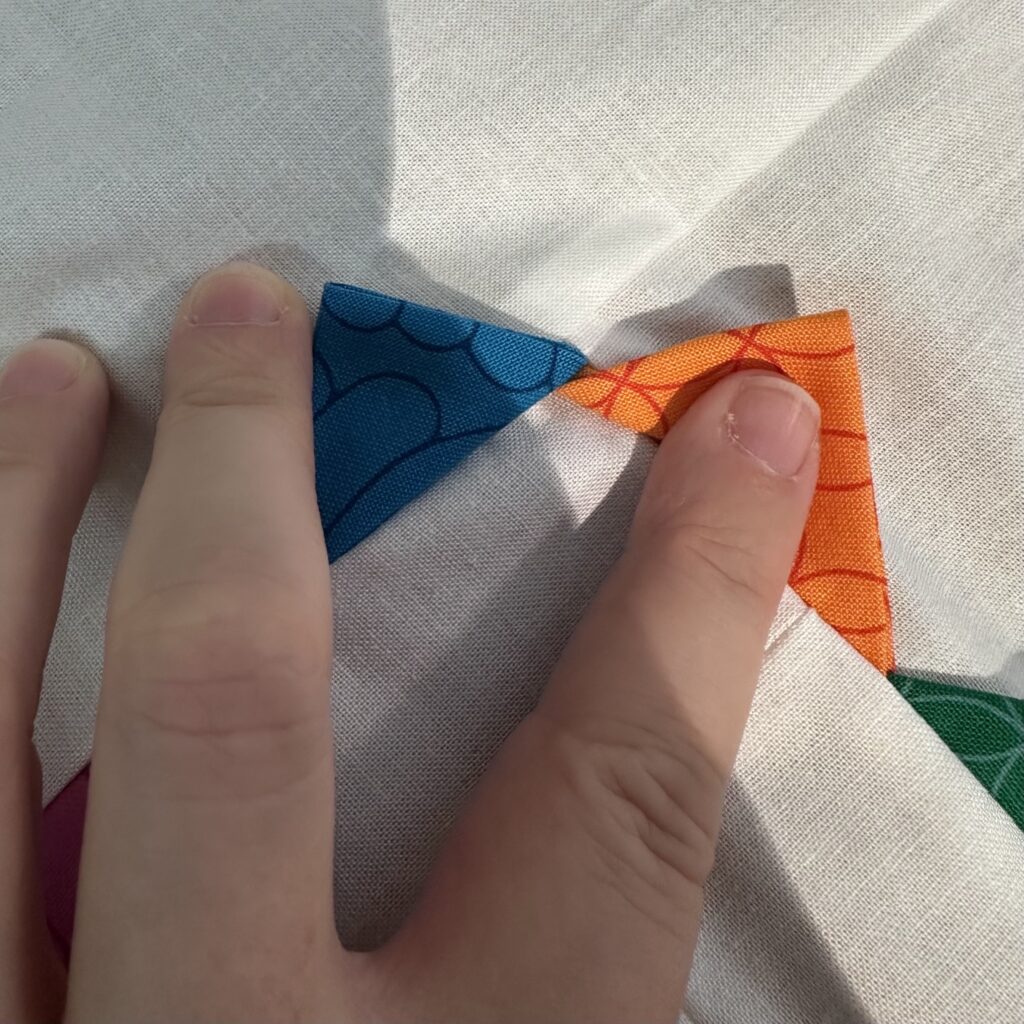
I figured out which fabrics I wanted for the pinwheels, and I cut those into triangles. Everything else got cut into squares for the prairie points.
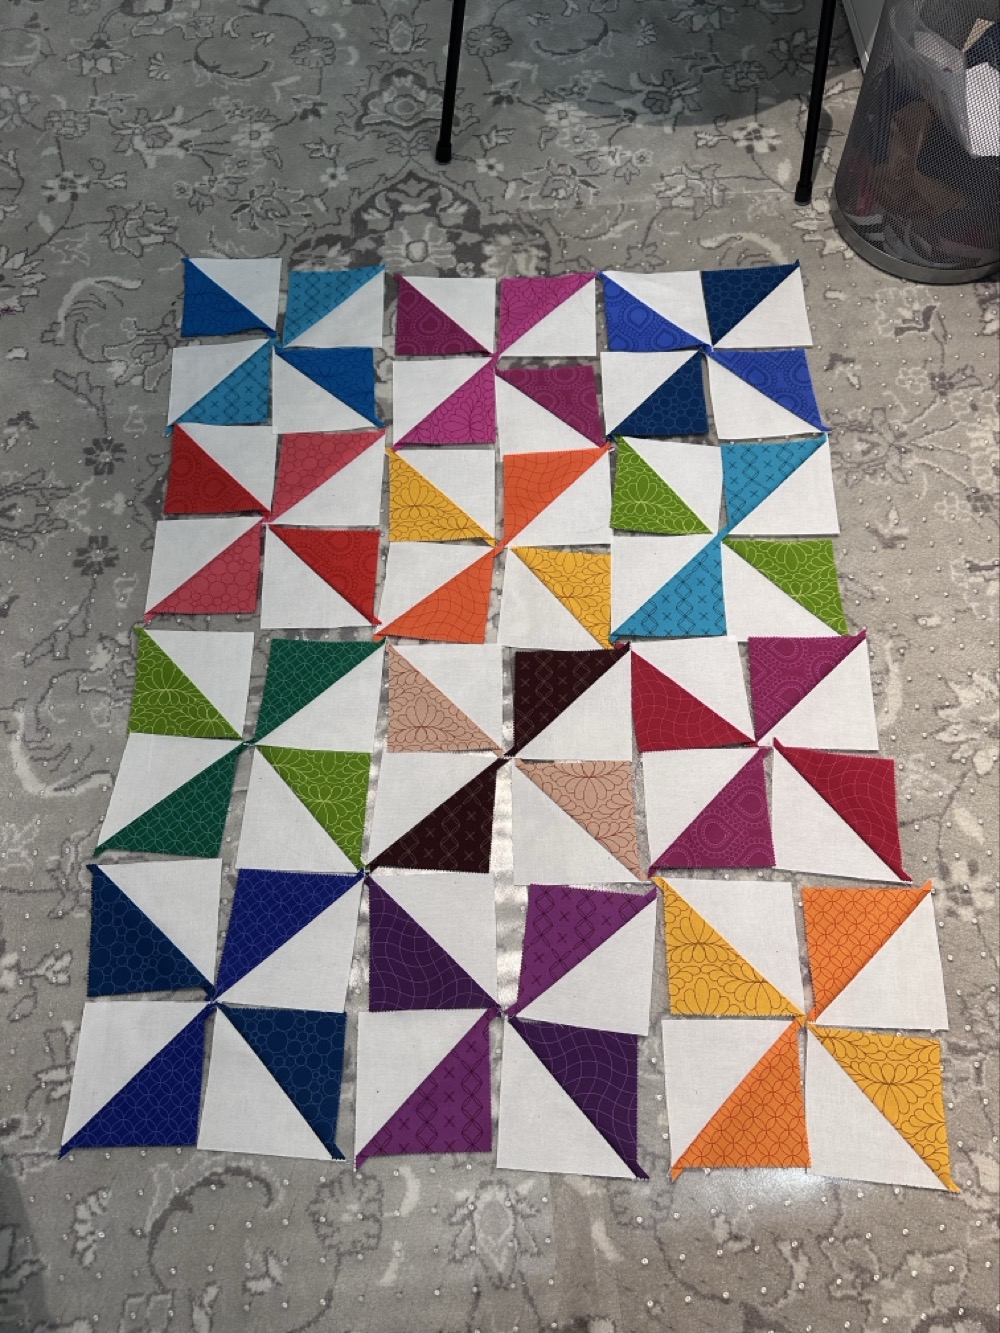
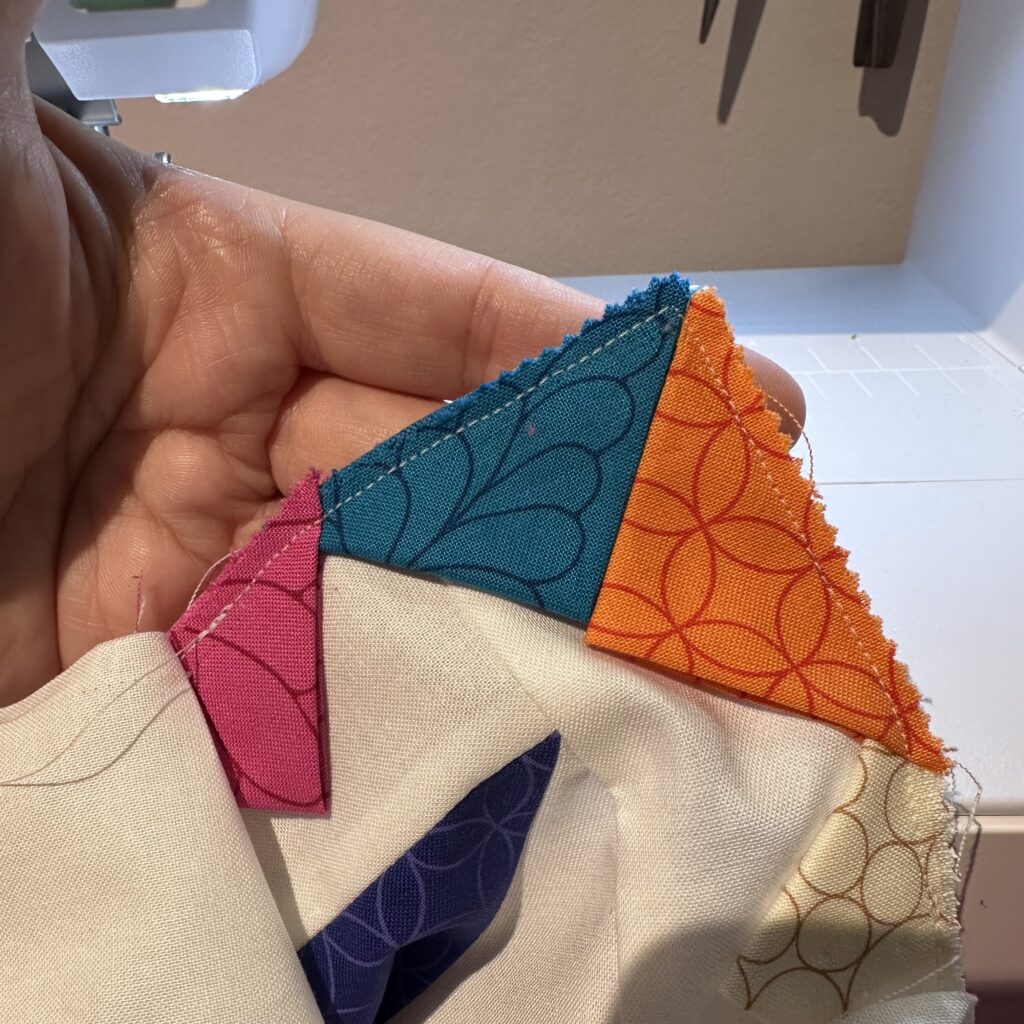
I started joining the coloured triangles to the white ones. Once I had them all joined, I could play with how I would lay out the finished pinwheels.
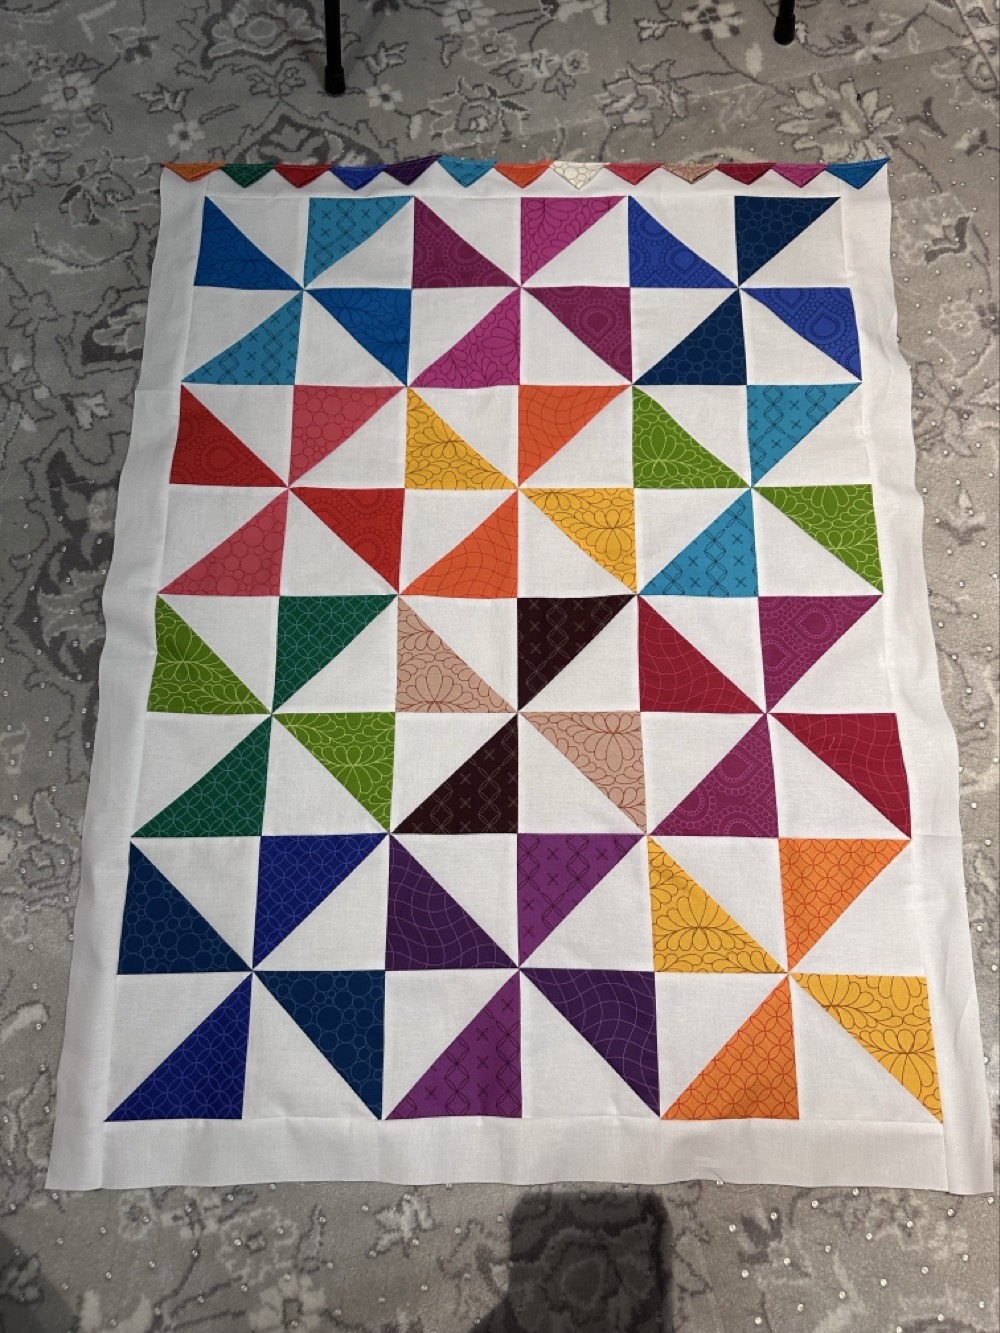
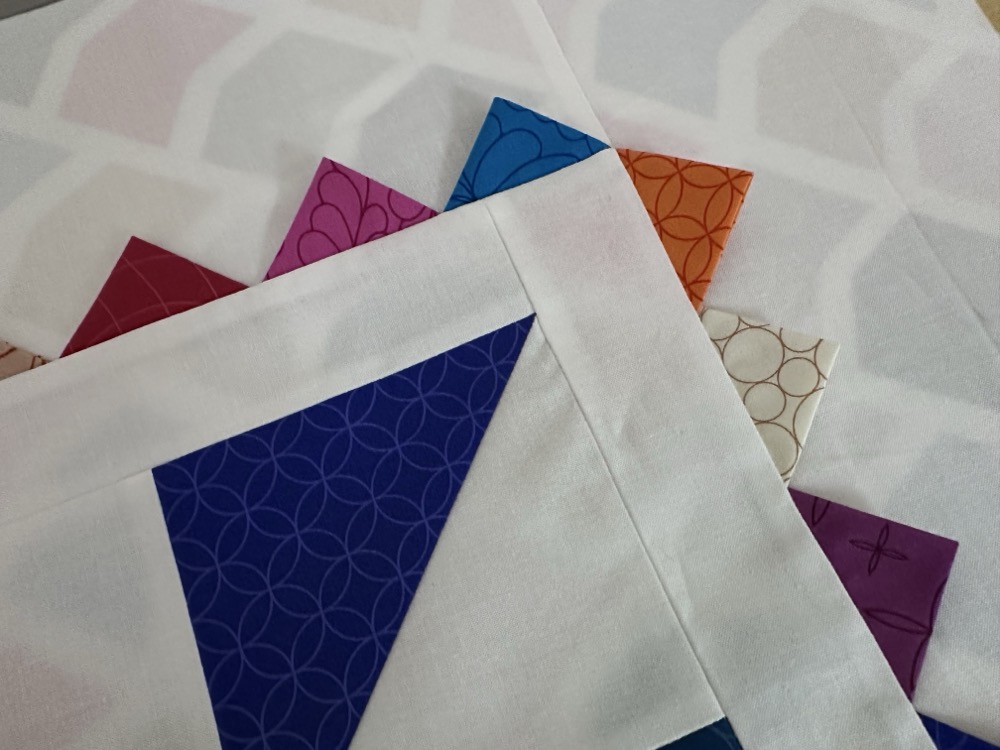
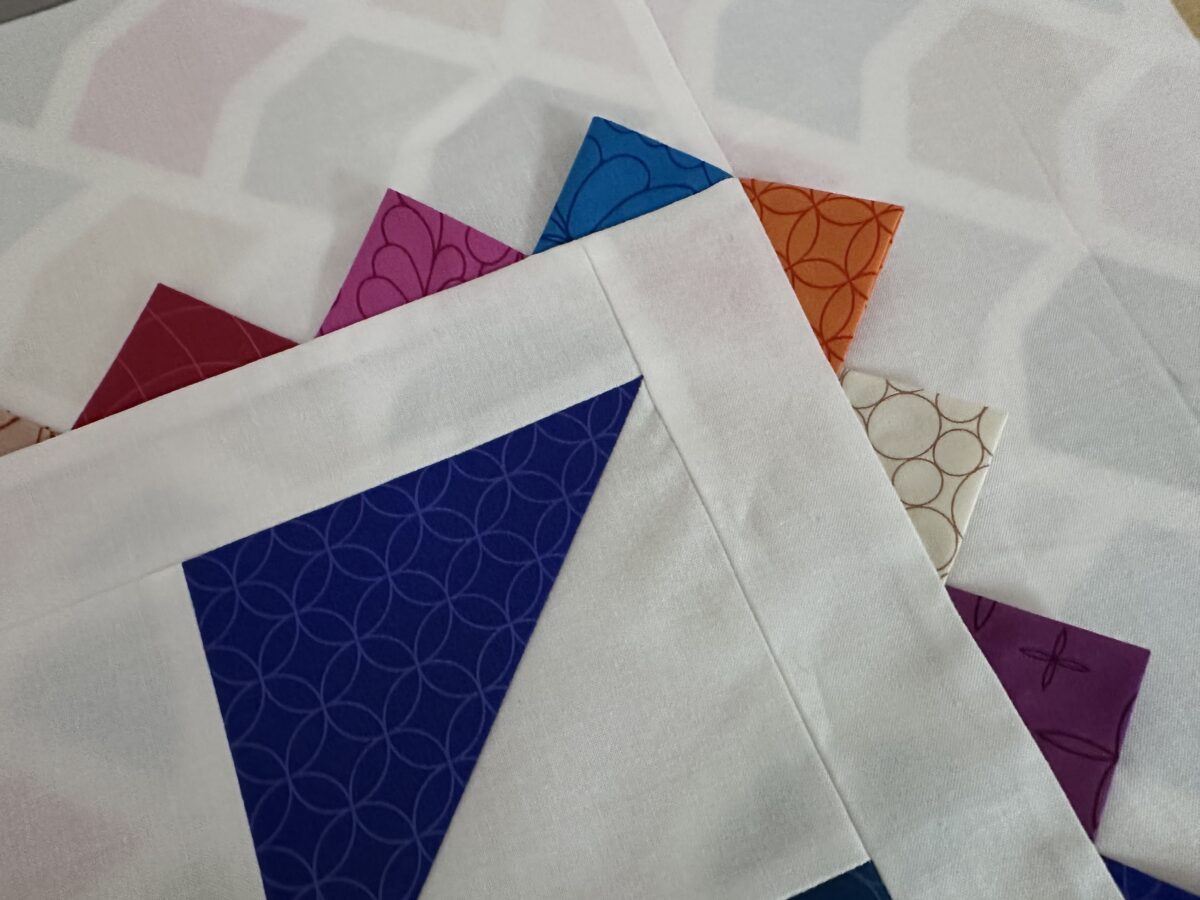
Here are the finished pinwheels, with the first narrow border attached. I’ve also started basting down my prairie points along the top edge. I had never done these before, so I wasn’t quite sure how much to overlap them or how to handle the corners. Needless to say, I buggered it up a few times and had to unpick. I was also texting my Mom a lot for advice. Finally I got the corners looking halfway decent.
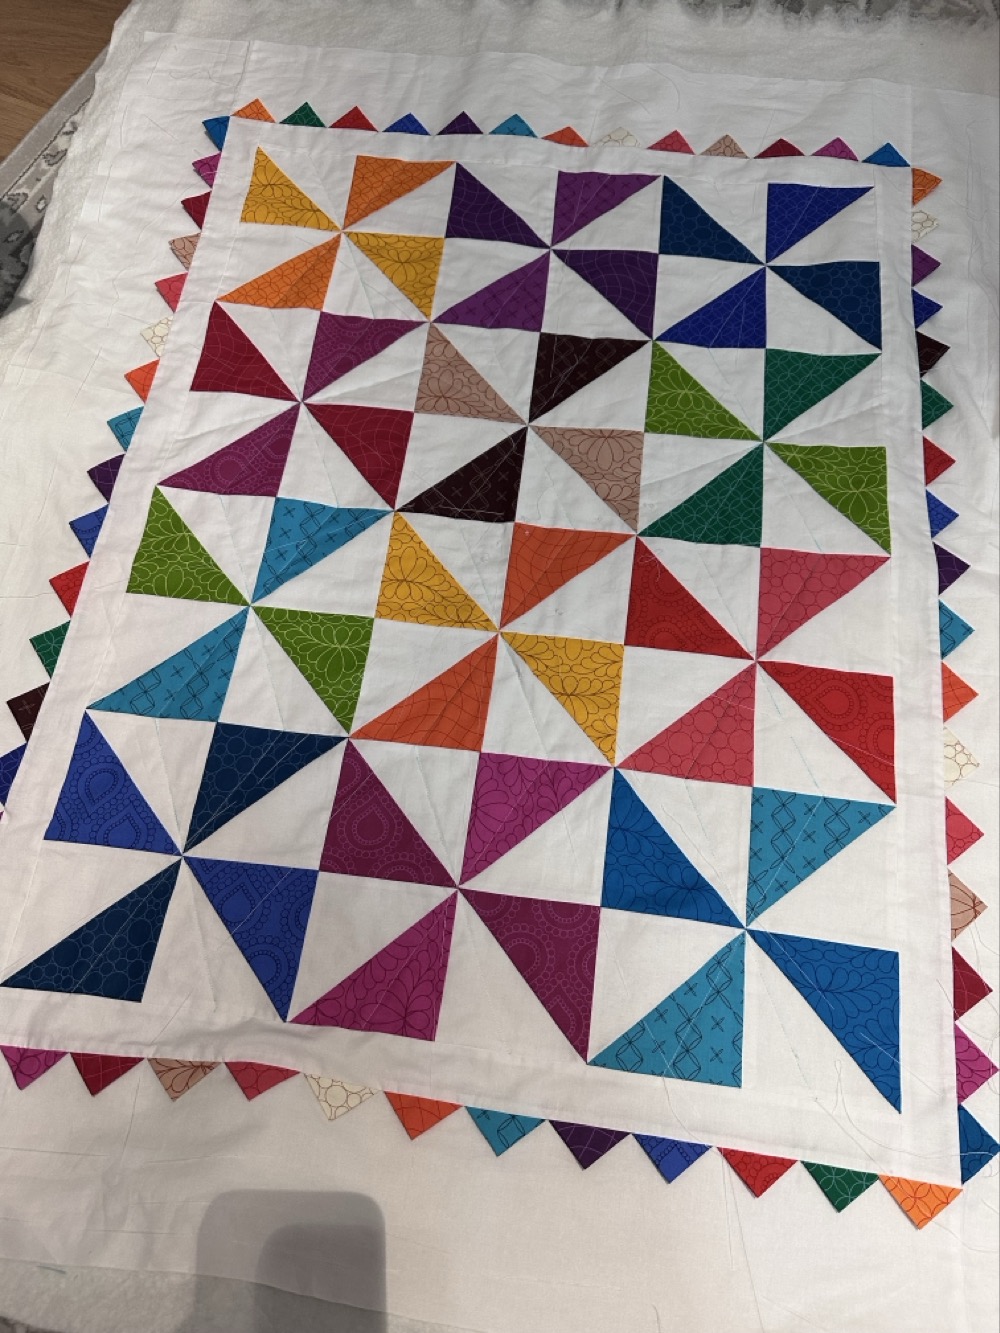
And here’s the completed top sandwiched with the backing fabric and thin cotton wadding. (Sydney doesn’t have super cold winters, so I didn’t need to make it a really warm quilt.) I hand-based it all together with big stitches all over the place, and then it was time to quilt. By this point I had decided to enter the quilt in the Show, and I went for the machine-quilted category. The restriction here is that the quilting has to be done by the entrant; you can’t contract it out to someone else. I decided to quilt diagonal lines through the middle of each pinwheel, and you can see some of the lines from my fabric marking pen. I quilted it myself using the walking foot on my machine.
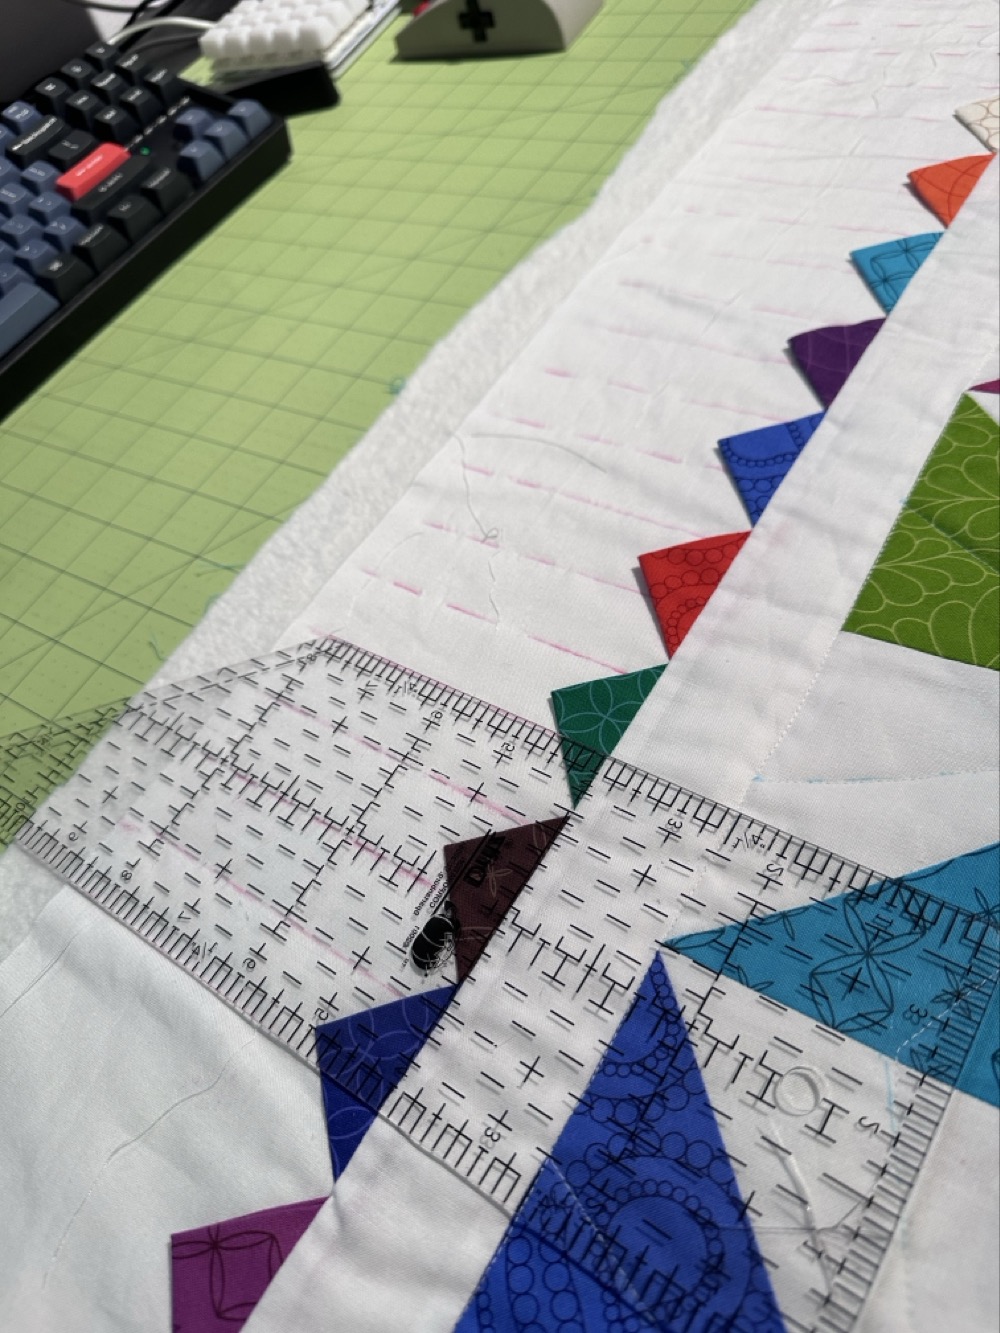
That handled the middle of the quilt, but I had no idea what to do in the wide border. Back to Mom, who answered instantly: “Piano keys!” This basically just means a series of parallel lines, equally spaced. I decided to sew them using the continuous method, where I was sewing a sort of rectangular zig-zag all around the edge. Here I am drawing in the lines for the piano keys.
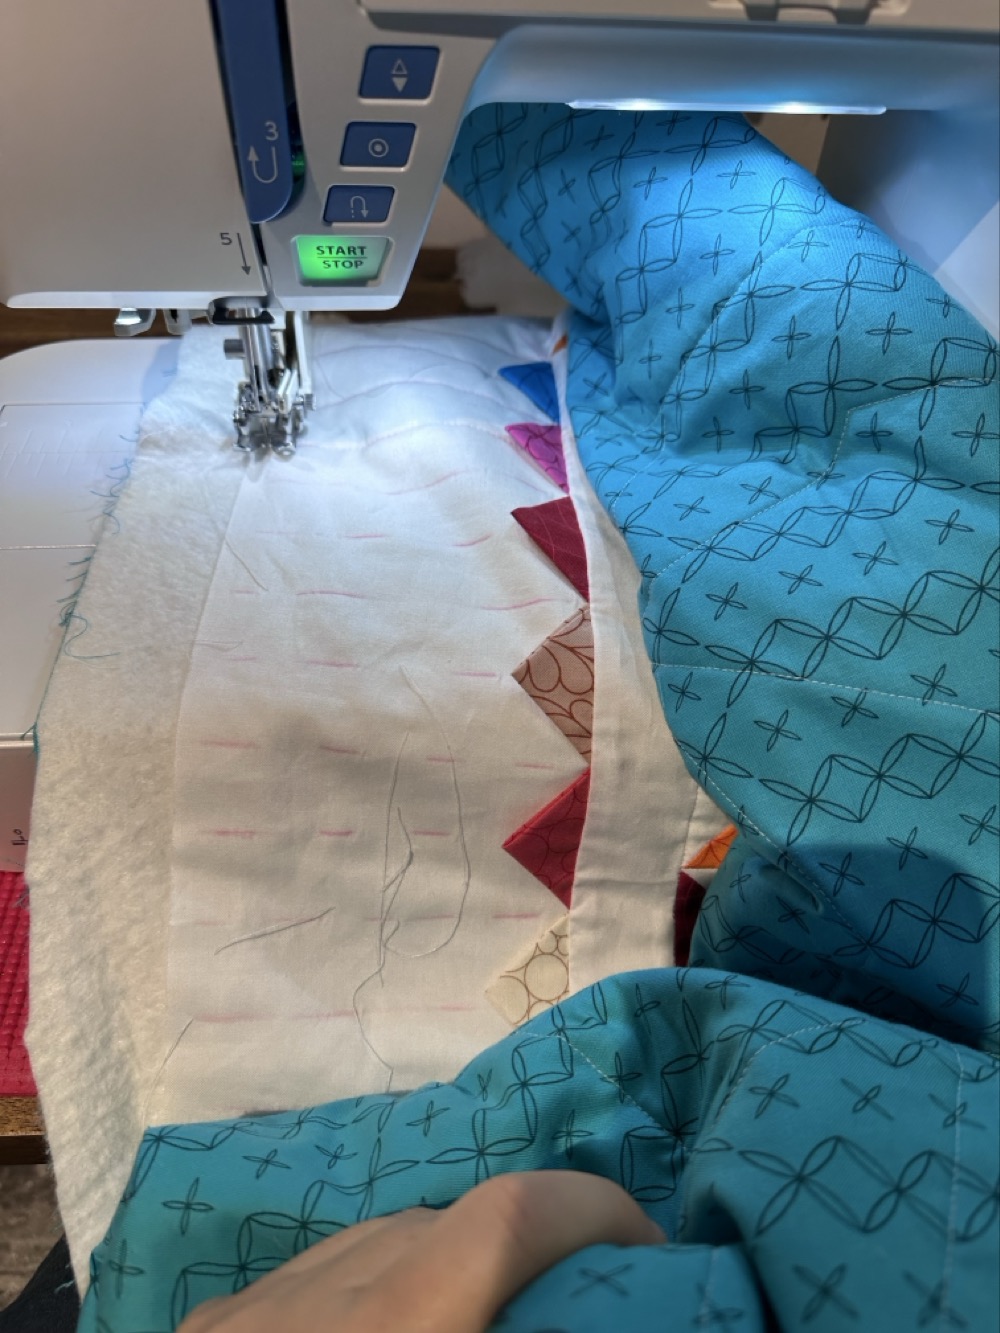
Sewing them was tricky, given that I had to manipulate the whole quilt under my sewing machine arm and I was frequently turning it at right angles to itself. The outer edge of stitching would be covered by the binding, but for the inner edge I simply folded back the prairie point and stitched underneath it.
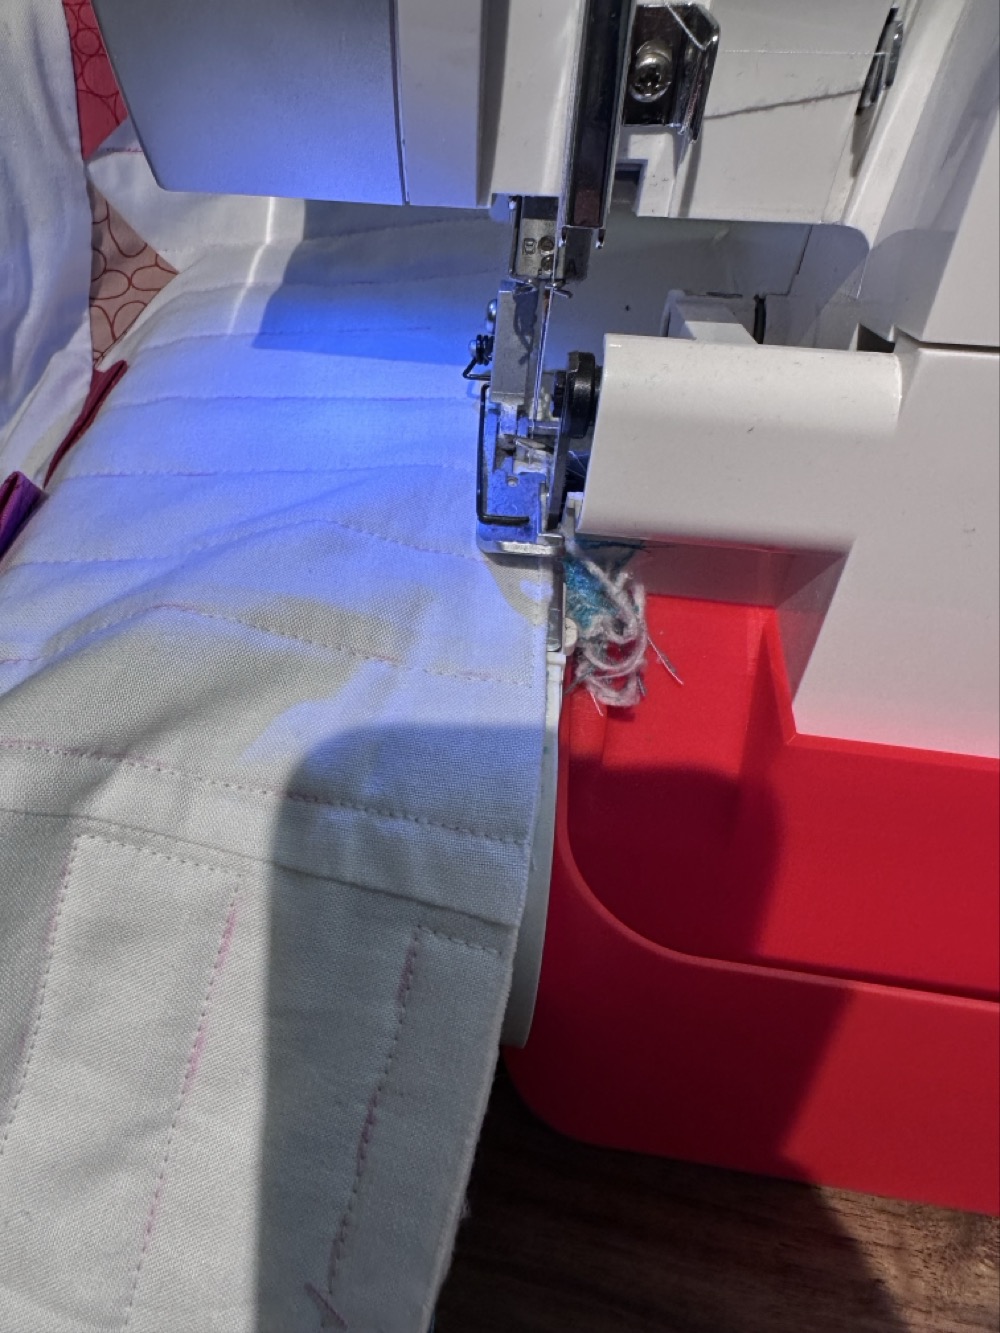
Once all the quilting was done, I ran my overlocker over each edge to trim up the excess and tidy things up for binding.
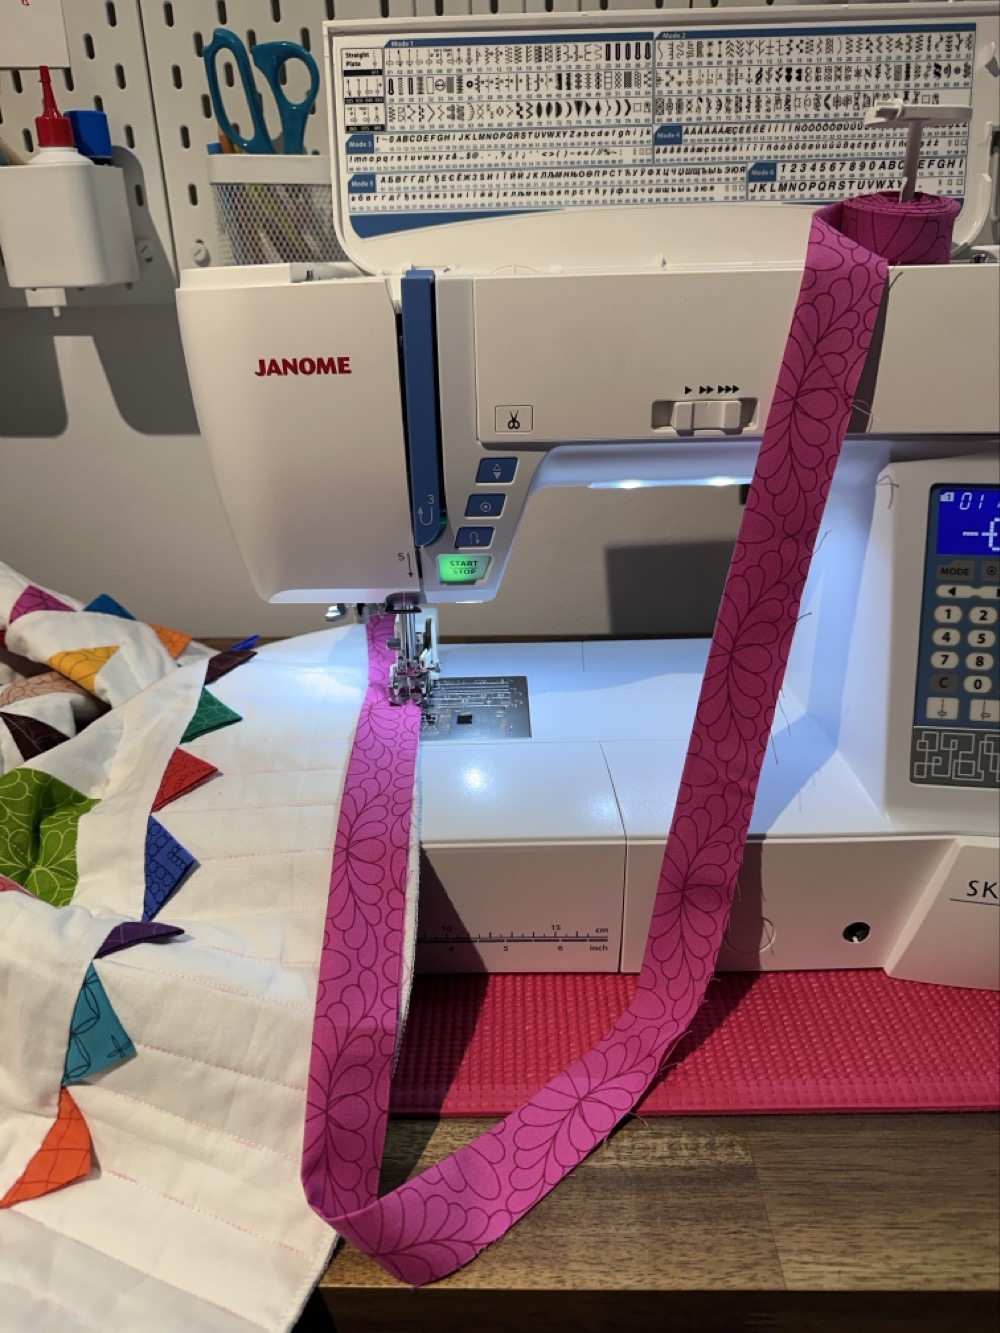
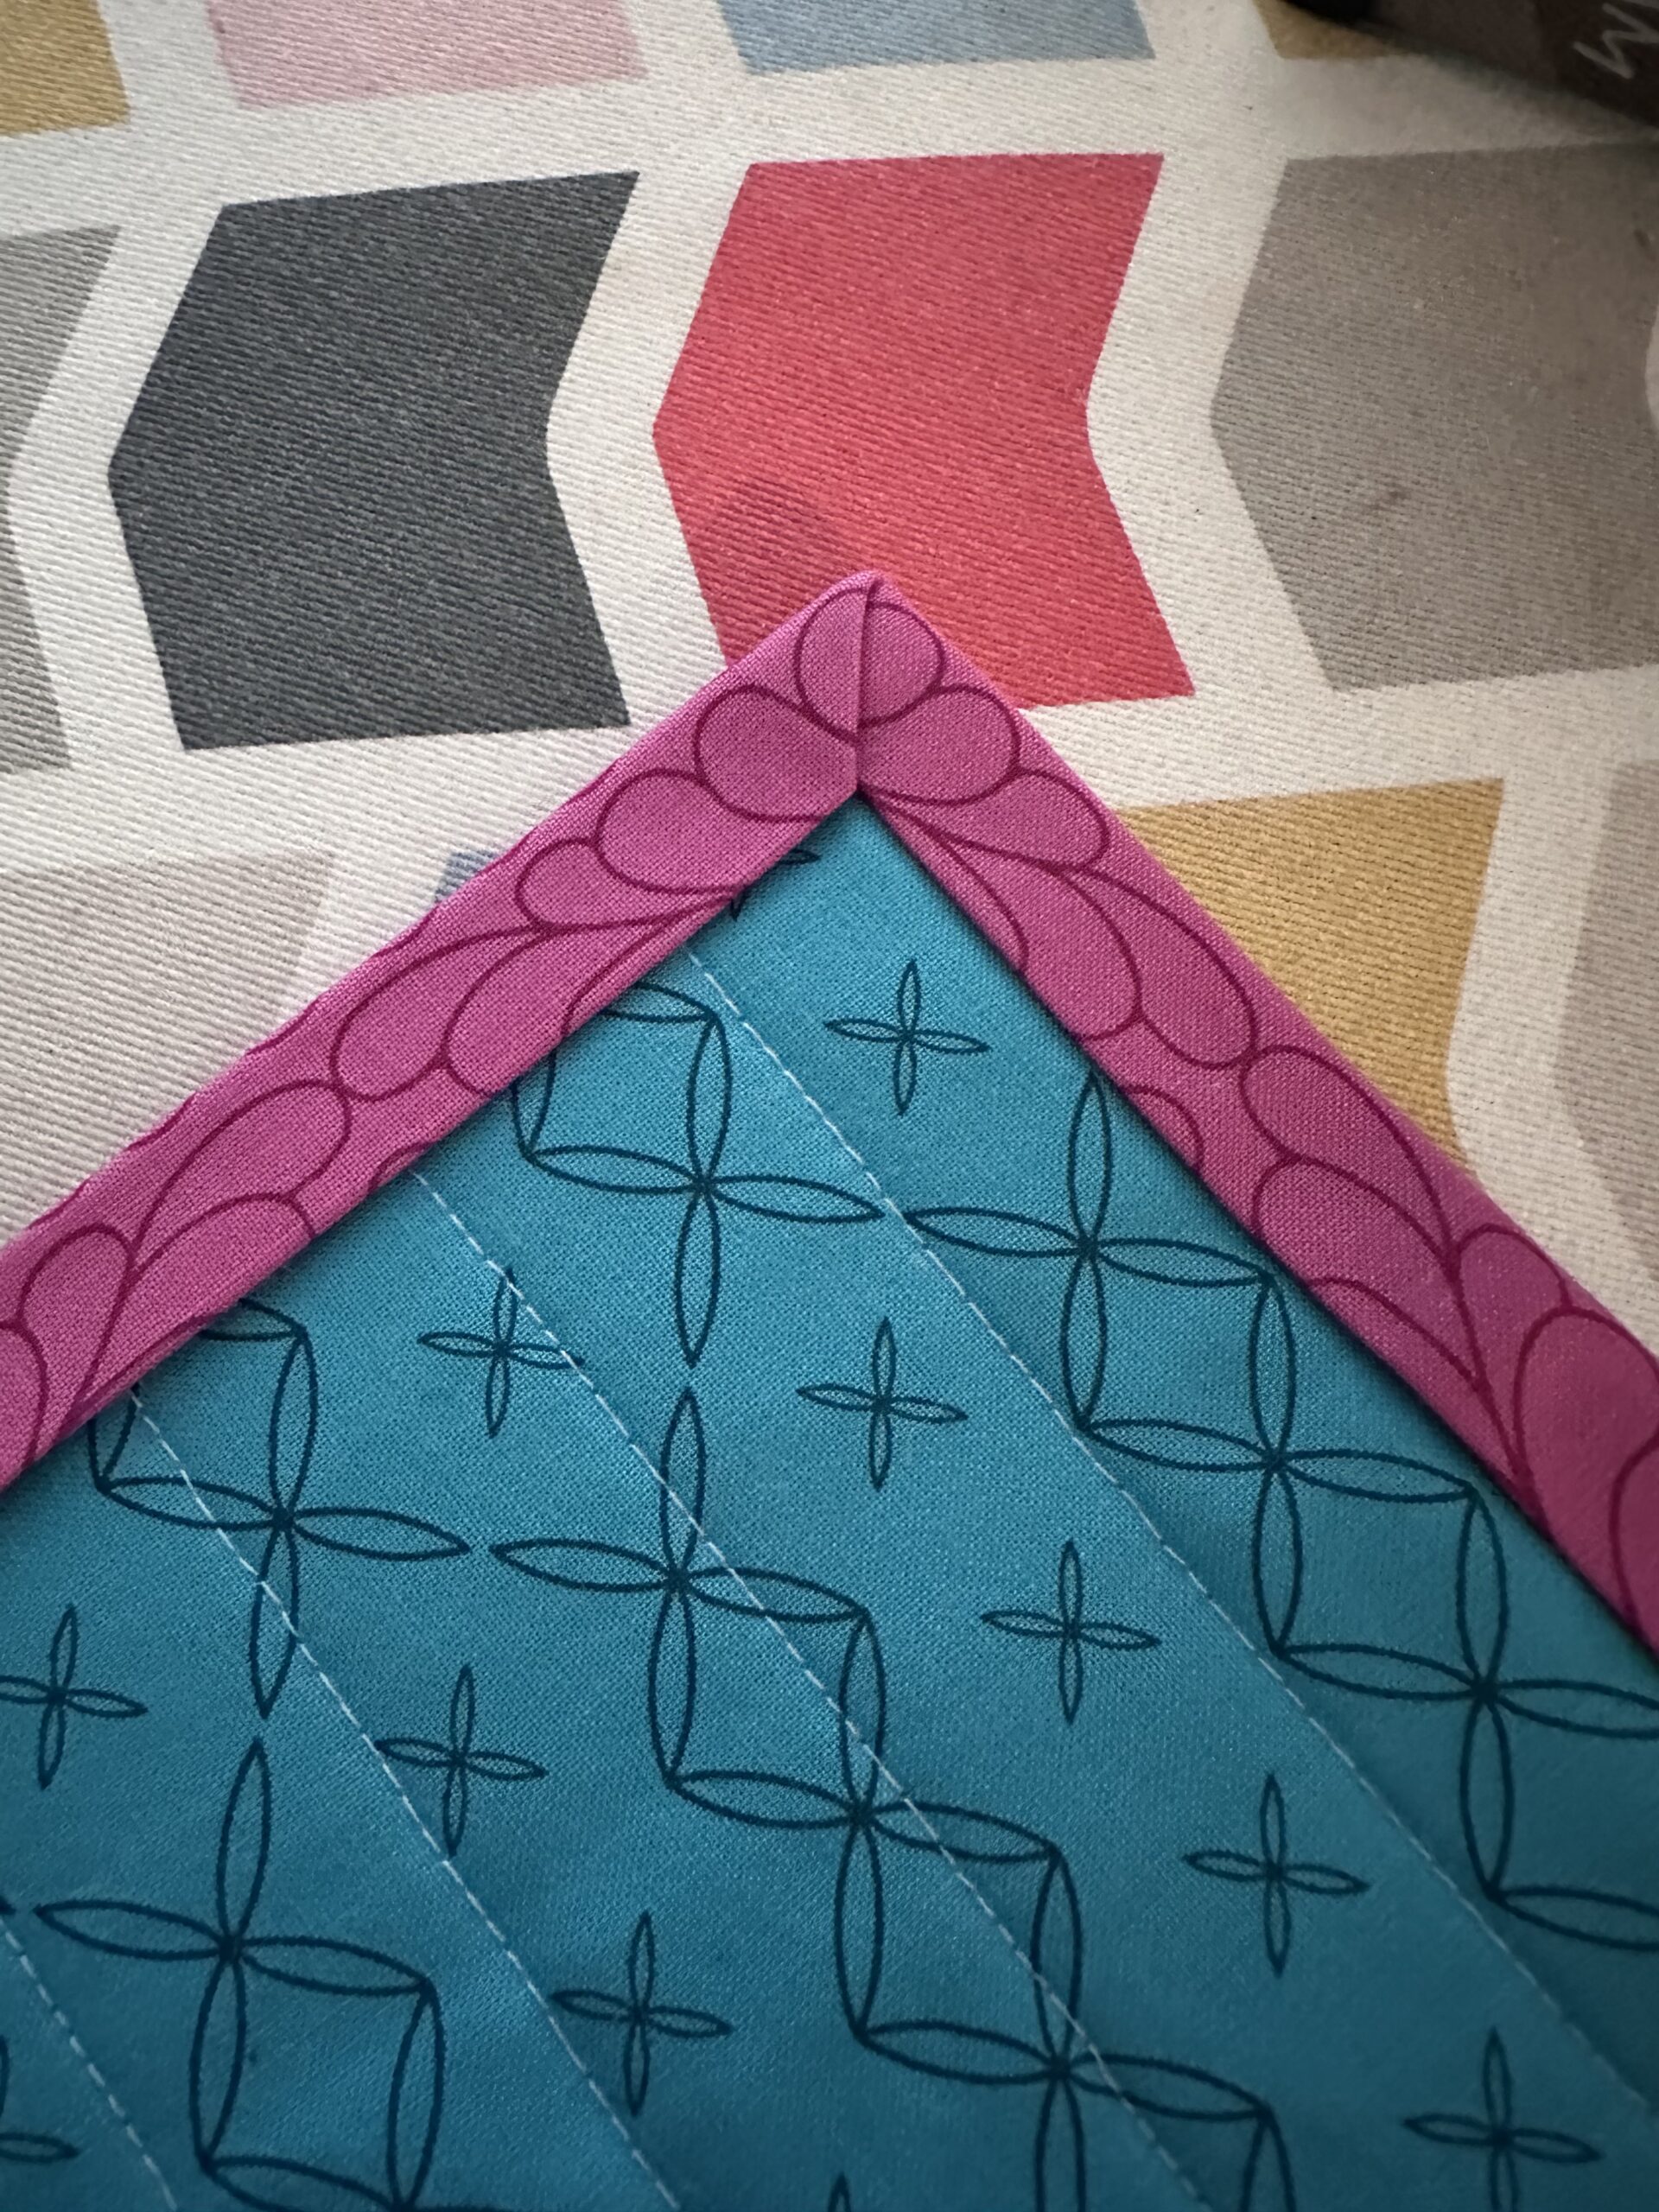
Then finally it was time for binding! I cut my strips and sewed them down on the top side of the quilt, taking care to miter the corners. I followed this blog tutorial, right down the trick of winding my binding and putting it on the extra spool on my machine.
I also used the new-to-me technique of gluing down the binding on the back side. Mom assured me that all the quilters are doing this now! It’s a much faster and more secure way of basting things down so that they don’t move, and so that you can get perfectly mitered corners. And you know what? IT WORKS.
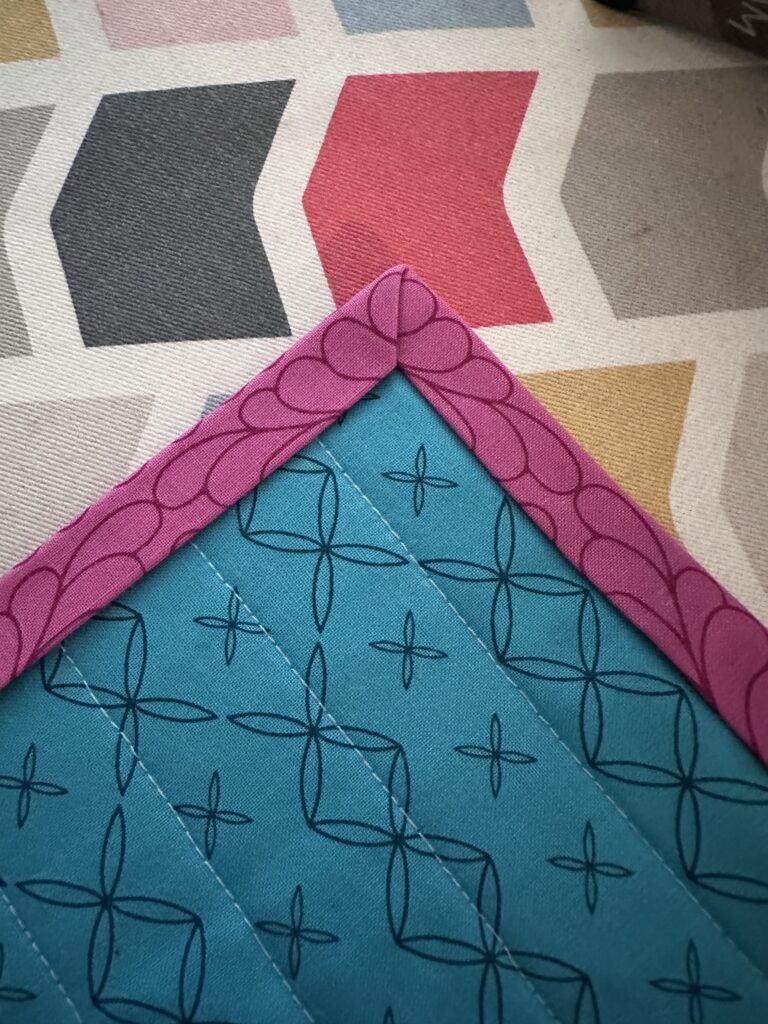
All that was left to do was to stitch down the binding. I sewed on the top of the quilt using white thread, very close to the edge of the binding so it blends in with the quilting. But for the bottom thread I used a hot pink that blended in perfectly with the binding.

The final step was just to wash it several times so that all the fabric pen came out. I laid it flat to dry and then gave it a good press before I dropped it off for judging.
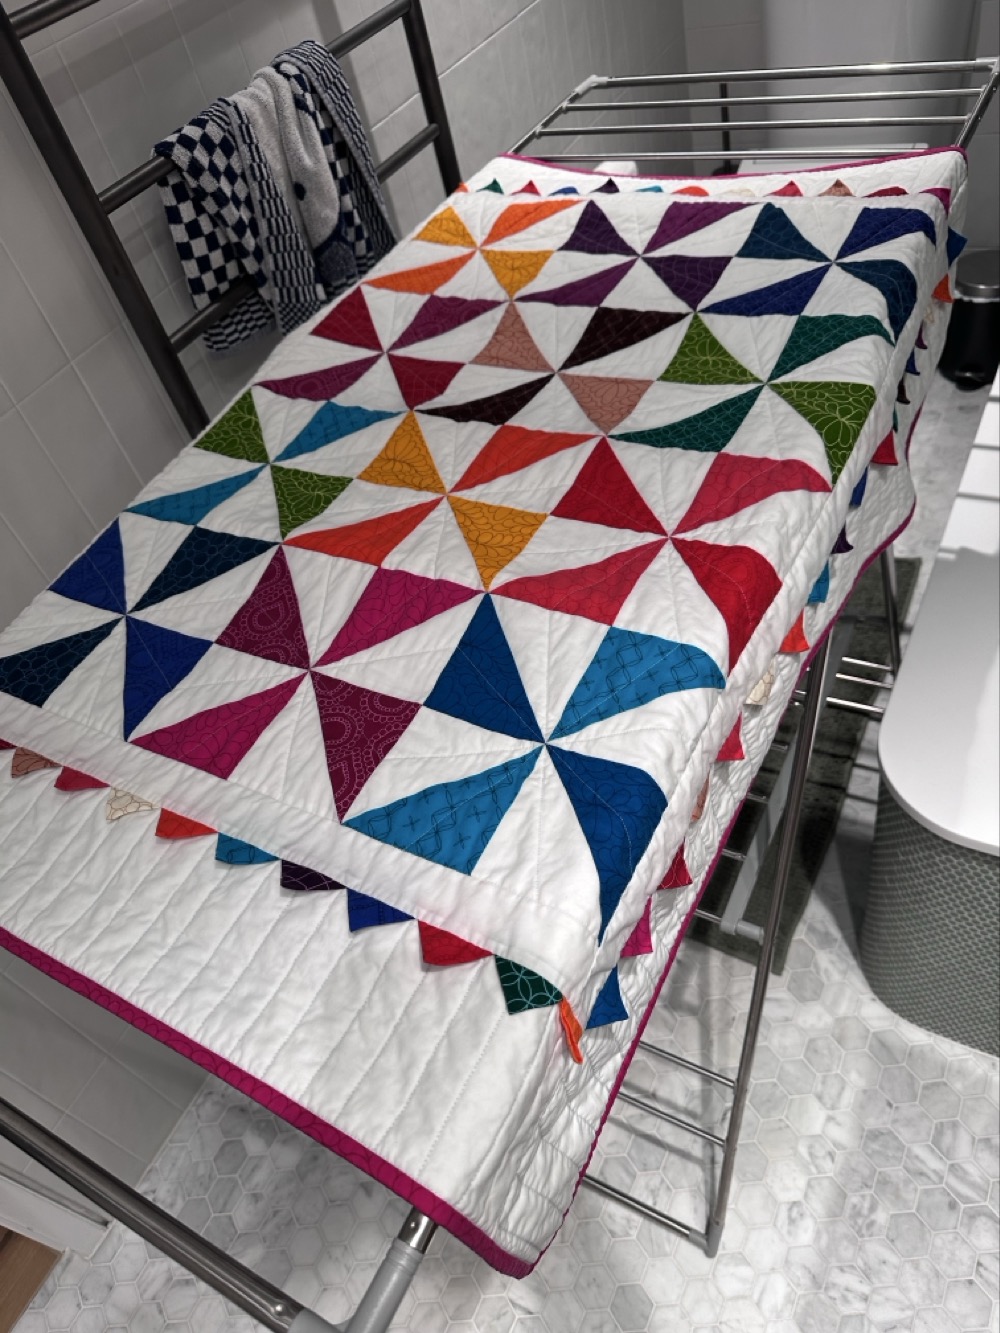
I had never entered a quilt in the Show before, and I really had no idea what the standard would be. I’d seen winning quilts in the display cases though, and I suspected that I didn’t really have any chance of a ribbon. I was right. As you can see here, mine is a lot smaller and simpler than most of the other quilts entered. I’m proud of it though, and I know my friend and his wife will love it.
-
Sydney Royal Easter Show 2025
Three Craft competition entries delivered – two knitting, one quilting – and my volunteer uniform picked up. April’s going to be a big month!
-
Quilt binding
It’s been a while since I experienced the Easter Show craft competition deadline finishing frenzy! Looks like I’ll be done with about 48 hrs to spare. 😅
-
Random Links
- A Guest Blog from Judy Morris on a Four-Year Quilting Project – I recently resubscribed to Martha’s blog, and I’m loving it. This quilt is stunning, and I can’t believe the epic amount of work that went into it.
- A game called “It is as if you were on your phone” – Ha! I love random stuff like this. Rodd had a couple issues playing it on his Pixel phone, but it worked fine on iOS. (Link courtesy of Kottke.)
- And this video, that made us laugh and laugh this morning. Never let it be said that Germans don’t have a sense of humour! 😂🇩🇪
-
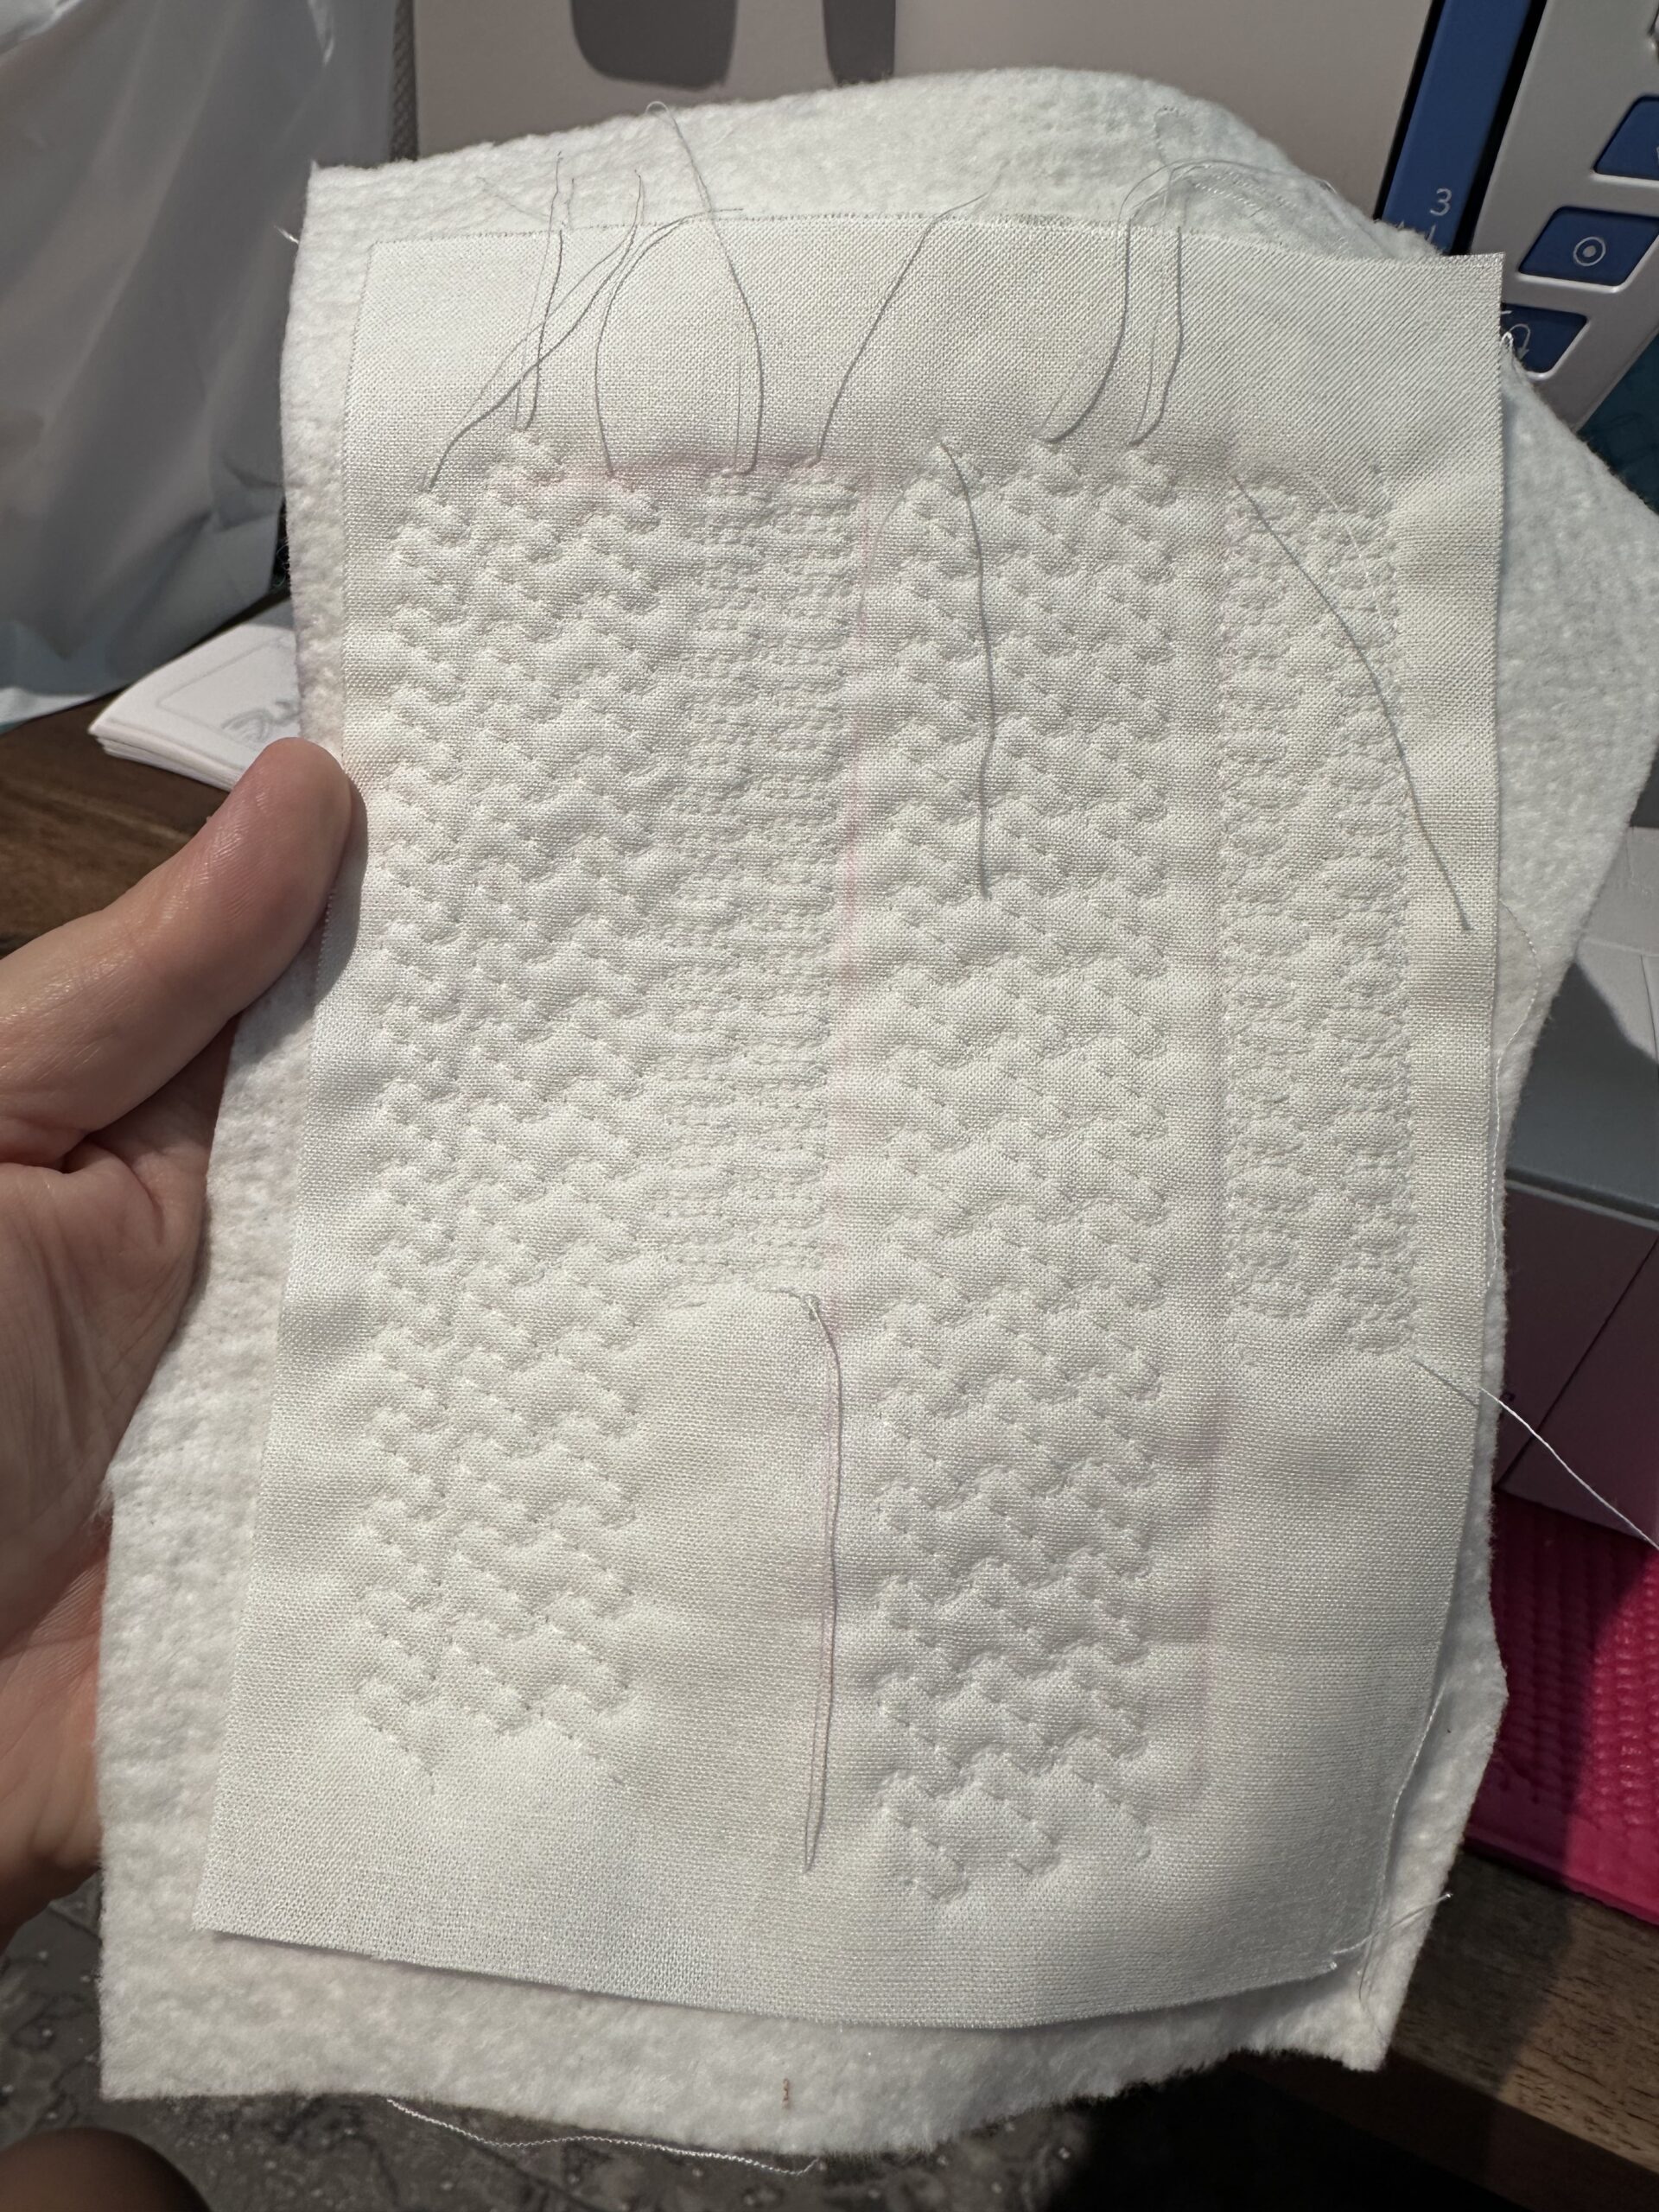
Machine quilting prototypes
Experimenting with some of the stitch patterns on my sewing machine. I think the larger stipple is the way to go.
-
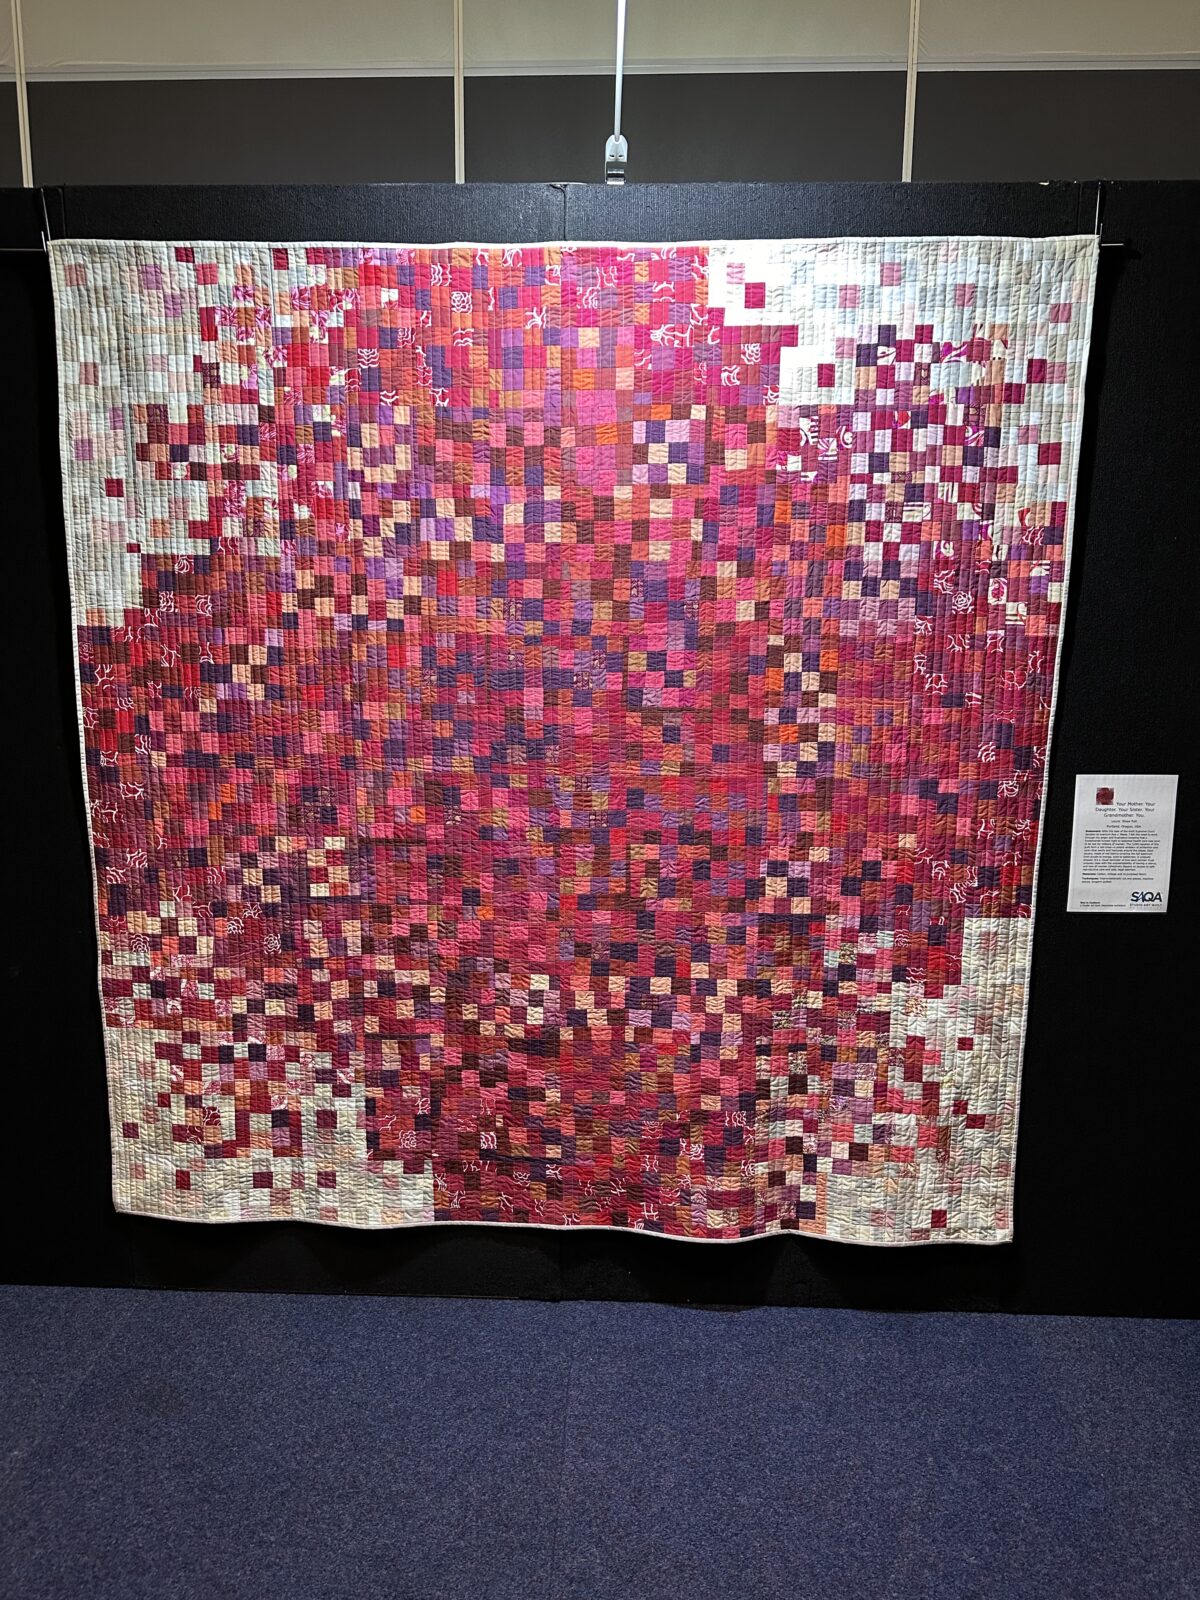
Controversial quilts
“The American Quilter’s Society refused to show two artworks in an exhibition centered around the color red after claiming they could be controversial… One quilt could be interpreted as depicting female anatomy, while the other references abortion access.” (Link courtesy of InarticulateQuilter.)
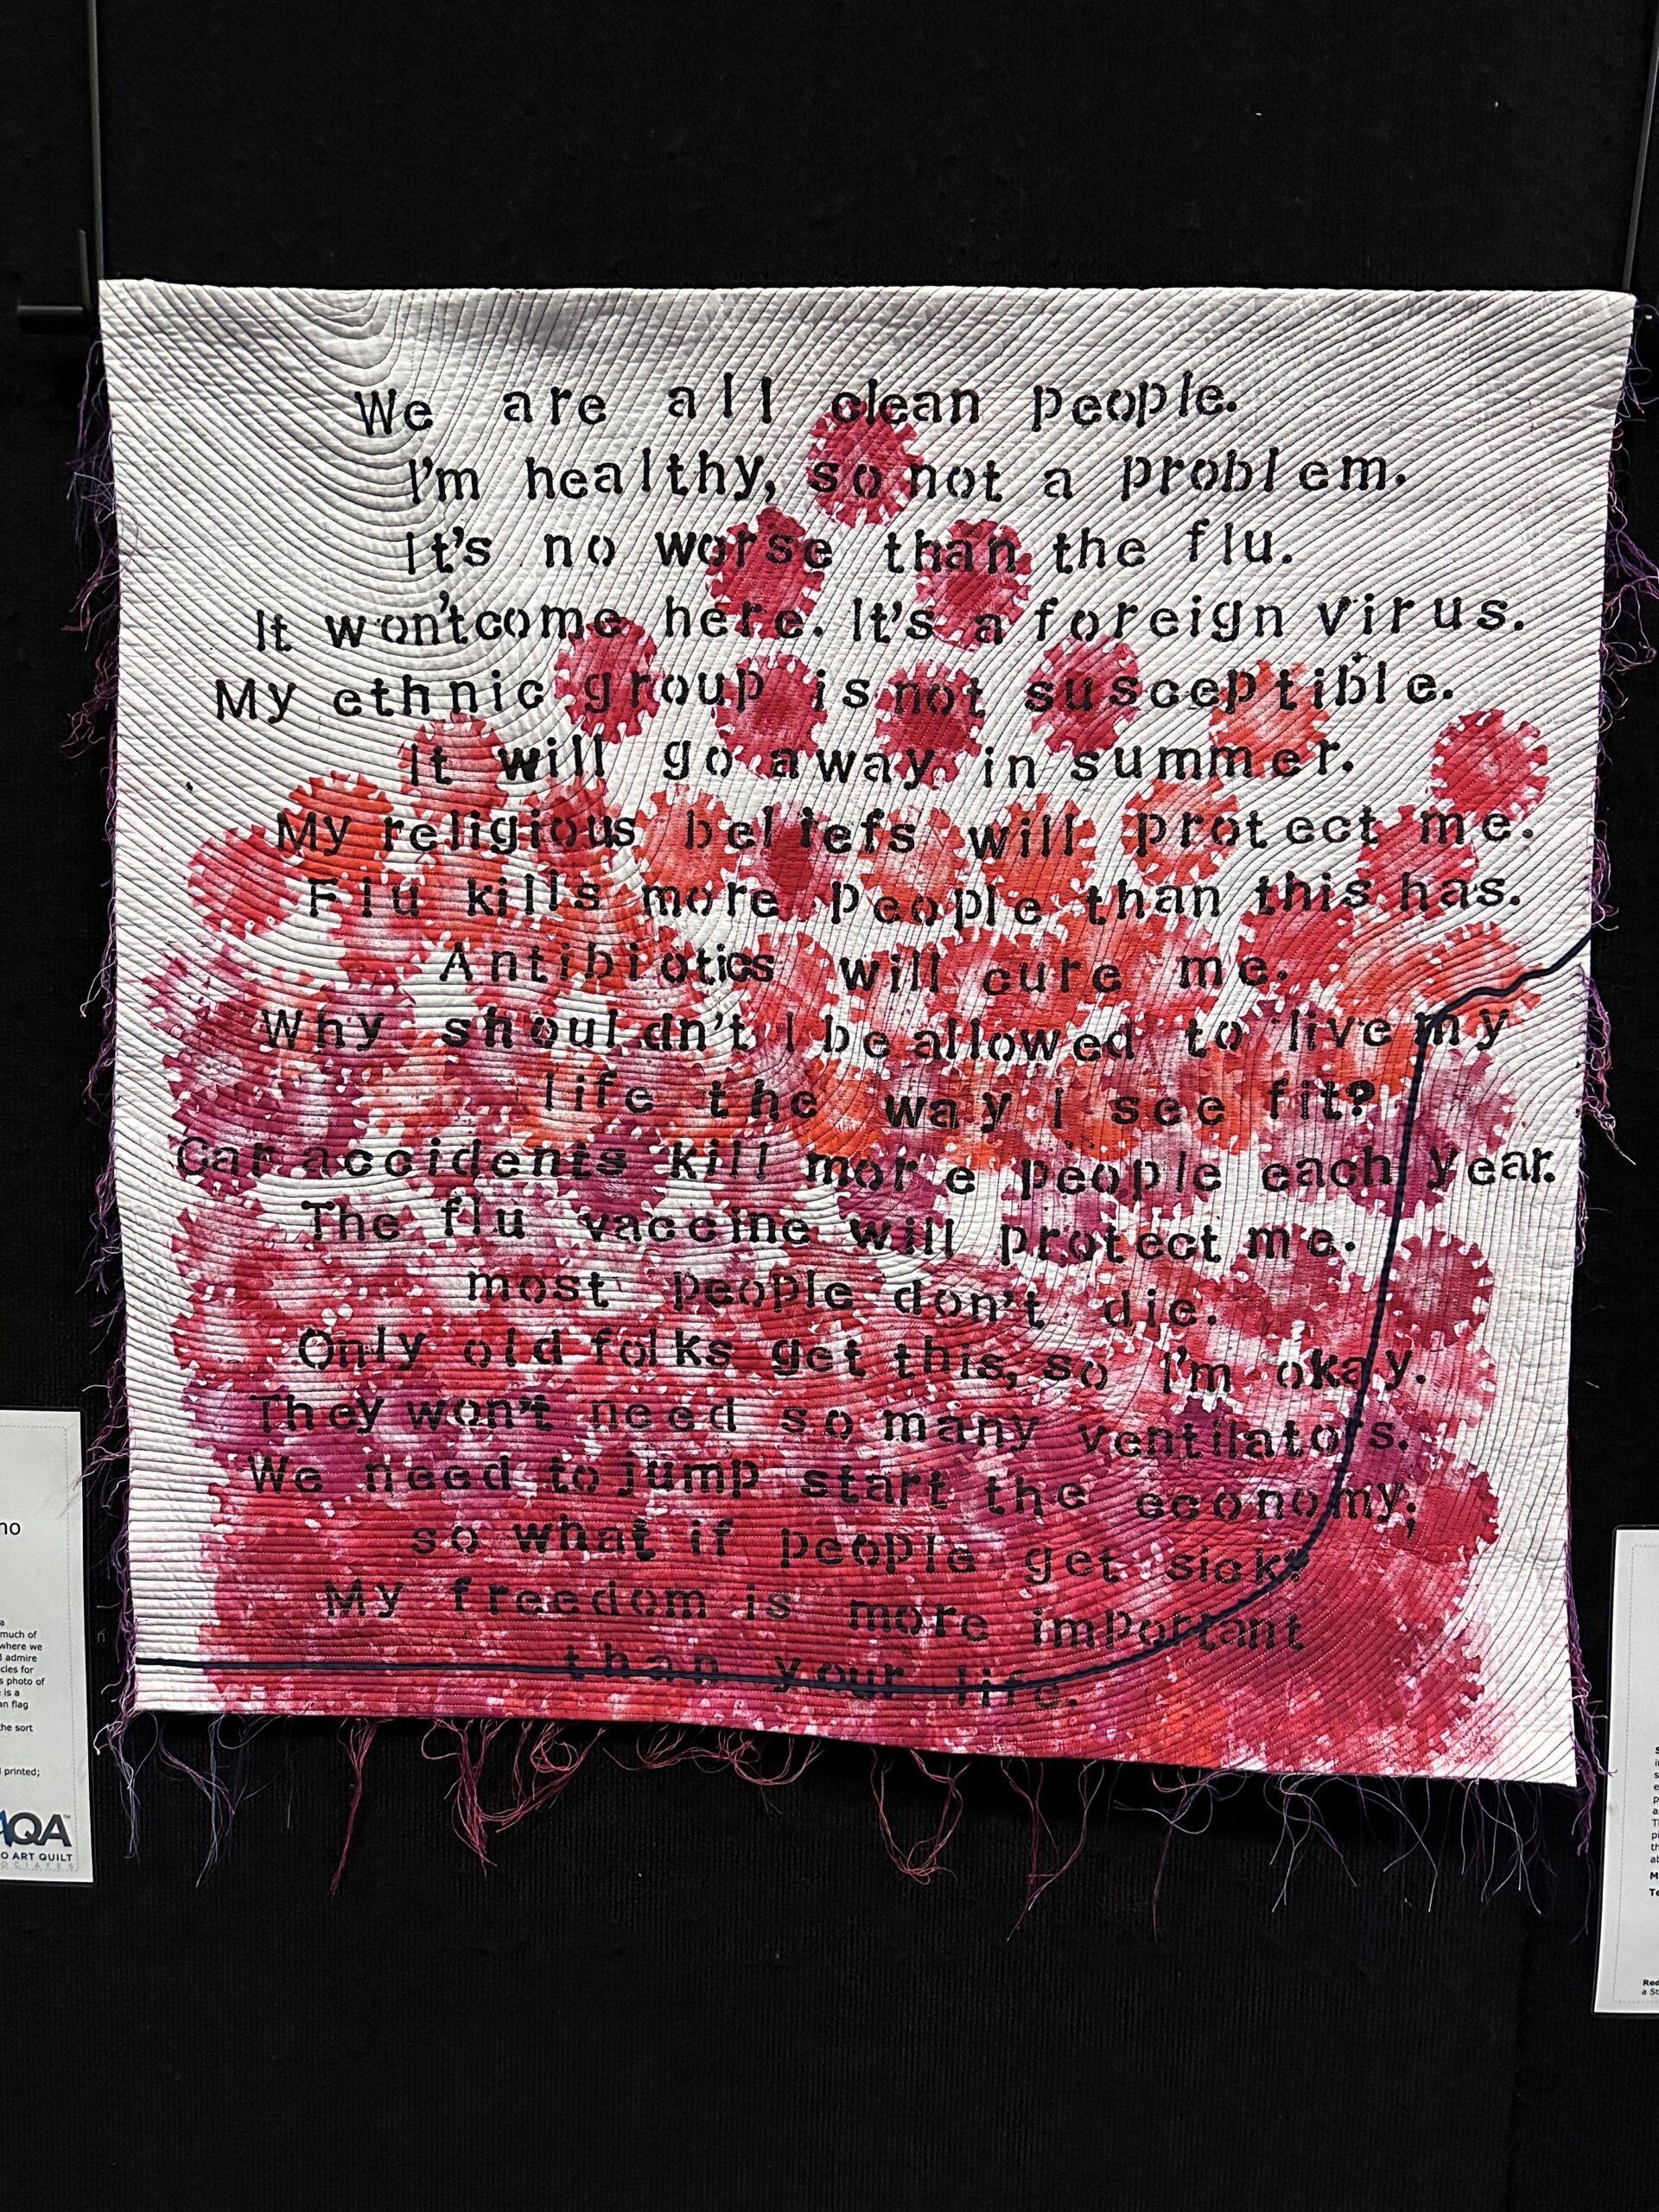
What absolute cowards. I actually went to that exhibition when it toured Australia at the Sydney Quilt Show last July. I saw the “Your Mother. Your Daughter. Your Sister. Your Grandmother. You.” quilt and felt it was both beautiful and powerful… but also, without the sign giving it context, it’s just a quilt made of red squares. I also saw quilts inspired by the Covid pandemic, school shootings, and climate change, and many of them were way more overt than this one.
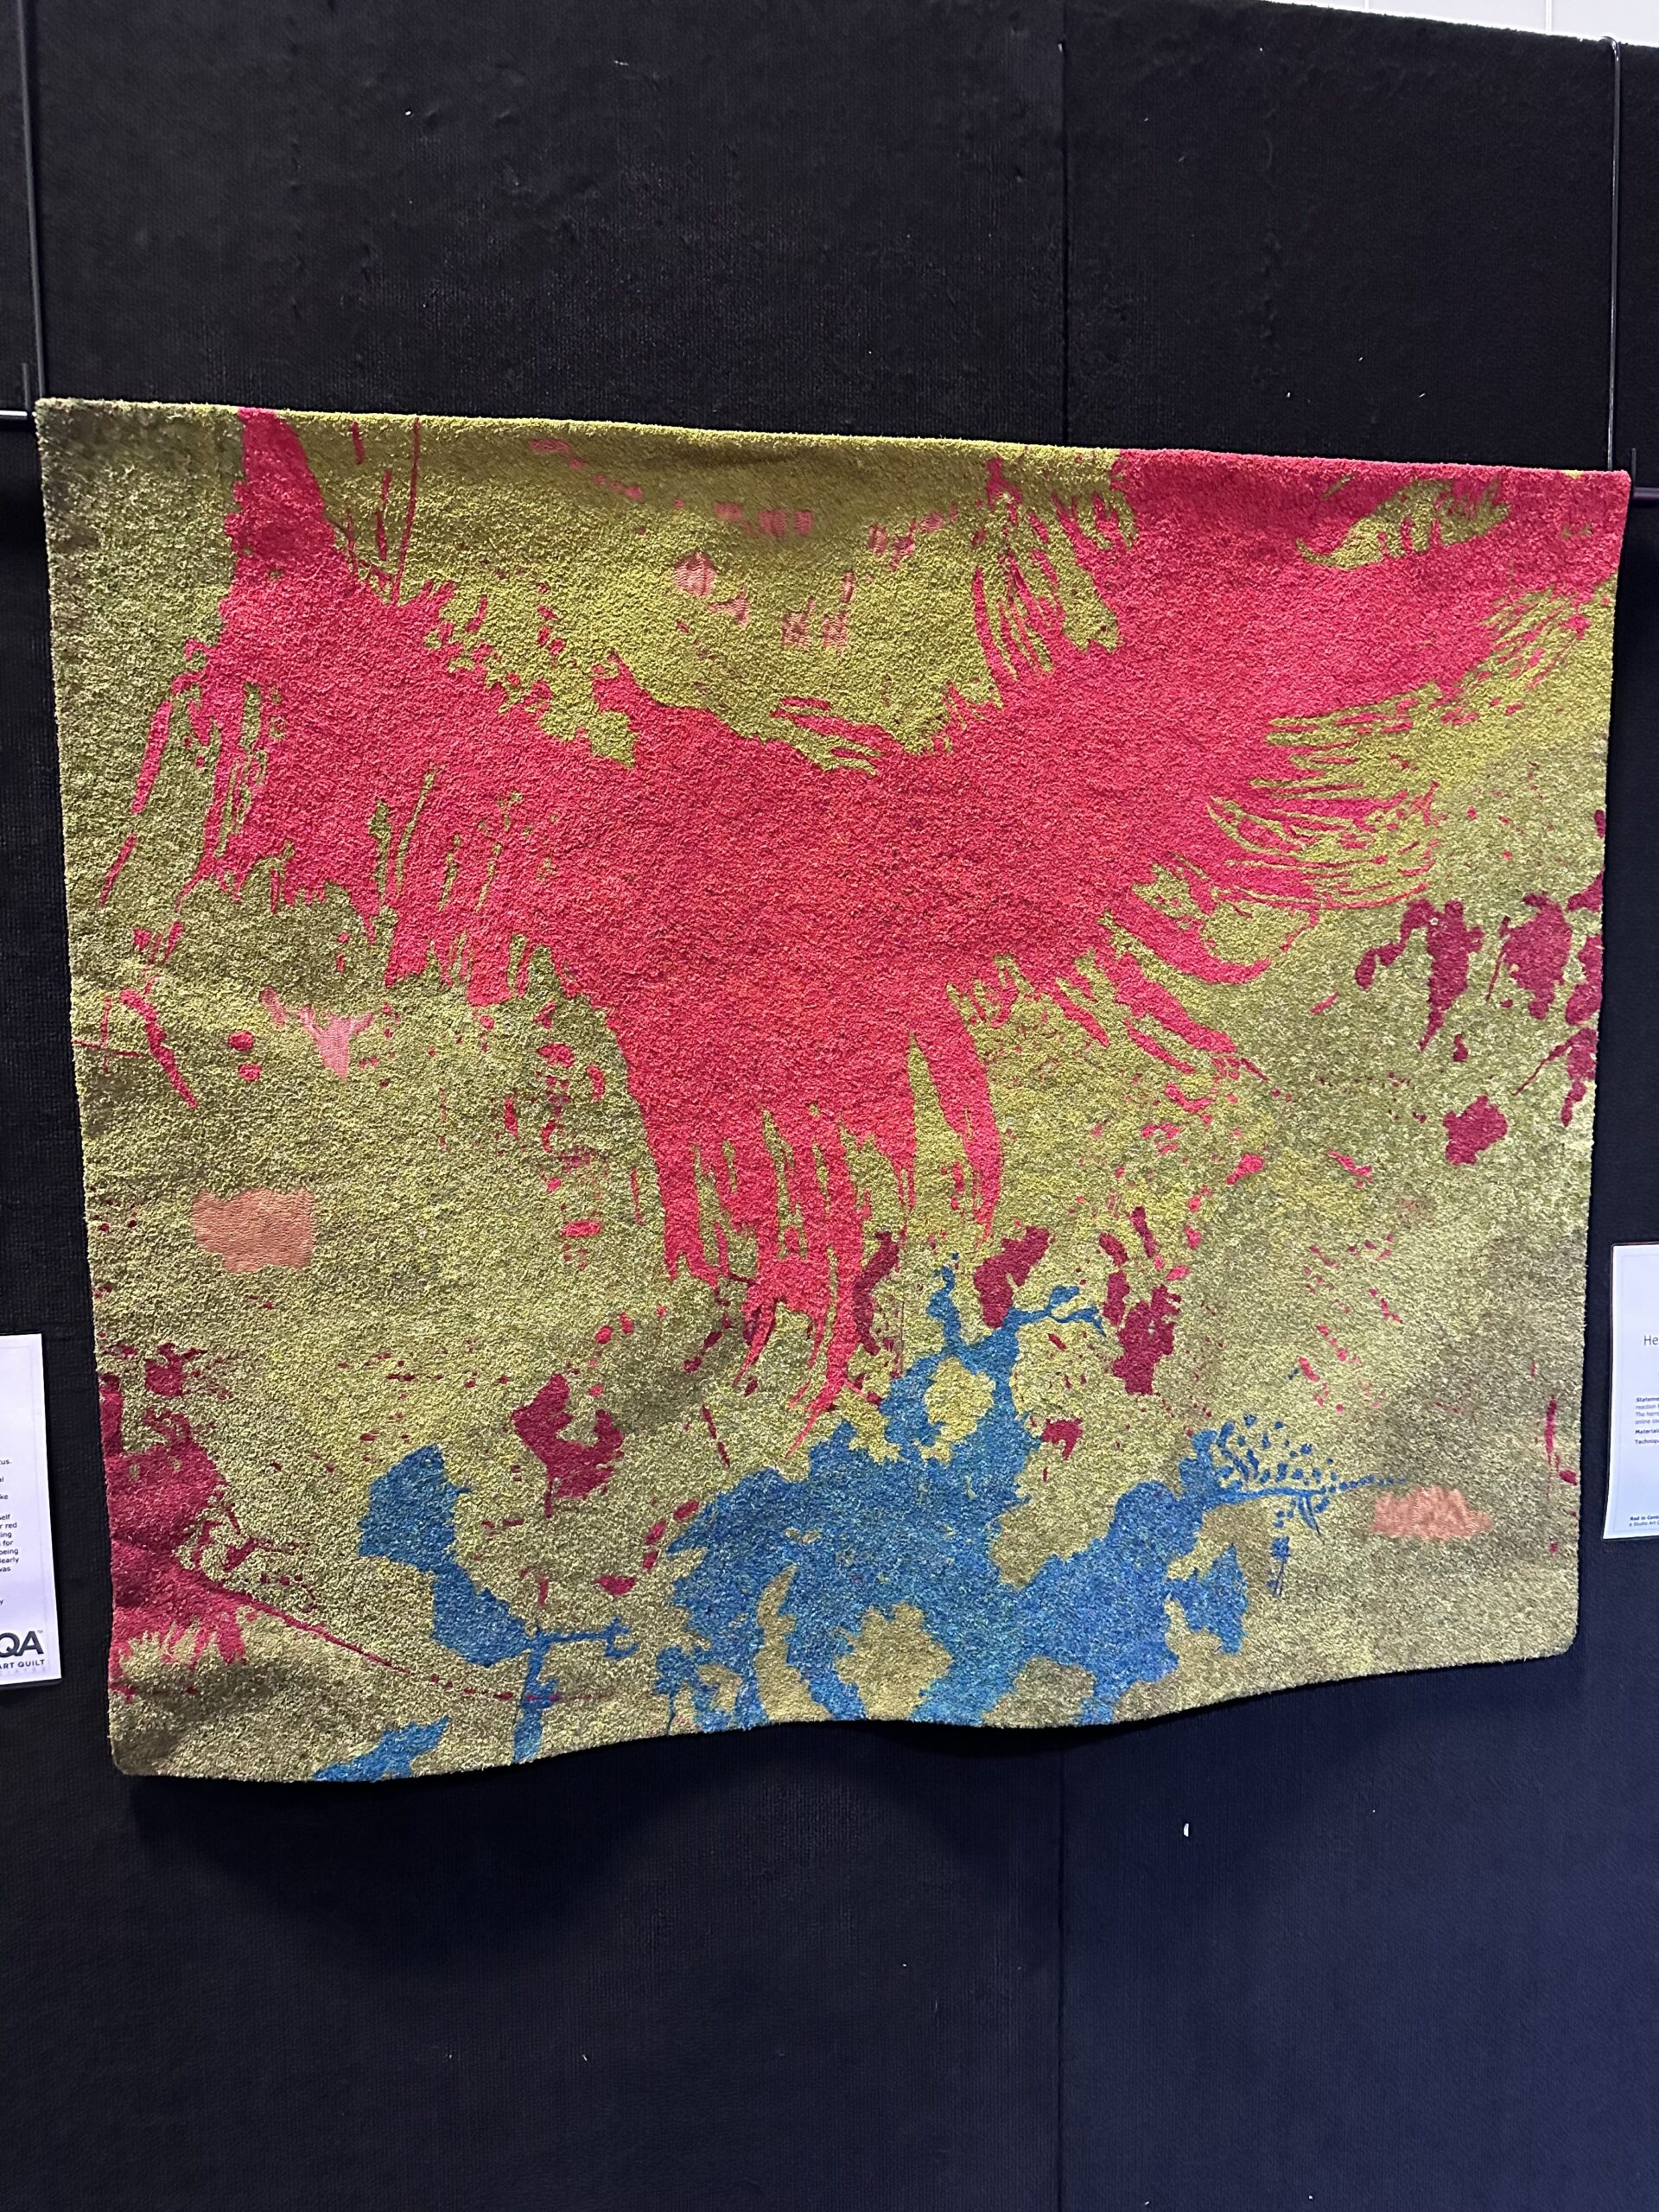
Although to be fair, I don’t remember seeing the “Origin” work. Feels like I’d remember that. 😜
-
Victory!
I think we can all agree that the correct team righteously defeated their evil enemy today. And of course, by “correct team” I mean “me,” and by “evil enemy” I mean “these goddamn prairie points.” I had to unpick all four corners where I had accidentally overlapped them and redo them so they flipped out correctly. BUT I DID IT AND I WIN. #quilting
-

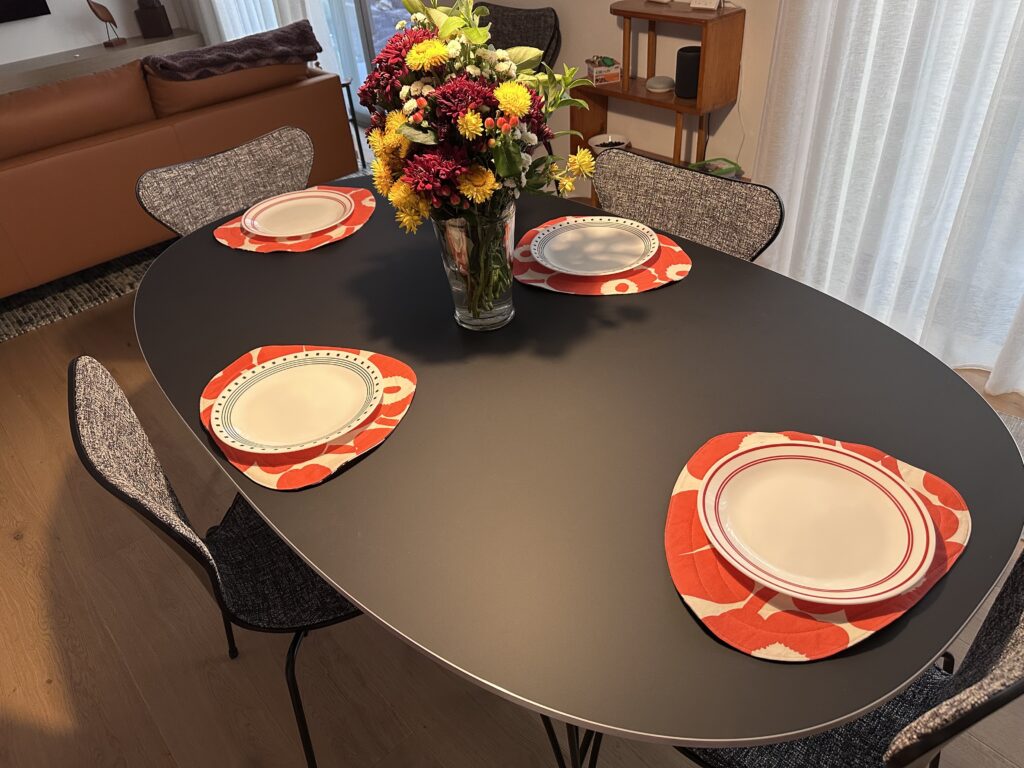
Marimekko placemats
I decided a few days ago that we needed new placemats to help protect our lovely new dining room table. I considered buying some, but I couldn’t find any that I liked that weren’t hideously expensive. (The cheapest Marimekko one is $36!) However, I do still have plenty of fabric left over from making the sofa cushions. Why not make my own?
I started by prototyping different shapes. I wanted something organic and asymmetrical, so I used some cardboard to try out a few different options. (I put a plate on top for sizing.)

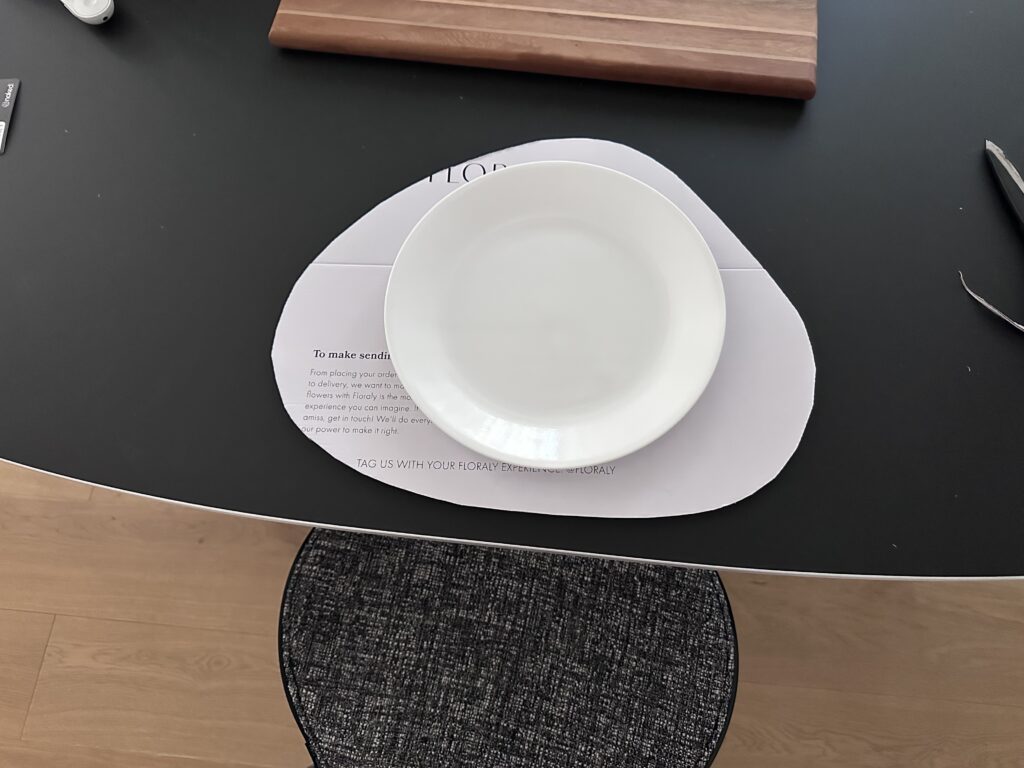
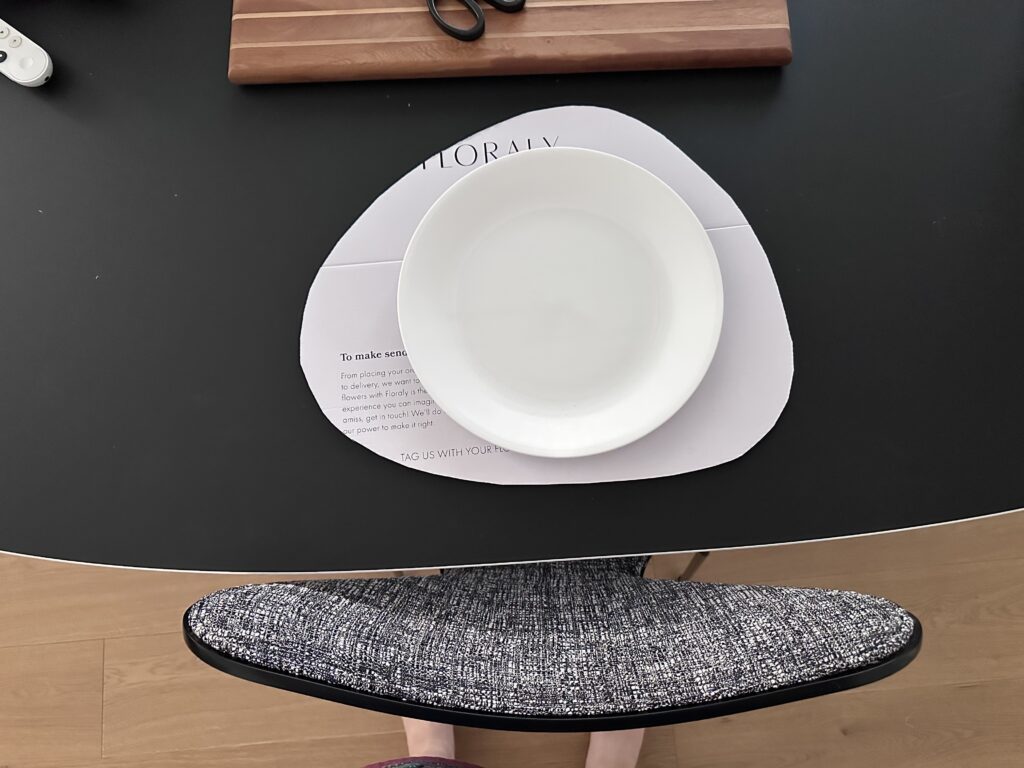
The first was deemed by the Snook “too egg-like.” (I agreed.) So I tried a few rounded triangles and ended up with option #3.
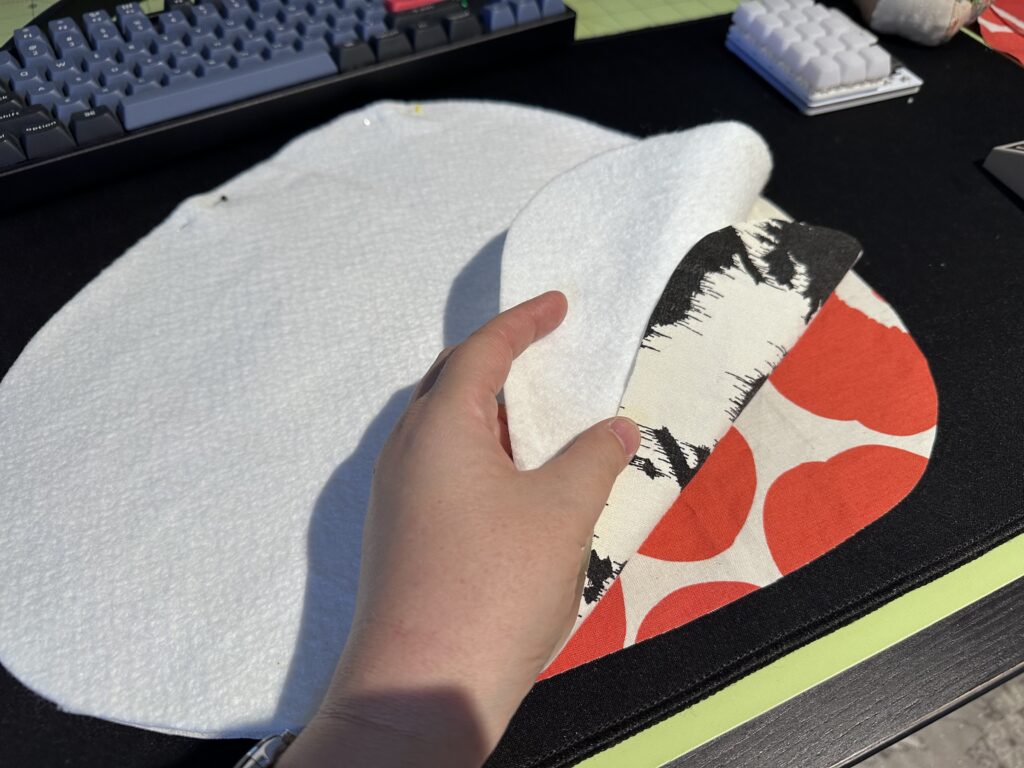
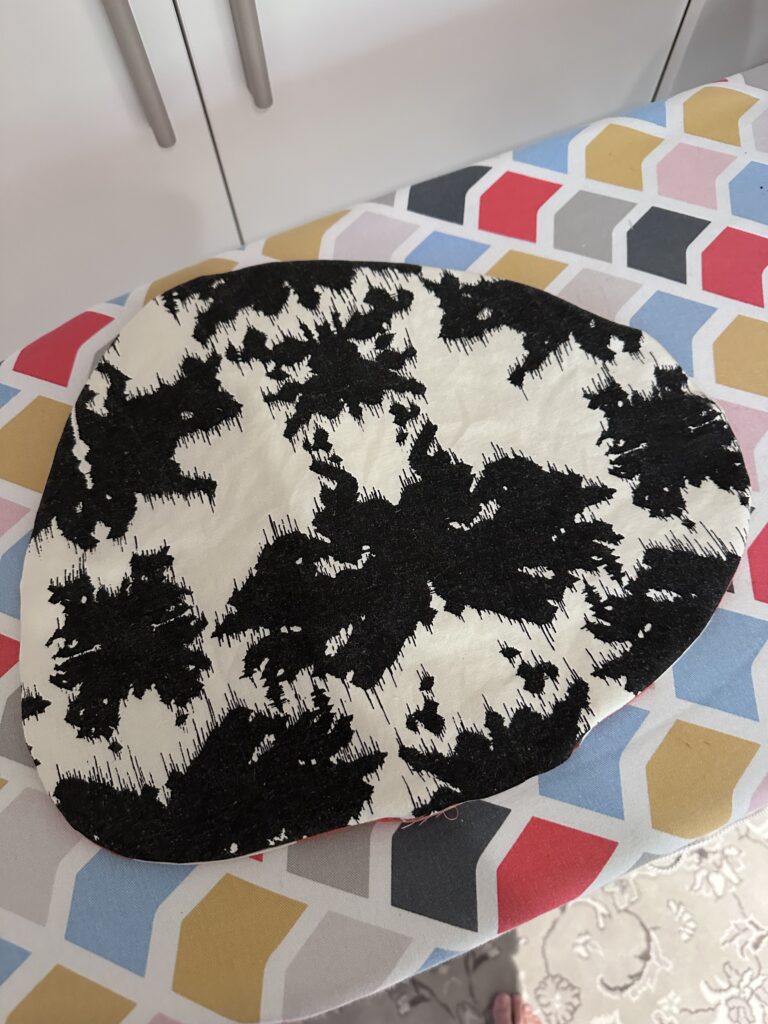
I decided I wanted the placemats to be reversible, so I found a suitable backing fabric from my stash. I used my template to cut out 6 red front pieces, 6 black back pieces (with the template reversed!), and 6 pieces of thin cotton quilt batting (left over from making Baby Taos’s quilt).
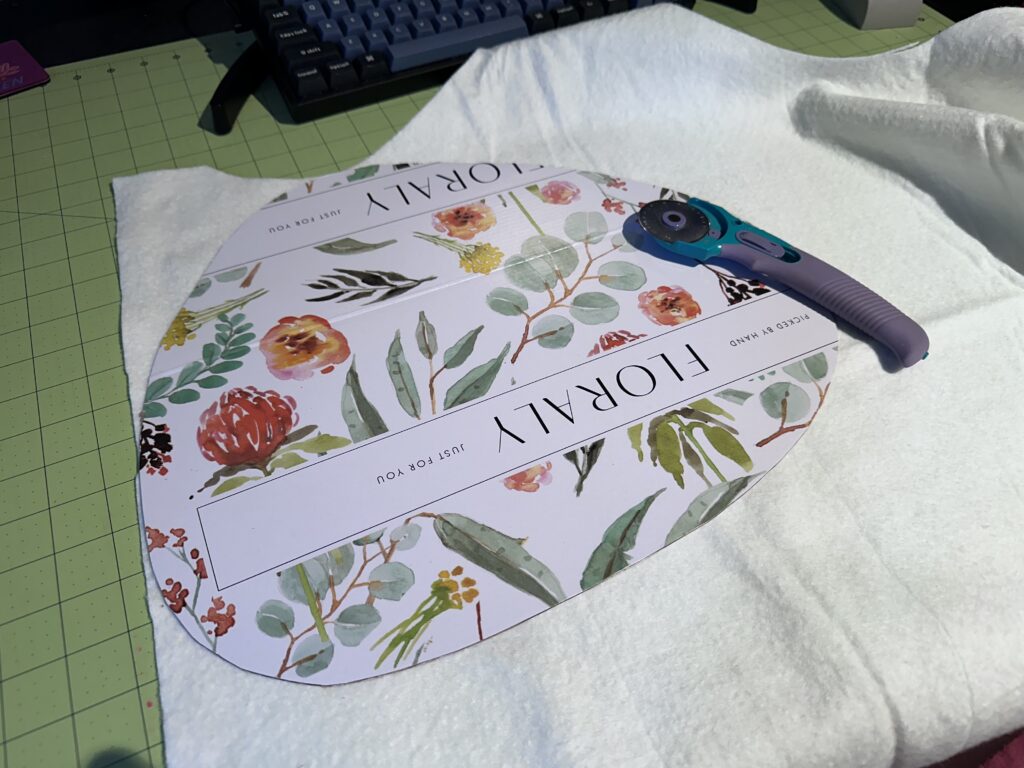
Here are the pieces all set for sewing. The backing fabric is called “Psycat” by Rhynie Cawood, handprinted by Sydney’s Publisher Textiles. I picked up a remnant many years ago and I love how it looks like a Rorschach test.
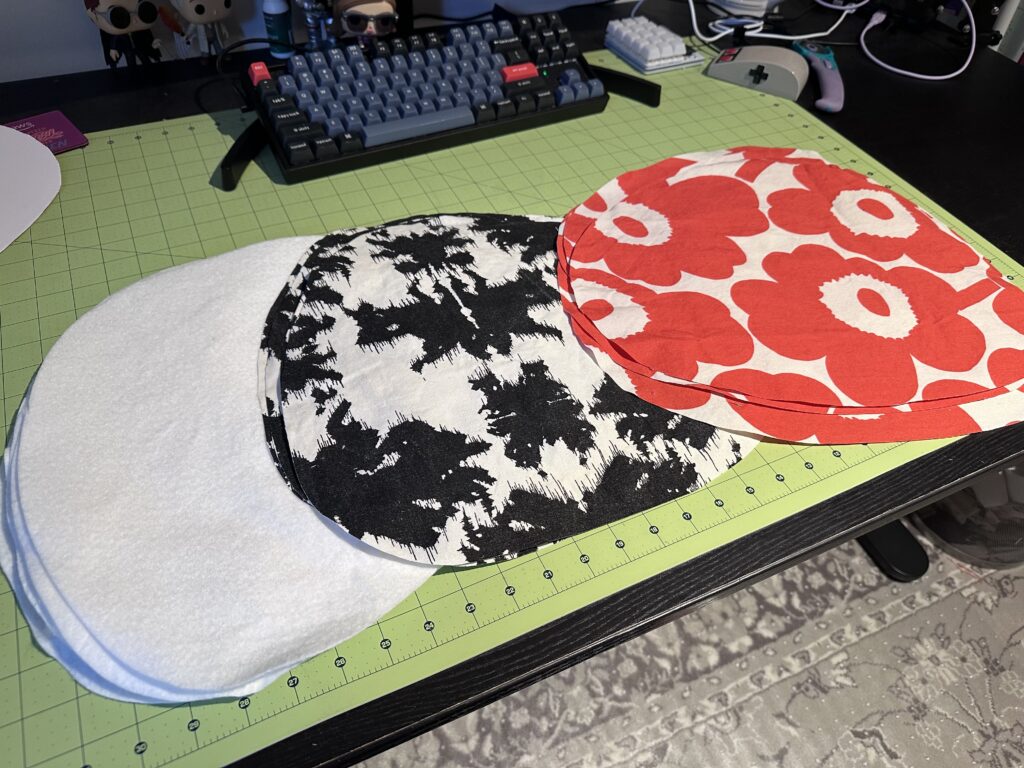
To assemble, I laid down a red piece face up, then a black piece face down, and then the batting. I pinned them all together.
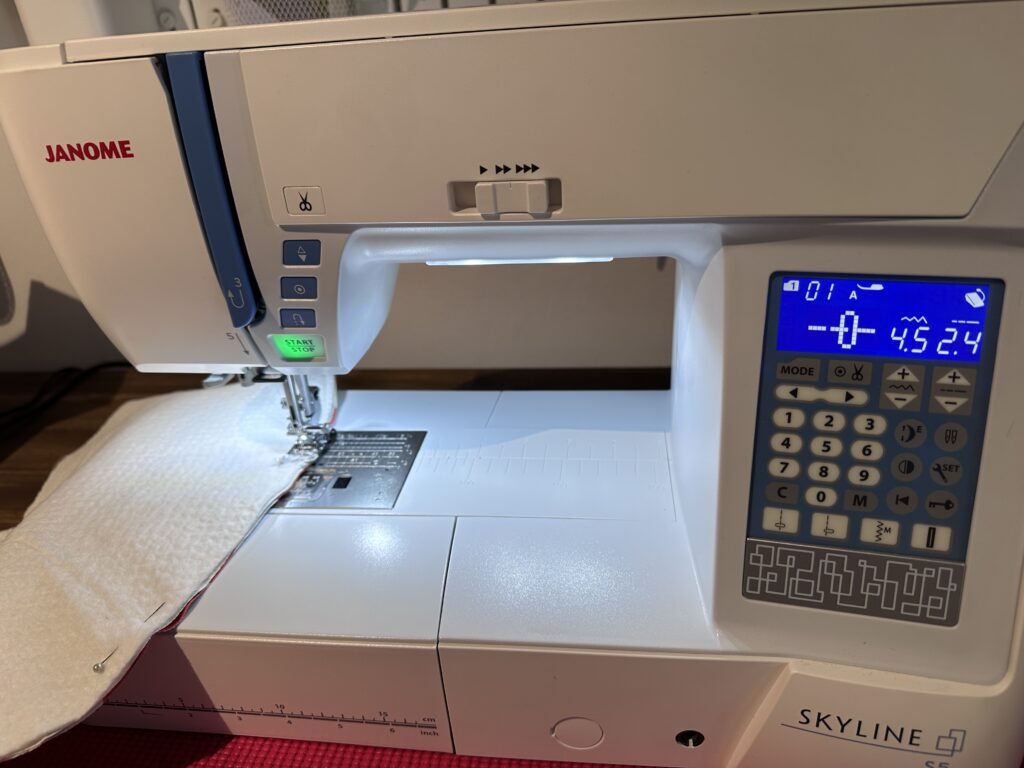
I sewed them together with a 1/4″ seam allowance, leaving a couple inches at the bottom open so I could turn them out.
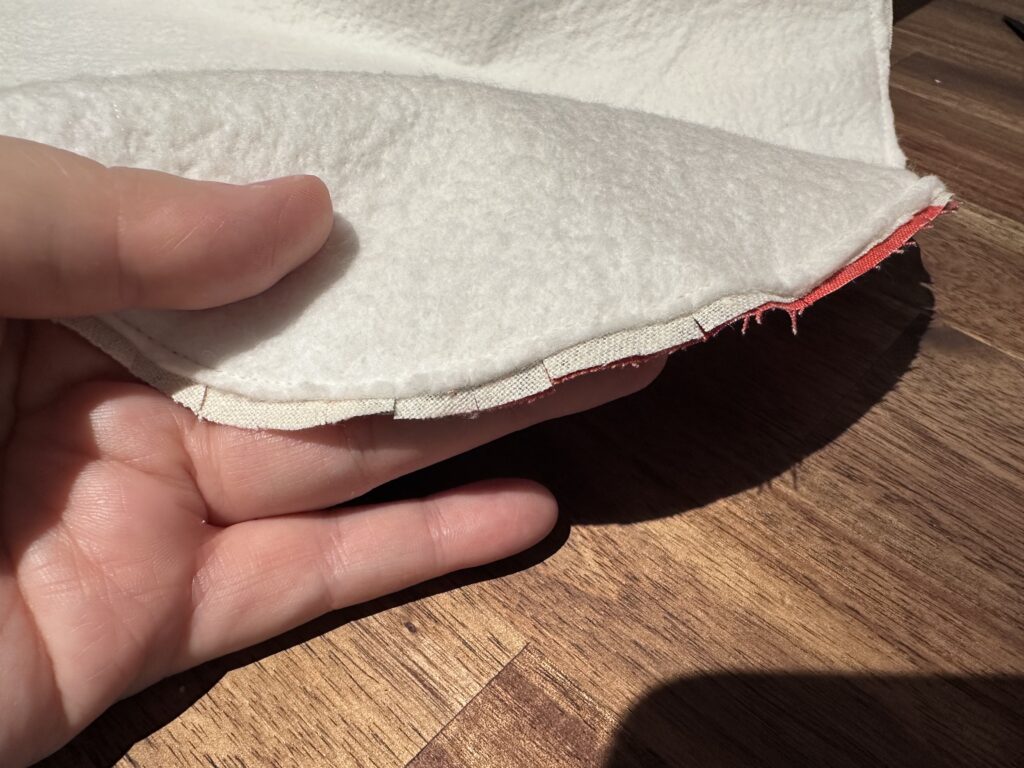
Then I trimmed down the quilt batting to avoid the edges being too thick. I also clipped the curves, which basically meant going around the whole thing since it was all curves.
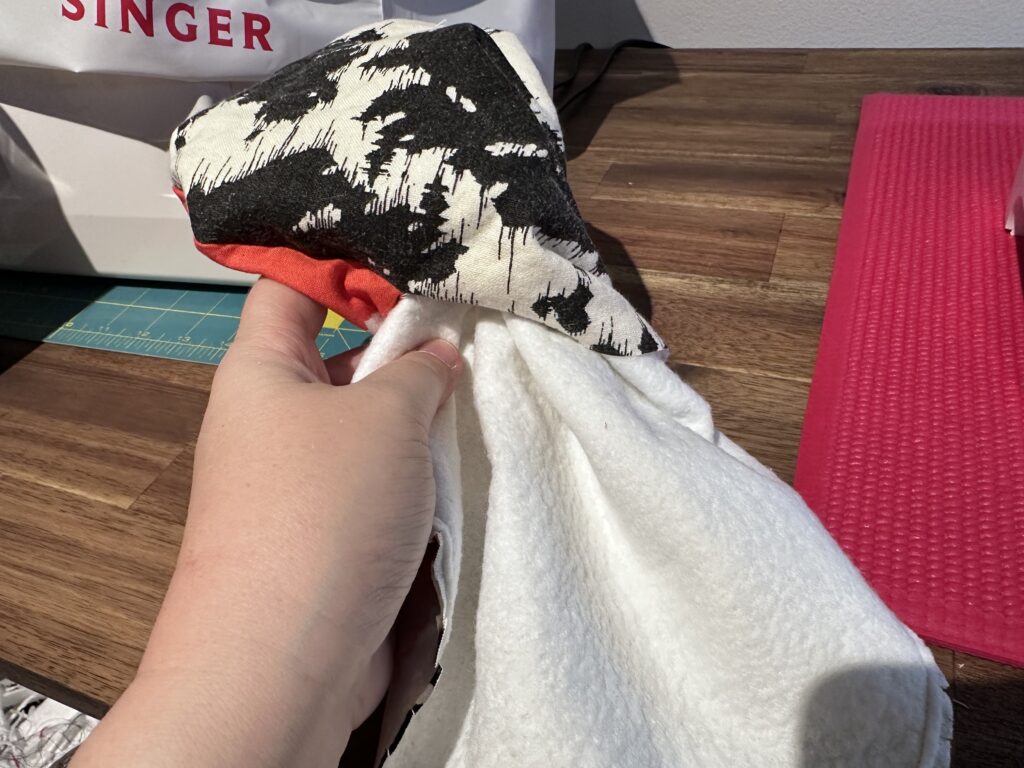
Then I used the opening to turn each placemat right-side out.
I spent some time making sure all the seams were fully pushed out, and I gave each placemat a good ironing. You can see there the opening at the bottom where I turned it out.
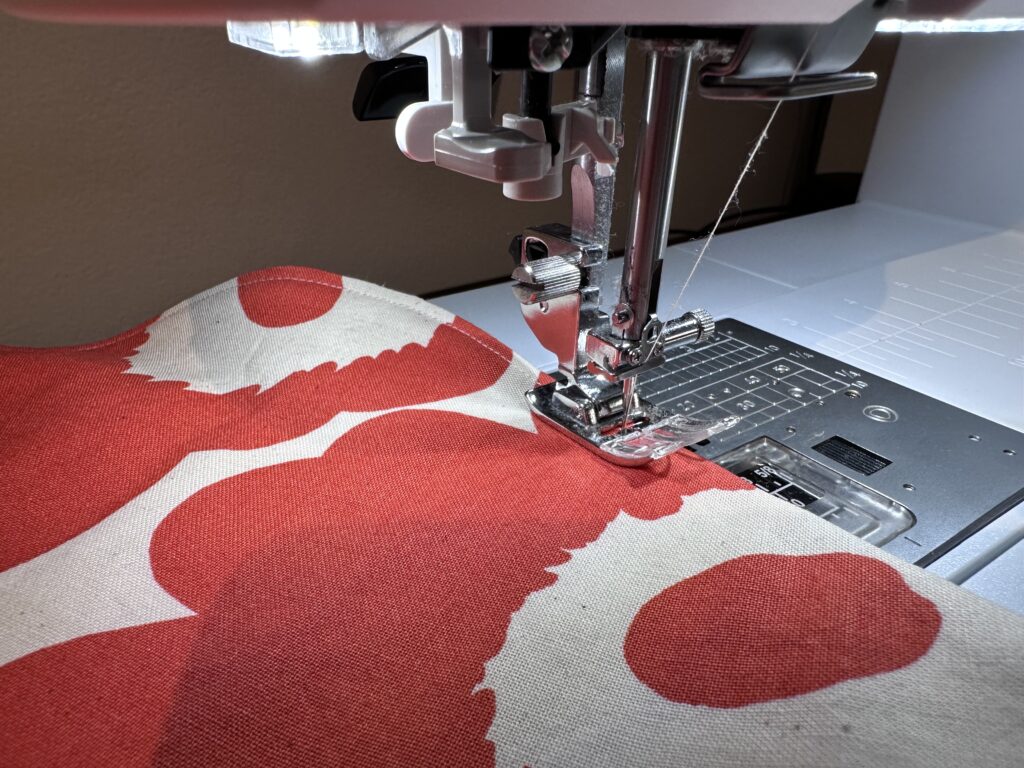
I folded in the seam allowances at the opening and hit that with the steam iron. Then I top-stitched all the way around each placemat at 1/8″, both for decoration and to close off the opening.
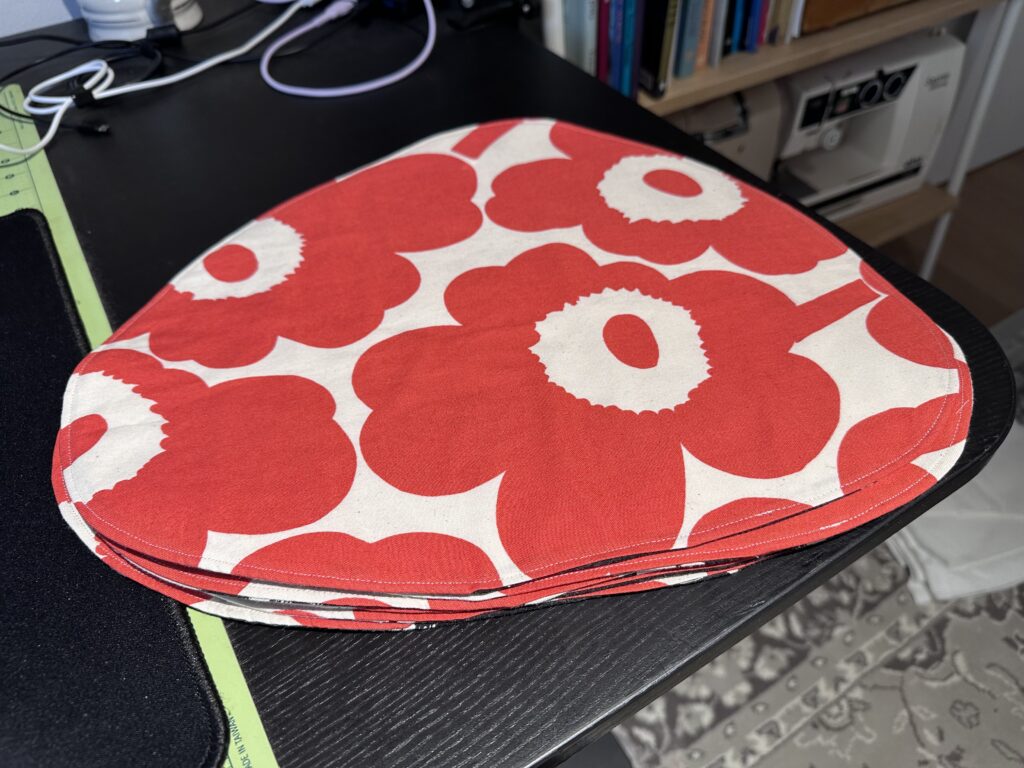
Pretty quickly I had a completed stack of six placemats!
Now it was time to decide on the quilting. I decided that the best options were either a spiral or a grid, so I mocked up a rough idea and sent it to a few friends for thoughts. Everyone voted for spiral.
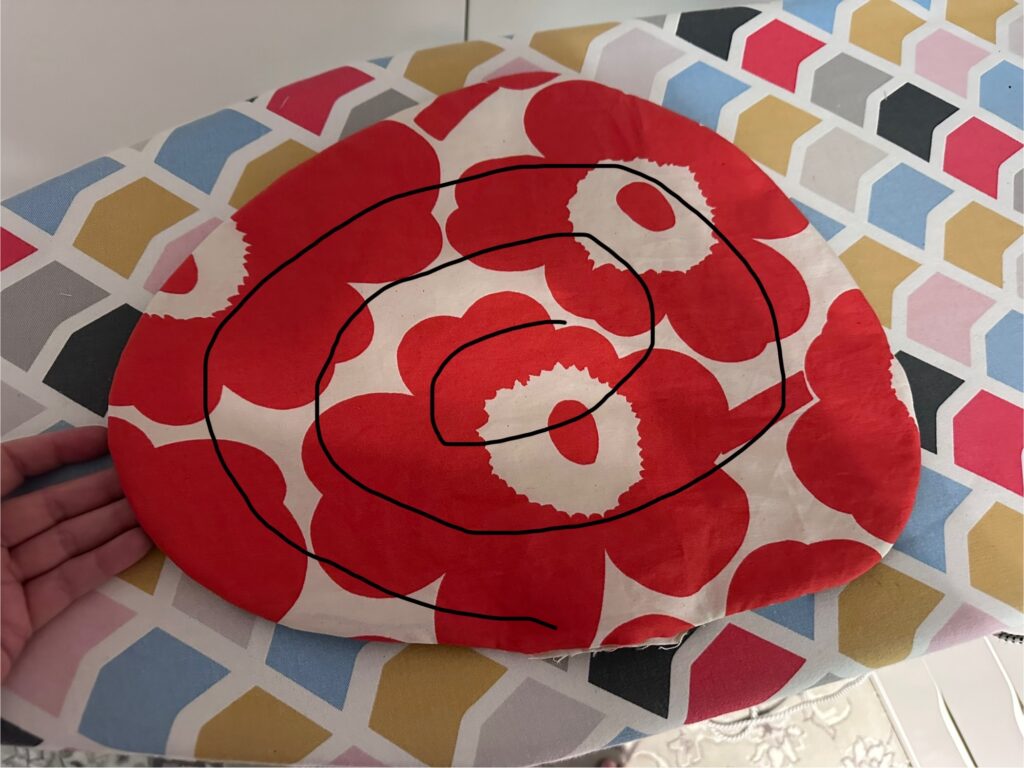

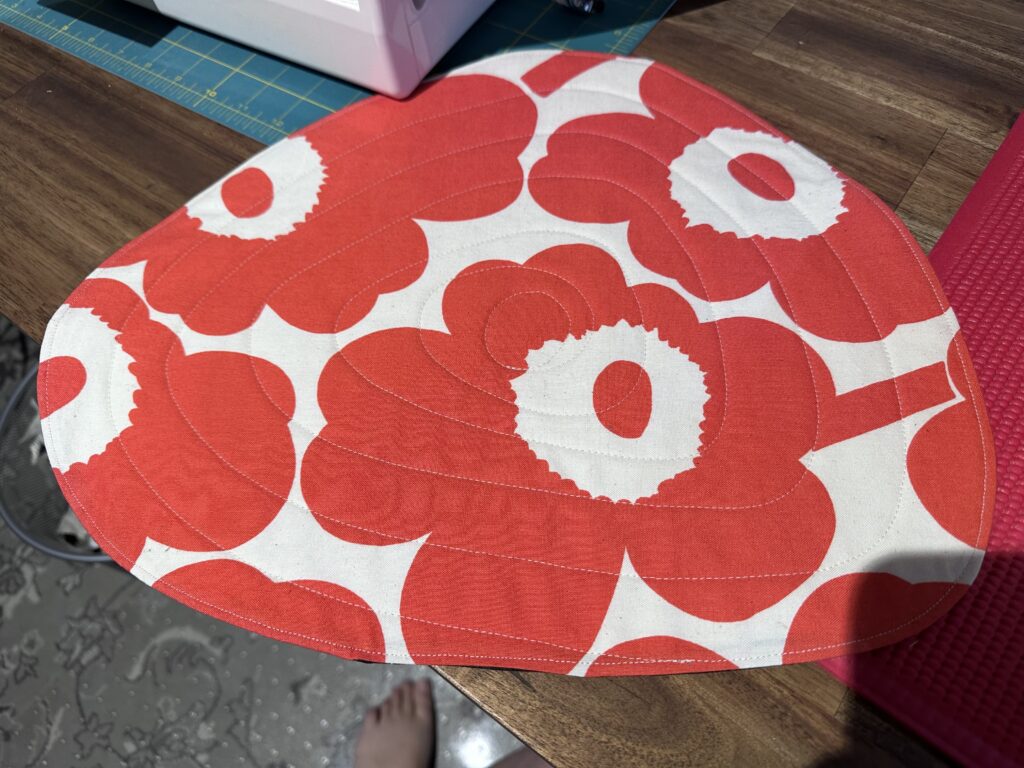
I set up the walking foot for my sewing machine, as well as the “quilting attachment” – an adjustable metal bar that sticks out that you can use to sew parallel lines. I used it to ensure the first few spirals were roughly 1″ apart.

Once I got to the middle, I was basically free-handing it and just turning the placemat around and around. I LOVE how it turned out! It was really fun too. I blasted through the remaining placemats to finish the project off.
I’ve got a can of Scotchguard around here somewhere so I’ll probably hit them with that to make them a bit more stain-resistant. Don’t they look great on the table?