Blogging is back, baby! We’re even doing the thing where we write a post and then tag other people to answer the same questions. I haven’t done one of these in decades. (Link courtesy of Ethan Marcotte.)
Why did you start blogging in the first place?
Because it was 2000 and I was working as a web developer, and clearly everything we were doing was CREATING THE FUTURE. I initially started a group blog with a couple college friends (but really it was 99% me) writing about stuff happening back at our university dorm, because I was in that phase of life right after leaving college where you still think it was the most important thing ever. (I’ve since imported all those old posts over here.) A few months later I started my personal blog, which has been running continuously for 24 years. I was living overseas in London and it became a way to share my life with my family and friends back in the States. The blog quickly became the nexus of my social life, and there was a core group of early bloggers that I exchanged links and comments and mix CDs with for several years. I really miss those days.
What platform are you using to manage your blog and why did you choose it? Have you blogged on other platforms before?
I started with Blogger.com, which back then was basically a static site templating engine where it would actually compile HTML and FTP it to your hosting provider. It suffered from constant outages though, and within a year I was writing my own simple PHP+MySQL blogging CMS. I switched over to that in May 2001, and I released the code a couple weeks later. I used that system for fourteen years, adding lots of little features here and there. Eventually I got tired of constantly being hacked – and not having the skills to prevent it – and my friend John Allsopp made a radical suggestion: move to WordPress. I imported over 13K+ posts and 25K+ comments, and set to work learning everything I could about how to lock it down. I’ve been using WP ever since, on various hosting providers (most recently Amazon Lightsail).
Every now and then I get annoyed with WordPress – it’s taken me years to come around to using the block editor, which I will still only do under great duress – and Rodd grumbles every time I need him to help me debug something. But mostly it just works, and it does everything I need it to.
How do you write your posts? For example, in a local editing tool, or in a panel/dashboard that’s part of your blog?
Mostly just in the WordPress (classic) editor, in a browser window. I’ve tried using the WordPress app on my phone, but I find it annoying. (Again: block editor.) A few months ago I had the idea to create some iOS Shortcuts that allow me to create photo posts straight from the Photos app on my iPhone. That’s been super useful and fun.
When do you feel most inspired to write?
In the early days, I shared multiple times a day – every little thought that came into my head. Hey, we didn’t have social media back then, all right? Links I’d found, news that was interesting, even dreams that I’d had. And then in 2009 I got into Twitter and blog posting dropped off accordingly. For like a good decade there the blog was mostly just automated posts that collated what I was sharing on other social networks.
I started making an effort to blog more when we moved to Munich, Germany during the pandemic in August 2020. It was partly getting back to one of my original blog motivations – sharing my life overseas with friends and family – and partly just not having any other social outlets when we were in lockdown. I also knew that we weren’t going to be there for more than a couple years, so the blog became my journal documenting an experience that I knew I would never want to forget. (Oh and also a Nazi bought Twitter, so I killed my account there and thus to redirect all that tweeting energy.)
And then last year I retired from full-time work, and suddenly I had more time to think about how I interact with technology. I’ve been incensed to see how Big Tech leaders that I formerly semi-respected have turned into craven bootlickers for the new administration. It’s galvanised me to take control of my data, and to focus on my website as the center for my online presence. I’ve been importing my content from elsewhere, and I’m experimenting with ways to syndicate my content outwards. (Discussions with my friend David Edgar have been super helpful, as he’s built his own system for doing just that.)
I feel like I’m getting away from the original question though. Nowadays I mostly feel inspired to write in the morning. For the past couple weeks I’ve been making time after breakfast to “tend my digital garden,” going back through all the posts written on this date and fixing broken links, adding tags, and cleaning up dodgy HTML. I find it very soothing and therapeutic, and it often gives me ideas for things I should write about. I also usually have a couple links saved up from my evening browsing that I want to share too.
Do you publish immediately after writing, or do you let it simmer a bit as a draft?
Unless it’s a very long post that takes me a long time to write, I pretty much always publishing immediately after writing.
What’s your favorite post on your blog?
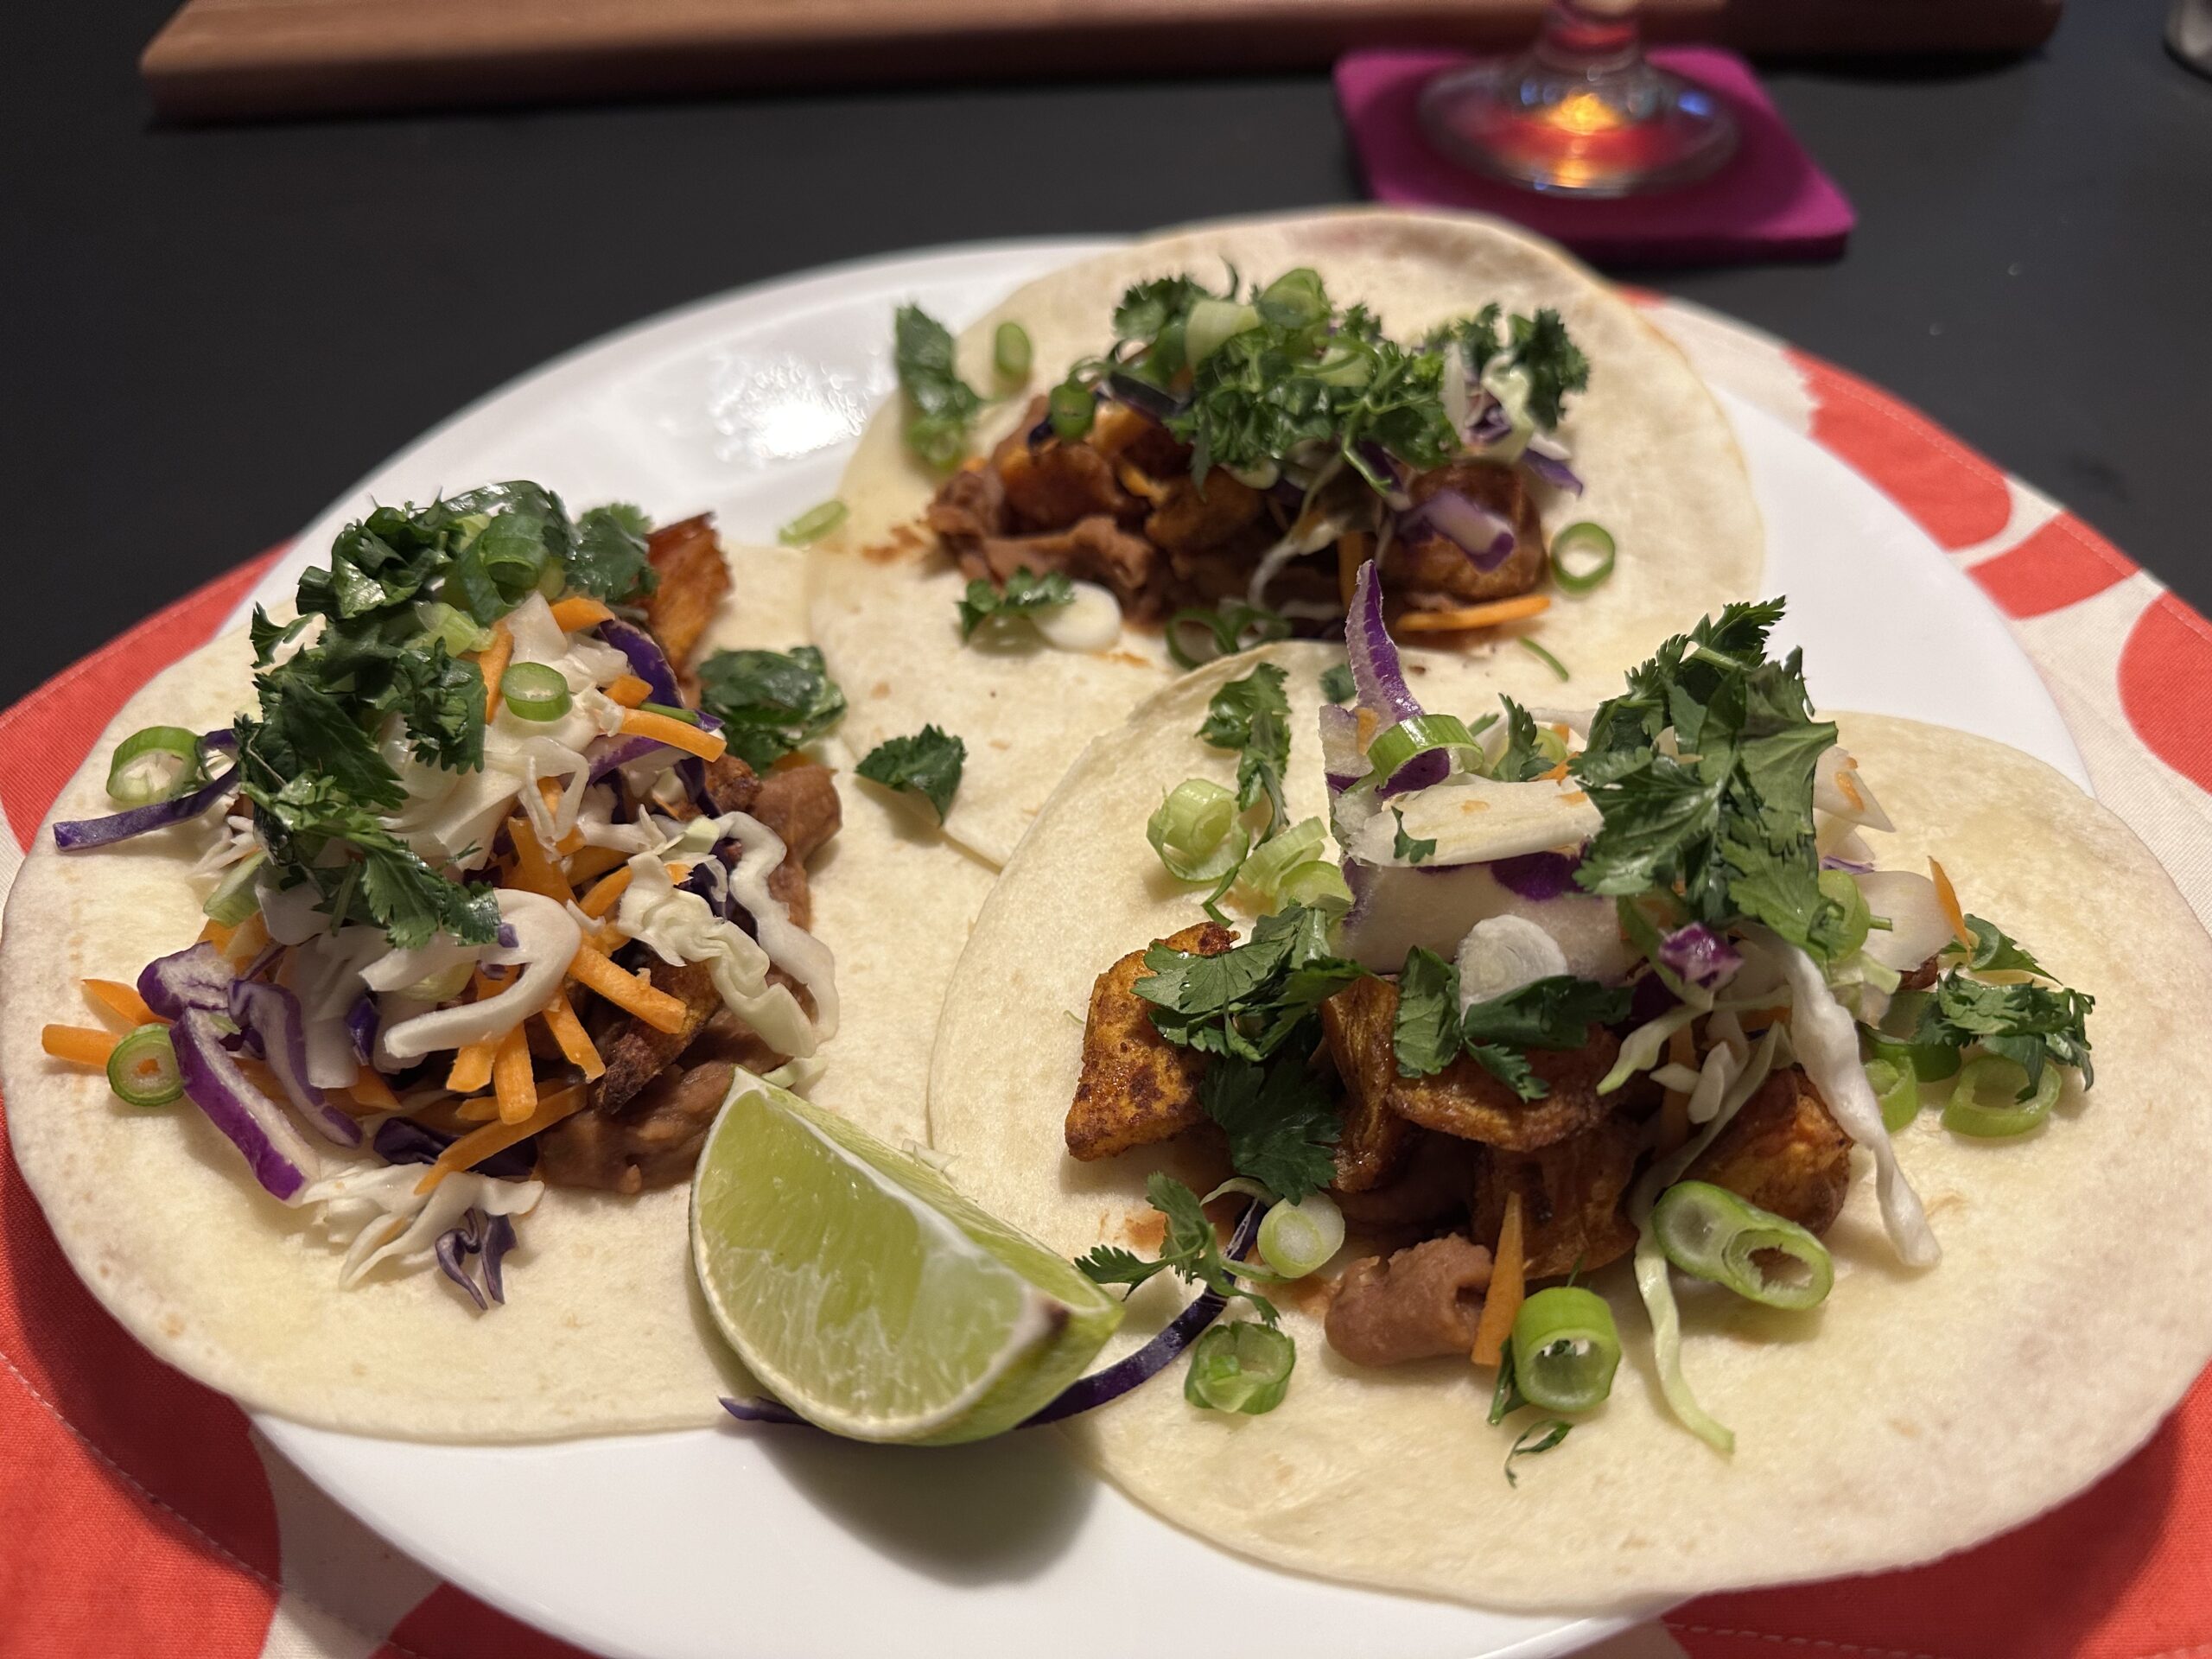
Oh good grief, there are far too many. As I said, I’ve been doing this for 24 years. I can tell you what the Internet’s favourite post(s) are though: the Jamie’s 30 Minute Meals posts. More than a decade ago Rodd and I cooked and blogged 37 meals from that book, and they are still by far the most trafficked posts on the site. 🤷♀️
Any future plans for your blog? Maybe a redesign, a move to another platform, or adding a new feature?
I literally changed my theme like two days ago! I’m pretty happy with it. I just want a clean, responsive blogging theme with a sidebar, like in the old days. I’m still doing tweaks here and there, but mostly I’m happy.
Another thing that changed recently – I turned comments back on. I turned them off a few years ago because very few people used them anymore, and I was tired of dealing with spam. But now that I’m not using Instagram or Facebook or Twitter, I want there to be a way for people to respond to what I’m writing. And I also know that I find it very frustrating to see a great post on someone else’s blog and not be able to start a conversation about it. Let’s all bring back comments!
And lastly, Rodd and I have talked a lot in recent years about whether I should turn this into a static site. The idea is that I’d still use WordPress as the CMS for convenience – probably running locally on our home server – and then generate static HTML that I host elsewhere. It would be more secure, faster for users, and cheaper for me to host. I’ve played around a bit with WP2Static, and Rodd’s experimented with writing his own site generator in Golang. BUT there’s a big drawback – I’d lose the interactive elements of the site, like searching and commenting. I’d have to find replacements for those, and I’m not a huge fan of my options there. Still thinking about it…
Who’s next?
Most of my old blogging friends have closed up shop a long time ago. I’ll go with some IRL friends that are blogging these days: David, Sathyajith, VirtualWolf.


One response